

Garage Tool Organization: Wall Systems That Keep Tools Findable
Most garage tool organization advice ends at a shelf. You buy the bins, you fill the bins, and six weeks later you are elbow deep in a bin hunting for a 10mm socket. The wall is the piece almost nobody sets up correctly, and it is the only surface in a garage where a tool can be found in under ten seconds. This guide covers the three wall systems worth paying for, how much weight each one actually holds, and a height map that decides what goes where. No extra shelving required.
Why Garage Tool Organization Fails on Shelves and Wins on Walls
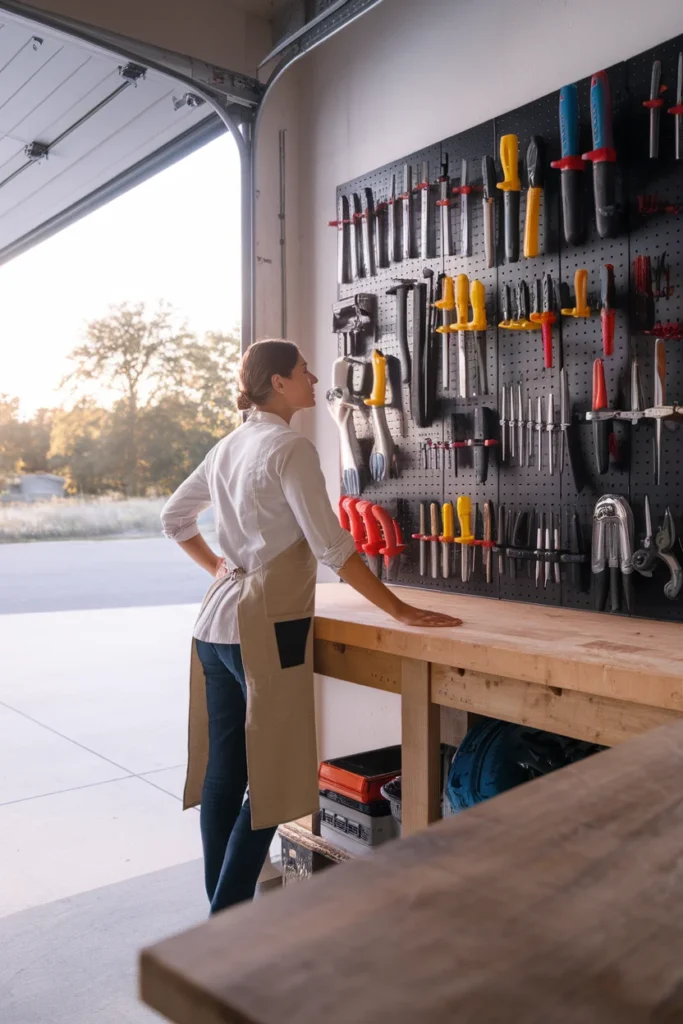
A shelf hides things. Put a tool in a bin on a shelf and you have created a second search step, because now you have to remember which bin. A wall removes that step completely. Everything is visible at once, which means your eyes do the searching instead of your hands. That single shift is what separates garage tool organization that lasts from a weekend cleanup that quietly reverses.
There is a second reason walls win, and it has nothing to do with tidiness. Shelves are depth. Most garages have plenty of wall and almost no usable depth, because a car is parked in the middle of the room. A standard two-car garage gives you roughly 40 linear feet of usable wall at working height. That is a lot of storage you are currently not using.
The catch is that a wall only stays organized if two things are true: every tool has one home, and that home is at a height your body agrees with. Miss the second one and the wall degrades back into a pile within a month. Ask anyone who mounted pegboard at 78 inches because that was where the studs were easy to hit.
The 3-Band Tool Wall
Here is the framework this whole article runs on. The 3-Band Tool Wall splits your wall into three horizontal bands by height off the floor, then assigns tools to a band based on how often you touch them. Frequency decides height. Nothing else does. Every garage tool organization decision below flows from this one table.
| Band | Height off the floor | What lives here | Why it works |
|---|---|---|---|
| Band 1: Strike | 40 to 62 inches | Daily and weekly tools: drill, tape measure, utility knife, pliers, screwdrivers, level | Reachable standing still, no bending, no stretching |
| Band 2: Stretch | 28 to 40 in and 62 to 76 in | Monthly tools, small parts bins, clamps, sanding gear | One small movement away, still visible at a glance |
| Band 3: Storage | Below 28 in and above 76 in | Seasonal, bulky, rarely touched: long handles, spare hose, holiday gear | Costs you a squat or a step stool, so it should cost you rarely |
Band 1 is the only band that matters for findability, and it is narrower than people expect. Twenty-two inches. That is your prime real estate, and most of us waste it on a tool we last used in 2021.
Two rules keep the bands honest. First, if a tool has not moved out of Band 1 in three months, it drops to Band 2. Second, Band 1 never gets a bin. Bins belong in Band 2 and below, because a bin in Band 1 is just a shelf you hung on the wall.
Clear the Wall Before You Mount a Single Anchor
Nobody wants to hear this part. Garage tool organization starts with subtraction. Mounting a system over a wall you have not sorted just relocates the mess to eye level, where it is now more annoying.
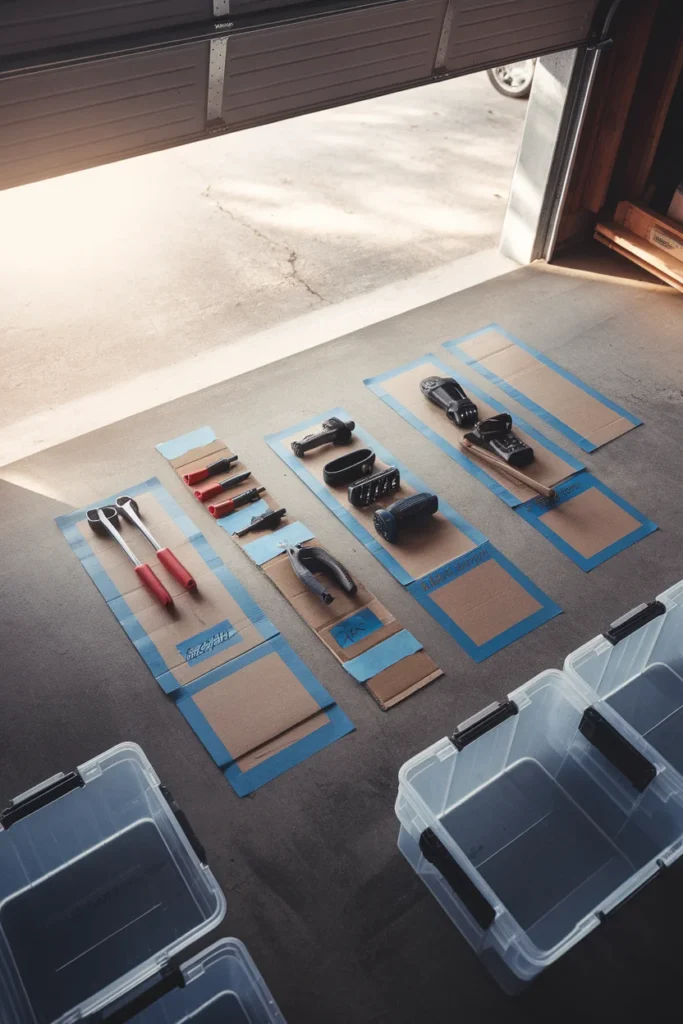
Give it one honest hour. Pull everything off the existing wall and out of the tool area, then sort into four piles on the floor: keep and hang, keep and store elsewhere, donate or pass along, and dispose. Hardware stores and municipal collection sites take old paint, solvents and dead batteries, and most of us are hoarding all three.
If you want a tighter version of this step with a timer on it, the two-hour garage reset breaks the whole sort into 30 minute blocks so it does not swallow your Saturday.
One thing to count while you sort: duplicates. Almost everyone finds three tape measures and four utility knives. Keep the good one in Band 1 and put the spares in a labeled bin. That single move frees more wall than any product you can buy.
Pegboard, Slatwall, Rail or French Cleat: Picking Your System
Four systems own garage tool organization. They are not interchangeable. The right pick depends far more on what you hang than on your budget.
| System | Materials cost per linear foot | Weight per hook or bracket | Reconfigure time | Best for |
|---|---|---|---|---|
| Hardboard pegboard | $8 to $12 | 5 to 10 lb | Seconds | Hand tools, first builds, tight budgets |
| Steel pegboard | $28 to $38 | 10 to 15 lb | Seconds | Mixed hand and power tools |
| PVC slatwall | $35 to $55 | 25 to 50 lb | Seconds | Heavy gear, long handles, bikes |
| Rail system | $20 to $35 | 40 lb and up | Seconds | Yard tools, ladders, bulky items |
| French cleat, 3/4 in plywood | $10 to $15 | Limited by cleat and stud | Minutes | Custom holders and odd shapes |
Hardboard pegboard
The brown perforated stuff. It is cheap. A 4 by 8 sheet runs about $25 to $35, and it is the fastest way to test whether a wall layout works before committing money. It has one real weakness: the holes fray. Lift a tool off the same hook a few hundred times and the opening widens until the hook falls out on its own.
Hardboard also swells in a humid garage. If your garage is unconditioned and you live anywhere with real summers, budget for replacing it in a few years or skip to steel.
Steel pegboard
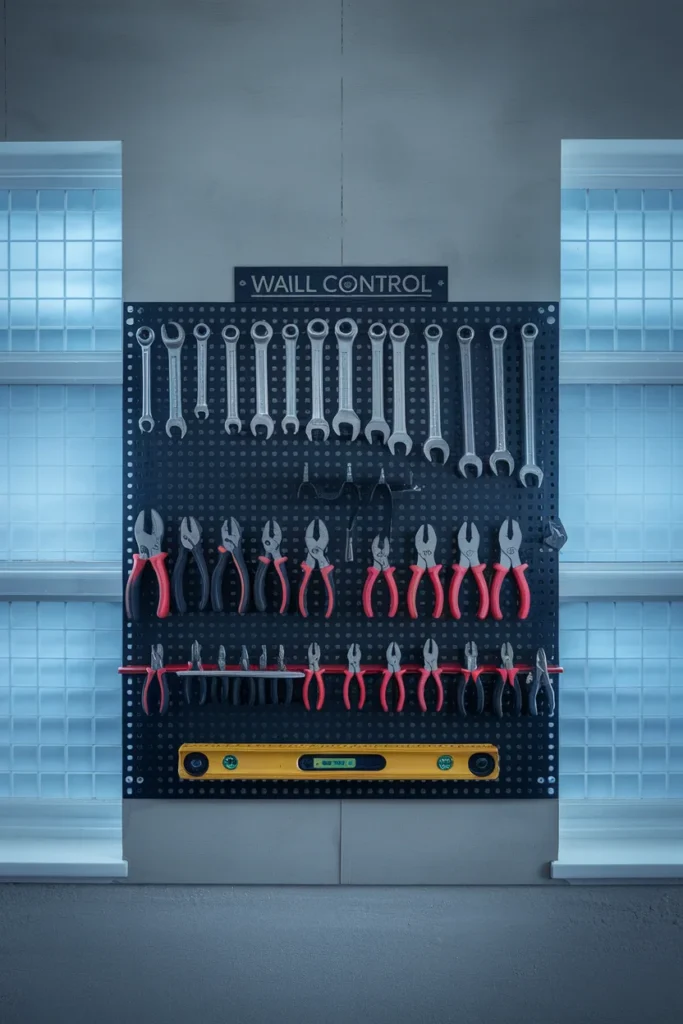
Same idea, better execution. Wall Control panels measure 16 by 32 inches, are formed from 20 gauge steel with a powder coat finish, and their mounting holes line up with standard 16 inch stud centers, which is the detail that makes a straight install possible on the first try. The holes will not fray or enlarge. Panels run roughly $35 to $45 each, so a full wall costs real money.
PVC slatwall
Horizontal grooves instead of holes. Slatwall accepts wide brackets and baskets that pegboard hooks cannot handle, and PVC does not care about moisture at all. It is the most expensive option per foot and the least forgiving to install, since panels have to be dead level or every bracket after the first one telegraphs the error.
Rail systems
Rubbermaid FastTrack and Gladiator GearTrack are single horizontal rails that screw into studs and accept heavy hooks. A FastTrack rail kit typically lands around $30 to $45. Rails beat everything else for long handled yard tools and ladders. They are poor for small hand tools, because a rail gives you one line of storage where pegboard gives you a field.
French cleat
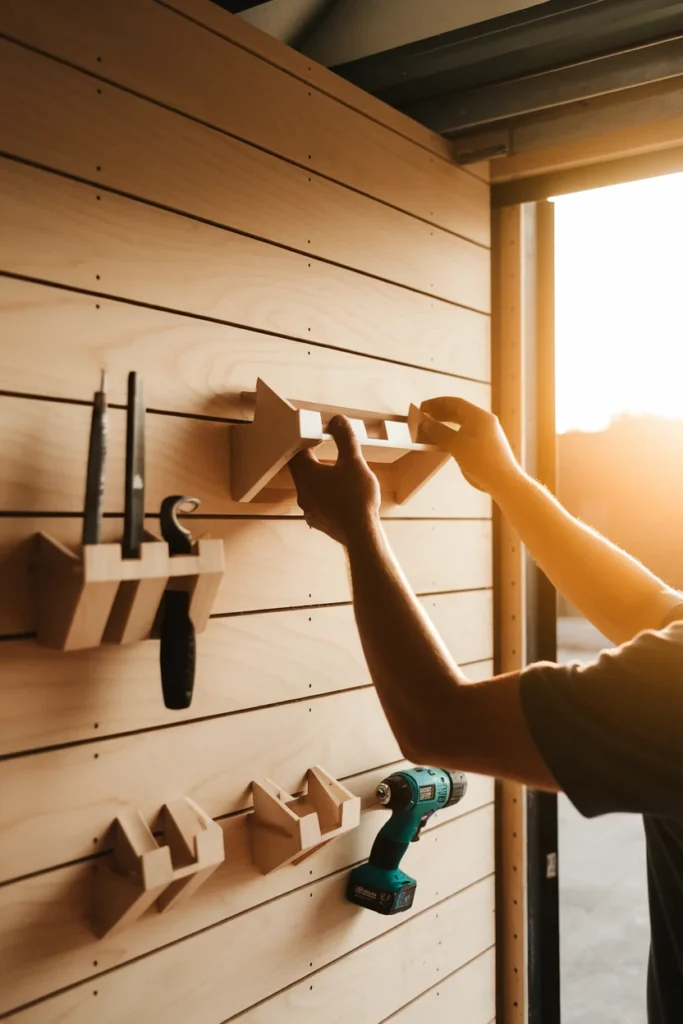
A strip of 3/4 inch plywood ripped at 45 degrees, mounted to studs, with matching bevels on the back of every holder you build. It is the cheapest way to get heavy capacity, because one sheet of plywood at roughly $55 to $70 yields the cleats and a dozen custom holders. The trade is time. You are building the holders yourself, and each one takes 20 minutes at a table saw.
How Much Weight Your Tool Wall Can Actually Hold
This is the number the listicles skip. It is also the reason so many garage tool organization builds sag within a year. Manufacturers are cagey about publishing hard load ratings because the real number depends on your substrate, your fasteners and how the load sits on the hook. Wall Control says as much directly, noting that lab ratings can be “potentially misleading” once installation variables enter the picture.
That said, their published mounting guidance gives you working numbers, and they are more conservative than most people assume:
- Into drywall with anchors: no more than 100 lb per panel
- Into studs: up to 200 lb per panel
- A hook seated in two slots: 10 to 15 lb
- A hook seated in one slot: 5 to 10 lb
- A shelf assembly: 10 to 20 lb, evenly distributed
- A hanging plastic bin: 2 lb
Read that hook number again. Ten to fifteen pounds. A mid-size cordless drill with a 5.0Ah battery attached runs about 6 to 7 pounds, so it is fine. A 24 inch pipe wrench is around 10 pounds and belongs on a bracket, not a hook. A car battery belongs on the floor.
The practical rule: anything over 15 pounds goes on a rail or a cleat that is screwed into a stud, never on a pegboard hook. Studs in US homes sit 16 inches on center in most builds and 24 inches in some newer construction, so find them with a magnet or a stud finder before you decide where the heavy zone lives.
Mounting Without Wrecking the Drywall
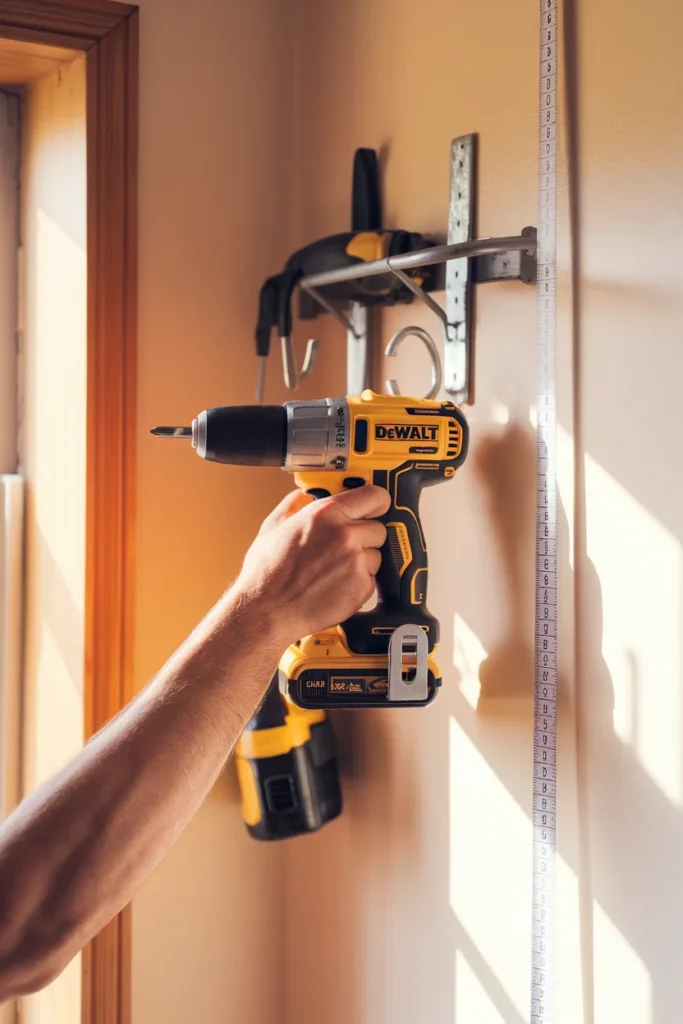
Hardboard pegboard needs a gap behind it. This is the single most common install mistake, and it is why so many hooks pop loose. It is also the easiest one to avoid. The hooks need room to seat, so mount the board on furring strips or 1/2 inch spacer washers at every screw. Flush against drywall, nothing seats properly and the whole board becomes a rattling annoyance.
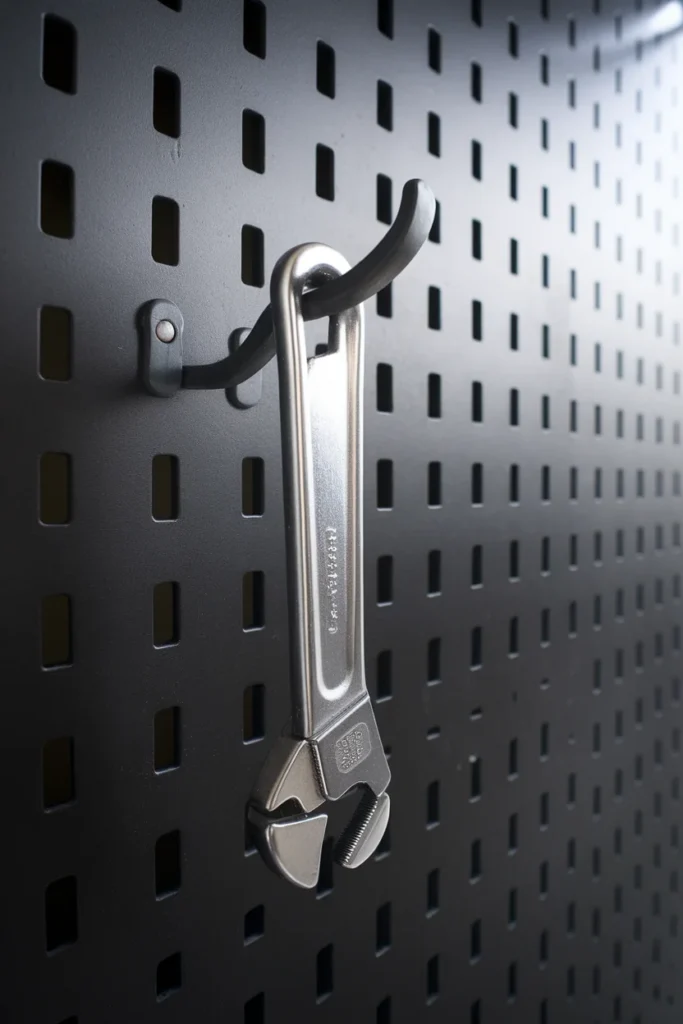
Steel panels solve this themselves. Wall Control’s panels have a 3/4 inch formed mounting flange, so the standoff is built in and you screw them straight to the wall.
Hit studs where you can. Where you cannot, use toggle bolts rather than plastic expansion anchors, because plastic anchors in 1/2 inch drywall are rated for far less than people assume and they creep under sustained load. Sustained load is exactly what a tool wall is.
One more thing that will save you a headache: dry fit the layout with painter’s tape on the wall before you drill anything. Mark the top and bottom of Band 1 with two long strips. It looks fussy and it takes ten minutes, and it is the difference between a wall you built once and a wall you built twice.
Renter-Friendly Garage Tool Organization With Zero Drilling
Renters get told to use adhesive hooks and then get abandoned. Adhesive alone will not carry a tool wall. Three approaches will.
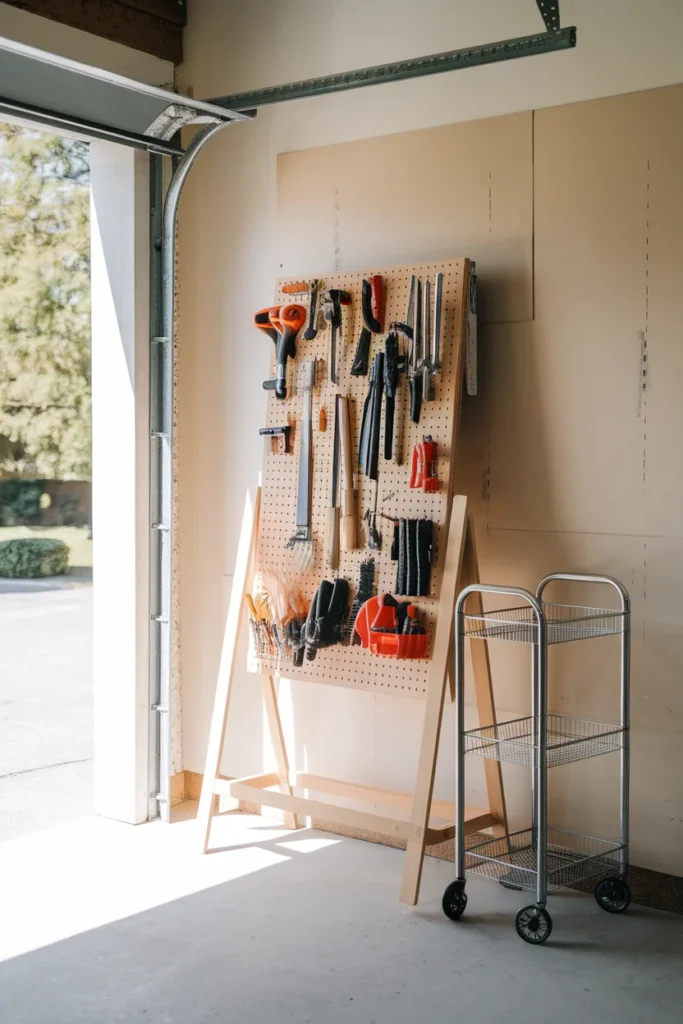
The leaning panel. Build your pegboard onto a freestanding plywood frame with a wide base, then lean it against the wall and secure it with a single anti-tip strap into one stud. One small hole, patched with a dab of spackle in thirty seconds when you move out. You get the full wall field with almost no damage.
The rolling cart wall. A metal utility cart parked against the wall with a pegboard panel bolted to its back gives you a mobile tool wall you can roll to the project. This same trick works indoors, which is how the pegboard wall on a craft room budget setup gets around rental restrictions.
Adhesive done properly. For light hand tools only, Command Extra Large utility hooks are rated by 3M to hold 15 pounds each when applied to a clean, smooth, primed surface. Bare or dusty concrete block will not hold them. Wipe the surface with rubbing alcohol first, press for 30 seconds, and wait a full hour before loading. Honestly, most adhesive failures are a skipped alcohol wipe.
A fourth option if your garage has one: a tension mounted shelf unit between floor and ceiling gives you vertical storage with no fasteners at all. It is the same logic behind a good utility closet system, where the wall does the work and nothing permanent gets installed.
Small Garage Tool Storage: Working the Strips You Have
A one-car garage with a car in it leaves you awkward slivers of wall. Those slivers are the whole game. Small garage tool organization is mostly a measuring problem.
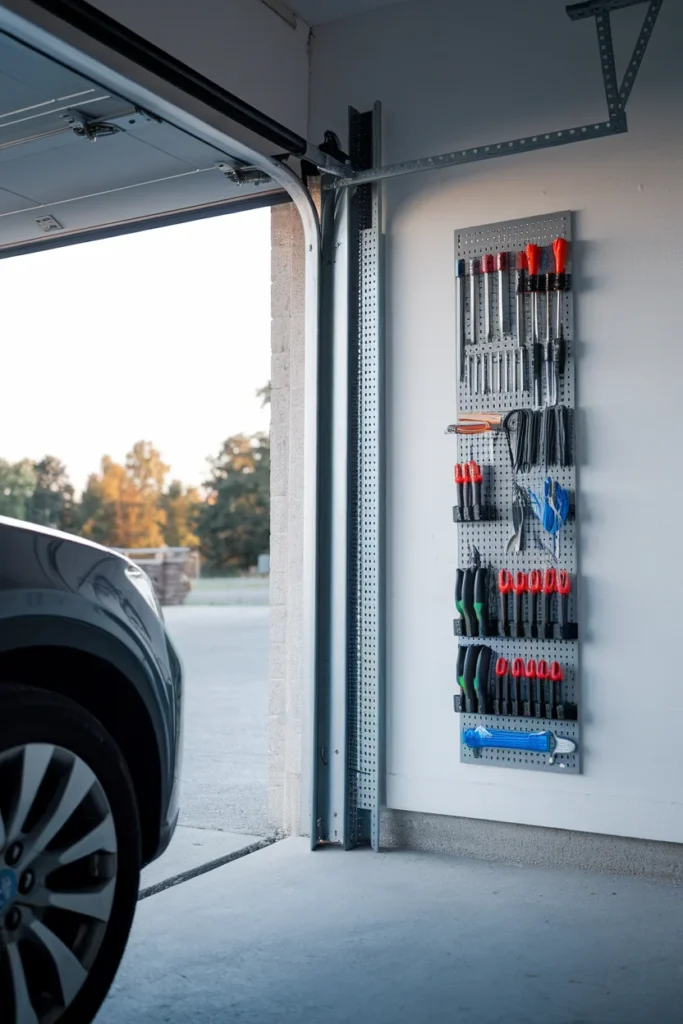
Measure the strip between the garage door track and the corner. In most builds it runs 14 to 20 inches wide, which is exactly one steel pegboard panel turned vertical, or one 16 inch wide slatwall section. That strip alone holds a full set of screwdrivers, pliers and wrenches.
The back of the door that leads into the house is another 20 by 60 inch surface nobody uses. An over the door rack there handles gloves, safety glasses, spray cans and the tape you can never find.
Go vertical above the workbench, but stop at 76 inches. Above that height you are in Band 3, and anything you put there needs to be something you genuinely reach for twice a year. Long handled tools are the exception, because they hang from a single high hook and their handles drop back down into reach.
Last one for tight garages: the side of a metal cabinet or a steel workbench leg is a free magnetic surface. An 18 inch magnetic tool bar costs about $8 to $12 and adds a full row of storage using zero wall.
Making Tools Findable: Labels, Shadows and the 10-Second Test
A wall can be tidy and still be useless. Findable is the actual goal of garage tool organization, and there is a test for it.
The 10-second test. Ask someone who does not live in your house to find a Phillips screwdriver on your wall. If it takes them more than ten seconds, your layout is grouped wrong, not labeled wrong.
Group by task, not by tool type. Everything you touch to hang a picture lives together: hammer, level, stud finder, picture hooks. That beats a row of hammers by size every time, because you never need three hammers, you need one hammer and the four things that go with it.
Shadow outlines are the other half. Trace each tool on the pegboard with a paint pen or cut the shape from vinyl. The outline does two jobs: it tells you where a tool goes, and it tells you at a glance which tool is missing. Shops have done this for decades because it works.
Label small parts bins on the front face, not the top. You read a wall from the side, so a top label is invisible from three feet away. Avery labels and a fine tip marker handle this for a couple of dollars.
Power Tools, Batteries and the Charging Wall
Cordless tools broke the old pegboard layout. A drill with a battery attached is heavier and bulkier than anything hand tools throw at a hook, so power tools need their own rules and their own zone.
Give power tools their own zone with wall mounted holders rated for the weight, or a dedicated shelf at Band 1 height. Most cordless drill holders screw into a stud and hold 5 to 10 pounds comfortably.
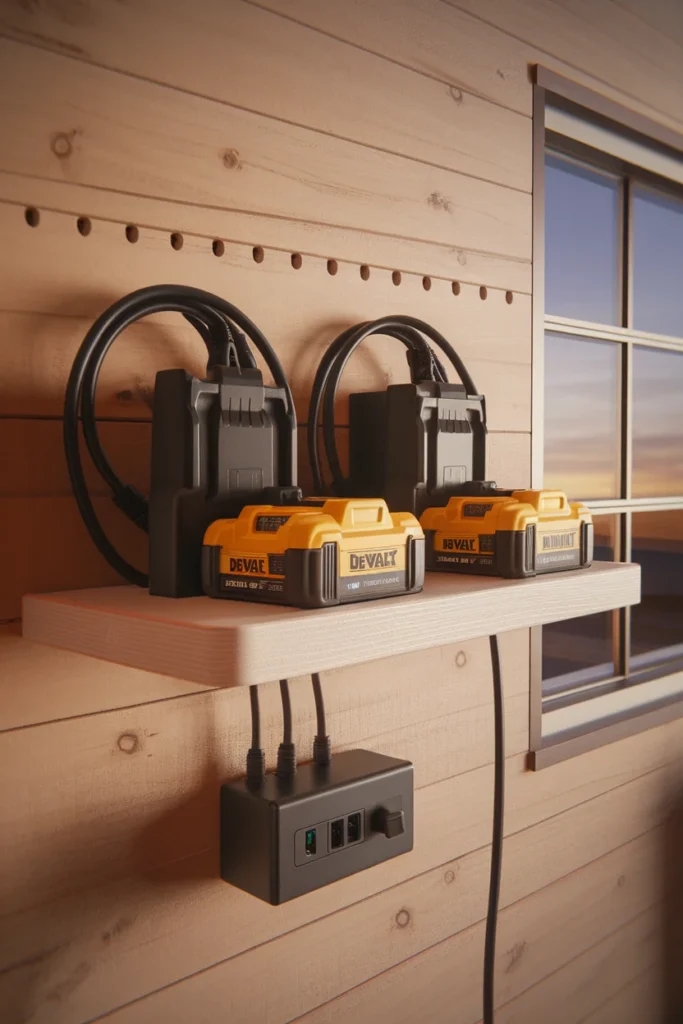
Build the charging shelf separately and put it at Band 2, roughly 62 to 70 inches, above where sawdust settles. Mount a power strip to the underside of the shelf, run the charger cords through a 1 inch hole drilled in the back edge, and every cable disappears. Two chargers, four batteries, one plug.
Keep a spare battery on the charger and a spare on the wall. Rotating them means you never start a project with two dead packs, which is the actual reason people give up on cordless systems.
Keeping the Wall From Rusting Your Tools
Good garage tool organization keeps steel in open air, which is better for it than a sealed drawer. There is one condition. The air has to be dry enough.
Humidity is the whole story. The US EPA recommends keeping indoor humidity below 60 percent and ideally between 30 and 50 percent relative humidity. Above 60 percent, steel starts pulling moisture out of the air and surface rust follows. A $20 hygrometer on the wall tells you where you actually stand, and most unconditioned garages sit higher than their owners expect in summer.
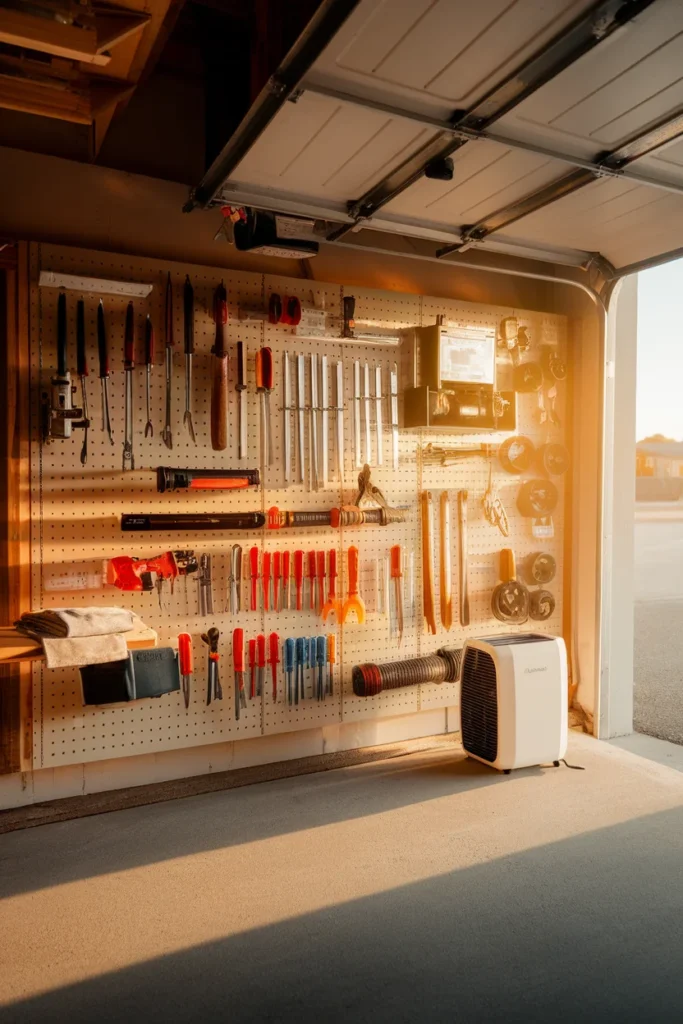
Three fixes, cheapest first. Toss a few silica gel packs or a tub of moisture absorber into the drawer of your tool chest. Wipe bare steel with a light coat of machine oil twice a year. If your garage runs consistently above 60 percent, a small dehumidifier set to 50 percent will do more for your tools than any coating.
Skip the foam liners on a humid wall. Foam traps moisture right against the steel, which is the opposite of what you want. Bare hooks and open air win here.
What a Tool Wall Actually Costs
A tool wall is cheaper than most people assume. Here are real numbers for an 8 foot wall section, materials only, based on current US big box pricing.
| Build | Panels or rails | Hooks and accessories | Rough total |
|---|---|---|---|
| Budget hardboard | $30 | $25 | $55 |
| Rail plus hooks | $80 | $45 | $125 |
| French cleat DIY | $65 plywood | $0 (shop built) | $65 plus your time |
| Steel pegboard | $220 | $60 | $280 |
| PVC slatwall | $320 | $90 | $410 |
The honest recommendation: start with hardboard and cheap hooks for one season. You will discover that a third of your layout is wrong, and you will have discovered it for $55 instead of $410. Then rebuild the section you use daily in steel and leave the rest.
Three Mistakes That Undo a Good Tool Wall
Mounting to fit the studs instead of your body. Studs decide where screws go. They do not decide where Band 1 sits. Use furring strips or a backer panel so you can place tools at the right height and still hit framing.
Hanging bins in the strike zone. A bin at 50 inches wastes the best 22 inches of wall you own. Bins go to Band 2 and below.
Filling the wall to 100 percent on day one. Leave about 20 percent of the field empty. Tools accumulate. A wall with no slack forces the next new tool onto the workbench, where it stays forever. A good wall plans for the tools you do not own yet.
Garage Tool Organization FAQ
What is the best way to organize hand tools? Group them by the task you use them for rather than by tool type, then hang the daily group between 40 and 62 inches off the floor. Task grouping cuts search time because you grab one cluster instead of hunting three separate spots.
Is pegboard still worth using? Yes, with a caveat. Hardboard pegboard remains the cheapest and fastest way to build a working tool wall, and it stays the right pick for hand tools under 10 pounds. Move to steel panels if your garage is humid or your hooks keep pulling out.
How do professionals organize tools? Visibility, standardization and one fixed home per tool. Shops use shadow outlines so a missing tool is obvious at a glance, and they keep the layout identical across stations so anyone can find anything.
What is the cheapest way to organize a garage? Hardboard pegboard with basic hooks runs about $55 for an 8 foot wall section. Add a magnetic tool bar at roughly $8 and a handful of hooks and you have functioning garage tool organization for under $75.
How high should a tool wall be mounted? Set your most used band between 40 and 62 inches off the floor. Below 28 inches and above 76 inches, use the space for seasonal or bulky items only, since both zones cost you a bend or a step stool.
Can I hang a tool wall without drilling into studs? For light hand tools, yes. Use toggle bolts in drywall rather than plastic anchors, keep the total under 100 pounds per panel, and put anything over 15 pounds on a rail or cleat that does hit framing. A leaning freestanding panel avoids drilling almost entirely.
How do I keep tools from rusting on a garage wall? Get the humidity under 60 percent and ideally into the 30 to 50 percent range. Open air on hooks beats a sealed drawer, add silica packs to any closed chest, and oil bare steel twice a year.
Start With One Eight Foot Section
You do not need to solve garage tool organization for the whole garage this weekend. Pick the eight feet of wall closest to your workbench, tape out Band 1, and move only the tools you touched in the last month. That section will do 80 percent of the work, and once you have lived with it for two weeks you will know exactly what the next section needs.
Take a photo of the wall when it is done. In three months, compare. The gap between those two photos tells you which tools genuinely belong in Band 1, and that is information no article can give you.


