

Kids Craft Organization: Corral Supplies Kids Can Reach
Good kids crafts organization has almost nothing to do with pretty bins. It has to do with height. Put the glue sticks eight inches above your four year old’s fingertips and you have not built a craft station, you have built a request line. You are the vending machine. Move that same glue stick down twelve inches and something shifts. Your kid starts a project without you, finishes it without you, and (this is the part nobody promises) puts it back without you.
That is the whole promise here. Real kids crafts organization gives you a reach rule with actual inches, plus a labeling system for kids who cannot read a word yet. You also get a safety check almost every ranking article skips, and a five minute reset that holds the whole thing together. Build it Saturday. Test it Sunday.
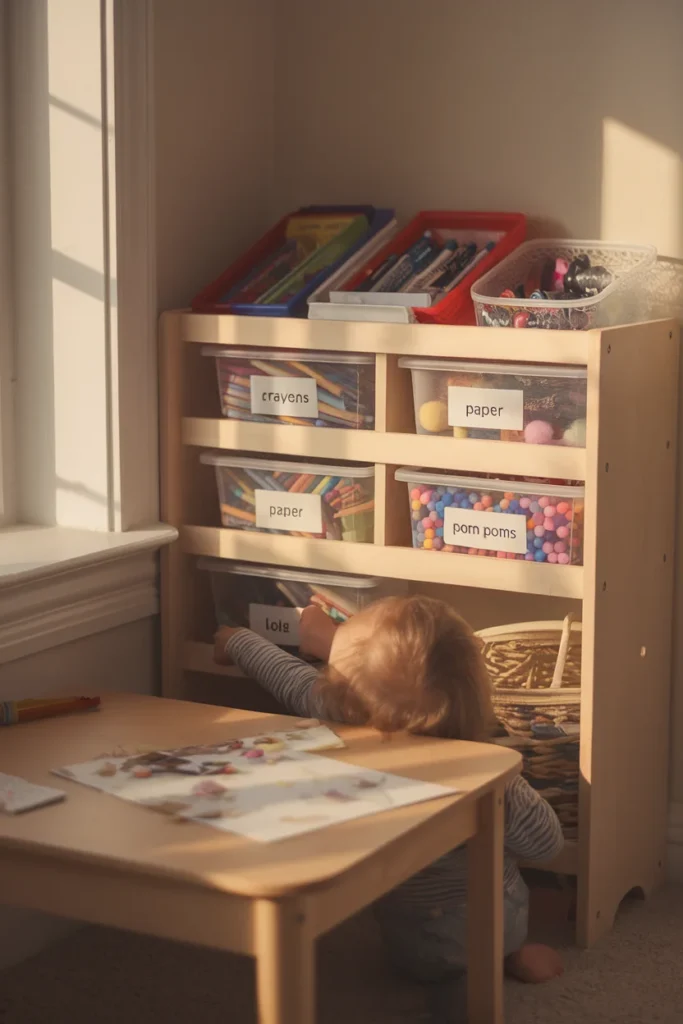
Start With the Sort, Not the Shopping Cart
Every organizing article eventually sells you a container. Skip that step. Kids crafts organization starts with a sort, because you cannot size a system for a pile you have not seen.
Pull every craft item in the house into one spot on the floor. Bedroom desk, kitchen junk drawer, the tote in the garage, the bag from the birthday party in March. All of it, one pile.
Then sort into five groups, and be fast about it:
- Dried out and dead. Markers that skip, glue that has gone amber and solid, paint pots with a crust. These go first because they are the reason kids say “this one doesn’t work” and abandon a project.
- Duplicates. You need one bottle of school glue open, not six.
- Loved and used weekly. Washable markers, plain paper, tape, safety scissors.
- Occasional. Watercolors, pipe cleaners, stamp sets.
- Adult supervision only. Hot glue, spray adhesive, anything with a caution label.
Those five groups map directly onto the shelving rule in the next section, so keep them separate. Honestly, the dead pile is usually a third of the stash. That is normal.
The 3-Shelf Reach Rule (Our Framework for Kids Crafts Organization)
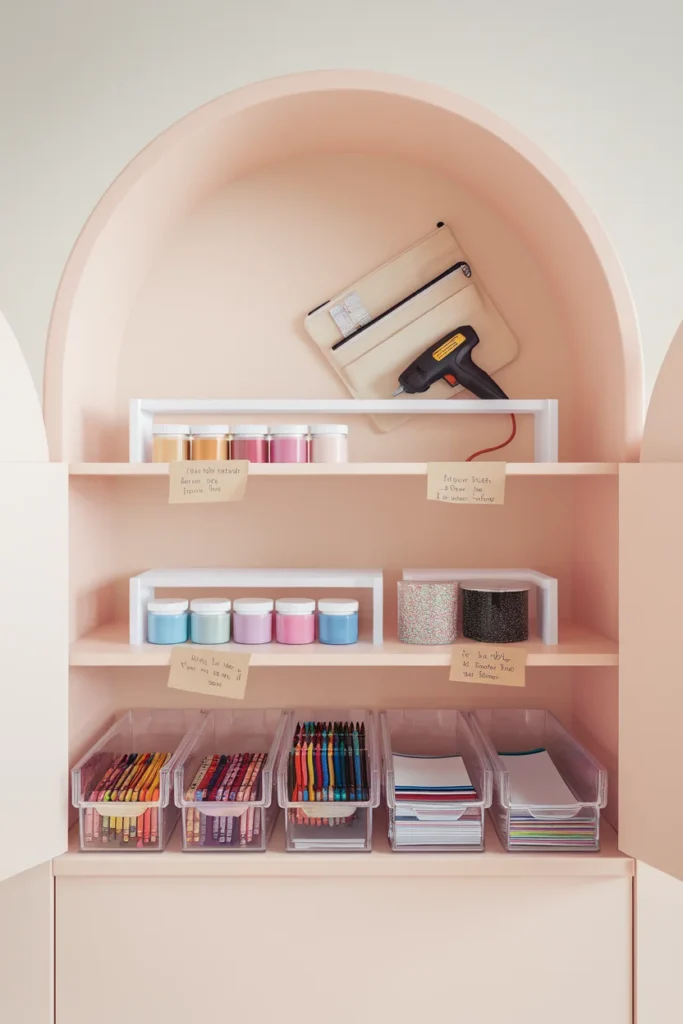
Here is the framework this whole article hangs on. We call it the 3-Shelf Reach Rule, and it splits vertical space into three bands based on what a child can safely take without asking.
Shelf 1, Free Reach. At or below your child’s shoulder height. Everything here is self serve, non toxic, and low mess. Paper, crayons, washable markers, stickers, safety scissors, tape.
Shelf 2, Ask First. Between shoulder height and the top of their head. Visible, reachable on tiptoe, but the rule is a check in. Paint, glitter, anything that stains, anything with small parts for a household with a toddler.
Shelf 3, Adults Only. Above their standing reach. Hot glue gun, craft knives, solvent based markers, spray anything.
Three bands, three rules, and a kid can recite it by day two. It is a cousin of the reach-line rule we use for kids bathroom organization, extended upward into a full vertical zoning system for supplies.
The reason this beats “just put stuff low” is that it gives the middle band a job. Most parents run a two state system: reachable or locked away. The middle band is where the good stuff lives, and where a kid learns to ask before they pour glitter on the couch.
Set the Reach Height by Age (Measure, Do Not Guess)
Do not eyeball this. Stand your child against a wall, mark the top of their shoulder in pencil, and measure from the floor. That number is your Free Reach ceiling. Anything above it is Ask First territory.
Why the shoulder and not the fingertips? Because a kid reaching at full fingertip extension is a kid pulling a bin down onto their face. Shoulder height keeps the grab controlled and keeps the bin flat.
Rough starting points if you want a target before you measure:
| Age | Typical shoulder height | Free Reach shelf lands around | What lives there |
|---|---|---|---|
| 2 to 3 | 24 to 28 in | Floor to 26 in | Chunky crayons, board paper, stickers |
| 4 to 5 | 28 to 33 in | Floor to 30 in | Washable markers, safety scissors, tape |
| 6 to 8 | 33 to 40 in | Floor to 36 in | Full kit, plus watercolors |
| 9 to 12 | 40 to 50 in | Floor to 46 in | Everything but Shelf 3 |
Treat those ranges as a starting point, not gospel. Kids vary wildly and your tape measure is the only number that matters.
Two more measurements worth knowing. Shelf depth of 12 to 14 inches is the sweet spot: deep enough for a letter sized paper tray, shallow enough that nothing vanishes at the back. And leave 9 to 10 inches of clearance between shelves for a standard bin, because a 4 inch bin under a 12 inch gap is wasted air.
Build the Craft Station Around the Room You Actually Have
Nobody needs a dedicated craft room. Most of us are working with a corner. Good kids crafts organization adapts to the square footage you already own, so pick the version below that matches your room.
If you have a corner of the playroom or bedroom: a low open frame is the workhorse. The IKEA TROFAST storage combination in white measures 39 in wide by 17 3/8 in deep by 22 in high. It ships with six boxes, three at 16 1/2 by 11 3/4 by 9 in and three shallower ones at 16 1/2 by 11 3/4 by 4 in. It lists at $94.99 and drops closer to $75 on sale. At 22 inches tall the entire unit sits inside Free Reach for almost any kid over three. That is the point.
If you have no floor space: go vertical and rent friendly. A SKÅDIS pegboard runs $19.99 for the 14 1/4 by 22 in panel, $24.99 for 22 by 22 in, and $29.99 for 30 by 22 in. Hang small containers at your child’s shoulder line and leave the wall above it empty for the Ask First band.
If crafting happens wherever the kid happens: buy the cart. A RÅSKOG utility cart is $39.99, measures 13 3/4 by 17 3/4 by 30 3/8 in, and holds 13 lbs per shelf with a 40 lb total ceiling. Load the bottom two shelves with Free Reach supplies and keep the top shelf for Ask First, since the top of the cart is above most young kids’ shoulders anyway. Convenient how that works.
If the supplies live in a closet: treat it the way you would nursery closet organization, with the lowest rod or shelf reassigned to the kid and the top shelf reassigned to you.
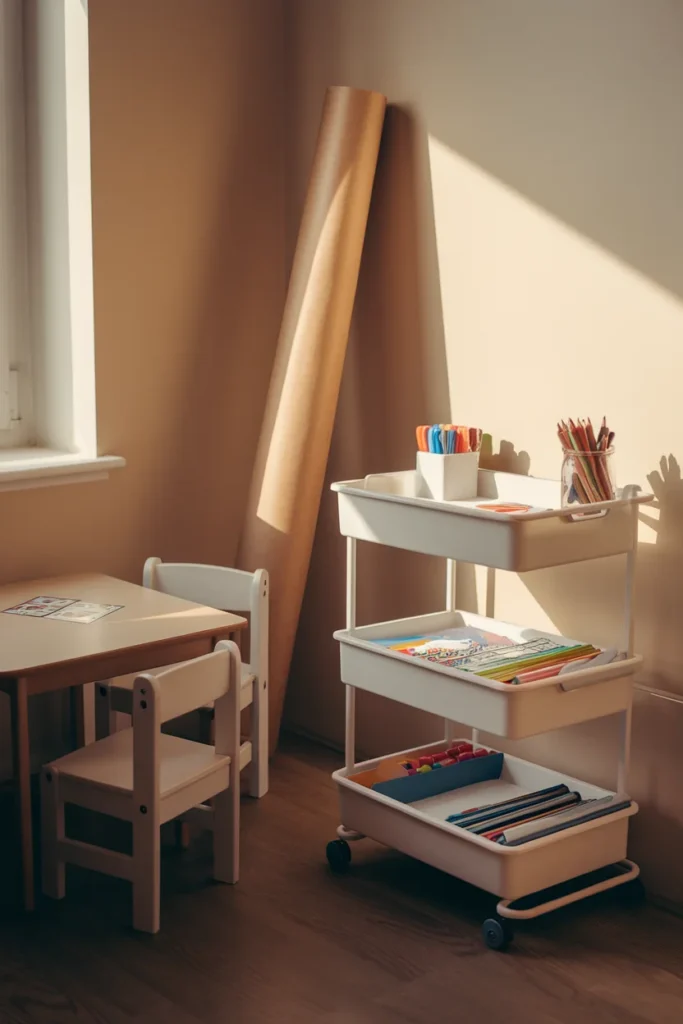
Pick Containers Small Hands Can Actually Open
A bin your kid cannot open is a bin your kid will not use. That single mismatch sinks about half the kids crafts organization setups we see.
Test every container with the kid before you commit. Hand it to them, ask them to open it, close it, and put it back on the shelf. Three seconds tells you everything.
What passes the test:
- Open topped bins. No lid, no latch, no fight. Best for the Free Reach shelf.
- Shallow trays. Anything under 4 inches deep means a kid can see the contents from above without dumping.
- Soft sided fabric bins. Light, quiet, and they do not hurt when they land on a foot.
- Clear plastic with a loose fitting lid. Good for the Ask First band since the lid slows a toddler down without stopping a six year old.
What fails:
- Snap latch totes. Adult grip strength required.
- Anything above the kid’s eye line that requires two hands. They will use one hand and a chair.
- Deep buckets. Everything sinks and nothing comes back out.
For small item chaos (beads, googly eyes, pom poms), a set of drawer dividers inside one deep bin works better than fifteen tiny jars. The principle is the same one that makes it worth learning to divide a deep drawer in the kitchen: one big container with internal walls beats a scattering of small containers every single time.
Budget note: the dollar store aisle is genuinely good for craft bins because you are not asking for durability under load, you are asking for a shape that holds crayons. Some of the same Dollar Tree organizing finds that work in a kitchen drawer work here for under $2 a piece.
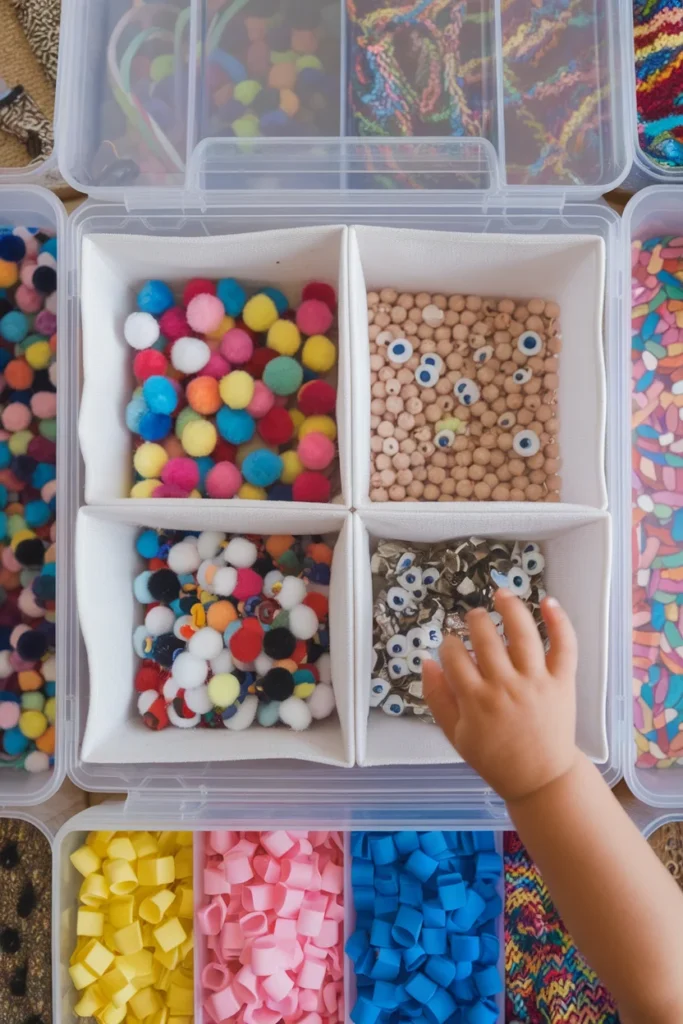
Label It So a Kid Who Cannot Read Can Still Put It Away
Here is the gap almost every competing article leaves open. They tell you to label. Or they tell you to skip labels because your kid is too young. There is a third option, and it works from about age two.
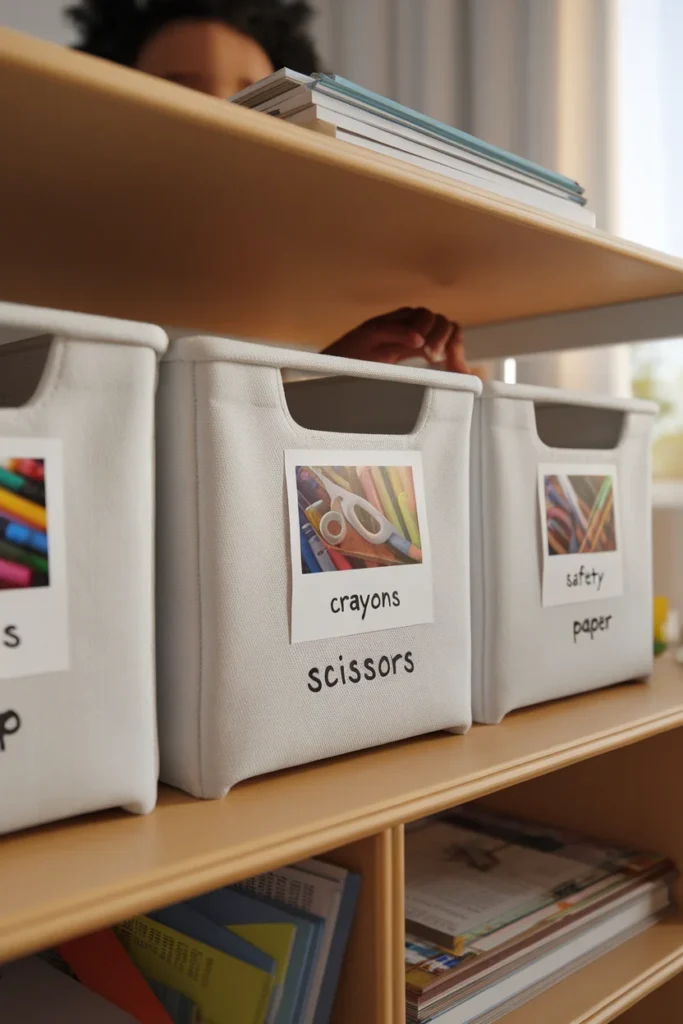
Photo labels. Take a picture of the actual contents of the bin, print it small, tape it to the front. A three year old matches a photo to an object faster than most adults match a word to a shelf.
Build it in about twenty minutes:
- Fill the bin first, then photograph the contents from directly above against a plain background.
- Print four to a page on plain paper, roughly 3 by 4 inches each.
- Tape them on with clear packing tape, corner to corner, so they survive sticky hands. Avery label sheets work if you want something cleaner.
- For kids who are starting to read, add the word underneath the photo in lowercase. Lowercase matters, because that is what they learn first.
Put away rates climb fast once the photos go on. In our experience it is the single biggest difference between kids crafts organization that survives three months and a craft corner that collapses in three weeks. The bin stops being “somewhere over there.” It becomes a matching game.
One more trick: photograph the bin full and tidy, not overflowing. The photo doubles as the standard. When the bin no longer looks like its own label, it is time to sort.
Zone Supplies by Mess Level, Not by Type
Most people group craft supplies by category: all the markers together, all the paper together. That is how a store organizes. A store is not trying to contain a spill.
Group by mess instead. Cleanup gets shorter, and kids crafts organization stops fighting your floors.
Zone A, Dry and Contained. Crayons, colored pencils, stickers, paper, tape. This zone can go anywhere in the house because the worst case is a crayon on the rug.
Zone B, Wet or Airborne. Paint, glue, glitter, chalk, clay. This zone lives near a hard floor and near water. Kitchen table, tiled entry, back porch.
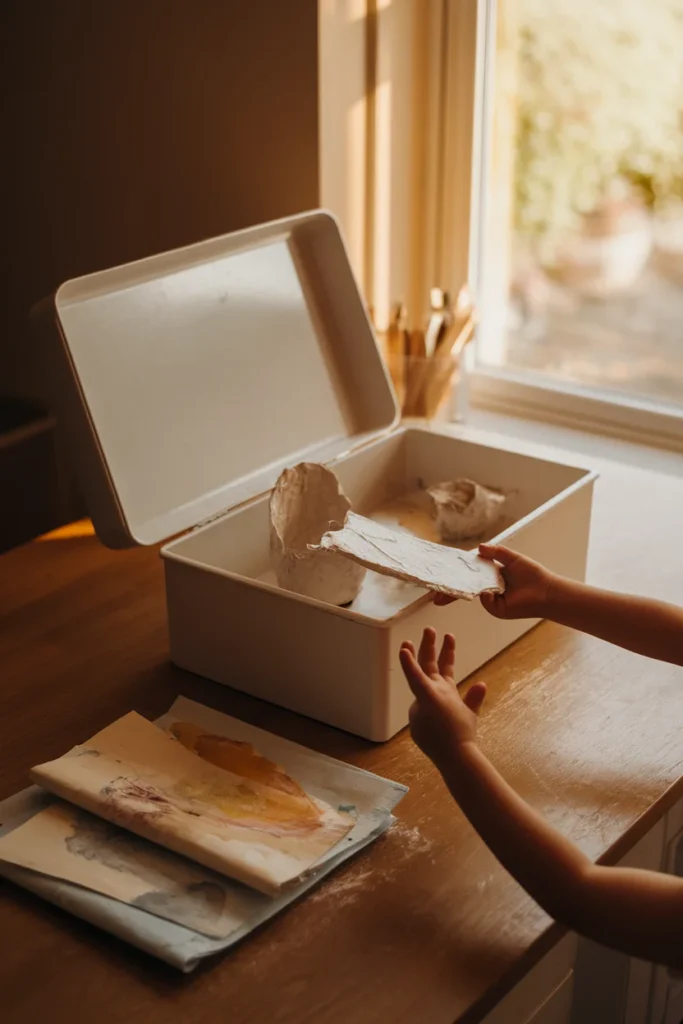
Zone C, Project Storage. Half finished things. This is the zone everybody forgets, and it is why the dining table stays covered for six days. Give unfinished projects one flat lidded box, roughly the size of a shirt box, and the table clears in ninety seconds.
Zone C changed things for us more than any bin purchase. A kid will abandon a project if abandoning it means it gets thrown away, so they leave it out as a form of protection. Give them a safe place to park it and they will clear the table willingly.
Check the Safety Seal Before It Goes on the Low Shelf
This section is the reason to trust the low shelf at all, and not one of the ten top ranking articles on this topic covers it.
Kids crafts organization only works if the supplies in reach are safe unsupervised. There is a real certification for this. It takes four seconds to check.
Look for the AP (Approved Product) seal from the Art & Creative Materials Institute. Per ACMI’s own definition, the AP seal marks materials “certified in a toxicological evaluation by a medical expert to contain no materials in sufficient quantities to be toxic.” ACMI notes it has certified more than 60,000 art and craft material formulations to date. AP products are considered appropriate for young children and for anyone who cannot read a warning label, which describes most of the audience for a low shelf.
The seal to keep off the Free Reach shelf is CL (Cautionary Labeling). ACMI states CL products carry known health risks with usage instructions and are unsuitable for grade 6 and below. CL supplies belong on Shelf 3, full stop.
There is federal law behind this too. The US Consumer Product Safety Commission explains that the Labeling of Hazardous Art Materials Act, enacted in 1988, amended the Federal Hazardous Substances Act to require chronic hazard labeling on art materials. Compliant products carry a conformance statement, usually printed as “Conforms to ASTM Practice D-4236.” If a supply in your stash has no seal and no conformance line anywhere on the package, treat it as Shelf 3 until you can look it up.
Do this once during the sort, and you never have to think about it again.
What to Do With Dead Markers Now That ColorCycle Is Gone
If you have read older organizing posts, you have probably been told to mail your dried markers to Crayola’s ColorCycle program. That advice is out of date, and it is still sitting on ranking pages today.
Crayola has ended ColorCycle. Their own statement notes the program “started in 2013 and despite the positive intent, it did not meet the intended sustainability goals.” Crayola cited the carbon footprint of shipping markers long distances and contamination from non plastic items in shipments. Markers are mixed plastics, which makes them genuinely hard to recycle.
So what actually works now:
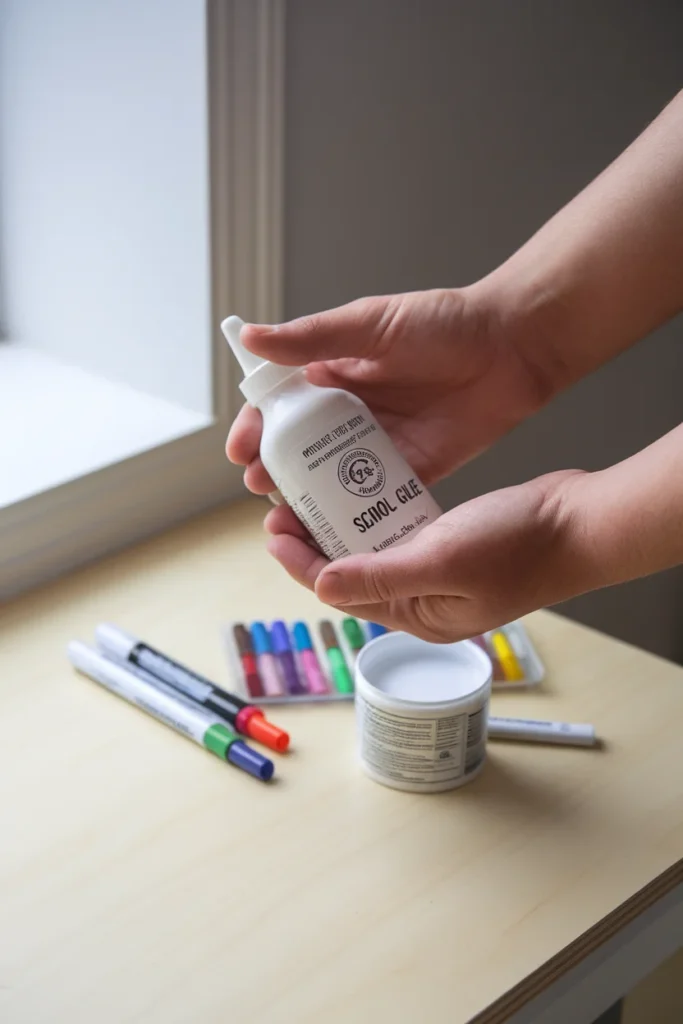
- Revive before you discard. A marker that skips is often just dry at the tip. Stand it nib down in a shallow bit of warm water for thirty seconds, cap it, and leave it overnight. A decent share come back.
- Demote, do not discard. Faded markers are excellent for background wash, for scribble paper, and for the “you can use these anywhere” bin that saves your good set.
- Check your local program. Some municipal recycling and some school and craft store take back programs accept markers. This varies by county, so check yours rather than assuming.
- Then bin them. When they are done, they are done. A dead marker in the bin is not a moral failure, and pretending otherwise is how the stash grows.
Set a recurring calendar check, once a quarter, to run the marker test. Two minutes, and it stops the “none of these work” complaint before it starts.
Handle the Artwork Flood
Supplies going in are only half the problem. Finished artwork coming out is the other half, and it arrives faster.
Run a three step flow.
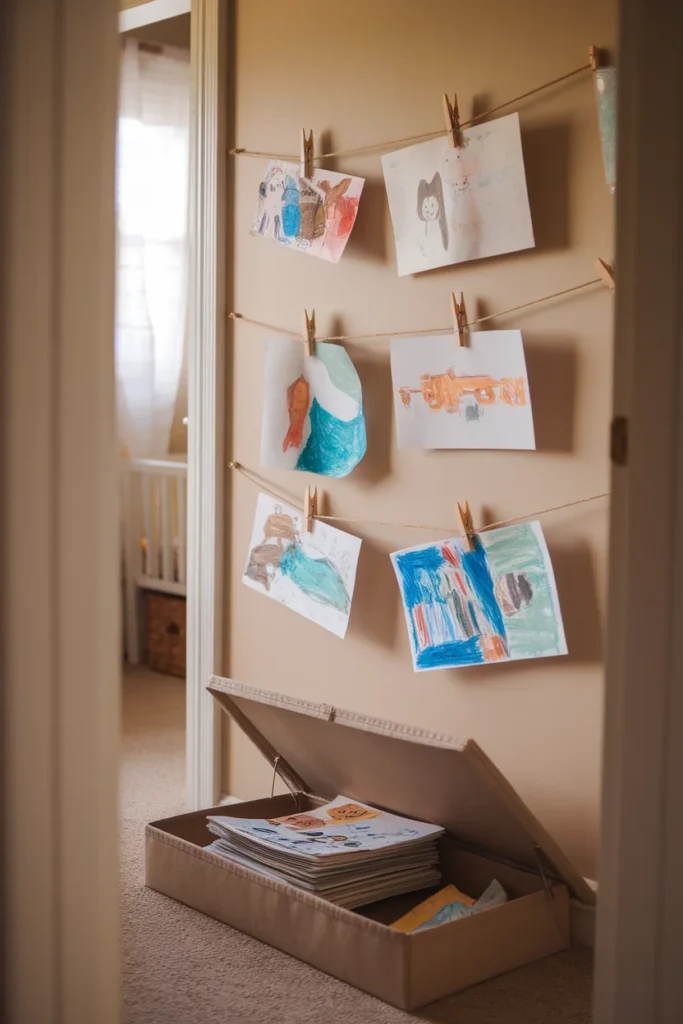
Step 1, the display wall. A length of twine and ten clothespins, or a strip of magnetic tape on a wall. Cap it at ten pieces. New art goes up, oldest art comes down. The cap is the whole mechanism.
Step 2, the flat file. One shallow under bed box per child, per school year. Art that comes off the wall goes in here. When the box is full, it is full.
Step 3, the annual edit. Once a year, empty the box onto the floor with the kid and keep ten to fifteen pieces. Photograph the rest before it goes. Kids are usually far more ruthless than parents about their own work, which is a small mercy.
Never edit the box without them, and never edit it in front of them either if they are having a hard week. The goal is a system, not a referendum on what they made.
The 5-Minute Craft Reset
Kids crafts organization is a system with a maintenance cost. Five minutes, most days, and it holds. Skip it for a week and you are back to the pile.
Run it in this order, because the order is what makes it fast:
- Lids and caps first. Thirty seconds. Everything with a cap gets capped. This alone prevents most of the dried out pile.
- Big things back. Paper, books, boards. They take the most volume and the least thought.
- Small things swept. One hand sweeps beads and scraps toward the other. Into the divided bin.
- Project box. Anything unfinished goes into the Zone C box.
- Trash and floor. Scraps in the bin, one look at the floor, done.
Do the first reset with them a dozen times before you expect it solo. Kids do not resist the reset, they resist not knowing where step one is.
Sharing the space with your own supplies? The same sequencing logic runs through our guide to craft room organization on a budget, which is worth a read if the two stashes overlap.
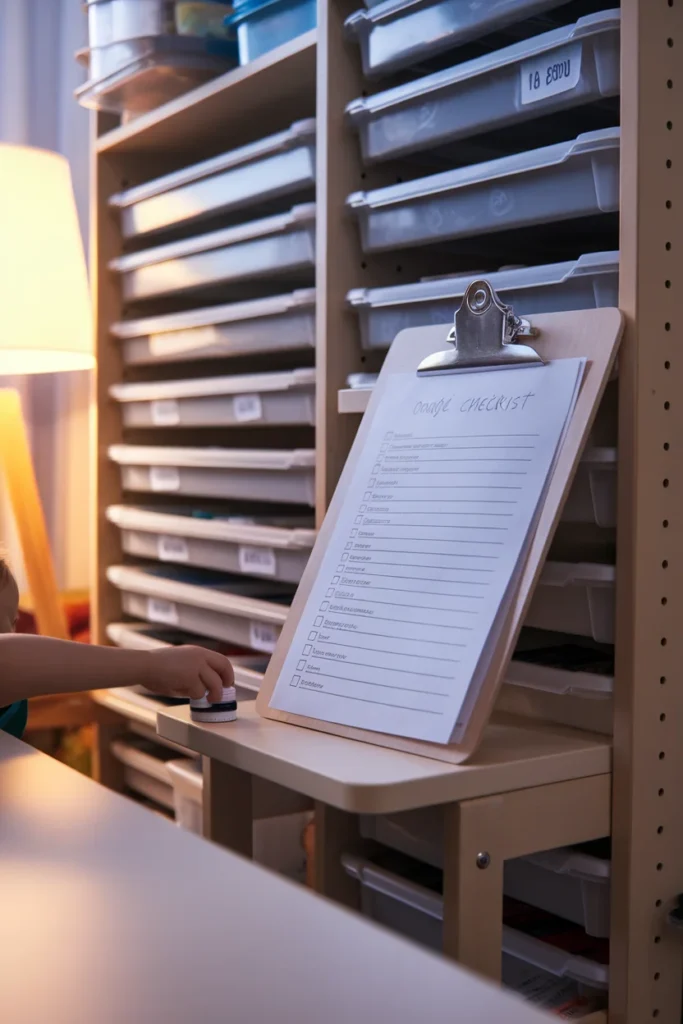
Grab the free printable: we have a one page 5-Minute Craft Reset checklist sized for US Letter (8.5 by 11 in), formatted as a PDF. The reset steps run in pictures for pre readers and words for the older kids. Print it, laminate it or slide it into a page protector, and tape it to the end of the shelf. Print in black and white to save ink. The picture icons still read clearly.
The Under $50 Starter Kit
Here is the whole kids crafts organization setup in one trip, compared side by side. Prices are US list at the time of writing and move around, especially at IKEA.
| Item | Price | Size | Material | Best for |
|---|---|---|---|---|
| Dollar store open bins (6) | Under $10 total | Roughly 6 by 9 in | Thin plastic | Free Reach shelf, sorting by type |
| IKEA SKÅDIS pegboard 14 1/4 by 22 in | $19.99 | 14 1/4 by 22 in | Fiberboard | Renters, zero floor space |
| IKEA RÅSKOG utility cart | $39.99 | 13 3/4 by 17 3/4 by 30 3/8 in | Powder coated steel | Roaming crafters, 13 lbs per shelf |
| IKEA TROFAST combination | $94.99 list | 39 by 17 3/8 by 22 in | Pine frame, plastic boxes | A permanent station under 22 in tall |
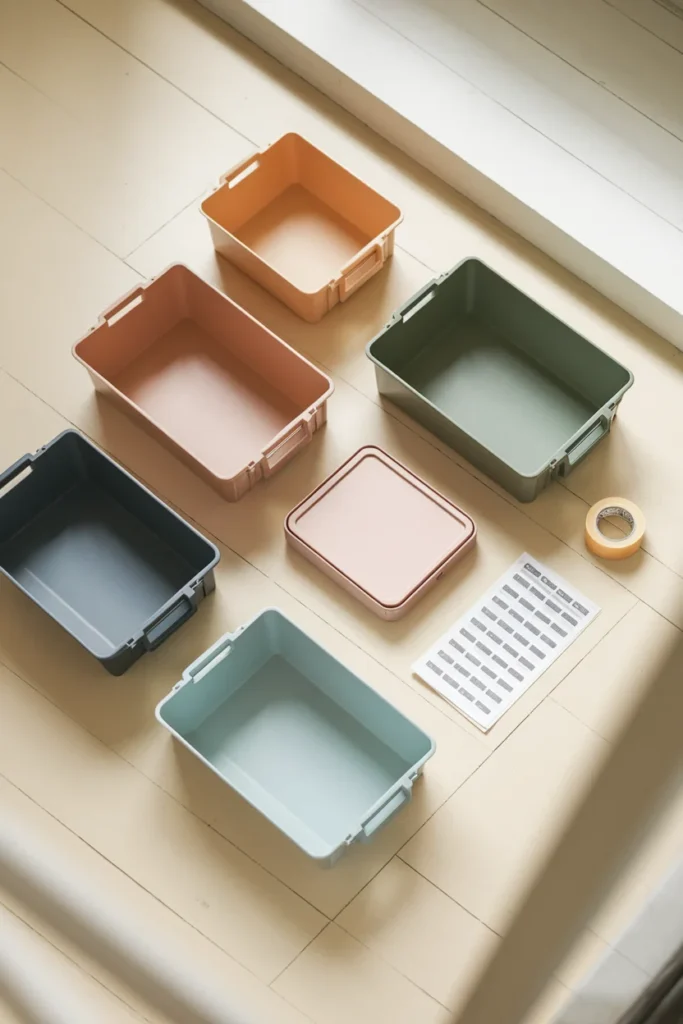
Start with the bins and one flat project box. That is under $15 and it solves the two biggest failure points, which are “nowhere to put it” and “nowhere to park it.”
The cart is the single best upgrade if your kid crafts in three different rooms. Skip the TROFAST until you know the corner is permanent.
Frequently Asked Questions
How do I organize kids craft supplies in a small space?
Go vertical and go portable. A wall pegboard at your child’s shoulder height plus one three tier rolling cart covers most of a family’s supplies in under three square feet of floor. Keep only the Free Reach items out. Store the Ask First band in a lidded box on a closet shelf and pull it down as needed. Small space kids crafts organization lives on walls, not floors.
At what age can kids get their own craft supplies?
Around two for the Free Reach band, as long as everything on that shelf carries an AP seal and has no small parts. Most kids can manage the Ask First band with a check in by four or five. Adults Only stays adults only regardless of age, until you decide otherwise for an older kid.
What are the best containers for kids craft supplies?
Open topped bins under 4 inches deep for daily supplies, one large clear bin with fabric dividers for small parts, and one shallow lidded box for unfinished projects. Test every container by handing it to your child first. If they cannot open and close it in three seconds, it is the wrong container.
How do I label craft bins for a kid who cannot read?
Photograph the contents of each bin from above, print the photos at about 3 by 4 inches, and tape them to the bin fronts with clear packing tape. Add the word in lowercase underneath once they start reading. Photo labels work reliably from about age two.
How do you store finished kids artwork without keeping everything?
Cap a display wall at ten pieces so new art pushes old art off. Move retired pieces into one shallow under bed box per child, per school year. Once a year, edit the box together and keep ten to fifteen. Photograph the rest before it leaves.
What should I get rid of from the craft stash?
Dried out markers and glue, hardened paint, duplicate supplies past one open bottle, and anything with a Cautionary Labeling seal that has been living on a low shelf. That last one is a safety fix, not a decluttering preference.
How often should I redo the craft station?
Do a full sort twice a year, at the start of the school year and again at the start of summer, and run a two minute marker test quarterly. The five minute daily reset handles everything in between. If you are resorting more often than that, the system is too complicated for the kid using it.
Start With One Shelf This Weekend
You do not have to build all of this at once. Measure your kid’s shoulder. Clear the shelf that lands at that height and put four open bins on it with photo labels. That is real kids crafts organization, and it takes about forty minutes.
The rest of it, the zoning, the project box, the artwork flow, layers on when you need it. What matters is that the first thing your child reaches for is something they are allowed to have.
If you build a version of this, we would love to hear which part actually stuck and which part fell apart by Wednesday. That feedback is how these systems get better, and the honest failures are usually more useful than the wins.


