How to Organize a Utility Closet for Cleaning Supplies and Tools
Your utility closet works harder than almost any space in the house. It holds the vacuum, the mop, the spray bottles, the spare lightbulbs, and that one roll of paper towels you can never find when a glass shatters. When it works, cleaning day feels quick. When it doesn’t, you’re digging past a broom to reach the Windex. Good utility closet organization fixes that, and you can do most of it in a single afternoon.
Here’s the promise: a closet where every cleaning supply and tool has a home, where nothing tips over, and where you can grab what you need in five seconds flat. No renovation required. We’ll zone the space, get the floor clear, use the walls and the door, and set up a simple system that actually stays tidy.
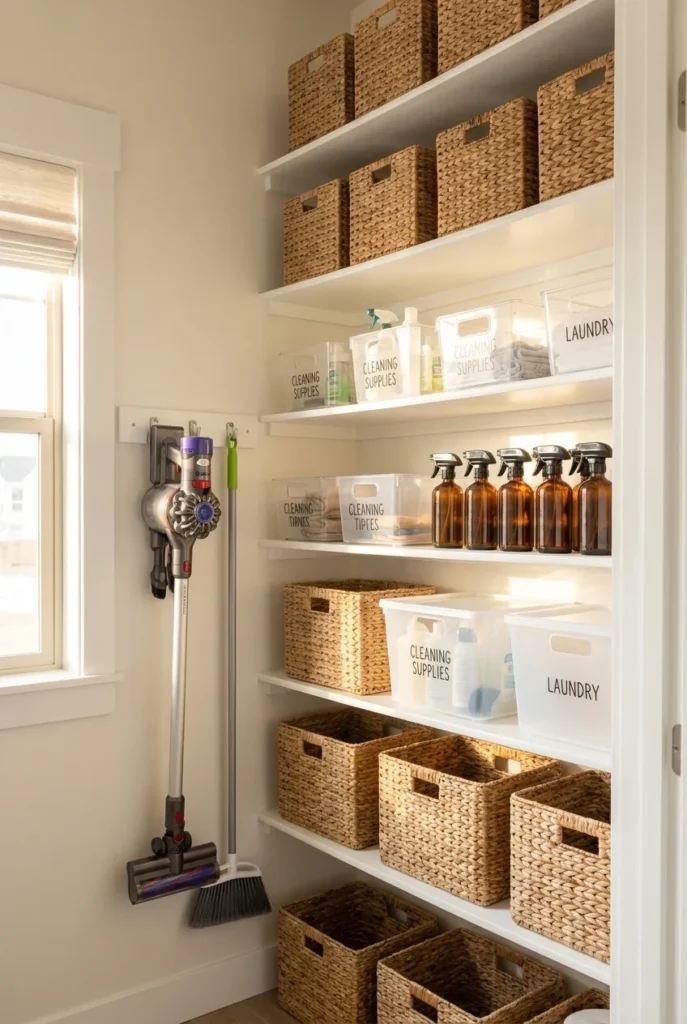
Start With the One-Bin Empty (Not a Full Teardown)
Before you buy a single organizer, empty the closet. All of it. Pull everything onto the floor or a nearby table so you can see what you actually own. Most utility closets hide three half-used bottles of the same cleaner and a tangle of dead batteries.
Sort as you go into four quick piles: keep, relocate, toss (safely), and restock later. Wipe down the empty shelves while they’re bare. This is also the moment to check expiration dates, because yes, cleaning products degrade, and that decade-old bleach isn’t doing much.
The 5-Zone Utility Closet Rule
Here’s the framework we come back to for every decision: the 5-Zone Utility Closet Rule. You give the closet five clear jobs, top to bottom, and everything you own gets assigned to one zone. Once a zone is full, you either stop adding or you declutter. It keeps the closet from sliding back into chaos.
The five zones, from floor to ceiling:
- Zone 1, the floor: tall tools like the vacuum, mop, and broom.
- Zone 2, low shelf: heavy or hazardous items (bulk refills, chemicals) kept down low where they can’t fall on anyone.
- Zone 3, eye level: daily-use grab items like all-purpose spray, microfiber cloths, and wipes.
- Zone 4, upper shelf: backups and occasional items like carpet cleaner or the humidifier.
- Zone 5, the door and walls: flat storage for small stuff.
Front-load your most-used tip: put your everyday cleaners at eye level and nothing else. That single move does more for daily speed than any bin you’ll buy.
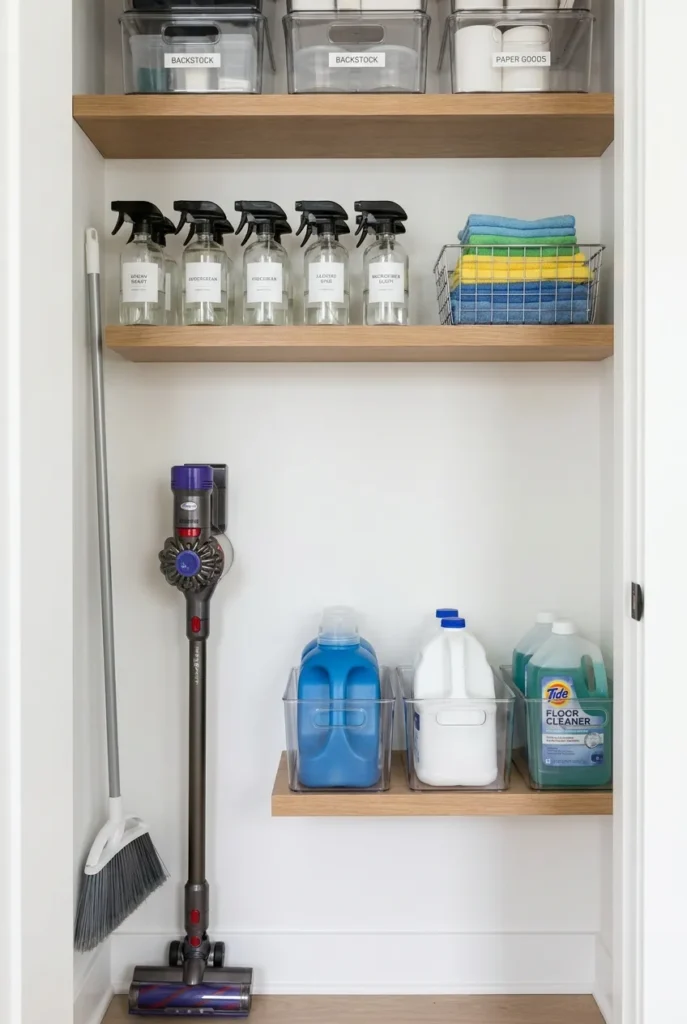
Get the Floor Clear First
A cluttered floor makes the whole closet feel chaotic, and it’s usually the easiest fix. Long-handled tools are the culprits. Lean them in a corner and they slide, tangle, and knock the dustpan loose every time you reach in.
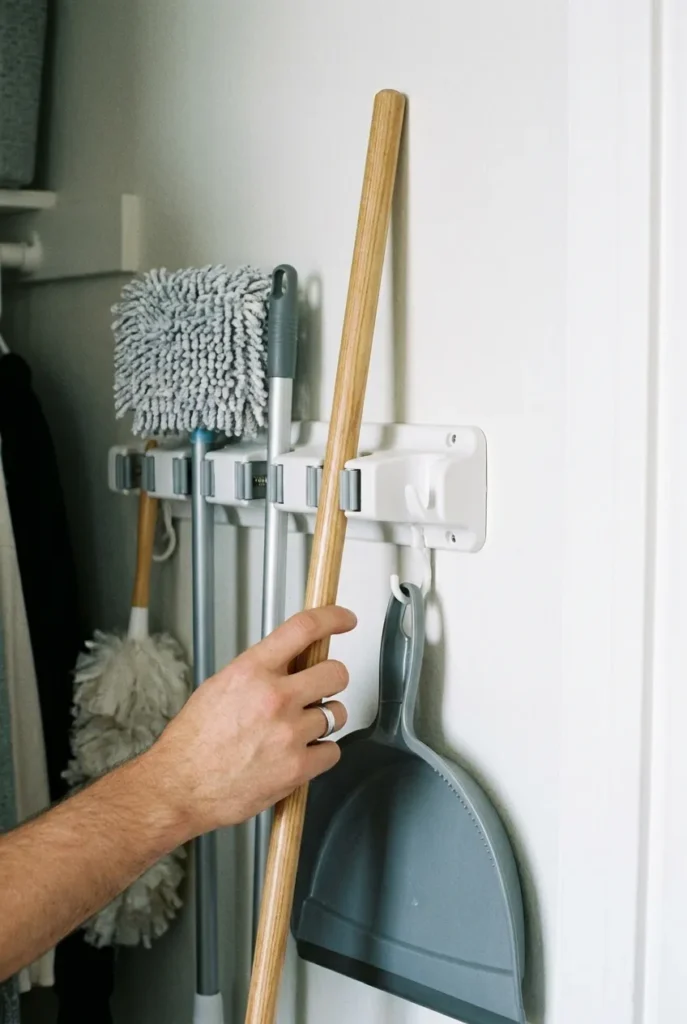
Mount them instead. A wall-mounted broom and mop rack lifts everything off the ground and frees the floor for the vacuum. We like the OXO Good Grips Expandable Wall-Mounted Mop and Broom Organizer for this. It runs about $32.99, expands from 15 inches to 24 inches wide, and its spring-loaded grips hold a broom, mop, and duster while hooks below catch dustpans and rags. It ships with screws and drywall anchors for a permanent hold.
Renting? Skip the drill. A set of heavy-duty adhesive hooks rated for the tool’s weight does the same job on a smooth wall or the inside of the door. Just check the package weight limit, because a wet mop is heavier than you’d think.
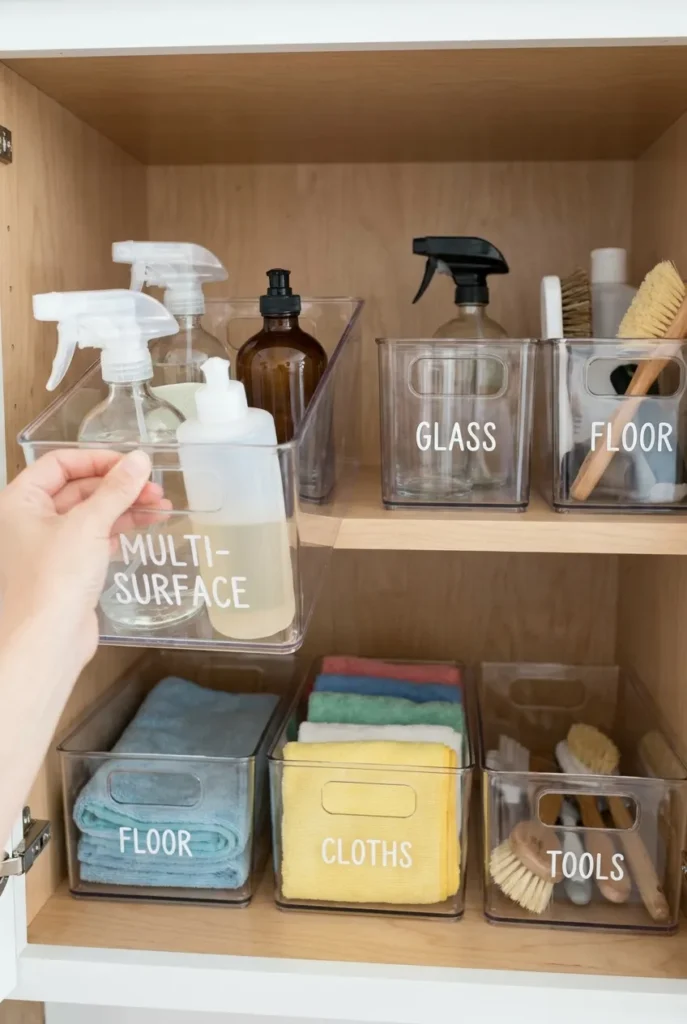
Corral Cleaning Supplies in Clear Bins
Loose bottles are the enemy of a tidy shelf. Group your cleaners by task (bathroom, kitchen, floors, glass) and drop each group into its own clear bin. Clear matters here. When you can see what’s inside, you use it, and you notice when you’re running low before you’re standing in an empty aisle.
Label the front of each bin so anyone in the house can put things back in the right spot. A simple label maker or even painter’s tape and a marker works. For a deeper walkthrough of grouping and containing your products, we have a full guide to smart cleaning supplies storage that pairs perfectly with this step.
One more trick from the pros: keep a small stash of your true daily items in a portable caddy so you’re not carrying six bottles room to room. If you’ve never set one up, here’s how to build a grab-and-go cleaning caddy that lives on the eye-level shelf and travels with you.
Store Chemicals Low, Locked, and in Their Original Bottles
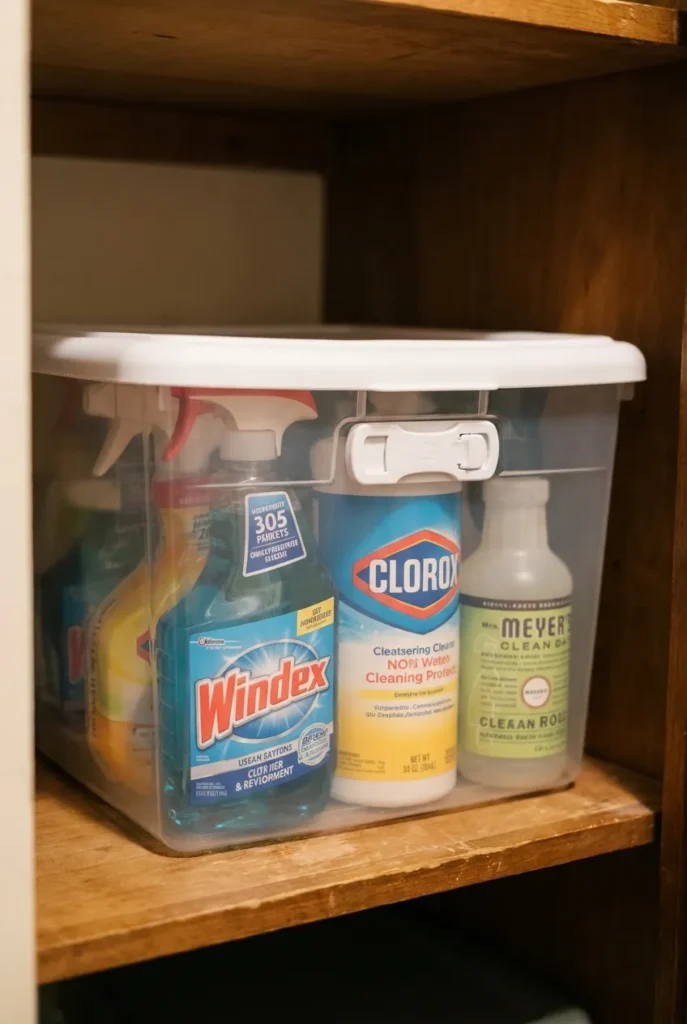
This is the one zone where safety beats aesthetics. Keep bleach, drain cleaner, and other harsh chemicals on the lowest shelf so a falling bottle can’t hit anyone, and if you have kids or curious pets, add a lock or a lidded bin.
Two rules worth taking seriously. First, keep products in their original containers. It’s tempting to decant everything into matching bottles for the photo-perfect look, but Poison Control warns against transferring cleaners into unlabeled containers, because a clear liquid in a random bottle is a genuine hazard. Second, store cleaners up and out of reach of children whenever possible. The U.S. Consumer Product Safety Commission notes that household cleaners should be locked up and kept out of reach, since even small amounts can be dangerous.
So decant your dry goods and organizers, sure. Leave the chemicals in the bottles they came in.
Use the Back of the Door (Your Best Free Real Estate)
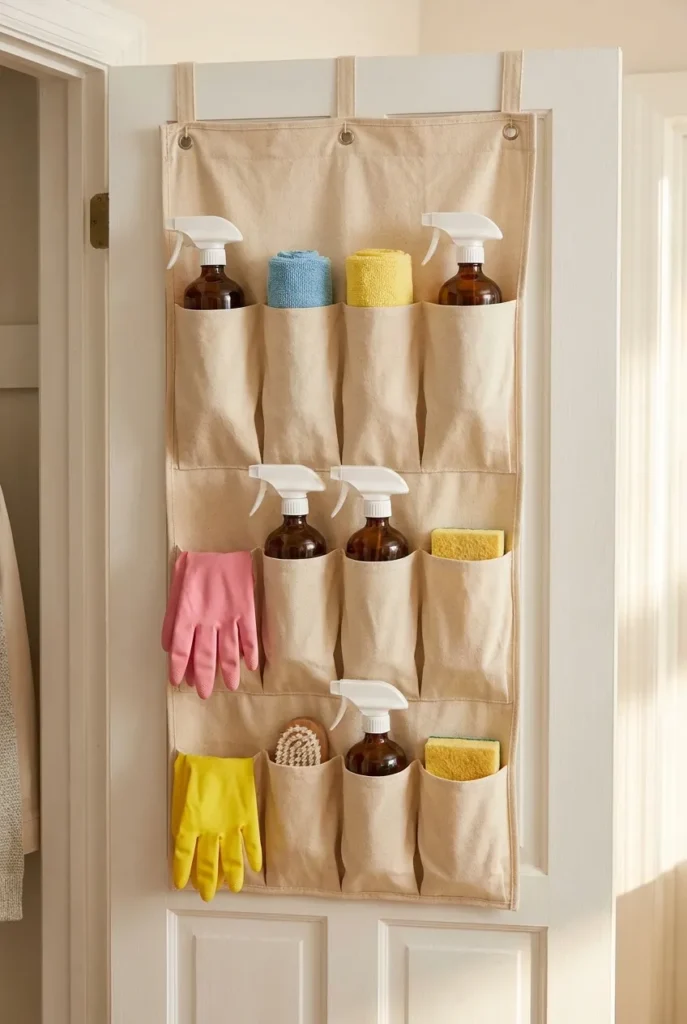
The inside of the closet door is prime storage that most people ignore. An over-the-door rack or a pocket organizer instantly adds a full wall of flat storage without touching your shelves.
A canvas shoe organizer is the classic hack, and it’s genuinely great: the pockets are just the right size for spray bottles, cleaning wipes, sponges, and small tools like grout brushes that vanish on a shelf. Slot rags in one row, gloves in another, refills up top. If you want sturdier options, our roundup of over-the-door organizers covers racks that handle heavier gear.
Renters, take note: over-the-door racks hang on the door itself with no hardware, so they come with you when you move.
Go Vertical When You’re Out of Shelf Space
When the shelves are full, look up and out. Vertical space is almost always underused in a utility closet, and filling it is where small closets suddenly hold twice as much.
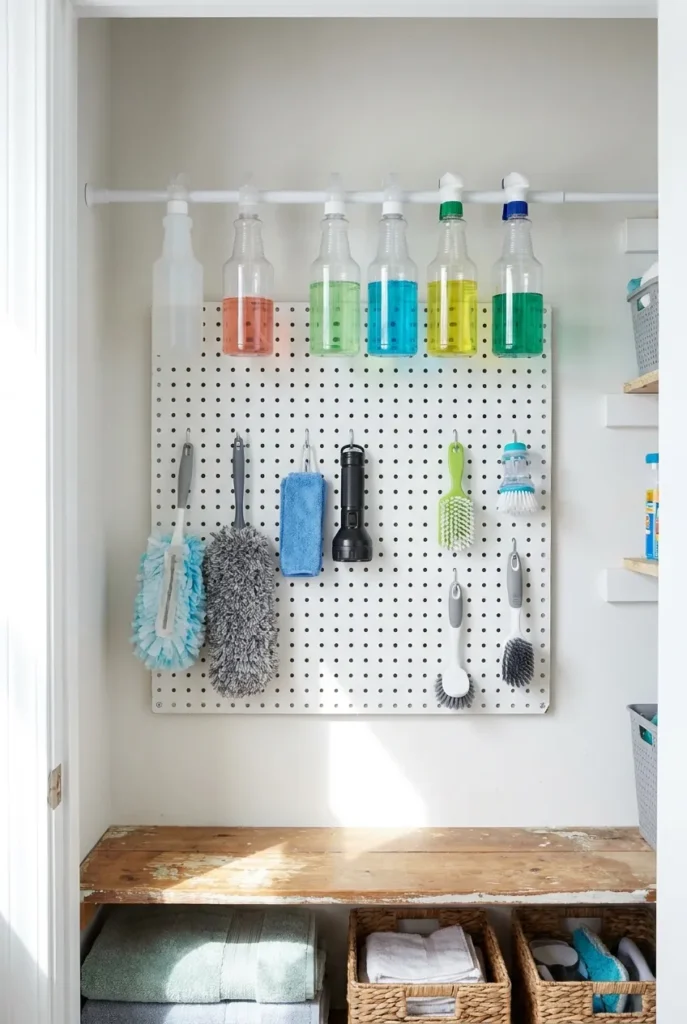
A pegboard on the back wall turns empty air into flexible storage for dusters, flashlights, and scrub brushes, and you can rearrange the hooks anytime. Stackable bins double the usable height between shelves. A single tension rod mounted near the top lets you drape gloves or hang spray bottles by their trigger handles. For more ways to build up instead of out, our vertical storage ideas post has a closet-friendly section.
Add a shelf riser to any shelf that has tall dead space above short items, and you’ve essentially created a bonus half-shelf for free.
Add a Small Zone for Non-Cleaning Essentials
Most utility closets moonlight as the household command post for emergencies and small hardware. Give that stuff a dedicated corner so it doesn’t scatter.
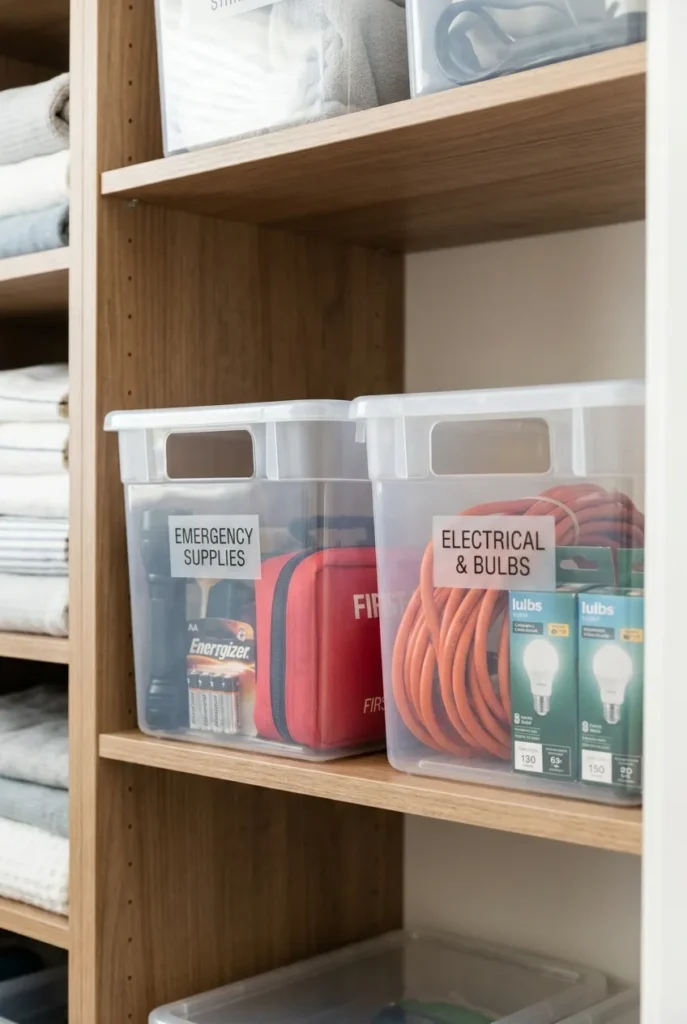
A single labeled bin can hold batteries, a flashlight, matches, and a spare first-aid kit, all in one grab-and-go spot for when the power flickers. Another small container keeps lightbulbs, extension cords, and rolls of tape from becoming a tangled mess. Keep these separate from your chemicals and cleaning cloths so a leak never contaminates them.
Small or Narrow Closet? Steal These Tricks
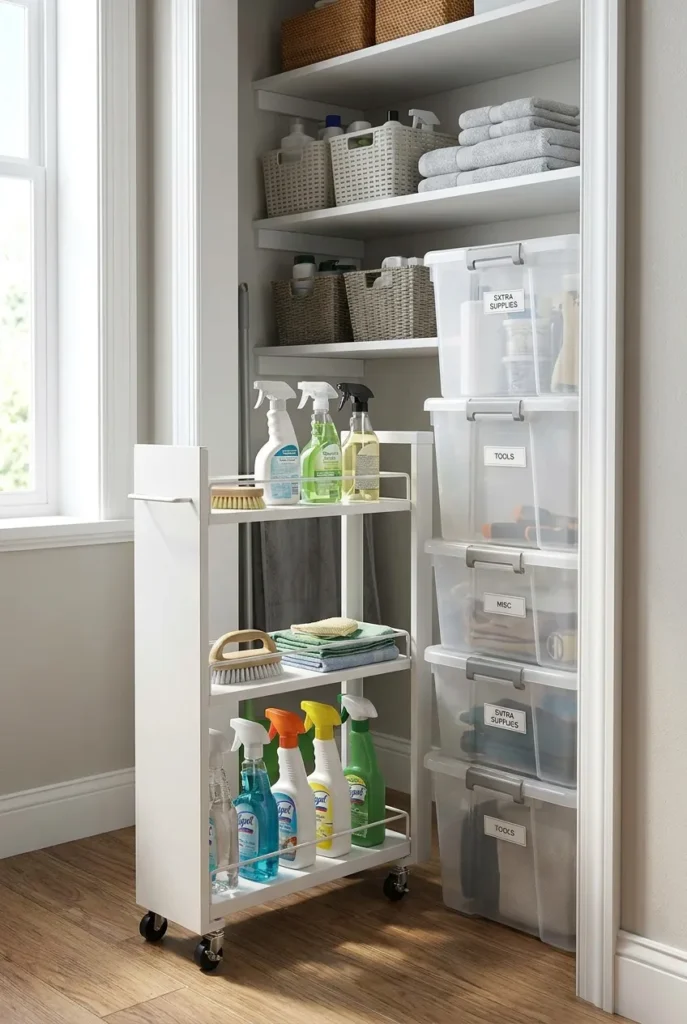
A tiny utility closet just needs smarter tactics, not more square footage. If your closet is shallow, a slim rolling cart on caster wheels slides in and out so you can reach the back without unpacking the front. A narrow closet loves a single column of stackable clear totes, which keep everything visible top to bottom.
No shelves at all? Add a freestanding cube shelf or a tension-mounted shelf so you’re not stacking bottles on the floor. Even a shallow spice-rack-style rail on the door wall gives paper towels and spray bottles a home.
The 5-Zone Utility Closet Rule still applies here, you just scale it down: tools on the floor, chemicals low, daily items at eye level, backups up top, small stuff on the door.
Keep It Tidy: The Sunday Reset for Your Utility Closet
Setup is the easy part. Staying organized is where most closets fall apart, so build in a two-minute reset. Once a week, when you put your cleaning caddy back, glance at your eye-level zone and straighten anything out of place. Once a month, scan for empties and add them to your list before you run out.
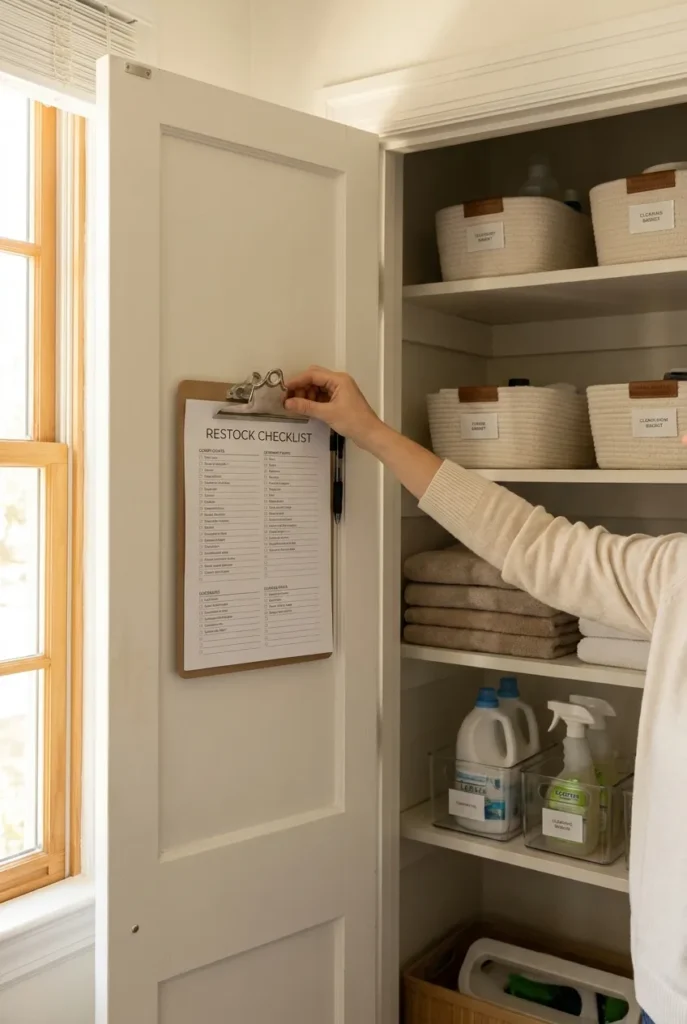
Tape a small restock list inside the door and jot items as they run low. It sounds almost too simple, but a running list is the difference between a closet that stays sorted and one you reorganize every season.
Frequently Asked Questions
How do I organize a small utility closet without buying anything?
Start by emptying and grouping what you own, then use what’s already free: the back of the door, the walls, and the vertical space between shelves. A cardboard box makes a temporary bin, and leaning tools can go on adhesive hooks you may already have. The 5-Zone Rule works at any size.
What is a utility closet in an apartment?
It’s a small closet that houses cleaning tools and household supplies, often the vacuum, broom, mop, and spare paper goods. In apartments it sometimes doubles as the spot for the water heater or HVAC access, which is why smart, flexible storage matters so much there.
How do I organize cleaning supplies in a utility closet?
Group them by task in clear labeled bins, keep daily items at eye level, and store harsh chemicals low and in their original containers. A portable caddy for your everyday products keeps you from hauling bottles around the house.
How do I store brooms and mops in a utility closet?
Get them off the floor with a wall-mounted broom-and-mop rack or heavy-duty adhesive hooks rated for the weight. This clears the floor for the vacuum and stops the constant slide-and-tangle.
How often should I clean out my utility closet?
A quick weekly straighten plus a monthly empties-and-restock check keeps it in shape. A full reset, pulling everything out to wipe and reassess, once or twice a year is plenty.
Is it safe to store cleaning chemicals in a closet?
Yes, if you do it thoughtfully: keep them low, out of reach of children, and in their original labeled bottles rather than decanted into unlabeled containers. When in doubt, follow guidance from Poison Control and the CPSC.
Conclusion
A utility closet doesn’t need to be pretty to be great, it needs to be findable. Zone it top to bottom, lift the tools off the floor, contain your supplies in clear bins, and give the door and walls a job. Then keep that two-minute reset going and it’ll stay this way.
Pick one zone and start there this weekend. Save this guide so you have the 5-Zone Rule handy when you’re standing in front of that closet, and tell us which zone tripped you up the most.