

Bathroom Makeup Organization That Actually Stays Neat
Your bathroom counter fills up fast. A lipstick here, three half-used mascaras there, a primer you forgot you owned. Good bathroom makeup organization fixes that, and it doesn’t take a renovation or a giant vanity. The trick is giving every product a visible home you can reach in one move. Do that, and your mornings get faster while your counter stays clear. This guide walks you through 10 real ways to organize makeup in a bathroom, from clear acrylic risers to no-drill hacks built for renters. Grab a coffee. Let’s set it up so it actually stays neat, not just neat for the photo.
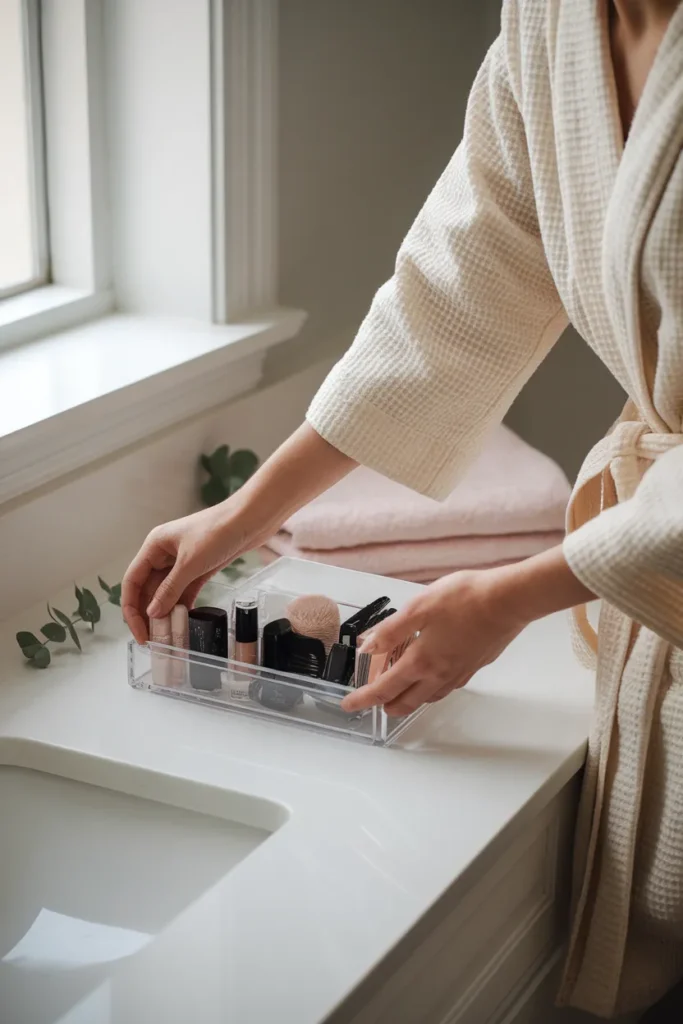
Should You Store Makeup in the Bathroom at All?
Before any bins or trays, answer one question. It shapes your whole bathroom makeup organization plan. Short answer: mostly yes, with a few exceptions. The bathroom is where you get ready, so keeping your daily makeup there makes sense. The catch is heat and humidity. Every hot shower sends steam into the room, and that moisture is hard on certain products.
Water-based and cream formulas take the worst of it. Foundations, cream blushes, and anything with active skincare mixed in break down faster in a damp room, and wet caps invite bacteria. Per FDA’s guidance on cosmetic shelf life, makeup carries no federally required expiration date. How you store it does much of the work in keeping it usable.
Here’s the rule I use. Daily items you finish quickly can live in the bathroom. Slow-moving creams, pricey serums, and any backups do better somewhere cool and dry, like a bedroom drawer or a closet shelf that never gets hit by shower steam. A few things earn a permanent spot out of the bathroom:
- Cream and liquid products you use only occasionally
- Anything labeled fragile, natural, or preservative-free
- Backups and refills you haven’t opened yet
Run your vent fan during and after showers to cut the steam. A closed drawer or a lidded bin adds another layer of protection. One small habit here saves you money on ruined product later.
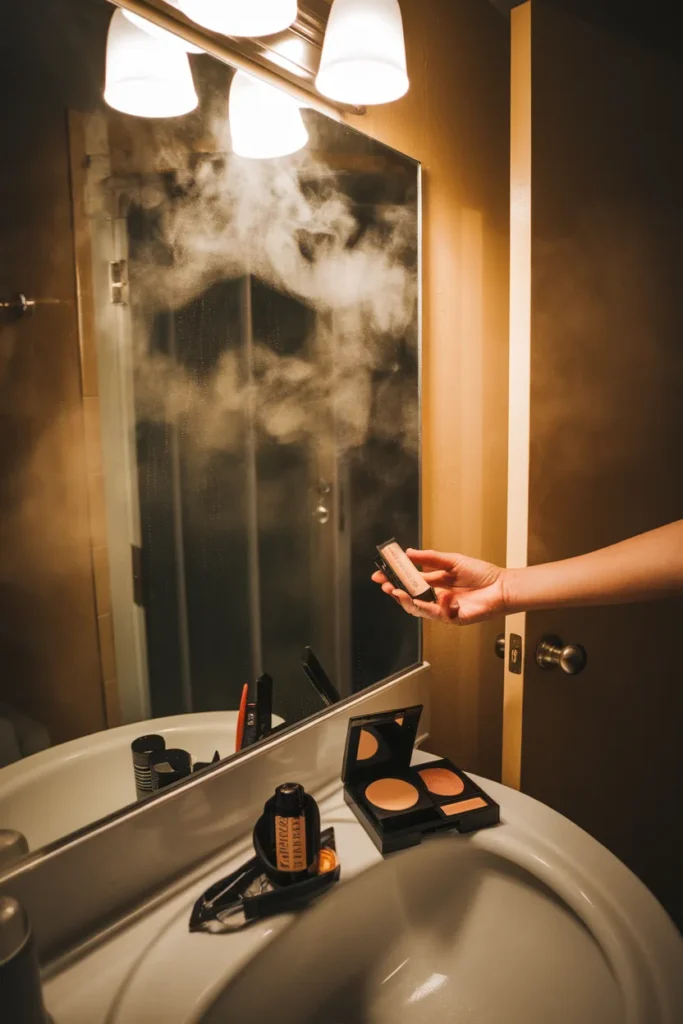
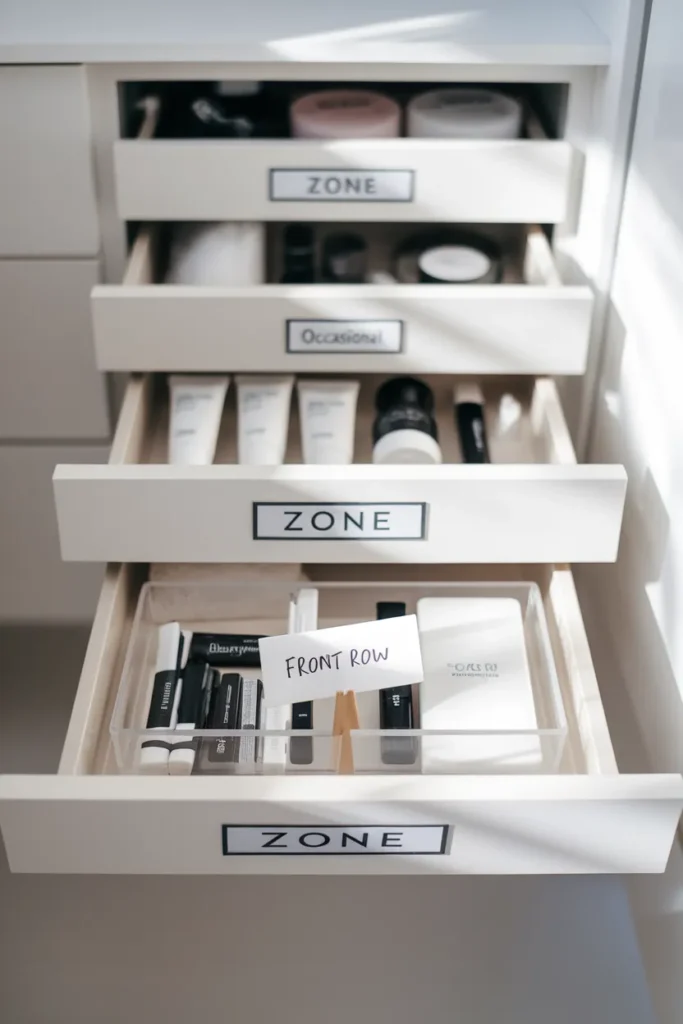
The Front-Row Vanity Method: Your Makeup Map
Before you buy anything, sort your makeup by how often you actually reach for it. I call this the Front-Row Vanity Method, and it decides where every item goes. Most people organize by product type. Frequency works better, because it puts your morning must-haves within arm’s reach and pushes the rest out of the way.
Four zones, that’s the whole system:
| Zone | What goes here | Where it lives |
|---|---|---|
| 1. Front Row (Daily) | The 10 to 12 items you touch every morning | Counter organizer or top drawer, at arm’s reach |
| 2. Second String (Weekly) | Going-out shades and occasional pieces | One drawer back, or a labeled bin |
| 3. Backstock (Backups) | Unopened refills and bulk buys | Out of the bathroom: bedroom or linen closet |
| 4. Toss Zone (Expired) | Anything past its date | Trash, checked monthly |
Here’s how it plays out. Say you own forty products. Maybe twelve are daily. Eight are weekly. The rest are backups or already expired. Only those twelve earn counter space. The other twenty-eight move back, down, or out. That’s the whole method in one move.
The magic is in Zone 1. Keep it small. Ten to twelve items, the ones you truly use daily, get the prime real estate. Everything else moves back a step. When your daily set is tiny and visible, getting ready feels quick, your counter stops collecting clutter, and you stop buying duplicates of things you already own. Screenshot the table and use it as you sort. You’ll be surprised how many products drop straight to Zone 3 or 4.
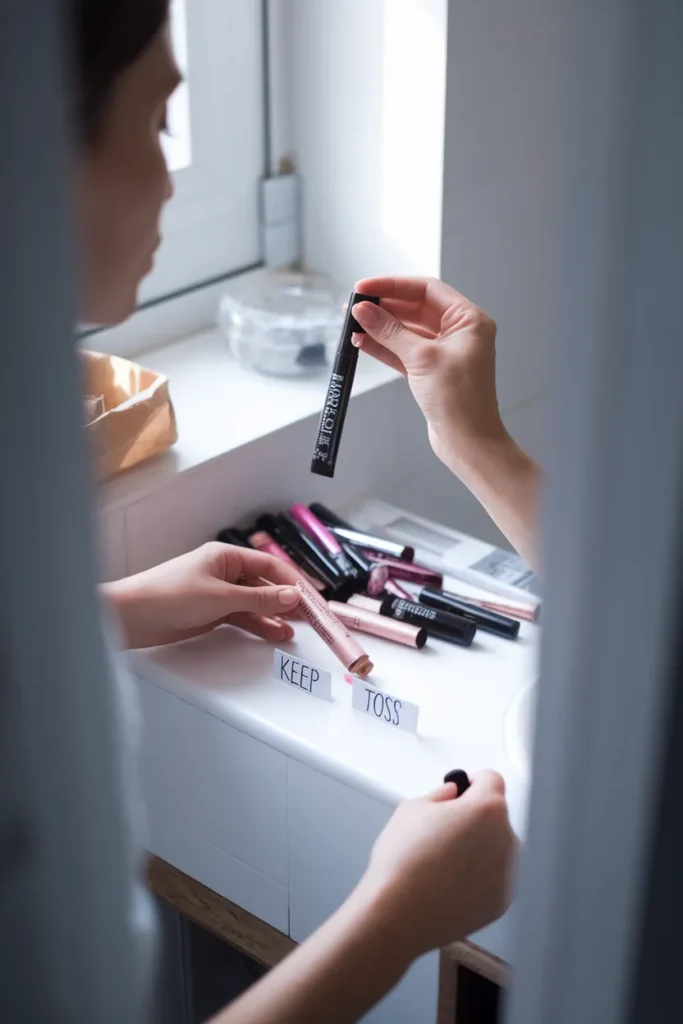
Declutter and Sort Before You Buy a Single Bin
Buying organizers before you declutter is how people end up with tidy clutter. Start empty-handed. Pull every makeup item out, wipe down the drawer or counter, and make three piles: keep, toss, and relocate.
Toss anything past its prime. Mascara and liquid liner go bad the fastest, usually within three months of opening. Cream products last around six to twelve months, and powders can stretch a year or two if they still smell and apply fine. The American Academy of Dermatology’s makeup timeline is a reliable reference for when to let something go. If a product smells off, separates, or shifts color, that’s your cue.
One trick makes this easy forever: check the little open-jar symbol printed on most packaging. It reads something like 6M or 12M, meaning the product is good for that many months after you open it. Write the open date on a small sticker so you’re never guessing again.
Group your keepers by type as you go. Eyes together, lips together, complexion together, tools together. That grouping is what makes the next steps fast, and it shows you exactly how much of each category you own, which tells you what size and how many organizers to buy.
Countertop Makeup Organization That Still Looks Clean
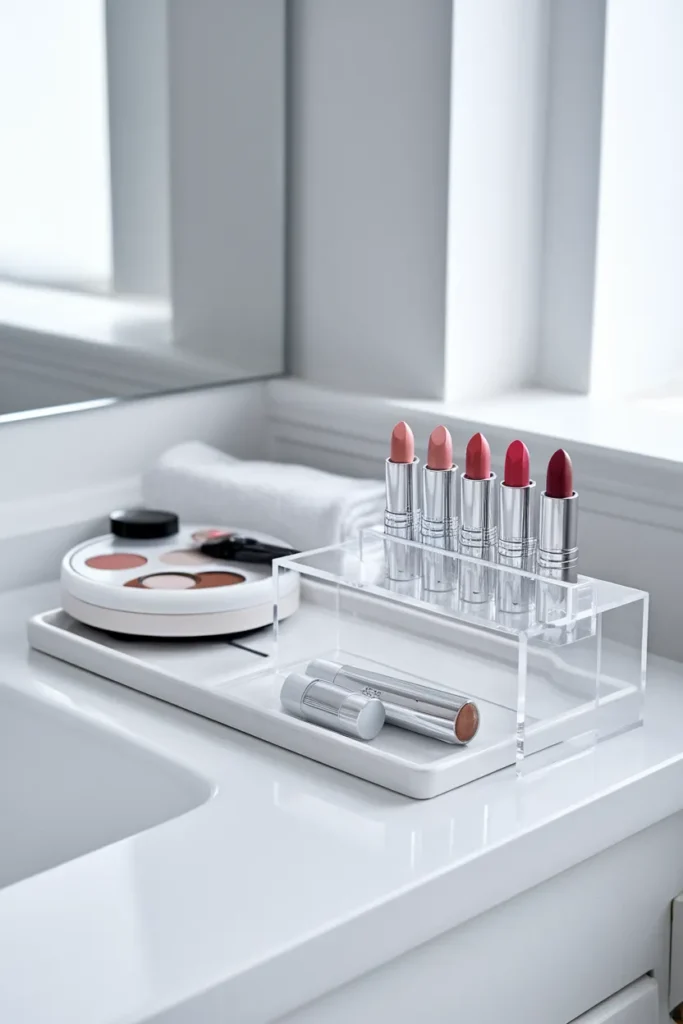
This is the easiest bathroom makeup organization win if you have counter space. Two clear pieces beat ten random ones. Clear acrylic keeps everything visible, which is the entire point, and it wipes clean in seconds. A clear riser or a small set of drawers, like the Target Brightroom 3-drawer acrylic organizer, corrals lipsticks, liners, and palettes without hiding them.
Add a small turntable for the tall bottles. A lazy Susan spins your setting sprays and primers to the front so nothing gets lost at the back of the counter where tall bottles love to hide. The Container Store, iDesign, and mDesign all make sturdy versions in sizes that fit a standard counter.
Contain the sprawl with a tray. A single tray under your daily organizer gives the whole grouping a defined edge, so it reads as styled rather than scattered. It also makes cleaning simple: lift the tray, wipe the counter, set it back. Slip a thin drawer liner or felt pad under acrylic pieces so they grip the counter and stop sliding when you grab something in a hurry.
Keep brushes upright in a small cup or jar so the bristles stay clean and dry. A pretty glass, like an IKEA Saxborga jar, works as well as anything fancy. Add a second little jar for cotton swabs and pads, and your daily station is done. The goal is a counter you can wipe in one swipe, with every daily item in plain sight. Once your daily set has a clear home and a tray to sit on, the whole counter reads as calm even on the busiest mornings.
Drawer Makeup Organization (Measure First)
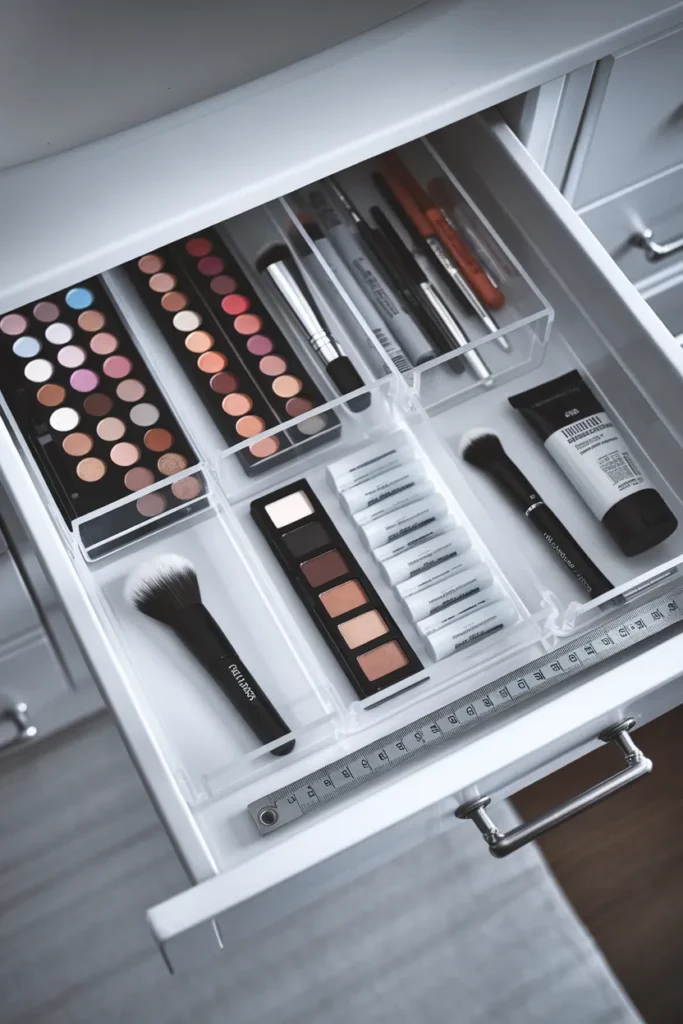
Drawers give the cleanest look going, because everything hides away yet stays sorted. The key is dividers. Without them, a drawer becomes the same jumble as a counter, just with a lid on top. Acrylic inserts or adjustable dividers turn one deep drawer into tidy lanes for palettes, tubes, and pencils. For a closer look at that exact space, our guide to bathroom drawer organization walks through it step by step.
Bamboo expandable dividers, Muji-style acrylic drawers, and IKEA Godmorgon organizers all fit standard vanities well. Match the insert to what you store: shallow trays for pencils and brushes, taller slots for foundations and sprays.
Measure Before You Buy
This is the step most people skip, and it’s why organizers get returned. Grab a tape measure and write down three numbers: the drawer’s inside width, its depth front to back, and the height clearance under the counter lip. Bathroom drawers run shallower than they look, often around 2 to 3 inches deep, which rules out tall organizers. Take those numbers with you (or type them into your phone) before you shop. An organizer that fits to the inch feels custom. One that’s a hair too big wastes the whole drawer.
A 20-second shopping checklist before you buy any organizer:
- Inside width, in inches
- Depth from front to back
- Height clearance under the counter lip
- The tallest item you need to store upright
- Whether it needs to wipe clean easily
Snap a photo of the empty drawer with the tape measure sitting in it. You’ll thank yourself in the store.
No Drawers, No Problem: Vertical and No-Drill Ideas
Small or rented bathrooms often have zero drawers and barely any counter. Go vertical, and do it without a single hole in the wall. Renters, this section is for you.
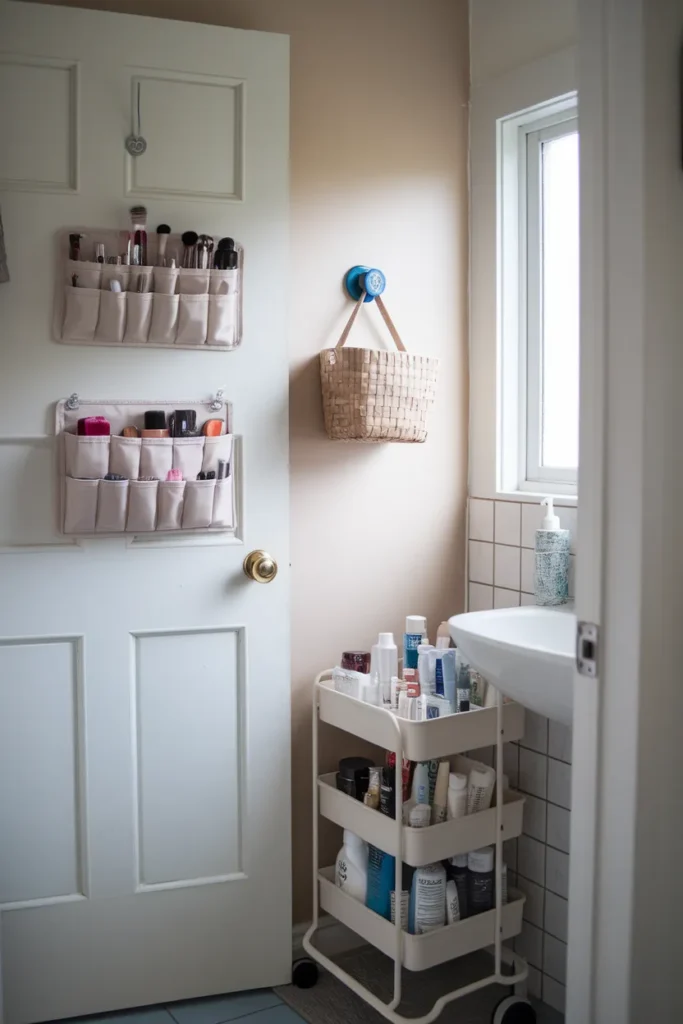
An over-the-door pocket organizer is the fastest win. Hang it on the back of the bathroom or closet door, and suddenly you have a dozen clear pockets for brushes, palettes, and tubes. A few Command hooks hold a small wire or woven basket at eye level for the items you grab first. For more damage-free options, these small bathroom storage ideas that need no drilling pair perfectly with a makeup setup.
A rolling cart is the renter’s best friend. An IKEA Raskog cart tucks beside the sink or in a corner, gives you three tiers of storage, and rolls out when you need it. Park your daily makeup on top, backups on the bottom. Inside a vanity cabinet, a spring tension rod set across the opening lets you hang small spray bottles by their triggers, freeing the shelf below.
A magnetic board is another no-drill trick if you mount it with adhesive strips. Stick small magnets to your metal compacts and they hang right on the wall, visible and off the counter. It looks like art and clears space at the same time.
Under-Sink Storage for Backups and Overflow
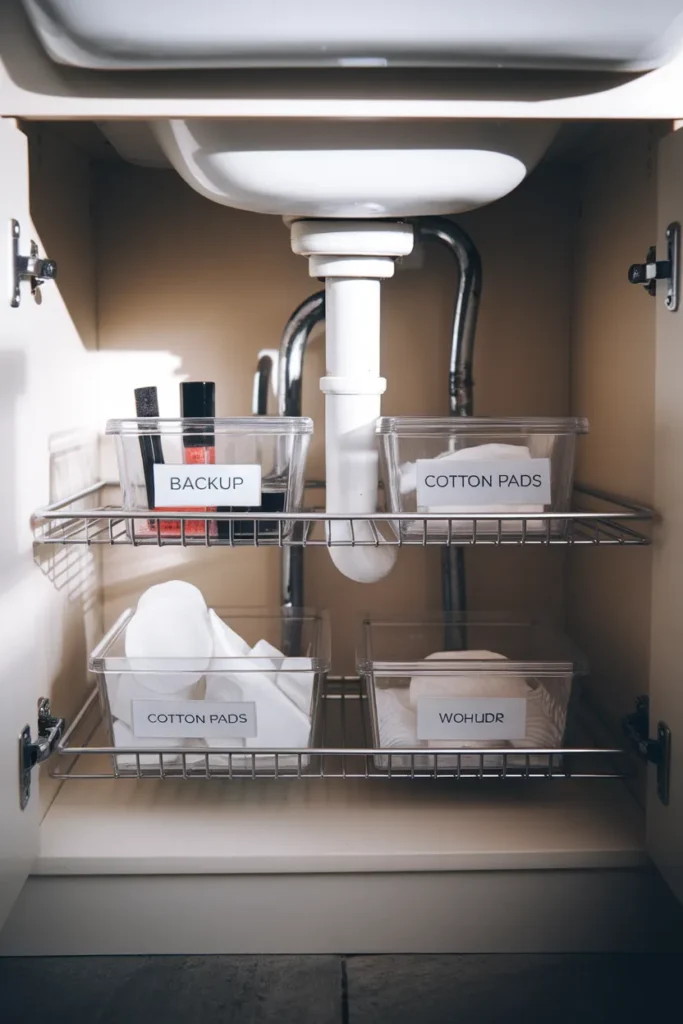
The cabinet under your sink is prime storage that usually goes to waste. With a couple of bins and a shelf that clears the pipes, that dead space under the sink can hold weeks of backups without ever crowding your daily routine. The awkward part is the pipes. Work around them with a two-tier pull-out shelf or with stacking bins sized to slide beside the plumbing without ever blocking the pipes you might need to reach. Our full guide to organizing under the bathroom sink covers the tricky layouts in detail.
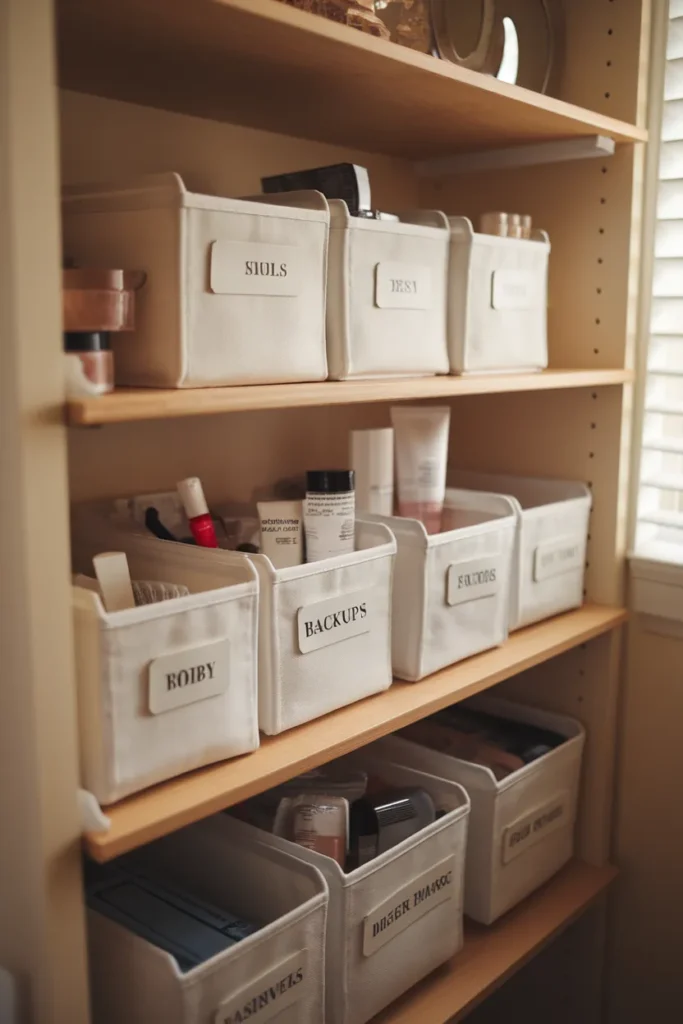
Keep this zone for overflow and backups, not your daily set. Clear bins let you see what’s there, and labels on the front save you from digging. Group by category the same way you did up top: one bin for complexion backups, one for tools and cotton pads, one for nail supplies.
Pull bins slightly forward so you can reach the back without unloading everything. Keep anything heat- or water-sensitive off the cabinet floor, where a slow leak could ruin it. Raising bins an inch or two on a shelf solves that. If you share the cabinet with cleaning supplies, keep those on the opposite side from your makeup and skincare so a spray cap never leaks near a product you put on your face.
Keep the Backstock Out of the Steam
Here’s an angle most guides skip. Your backups do not belong in the bathroom. Unopened refills, bulk buys, and the shades you rotate seasonally all last longer in a cool, dry spot far from the daily blast of heat and humidity. That’s Zone 3 from the method above.
A labeled bin in a bedroom drawer or on a linen closet shelf keeps your backstock safe from shower steam and easy to shop from. Treat it like your own little store. When a daily product runs low, you refill from the bin instead of running out mid-week.
This does two jobs at once. It protects the products you spent good money on, and it keeps your bathroom holding only what you use right now. A smaller working set is a tidier working set, every single time. Think of your vanity like a carry-on, not a closet. Only what you need for now travels with you. The rest waits in the hold. Do a quick backstock check once a month when you run your date sweep. Move anything you’ll use soon up to the vanity, and note what actually needs replacing so you stop buying doubles you already own.
The 30-Second Nightly Reset That Keeps It Neat
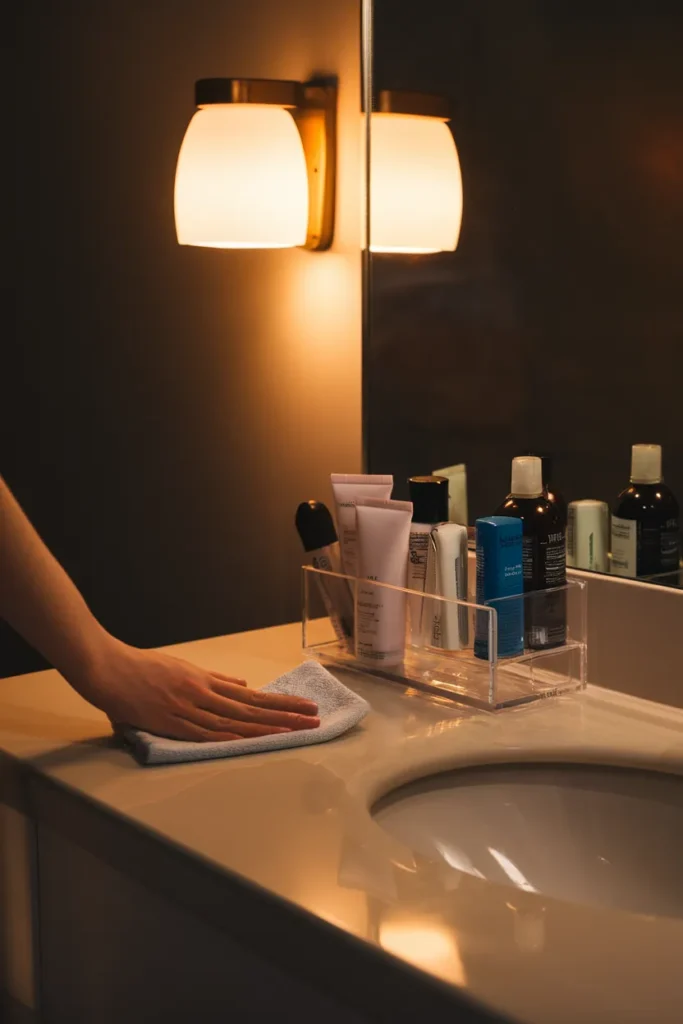
Any system falls apart without a tiny habit to hold it together. This is the piece the “20 ways” lists leave out. Every night, take 30 seconds to put your daily makeup back where it belongs, wipe the counter, and cap anything you left open during the morning rush. That’s it. Because you built small, reachable zones, the reset is quick. Caps back on, brushes in the cup, everything into its acrylic home, one swipe of the counter. Do it while your shower warms up or your toothbrush runs. By the time you climb into bed, the counter is clear and tomorrow morning’s version of you has one less thing to sort out before coffee.
Once a week, spend two minutes wiping down your organizers and checking that Zone 1 hasn’t quietly crept back past its limit of twelve daily items. Once a month, run the expiration sweep and the backstock check together. Three habits, almost no time, and your bathroom makeup organization holds for good. That’s the whole difference between a vanity that looks great in a photo and one that looks great on a random Tuesday. The system does the heavy lifting. The reset keeps it standing.
Common Bathroom Makeup Storage Mistakes to Avoid
A few habits quietly undo good bathroom makeup organization. Skip these and your setup lasts.
First mistake: buying bins before you sort. You end up storing clutter you should have tossed. Sort first, always.
Second: crowding Zone 1. If twenty items sit on the counter, none of them are easy to grab. Cap it at twelve. Be strict about it.
Third: ignoring the steam. Creams and serums left out in a humid room spoil faster. Move the slow movers to a dry drawer. Your wallet will notice the difference.
Fourth: stacking products you can’t see. If a palette hides under three others, you forget you own it. Keep items in a single visible layer where you can. Clear risers and dividers make that easy.
Fifth: skipping labels. A bin without a label turns into a mystery box within a month. Label the front of every backup bin. Ten seconds now saves ten minutes later.
Sixth: hoarding empties and maybes. That almost-gone concealer isn’t earning its spot. If you haven’t reached for it in three months, it moves to Zone 2 or the trash.
Fix these six and the rest of your setup holds. Most messy vanities aren’t a storage problem. They’re a sorting problem in a storage costume.
Your Neater Vanity Starts Tonight
Good bathroom makeup organization isn’t about buying the prettiest bins. It’s about sorting by how often you reach for each item, giving your daily set the front row, and moving the rest out of the steam. Start with one drawer or one corner of the counter tonight. Sort, toss what’s expired, and give your must-haves a clear home you can reach in one move.
Pick one idea from this list and try it this weekend. Then come back and tell us which zone surprised you most. Your future self, standing at a clear counter on a busy morning, will thank you for the ten minutes you spend now.
Frequently Asked Questions
Is it bad to store makeup in the bathroom? Not for your daily items, as long as you manage humidity. Run the vent fan, keep products in a drawer or lidded bin, and move heat-sensitive creams, serums, and unopened backups to a cooler, drier spot like a bedroom drawer.
How do I organize makeup in a small bathroom without drawers? Go vertical and no-drill. Hang an over-the-door pocket organizer, add Command-hook baskets at eye level, and roll in an IKEA Raskog cart for extra tiers. A magnetic board on the wall holds metal compacts and clears the counter.
How do you organize a large makeup collection in a small space? Split it by frequency. Keep only your daily 10 to 12 items on the vanity, store weekly pieces one step back, and move the rest to under-sink bins or a bedroom backstock. A big collection fits a small room once most of it lives outside the daily zone.
How long does makeup actually last? Mascara and liquid liner last about three months after opening, cream products six to twelve months, and powders one to two years. Toss anything that smells off or changes texture, and check the open-jar symbol on the label. The FDA and the American Academy of Dermatology both publish timelines worth bookmarking.
What’s the best makeup organizer for a bathroom counter? A clear acrylic riser or small drawer set, paired with a turntable for the tall bottles. Clear keeps everything visible, and a tray underneath corrals the group. Target Brightroom, iDesign, and mDesign all make counter-friendly sizes.
How do I keep my makeup organized every day? Run a 30-second nightly reset: caps on, brushes in the cup, everything back in its home, one wipe of the counter. Add a weekly tidy and a monthly expiration check, and the system holds itself together.


