Kitchen Countertop Organization: How to Keep Counters Clutter Free
Introduction
I am going to be honest with you. For the longest time, my kitchen counters looked like the lost and found section of a very disorganized airport. A half used bottle of olive oil, three pens that somehow lived there, the mail I swore I would sort on Tuesday, a banana nobody was going to eat, and at least two appliances I used maybe once a year. I would wipe everything down on Sunday, feel proud for exactly four hours, and then watch the chaos slowly crawl back by Wednesday.
If that sounds a little too familiar, you are in the right place. Good kitchen countertop organization is not about having a picture perfect kitchen from a magazine. It is about making your counters actually work for you, so cooking feels easier and your whole kitchen looks calmer the second you walk in. In this guide, I am sharing the exact countertop storage ideas and habits that finally helped me keep my counters clutter free, even on busy weeknights.
Why Your Kitchen Counters Keep Getting Cluttered
Before we jump into the fixes, it helps to understand why counters get messy in the first place. In most homes, the counter becomes what organizers call a “landing zone.” It is the first flat surface you see when you walk in, so keys, mail, grocery bags, and random stuff end up there without anyone really deciding to put them there.
On top of that, kitchens tend to collect appliances. The air fryer, the blender, the stand mixer, the toaster, the coffee machine, and that weird juicer your aunt gave you. Once three or four of those live on the counter full time, you have almost no working surface left. Add a paper towel holder, a knife block, and a fruit bowl, and your counter is already full before you even start cooking.
The good news is that you do not need a bigger kitchen. You just need a better system. Below are the kitchen counter declutter steps and countertop storage ideas that actually stick.
Step 1: Do a Full Counter Reset First
Every successful organizing project starts with clearing the deck. I know, I know. You want the pretty ideas first. But trust me on this one. You cannot organize clutter. You can only move it around.
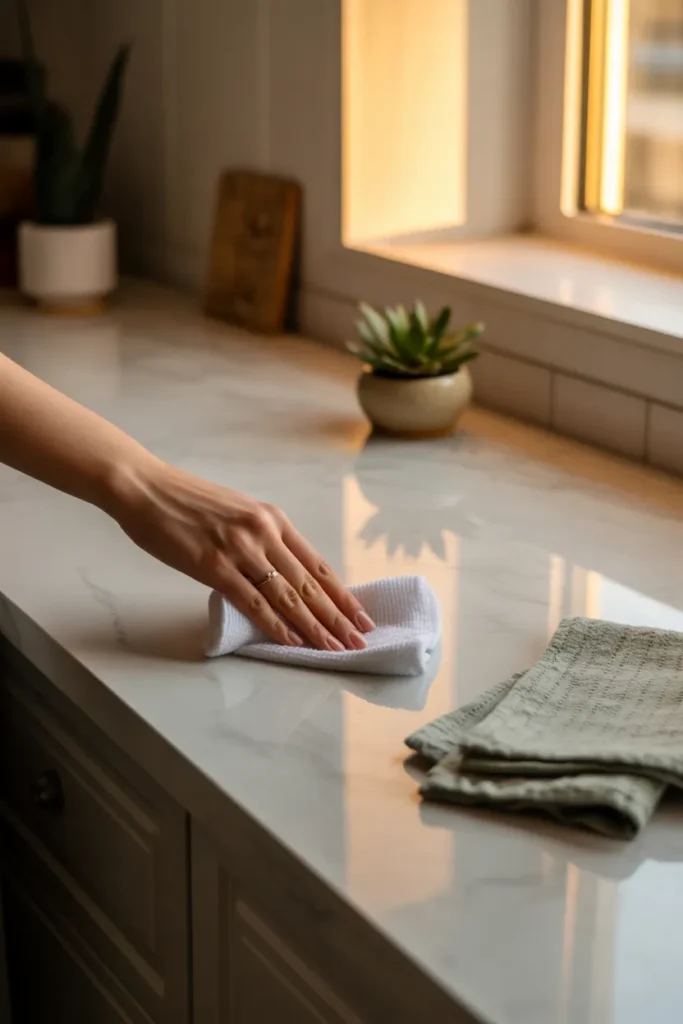
Take everything, and I mean everything, off your counters. Yes, even the toaster. Yes, even the cute little herb pot. Pile it all on the dining table or the floor. Wipe the counters down with your favorite cleaner and take a breath. That empty surface is your baseline. This is what your kitchen actually looks like when nothing is fighting for space.
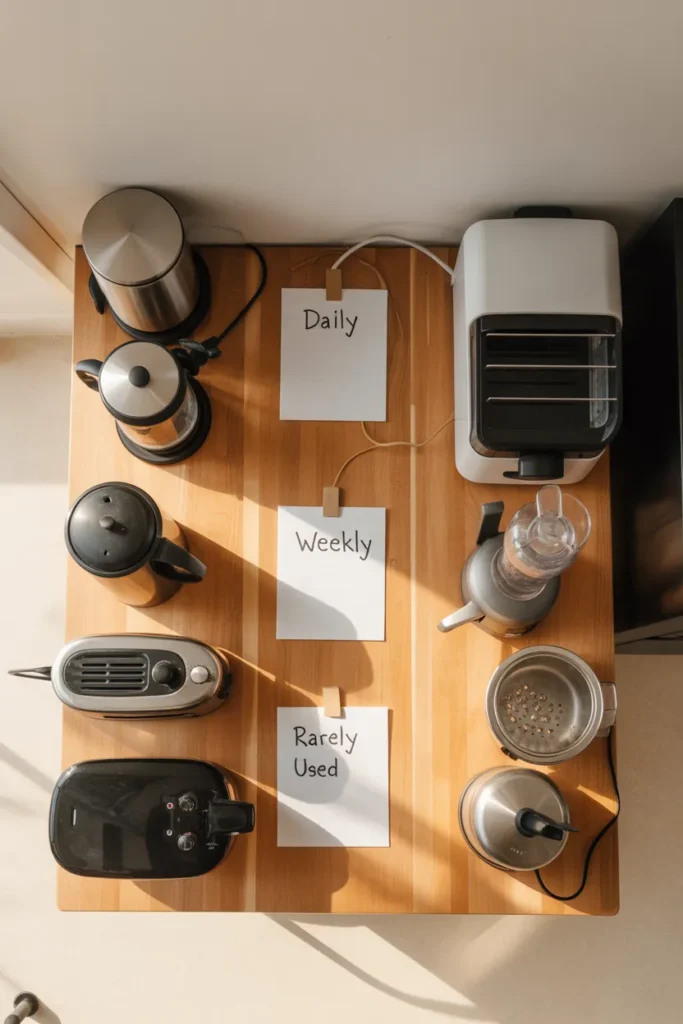
Now sort the pile into three groups:
- Daily use. Coffee maker, most used spices, dish soap, maybe a kettle.
- Weekly use. Stand mixer, blender, air fryer, specialty bottles.
- Rarely used. That bread machine from 2021, the juicer, single use gadgets.
Only items in group one have earned a permanent spot on the counter. Group two goes in cabinets or an appliance garage. Group three either gets donated, stored in the garage, or honestly, let it go. If you have not used it in a year, it is not going to miraculously become part of your routine next Tuesday.
Step 2: Create Zones on Your Counter
This is the step that changed everything for me. Instead of thinking of your counter as one long surface, think of it as three or four little workstations, each with a purpose. Professional organizers swear by this, and once you try it, you understand why.
Here are the zones I use, and you can copy them or tweak to fit your kitchen:
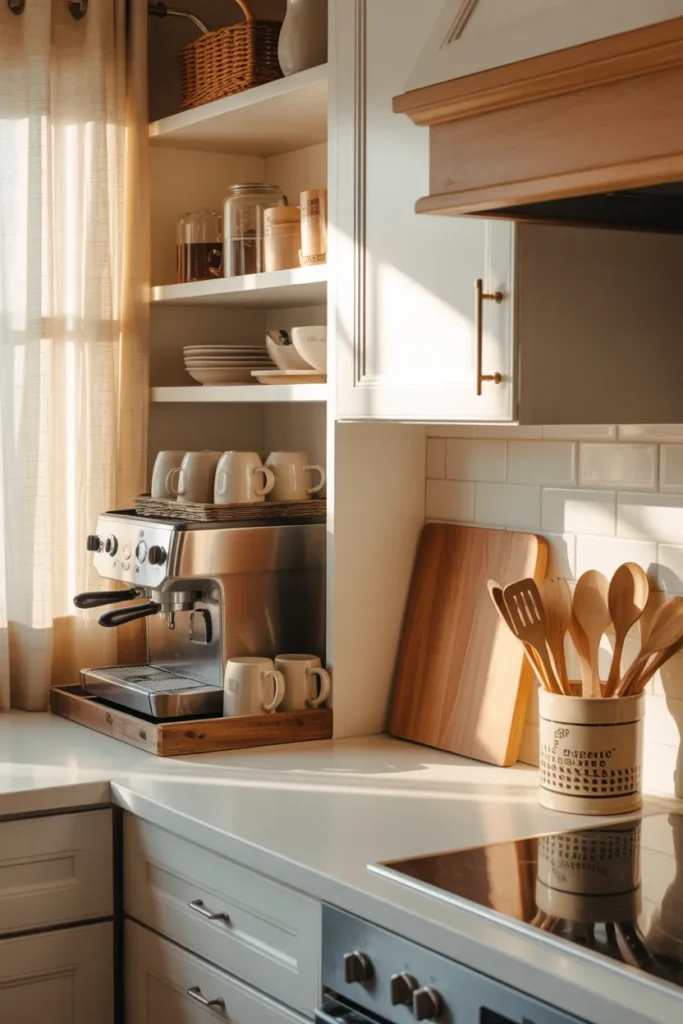
The coffee zone. Coffee maker, a small tray with beans, filters, and two mugs if you have the space. Everything needed to make your morning cup lives in one small square.
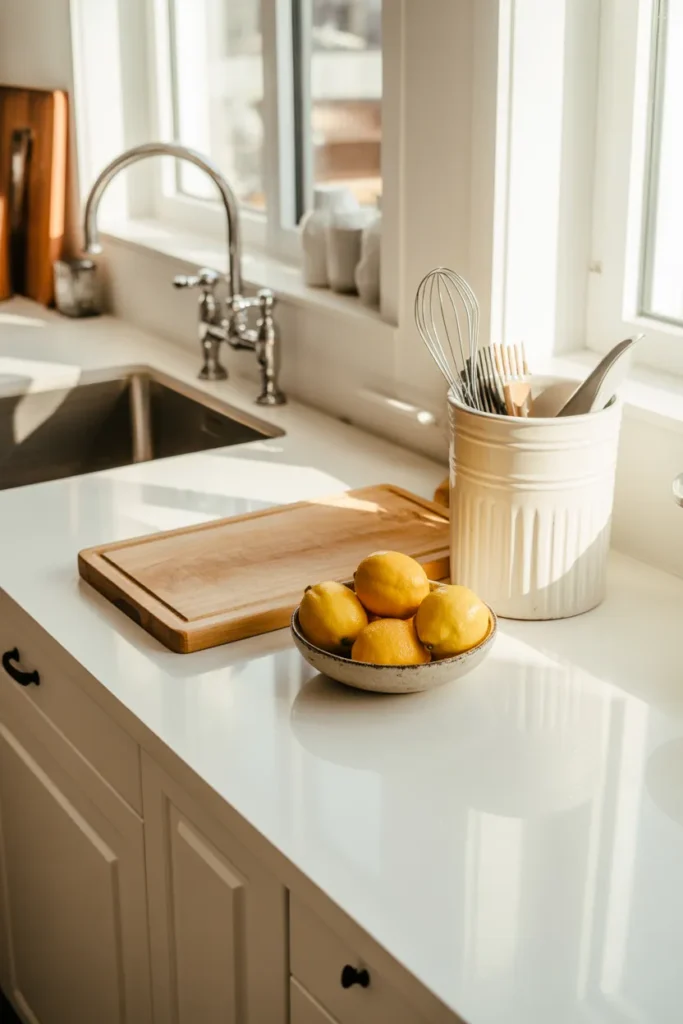
The cooking zone. Right next to the stove. Utensil crock, salt and pepper, a small bottle of cooking oil, and a cutting board leaning behind the counter. Nothing else.
The prep zone. The biggest empty space you have, usually between the sink and the stove. Keep this one almost completely clear. This is where you actually chop, mix, and work.
The catchall zone. One small tray or pretty bowl where mail, keys, or random kitchen stuff can land for the day. Having one defined spot keeps random items from spreading across the whole counter.
If you want to go deeper on organizing the cabinets that support these zones, my step by step guide to kitchen cabinet organization pairs perfectly with this approach.
Step 3: Use Trays to Visually Group Everything
Here is the Pinterest worthy secret nobody tells you. Trays are magic. A tray takes five random objects and makes them look like one intentional styled moment.
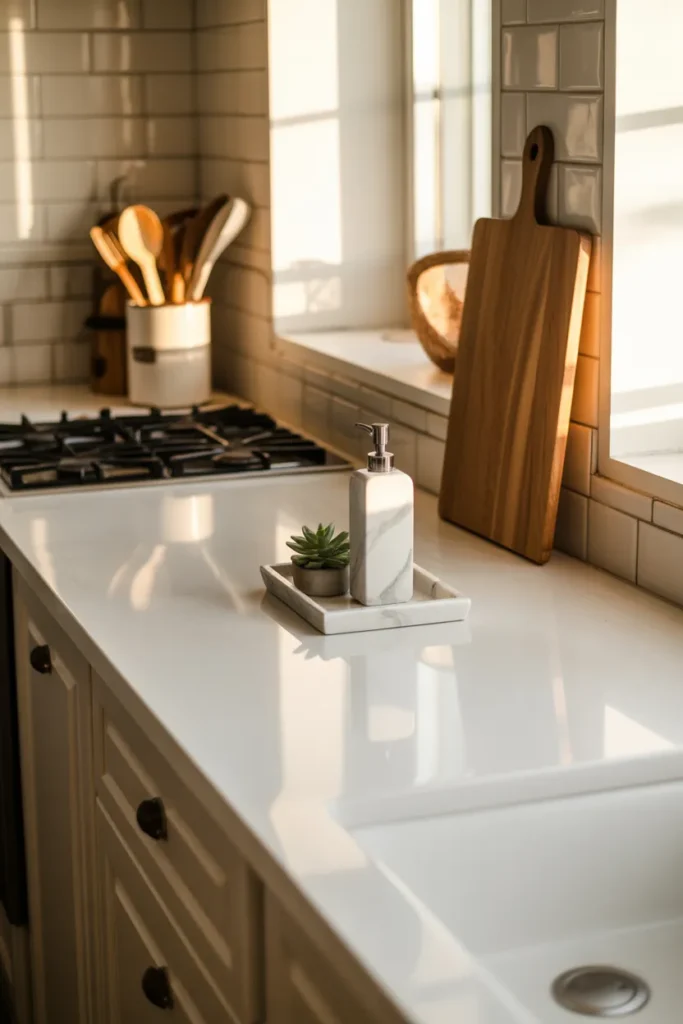
Put your dish soap, hand soap, and a small plant on a marble tray by the sink, and suddenly it looks like a boutique hotel instead of a pile of bottles. Put your oils, salt cellar, and pepper grinder on a wooden tray near the stove, and it looks like a cooking show set. Same items. Same counter. Just a tray underneath.
I like to pick trays in natural materials like marble, wood, or woven rattan because they soften the look and read as warm on camera, which matters a lot if you are like me and love saving Pinterest inspiration. Go for trays that are slightly smaller than you think you need, because the goal is to limit how much you can pile on.

Step 4: Go Vertical With Your Storage
Counters are expensive real estate. Your walls are free. Anything you can lift off the counter and onto a wall, a shelf, or a rail is a win.
Some of my favorite countertop storage ideas that actually go above the counter include:
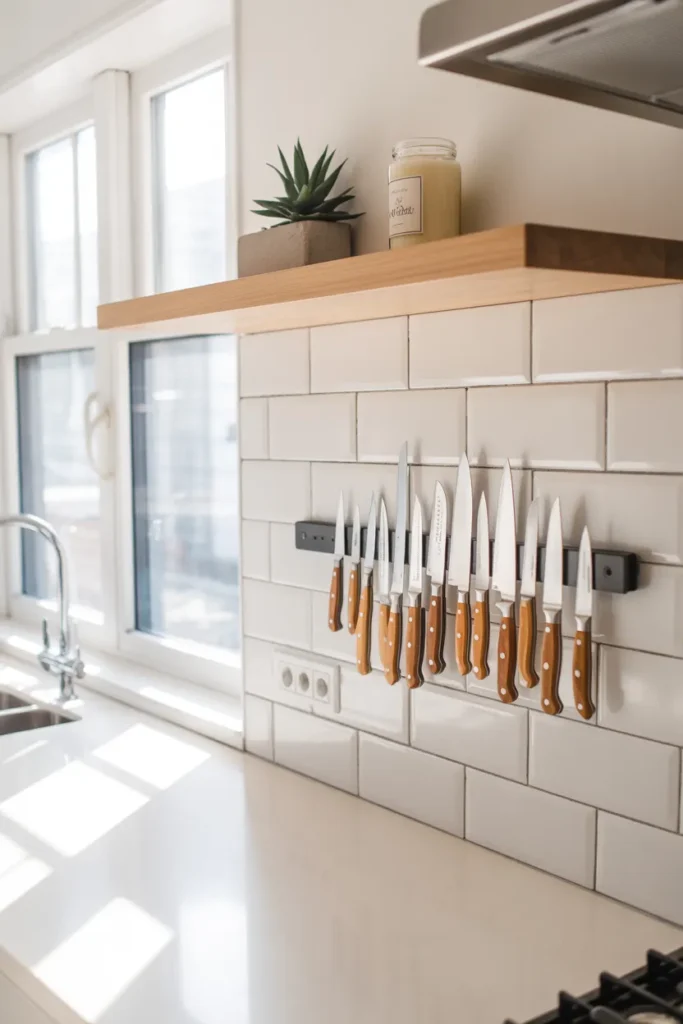
- A magnetic knife strip to replace a bulky knife block and free up an entire corner
- A small floating shelf above the sink for a plant, hand soap, and a candle
- A wall mounted paper towel holder so the roll does not eat counter space
- A hanging rail with S hooks for measuring cups, a grater, and oven mitts
- A pegboard for utensils if you have a stretch of empty wall
I resisted a magnetic knife strip for years because I thought it would look industrial. Reader, I was wrong. It looks beautiful, it keeps my knives sharper, and I got back a huge chunk of prep space. Absolute game changer.
Step 5: Tame the Small Stuff With Canisters and Crocks
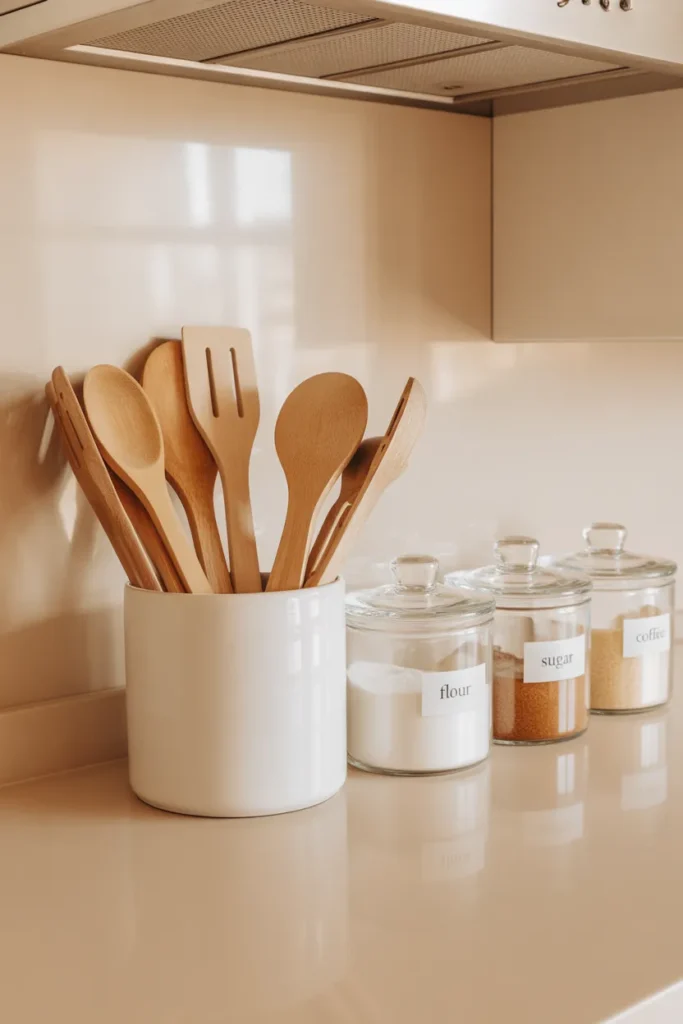
Little things cause big clutter. A single spatula looks fine on the counter. Forty two utensils stuffed in a drawer with three knives sticking out the side is a different story.
Use a single utensil crock for the five or six tools you actually reach for. Pretty canisters with lids can hold flour, sugar, coffee beans, or oats if you like the look of open shelving or a baking zone. For spices, I moved mine off the counter entirely because they were taking over. If that sounds like your situation too, my post on spice rack organization walks through eight ways to get spices neat and out of the way.
One rule I follow religiously now. If I bring a new small appliance or canister onto the counter, something else has to go. One in, one out. It sounds strict but it is the only reason my counters still look like this six months later instead of reverting back to the airport lost and found situation.
Step 6: Build an Appliance Garage or Cabinet Station
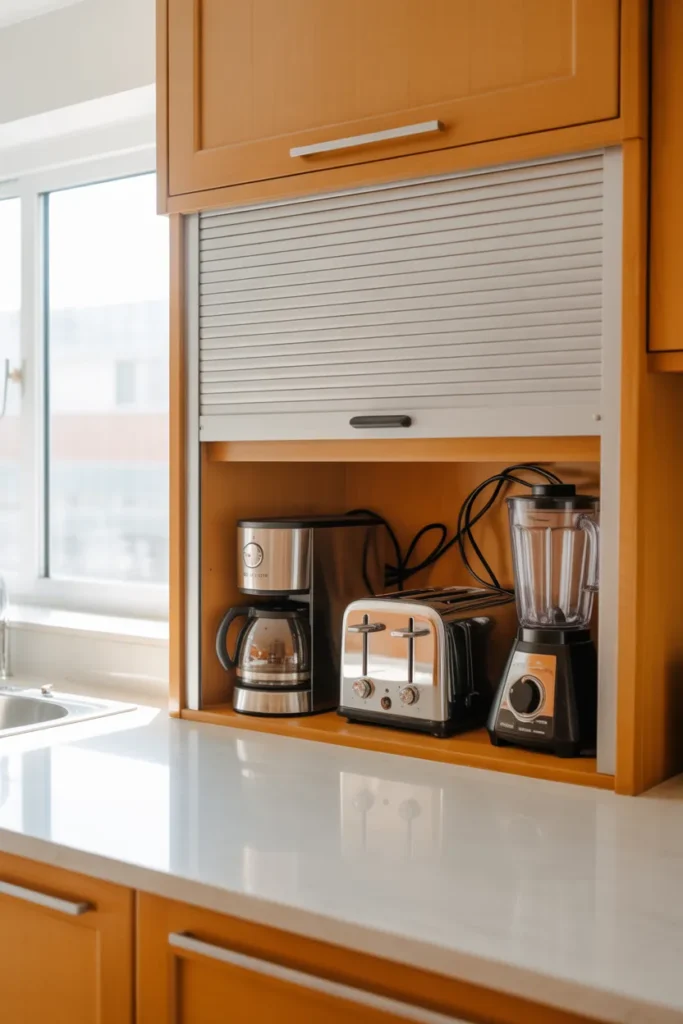
If there is one kitchen trend I will genuinely shout about, it is the appliance garage. This is basically a dedicated cabinet or a corner with a roll up door where you park your medium use appliances. Coffee maker, toaster, stand mixer, air fryer. They are all hidden but still plugged in and ready to go.
If a full built in appliance garage is not in your budget or not possible in a rental, do a mini version. Pick one lower cabinet, clear it out, add an extension cord or a simple power strip inside, and tuck your toaster or small blender in there. Pull it out when you need it, slide it back when you are done. Your counter looks instantly cleaner and you have not spent a dime on renovations.
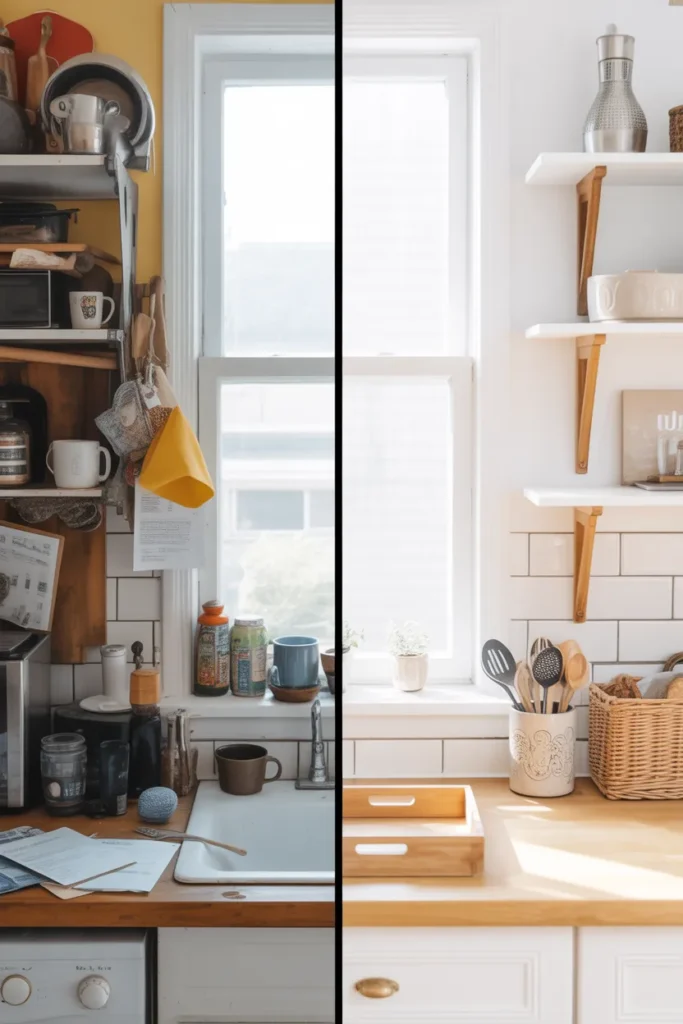
This one tweak alone cut my visible counter clutter by about half.
Step 7: The 5 Minute Nightly Reset
This is the habit that holds everything together. Every night, before I go to bed, I spend five minutes on a counter reset. That is it. Not an hour. Not a full clean. Just five minutes.
Here is what it looks like:
Wipe the counters with a damp cloth. Put anything random back where it lives. Load the last few dishes into the dishwasher. Move the dish rack items into cabinets. Fold the dish towel. Done.
Waking up to empty counters is honestly one of the tiny daily luxuries I did not know I was missing. The whole kitchen feels calmer. Breakfast feels easier. And you never have to do a huge weekend declutter because the clutter never gets big enough to need one.
If you want a broader reset routine for your whole home, these ten things to throw away right now are a fantastic weekend project that pairs great with this nightly habit.
Common Countertop Clutter Mistakes to Avoid
A few things I wish someone had told me three years ago:
- Buying organizers before decluttering. You end up with organized junk. Declutter first, then shop.
- Keeping duplicate appliances. You do not need two blenders. Pick a favorite.
- Storing mail on the counter. Move it to an entry tray or a wall pocket. Mail is not a kitchen item.
- Overstyling. Five decorative items on your counter look cute. Fifteen look chaotic.
- Forgetting the fridge and pantry. Counter clutter often comes from stuff that does not have a home. If your fridge is a mess, my guide on fridge organization fixes that root problem fast.
For a more minimal approach overall, the team at Real Simple has a great breakdown on styling kitchen counters without them feeling cold or empty, and The Spruce covers countertop decluttering with a slightly different angle that is worth a read too.
Quick FAQ on Kitchen Countertop Organization
How do I keep my kitchen counters clutter free on a budget? Start with a full reset, then use what you already own like baskets, mugs, and trays to group items. Most effective kitchen counter declutter wins cost zero dollars because they are about editing, not buying.
What should always be on a kitchen counter? Generally only daily use items. A coffee maker, a utensil crock near the stove, a cutting board, and maybe a small tray of oils and salt. Everything else is negotiable.
How do I organize a small kitchen counter? Go vertical with wall shelves and magnetic strips, use an appliance garage, and be ruthless about only keeping one tier of daily use items out. Small counters cannot afford weekly use clutter.
How often should I reset my kitchen counters? A quick 5 minute reset every night and a deeper 20 minute reset once a week is plenty to keep things under control long term.
Final Thoughts
Getting to a clutter free kitchen counter is not about being a naturally tidy person. It is about building a system where clutter has nowhere to hide and everything has a home. Start with the reset, create your zones, add a tray or two, go vertical where you can, and protect it all with a five minute nightly habit.
The first week is the hardest. By week three, you will barely notice you are doing it. And every single time you walk into your kitchen and see those calm, clean counters, you will feel it. That quiet little “ahh” moment. That is what good kitchen countertop organization actually feels like.
Now go clear that toaster off the counter. You have got this.