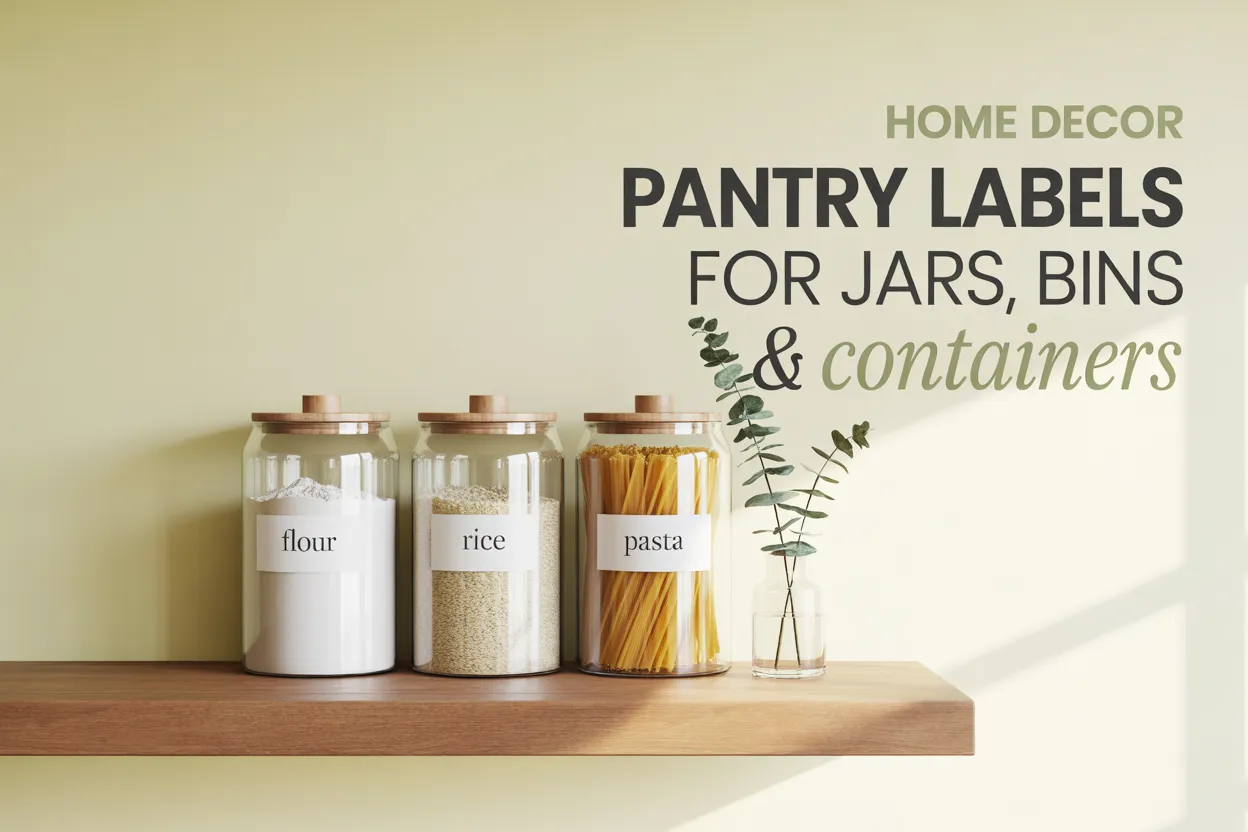
Pantry Labels That Actually Stay Stuck (And Look Good Doing It)
You open the pantry. Three jars of beige powder stare back at you. One is flour. One is powdered sugar. One is, embarrassingly, cornstarch from 2023. Nobody knows which is which, and the bag of rice is leaking onto a roll of paper towels.
That’s the universe begging for pantry labels.
Here’s the thing nobody tells you: a beautiful pantry isn’t about matching jars or color-coded bins. It’s about labels that you can actually read at 7 a.m. with one eye open, that survive a flour spill, and that look like they belong in your kitchen instead of a chemistry lab. After labeling four pantries in three different rentals, I’ve tested every kind of pantry label you can imagine. Vinyl. Chalkboard. Printable sticker paper. The fancy Etsy ones. The Dollar Tree experiment that lasted 11 days.
This guide breaks down pantry labels by material and price tier, so you can pick the system that fits your space, your budget, and the way your family actually cooks. We’ll cover free printable pantry labels, vinyl decals, chalkboard options, and where to splurge versus where to save.
Who This Pantry Label Guide Is For
This post is built for:
- Renters who need pantry labels that peel off cleanly without leaving sticky residue on borrowed cabinets or landlord-owned containers.
- Homeowners ready to commit to a long-term system with vinyl or printed labels that survive years of use.
- Small-space dwellers working with shallow shelves, narrow closets, or pull-out pantries under 24 inches deep.
- Budget-conscious organizers who want the look without the $200 Etsy haul.
- Aesthetic-driven Pinterest browsers who care as much about how their pantry photographs as how it functions.
If you’re nodding at any of those, you’re in the right place. We’re organizing this guide by material type and price tier, because that’s the decision most readers actually need help making.
Why Pantry Labels Are Worth the Hour They Take
Three reasons, and I’ll keep them tight:
- You stop buying duplicates. When everything has a labeled home, you can see at a glance that you already own three bags of brown sugar. Bye, $4.50 you would have spent at Target.
- Decanted dry goods last longer. Flour and rice in airtight, labeled jars stay fresh weeks longer than they do in their original paper bags. The USDA’s FoodKeeper guidance backs this up.
- The system survives other people. A husband, a kid, or a houseguest can put the cereal back where it belongs because there’s a label that says “cereal.” That’s what makes a pantry actually stay organized.
For a deeper dive into building the underlying organizational structure first, this pantry organization guide walks through the bin and shelf setup before you even pick a label.
The 5 Types of Pantry Labels (Pick the One That Matches How You Cook)
Every pantry label falls into one of five material categories. Each solves a different problem. Choosing wrong is why most labeling systems fail within a month.
1. Printable Pantry Labels (Free or Under $10)
What it is: A PDF or PNG file you print at home onto sticker paper, then cut to size and stick on jars.
Why it works: It’s the cheapest way to get a fully customized look. You control the font, the wording, and the size. Free pantry labels printable templates are everywhere, and editable Canva versions let you add specialty items like “garam masala” or “gluten-free oats” in minutes.
How to execute it:
- Use Avery Waterproof Film Labels (around $14 for 50 sheets at Amazon or Staples) or Neato Clear Sticker Paper (around $12 for 25 sheets) for paper that survives splashes.
- Set your printer to “Best” quality and let labels dry for 24 hours before peeling.
- Clean the jar surface with isopropyl alcohol first. Skip this and your labels will lift within a week.
- For extra durability, layer clear waterproof tape (Duck All Weather Repair Tape, around $9 a roll at Home Depot) over the label, leaving a small border.
Best for: Renters and budget-conscious organizers who want to test a system before committing.
2. Vinyl Pantry Labels (Cricut or Silhouette, Around $25 to $50 Total Setup)
What it is: Adhesive vinyl cut into letter shapes by a cutting machine, then transferred onto jars using transfer tape.
Why it works: Vinyl is genuinely waterproof. It survives daily wiping, spills, and even a quick rinse. The minimal, just-the-letters look fits Japandi and Modern Farmhouse pantries beautifully because there’s no visible sticker edge.
How to execute it:
- Pick matte vinyl in black or warm white for the most timeless look. Glossy vinyl reads more dated.
- Cricut Joy is the smallest and easiest entry point at around $179 at Target or Michaels.
- Pantry labels SVG files are everywhere on Etsy (search “minimalist pantry labels SVG”) for around $4 to $8 a set.
- Hand wash containers only. Vinyl can lift in a dishwasher.
Best for: Homeowners and Cricut owners ready for a long-term, polished system.
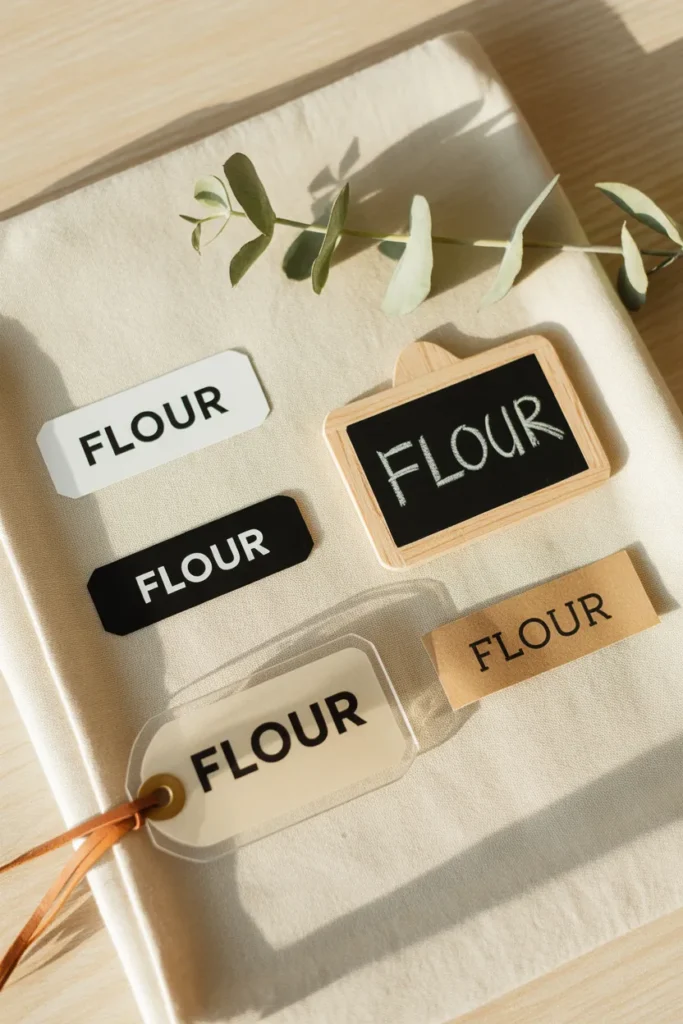
3. Chalkboard Pantry Labels (Around $10 to $15 a Set)
What it is: Pre-cut adhesive chalkboard stickers you write on with a chalk marker.
Why it works: You can change the contents anytime. Today it’s quinoa, next month it’s farro. Chalkboard labels are the only material that handles a pantry where contents rotate seasonally or by what’s on sale at Costco.
How to execute it:
- Buy a multi-shape pack at HomeGoods, Target, or Amazon (around $12).
- Use a Sharpie chalk marker (around $7), not actual chalk, for crisp lettering that doesn’t smudge.
- Print your name with a stencil if your handwriting is rough. The stencil will save the entire aesthetic.
- Seal with a quick spray of clear sealant if you want extra smudge resistance.
Best for: Maximalists, families with rotating bulk buys, and Cottagecore or Grandmillennial pantries where a hand-lettered look fits the style.
4. Acrylic and Wood Tag Labels (Splurge: $30 to $80 a Set)
What it is: Laser-engraved or printed labels on clear acrylic, wood, or leather tags that hang or clip onto jars and bins.
Why it works: These don’t stick to anything, which means they’re fully reusable when you swap containers. Clear acrylic on glass jars looks high-end and almost invisible. The Container Store, Crate & Barrel, and West Elm all carry versions in the $30 to $80 range. Etsy custom shops can run higher for personalized engraving.
How to execute it:
- Match the tag finish to your hardware. Brass tags with brass cabinet pulls. Black acrylic with matte black handles.
- Use waxed cotton string in a neutral tone, never bright colored ribbon.
Best for: Splurgers building a forever pantry, and anyone who hates committing to permanent stickers.
5. Dissolvable Food Labels (Around $15 a Roll)
What it is: Labels that fully dissolve in water within 30 seconds, used commonly in commercial kitchens.
Why it works: Zero residue, zero scrubbing, zero label graveyard on the side of your container. TownStix Dissolvable Food Labels (around $15 at Amazon) are the home-kitchen favorite for leftovers, meal prep containers, and items you refill weekly.
How to execute it: Just write, stick, and rinse off when the container is empty.
Best for: Meal preppers, batch cooks, and anyone using their pantry as a partial fridge overflow zone.
Budget vs Splurge: Pantry Label Shopping Tiers
Here’s the breakdown by what you’ll actually spend:
| Tier | Total Cost | What You Get | Where to Shop |
|---|---|---|---|
| Budget | Under $25 | Printable labels on regular sticker paper, Dollar Tree chalkboard tags, hand-lettering with a chalk marker | Dollar Tree, Walmart, free printables |
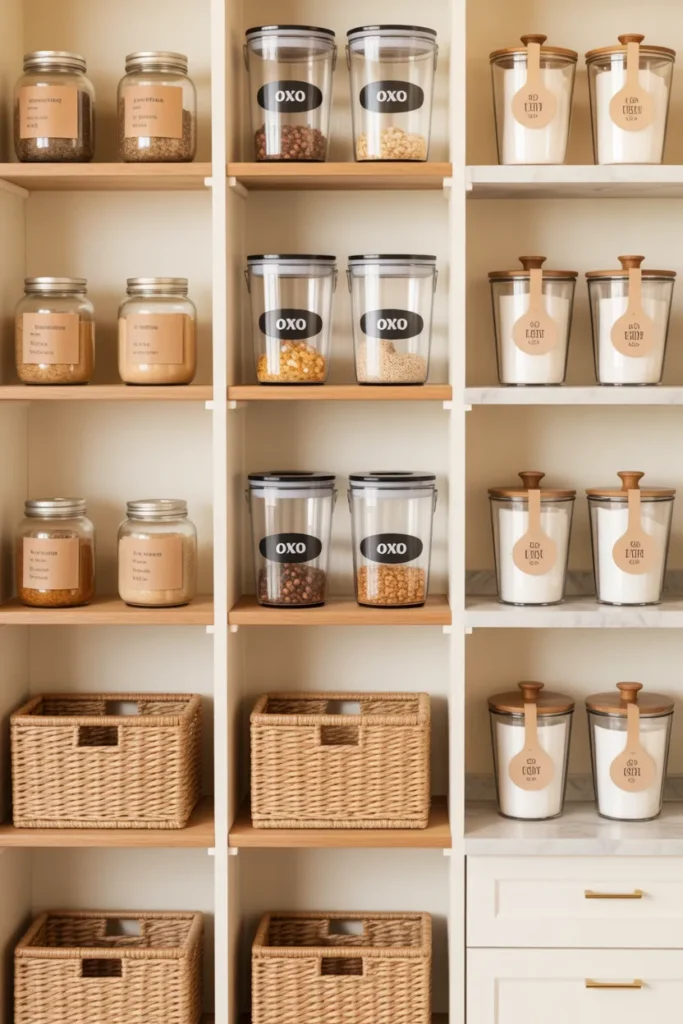
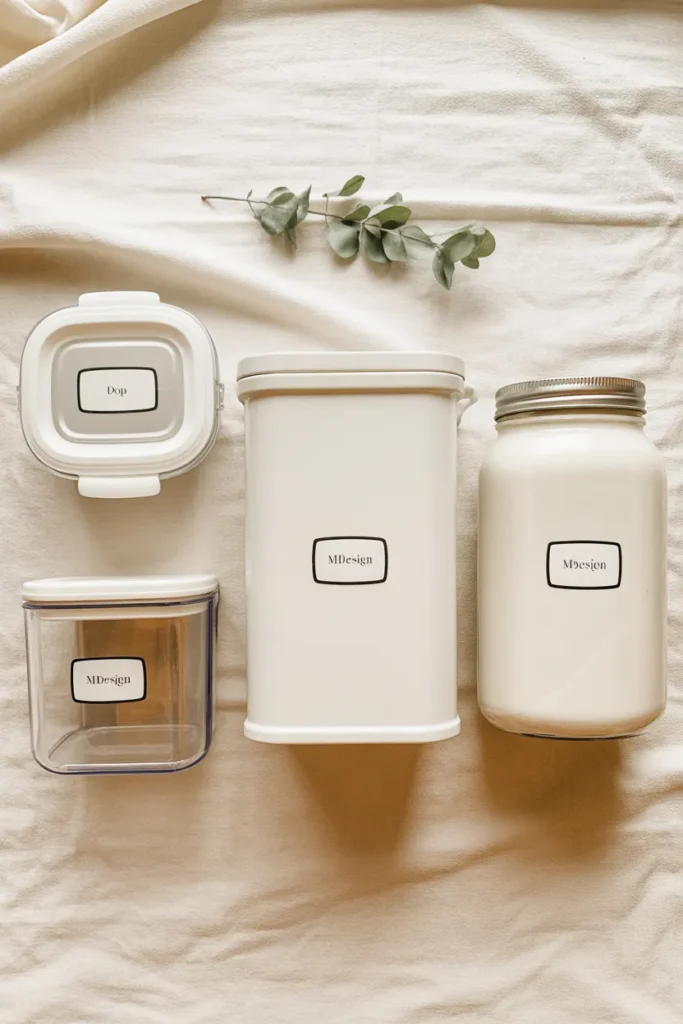
| Mid-Range | $25 to $100 | Avery Waterproof Film Labels, mDesign or OXO POP starter container set, pre-made vinyl decals from Etsy, Cricut Joy if you don’t already own one | Target, Amazon, IKEA, Etsy, HomeGoods |
| Splurge | $100 to $400+ | Full Container Store canister set, custom acrylic tags from West Elm or Crate & Barrel, professional vinyl install, engraved wood tags | The Container Store, West Elm, Crate & Barrel, CB2, Anthropologie Home |
Honest opinion after testing all three tiers: the mid-range hits the sweet spot. A $40 set of OXO POP containers from Target paired with a $4 SVG download and existing Cricut produces a pantry that photographs as well as the splurge version, at a quarter of the cost.
How to Match Pantry Labels to Your Style
The label material and font carry more design weight than the jars themselves. Pick wrong and a beautiful pantry looks like a Pinterest fail.
Japandi and Minimalist Pantries
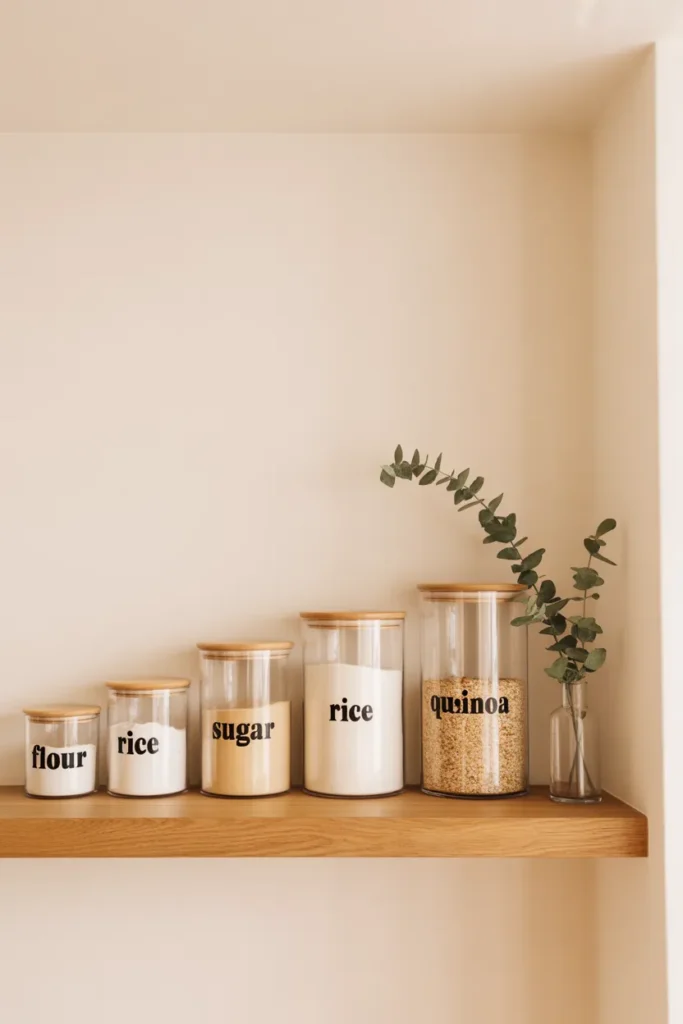
Skip script fonts entirely. Use a clean sans-serif (Futura, Avenir, or Lato), all lowercase, in matte black on white or matte white on glass. Single-line labels only. No icons.
Modern Farmhouse Pantries
A bold modern serif works here (Playfair Display, Cormorant Garamond) in black on cream paper labels with a thin black border. Add weathered wood bins and woven seagrass baskets to round it out.
Cottagecore and Grandmillennial Pantries
Hand-lettered chalkboard labels with white chalk marker. Mix in vintage glass jars from thrift stores. Sticker paper labels with a slightly aged kraft background look right at home here.
Mid-Century Modern Pantries
Geometric sans-serif (Avenir Next, Geometria) in warm walnut, ochre, or terracotta vinyl. Stay tight with consistent letter spacing.
Industrial Pantries
White or kraft paper labels on metal canisters. Stencil-style fonts, slight distress acceptable. Sharpie-on-tape works ironically well here.
For more pantry styling ideas that complement your label choice, this aesthetic pantry inspiration post covers the surrounding container, lighting, and shelf-styling decisions.
Container-to-Label Sizing: What Actually Fits Your Bins
This is the part nobody tells you, and it’s why labels look “off” in real-life pantries. The label needs to fit the container’s flat front face, with breathing room on all sides.
| Container | Front Face Size | Best Label Size |
|---|---|---|
| OXO POP Mini Square (0.4 qt) | ~3″ wide | 2″ x 1″ label |
| OXO POP Medium Square (1.5 qt) | ~4.5″ wide | 3″ x 1.5″ label |
| OXO POP Big Square Tall (4 qt) | ~6″ wide | 4″ x 2″ label |
| mDesign Plastic Bins (medium) | ~4″ wide | 2.5″ x 1″ label |
| IKEA 365+ Glass Jar (large) | ~3.5″ wide | 2.5″ x 1.25″ label |
| Mason Jar (quart, wide-mouth) | ~3.5″ wide | 2.5″ round or 2.5″ x 1″ label |
Stick the label horizontally centered, about one third down from the lid. That’s the eye-level sweet spot when the container sits on a shelf.
Where to Place Pantry Labels (Eye Level Is Not Optional)
Three rules from years of trial and error:
- Front-facing, eye level when seated on the shelf. If you have to tilt or pull the container forward to read the label, the system will fail.
- Same horizontal line across all containers in a row. Even tiny differences in vertical placement make the whole shelf look messy.
- One label per container, not the lid. Lid labels disappear the moment the container is stacked or moved, which happens daily in real kitchens.
For deep pantries with two-row shelving, label both the front-row and the back-row containers identically so swapping doesn’t break the system.
How to Apply Pantry Labels So They Actually Stay Stuck
Most label failures happen in the first 60 seconds of application. Here’s the foolproof sequence:
- Wash the container with warm soapy water and dry completely.
- Wipe the label area with isopropyl alcohol (90% works best). This step is non-negotiable. Skip it and you’re starting a countdown to the label peeling.
- Position with painter’s tape first. Stick a small strip of painter’s tape across the bottom edge of where the label will go, use it as a level guide, and only then peel the label backing.
- Press from the center outward with a credit card or squeegee. Air bubbles always start at the edges, so working from the middle out pushes them out cleanly.
- Wait 24 hours before exposing to moisture. This is the part where everyone fails. The adhesive needs time to cure.
For more under-the-shelf labeling techniques and tricks for tough surfaces, this home labeling tips guide covers fridge, freezer, and laundry-room applications too.
Common Pantry Label Mistakes to Avoid
I’ve made all of these. Skip them so you don’t have to.
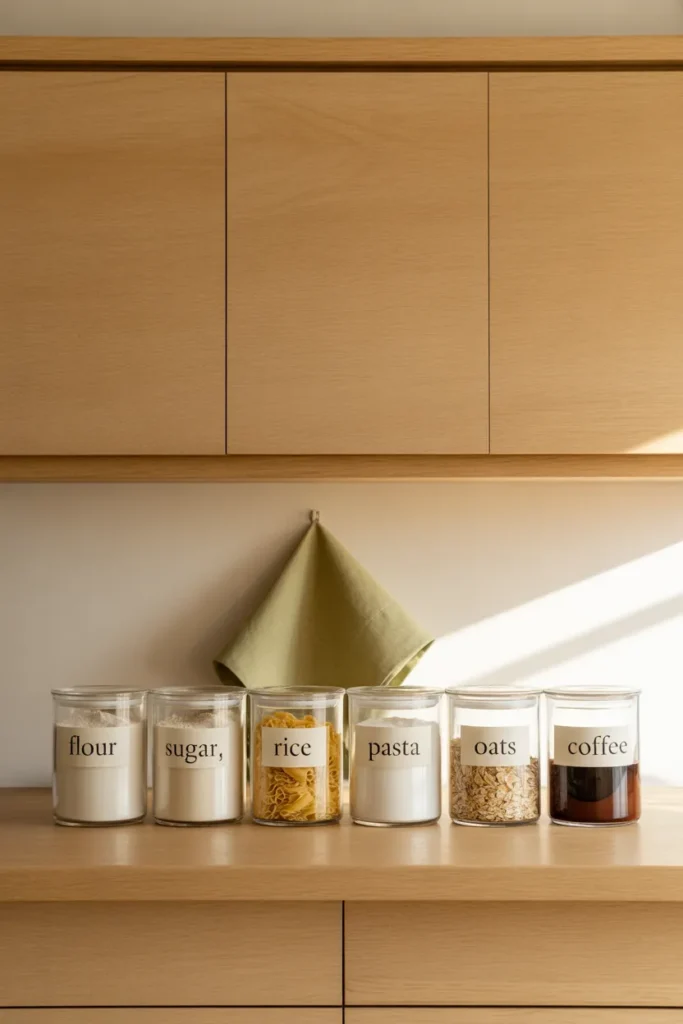
Over-labeling. “Almonds, raw, sliced, organic, Costco” is too much. “Almonds” is the right amount. Granular labels need updating constantly, and that’s the system killer. Use broad categories that absorb weekly grocery changes.
Inconsistent fonts. A pantry with five label fonts looks chaotic, even with perfect organization. Pick one font and stick to it across every label, every container, every bin.
Tiny font sizes. If your label text is under 18 point, you can’t read it from across the room. Bump it up. There’s no design award for restraint.
Labeling textured plastic. Adhesive will not stick well to textured or matte-finish plastic bins. Either choose smooth-finish containers or use clip-on or magnetic labels for textured ones.
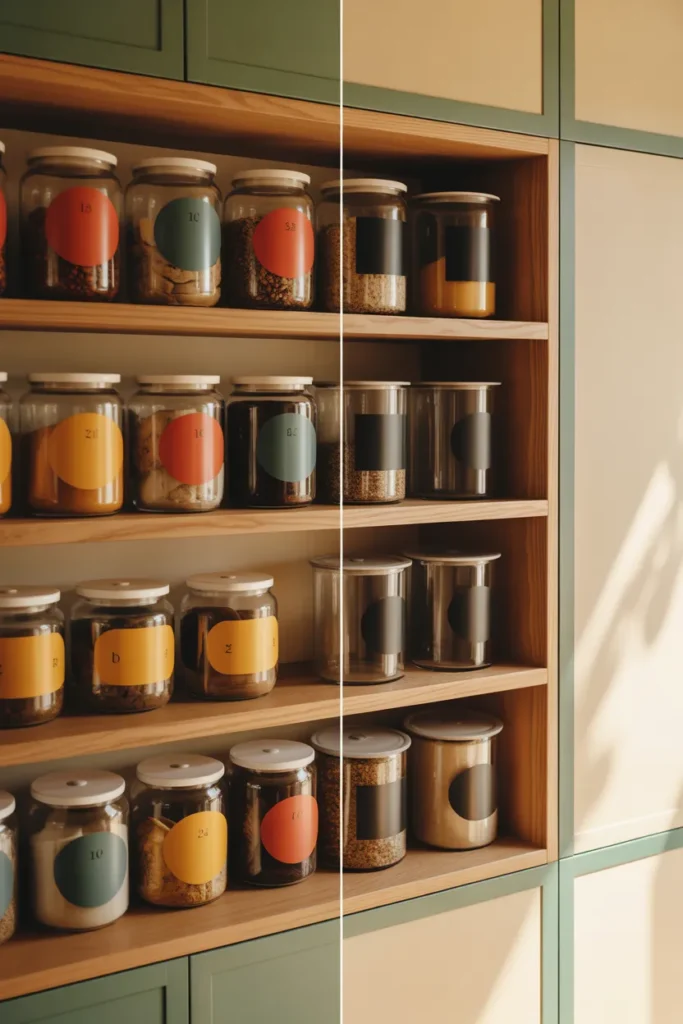
Color-coded chaos. Resist the urge to use five different label colors for “categories.” Black on white reads cleaner, photographs better, and never goes out of style.
Labeling before decanting. Always pour the food in first, lid on, then label. You’d be amazed how many people stick the label first, then realize the lid has to come off and they applied it upside-down.
Skipping the alcohol wipe. Listed twice on purpose. It’s the single biggest reason DIY labels fail.
The 30-Day Test: Will Your Labels Survive?
Here’s a quick checklist I run on any new pantry labeling system after one month:
- All labels still firmly stuck (no curling edges)
- Text still legible (no fading, smudging, or running)
- Family members are using the labels (not asking where things go)
- No new “mystery jars” without labels
- Labels still look intentional, not stuck-on
If any item fails, the system needs a tweak. Usually it’s the adhesive, the font size, or the over-specificity issue.
Best Pantry Label Picks by Need
For readers who want a quick shop-this-now answer:
- Best free printable pantry labels: Lauren Gleisberg’s free editable set, plus the Avery 8163 template combo for $6 worth of labels at Staples.
- Best ready-made vinyl set on Etsy: Search “minimalist pantry labels matte black” and filter by 4+ stars. Expect $8 to $15 for 60+ labels.
- Best chalkboard labels at Target: Threshold or Made by Design rectangle multi-pack, around $12.
- Best splurge: The Container Store’s Linus Pantry Collection paired with custom engraved acrylic tags from a small Etsy maker (around $40 for a set of 20).
- Best for renters: TownStix Dissolvable Food Labels for anything you don’t want to commit to.
Pantry Labels FAQ
How do I do this in a small space or rental?
Use removable adhesive labels or clip-on tags only, and stick to clear containers so the label is the only visual element. In rentals, never use industrial-strength adhesive on landlord-owned cabinetry. Stick to the containers themselves and use command-strip baskets or no-drill shelving where you need extra storage.
What is the budget version of this idea?
Print free pantry labels onto regular sticker paper from Walmart (around $4 a pack), apply them to dollar store glass jars, and seal with clear packing tape for waterproofing. Total spend under $20 for a full pantry refresh.
What if I don’t have a Cricut or Silhouette?
You don’t need one. Avery’s free online template tool, paired with Avery 22822 or 22817 round labels, lets you design and print pantry labels straight from your home printer. Or buy a pre-made vinyl decal set from Etsy and skip the cutting machine entirely.
How long does this project take?
Plan for 2 to 4 hours total: 30 minutes designing or downloading labels, 30 minutes printing and cutting, 1 hour decanting and applying labels, plus the 24-hour adhesive curing window before you start regular use.
Are pantry labels worth it if I don’t have a big pantry?
Yes. A two-shelf cabinet pantry benefits more from labels than a walk-in does, because there’s less visual real estate and every container counts. Small pantries are where labels work hardest.
What’s the biggest mistake in pantry labeling?
Over-specificity. “Brown sugar” is right. “Light brown sugar, organic, 1 lb” is the system killer. Broad categories that absorb weekly grocery changes win every time.
Where should I place labels for best visibility?
Eye level when the container is sitting on its shelf, front-facing, horizontally centered, about one third down from the lid. Consistent placement across every container in a row matters more than the exact height.
Are matching labels really necessary?
Yes, for the same reason matching plates make a table look set rather than thrown together. Label consistency is what turns a shelf full of containers into a labeled pantry.
Final Thoughts: Pick One Material and Commit
The best pantry labels are the ones you’ll actually keep up. Vinyl decals are stunning but require commitment. Chalkboard labels are flexible but need a chalk marker on hand. Printable pantry labels are cheap and customizable but need waterproofing if you cook seriously.
Pick the material that matches how you live, not how you wish you lived. A pantry full of perfect-looking labels you don’t update is worse than a pantry full of legible chalkboard tags you actually maintain.
Save this post to your pantry organization Pinterest board so you have the material comparison handy when you’re ready to start. And if you’re not sure where to begin, screenshot the budget vs splurge table above and decide your tier first. Everything else flows from there.
Which label type are you reaching for first? The clean vinyl, the flexible chalkboard, or the splurge-worthy acrylic?