

Garage Workshop Organization: Set Up a Workspace That Works
Most garage workshop organization advice hands you a list of bins and hooks, then leaves you standing in the middle of a two-car garage with no idea where anything should actually go. That is the wrong order. A workshop that works is a layout problem first and a product problem second. Get the layout right and the products almost pick themselves. This guide walks the layout, the wall systems, the bench height, the safety rules, and the real costs. Set it up this weekend and you will still be using it a year from now.
Here is the honest part. You will not fix a garage in an afternoon. Two Saturdays, though? That is realistic, as long as you work in the right sequence.
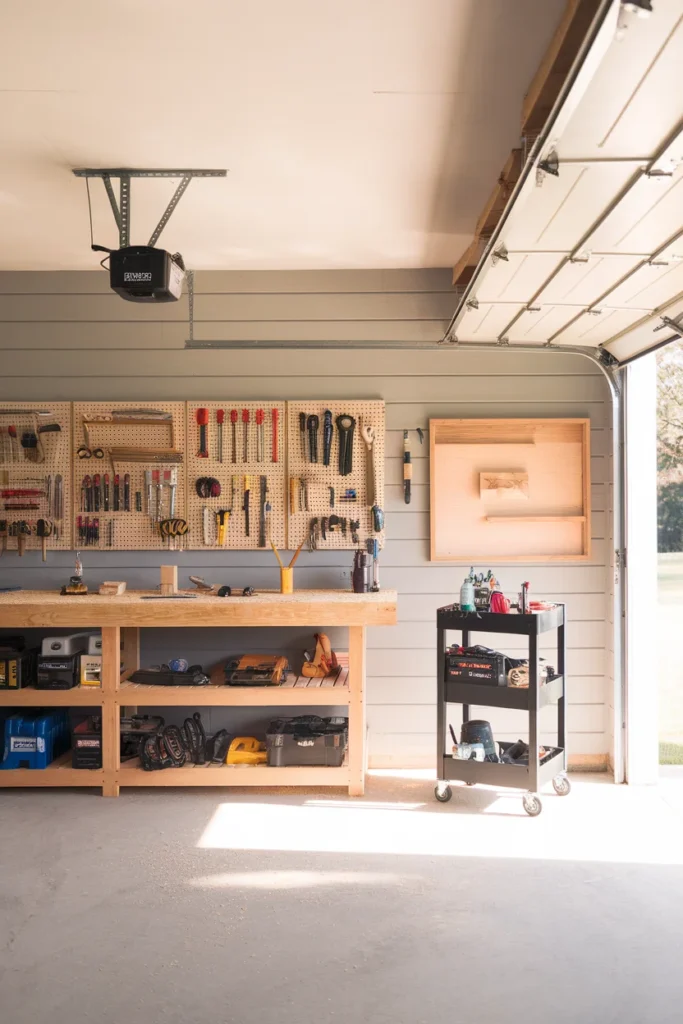
Start With the Only Question That Matters: What Do You Actually Build Here?
Before you buy a single bin, answer this: what do you make in this space? Woodworking, car work, bike repair, and general home maintenance all want different layouts. A woodworker needs infeed and outfeed room around a saw. Someone doing brake jobs needs floor space and a creeper. A bike mechanic needs a repair stand and almost no bench depth at all.
Write down the three projects you did most in the last year. That short list is your brief.
Then measure. A standard two-car garage runs 20 feet by 22 feet, which is 440 square feet. The size most builders recommend for a car plus real storage is 24 by 24, or 576 square feet. A minimum two-car build is 20 by 20 at 400 square feet. Now subtract your vehicle footprint. What is left is your actual shop.
Most people are working with 120 to 200 usable square feet. Plan for that, not for the shop on YouTube.
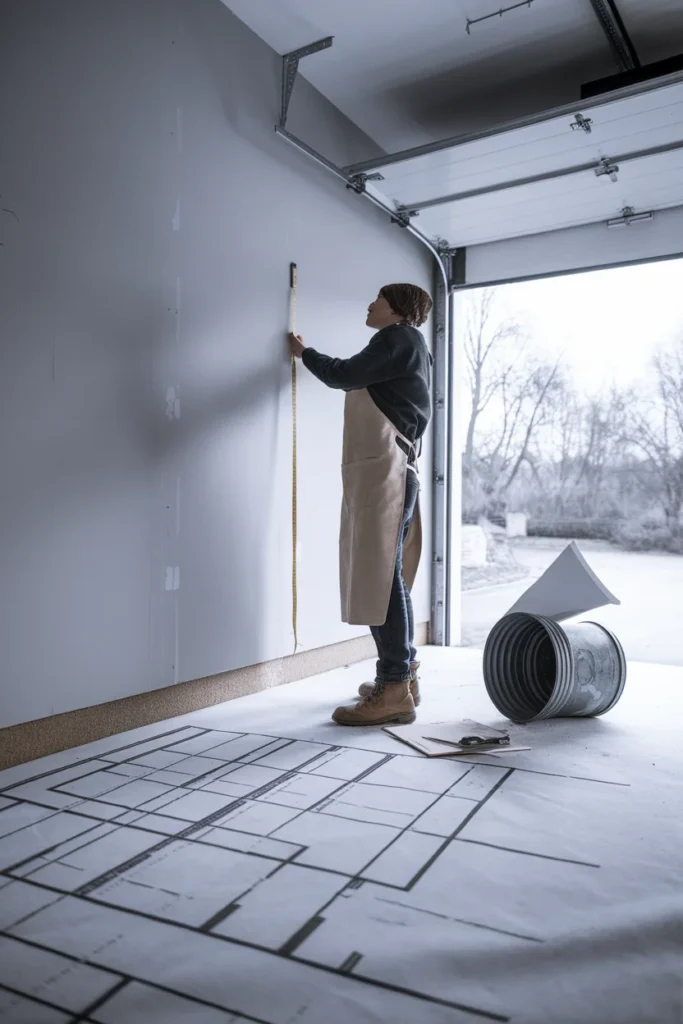
The Three-Ring Workshop Rule
Here is the framework I keep coming back to, and it is the thing that separates a shop you enjoy from a shop you avoid.
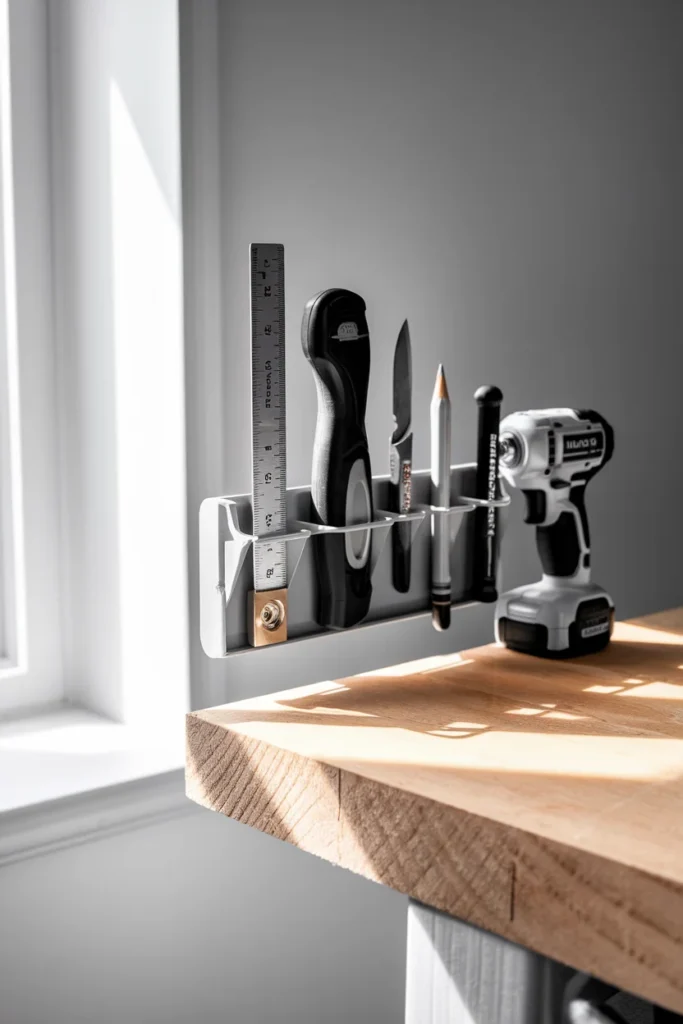
The Three-Ring Workshop Rule sorts every tool you own by how far you should have to walk to get it. Ring 1 is everything within arm’s reach of your bench without stepping. Ring 2 is everything you can reach in two steps. Ring 3 is the back wall, the high shelves, and the ceiling. A tool’s ring is set by frequency of use, never by size, and never by what looks tidy.
Ring 1 holds maybe fifteen items: your tape, your combination square, a utility knife, a pencil, your driver, your most-used bits, clamps you grab constantly. That is it. Fifteen.
Ring 2 holds the weekly tools. Circular saw, sander, drill index, glue, sandpaper, the good chisels.
Ring 3 holds everything seasonal or rare. Tile saw, holiday bins, the spare extension ladder, camping gear.
The rule works because clutter is almost never a volume problem. It is a placement problem. Tools pile up on a bench because their real home is four steps away and you were in the middle of something. Four steps is too far. That is the whole insight.
Clear the Floor Before You Buy Anything
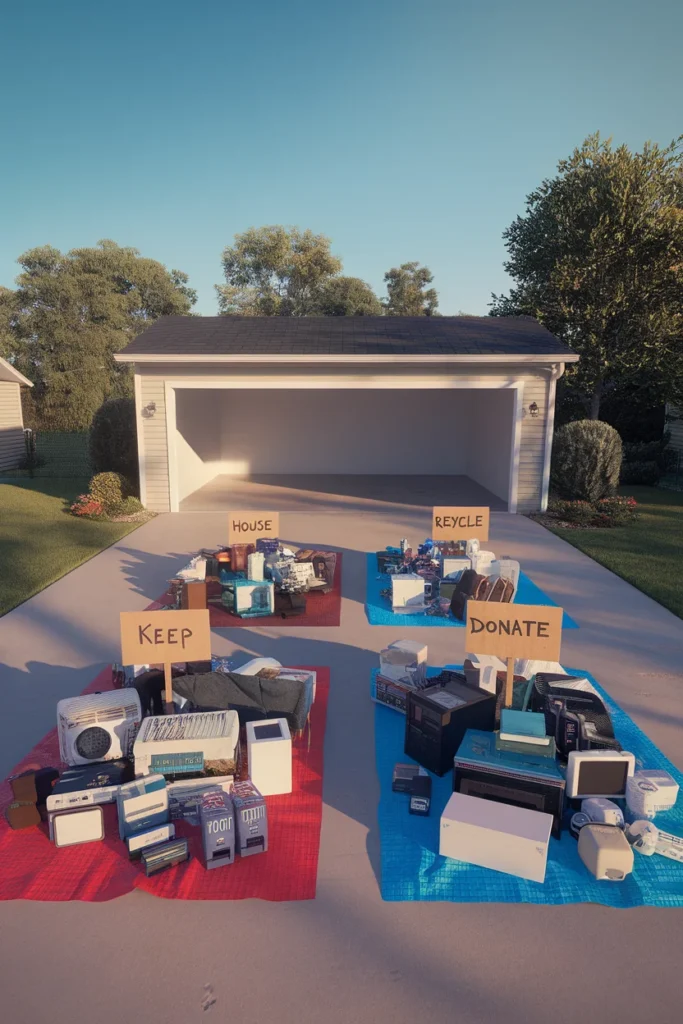
Floor clutter is what makes a garage feel unusable. It is the first thing to go. Pull everything out onto the driveway on a dry morning. Yes, everything.
Sort into four piles: keep in the shop, keep elsewhere in the house, donate or sell, recycle or trash. Untouched in two years? If you can rent it at Home Depot for under $40 a day, it goes.
If that pile feels paralyzing, the same easy-first sequence in where to start decluttering when every room feels like too much applies here. Start with obvious trash, move to duplicates, and save the sentimental hand-me-down tools for last.
One rule that saves hours: nothing goes back on the floor except things with wheels or things over 100 pounds. Everything else earns a wall, a shelf, or a ceiling spot.
Give Every Wall a Job: Pegboard vs. Slatwall vs. French Cleat
This is the decision that shapes everything else, and it is the one the big roundups skip. All three systems work. They fail in different ways, and they cost very different amounts.
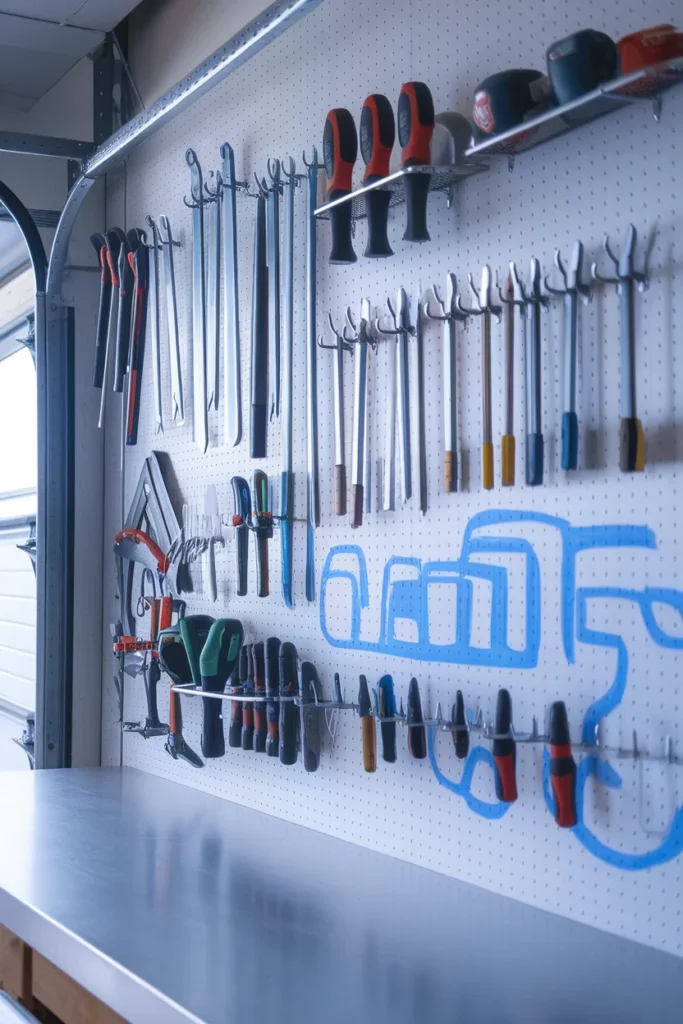
Pegboard
Standard pegboard uses 1/4 inch holes on a 1 inch center grid, in panels from 1/4 inch to 3/4 inch thick. It has to stand off the wall on 1×2 or 1×3 furring strips so hook ends have somewhere to go. Skip the furring strips and nothing will seat properly.
Pegboard is the cheapest way to get a full tool wall up. An Everbilt 1/8 inch zinc-plated 32-piece hook assortment runs $6.98 at Home Depot. The 1/4 inch 32-piece kit is $12.98. The weakness is real though. Standard hooks lift out along with the tool maybe a third of the time, which gets maddening at 9pm when you are hanging up a wrench one-handed. Buy locking or clipped hooks instead. That problem mostly goes away.
Best for: hand tools, light items, renters, anyone starting from zero.
Slatwall and track systems
Rubbermaid FastTrack and Gladiator GearTrack are the two names you will keep seeing. A Rubbermaid FastTrack 48 inch slatwall panel runs $19.98 at Home Depot, and Rubbermaid rates the system at roughly 50 pounds per linear foot when it is anchored into studs. The FastTrack power tool hook is rated to 50 pounds on its own.
Track and slatwall systems carry far more weight than pegboard and hold it without popping loose. They also cost several times more per square foot of wall, and the accessories only fit their own system, so you are choosing an ecosystem.
Best for: heavy items, long-handled yard tools, ladders, garages that double as sports gear storage.
French cleat
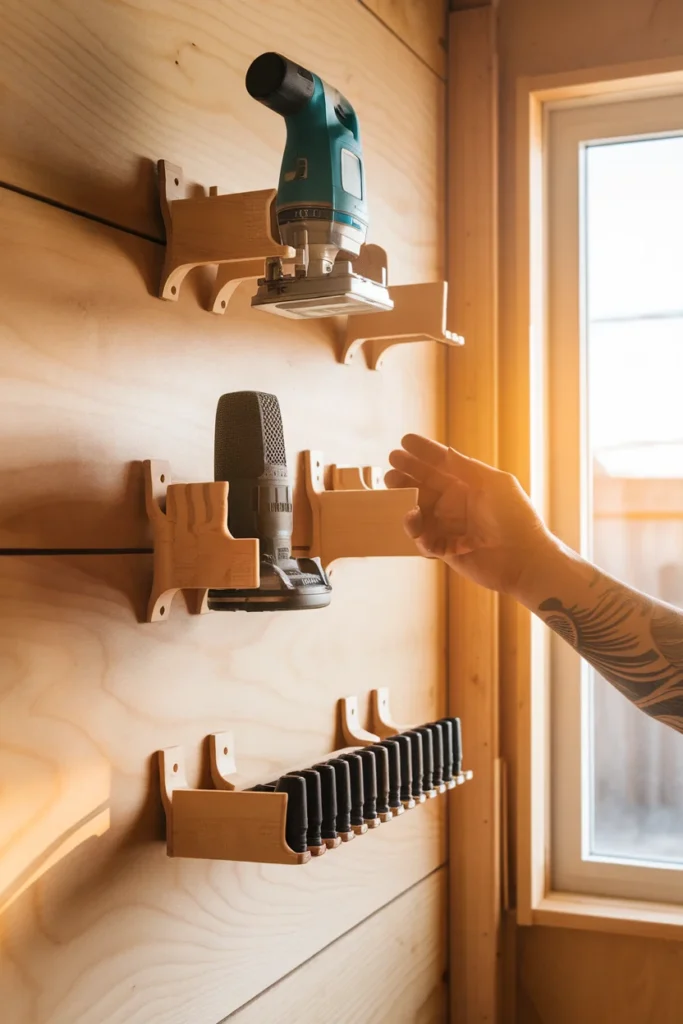
A French cleat wall is two matching strips of plywood cut at a 45 degree bevel, one screwed to the wall, one on the back of whatever you are hanging. Bob Vila’s build guide calls for 3/4 inch Grade A or B plywood when you are hanging power tools and heavier shop items. Half-inch plywood is fine for light-duty use. Rip the strips to about 2 1/2 inches wide.
It is the most flexible option by a wide margin. You build custom holders for oddly shaped things (a router, a set of drivers, a sander with its dust bag) and then move them anywhere on the wall in one second. There is a catch. It is the only option that needs a saw and a Saturday.
Best for: woodworkers, anyone with awkward tools, anyone who reorganizes often.
The quick comparison
| System | Cost per 4 ft of wall | Load capacity | Rearranges | Needs tools to install |
|---|---|---|---|---|
| Pegboard | $15 to $35 with hooks | Light, hooks can lift out | Instantly | Drill only |
| Slatwall / track | $20 per 48 in panel, plus hooks | About 50 lbs per linear foot | Slides along track | Drill, stud finder |
| French cleat | $25 to $45 in plywood | Heavy, limited by screws and studs | Instantly, any position | Table saw or circular saw |
Honestly, most well-run garage workshops end up mixing two of these. Pegboard above the bench for hand tools, French cleat on the long wall for power tools, and that combination costs less than doing an entire garage in slatwall.
Set Your Workbench at the Right Height
Nobody in the top-ranking garage workshop organization articles tells you this number, and it is the difference between a bench you use and a bench that gives you a sore back.
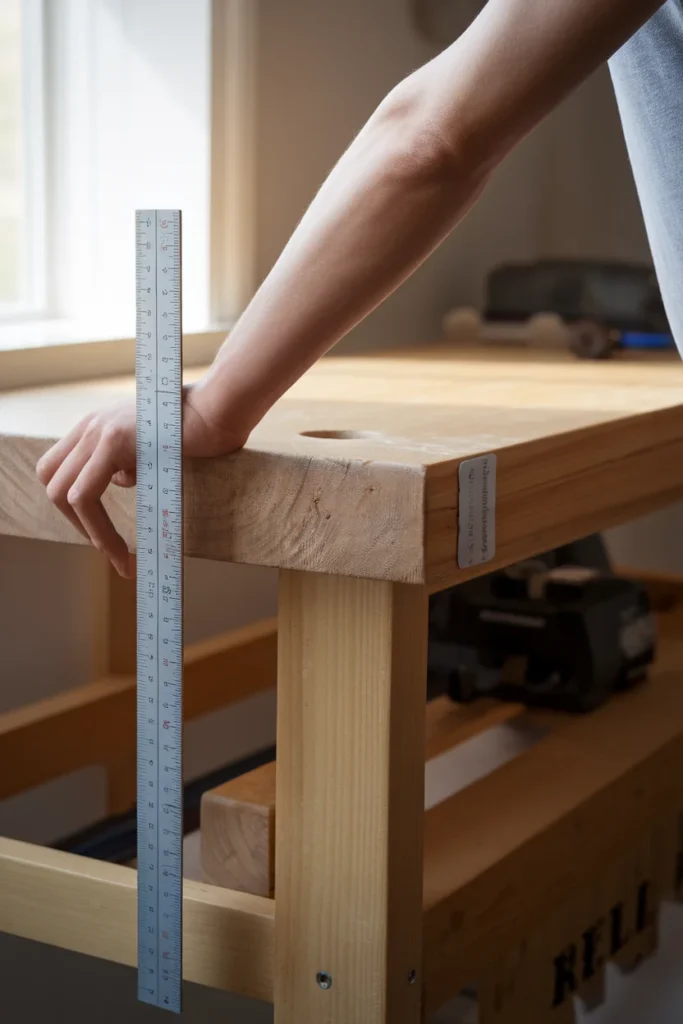
Start from your elbow height standing relaxed, which is roughly 63 percent of your total height. For a person who is 5 feet 10 inches, that lands around 43 to 45 inches, and that is the right height for general assembly work. Precision and detail work wants the surface 2 to 4 inches higher than that. Heavy work like planing, pounding, or chiseling wants it 4 to 6 inches lower, because you need to get your body weight over the tool.
If you only build one bench, build it at elbow height and add a removable riser platform for detail work. A Seville Classics UltraHD height-adjustable workbench (48 inches wide, 24 inches deep, adjusting from 28 to 41.5 inches) solves it in one purchase if you would rather not build.
Position matters as much as height. Put the bench where the light is, not where the leftover space is.
Use the Ceiling, But Respect the Limits
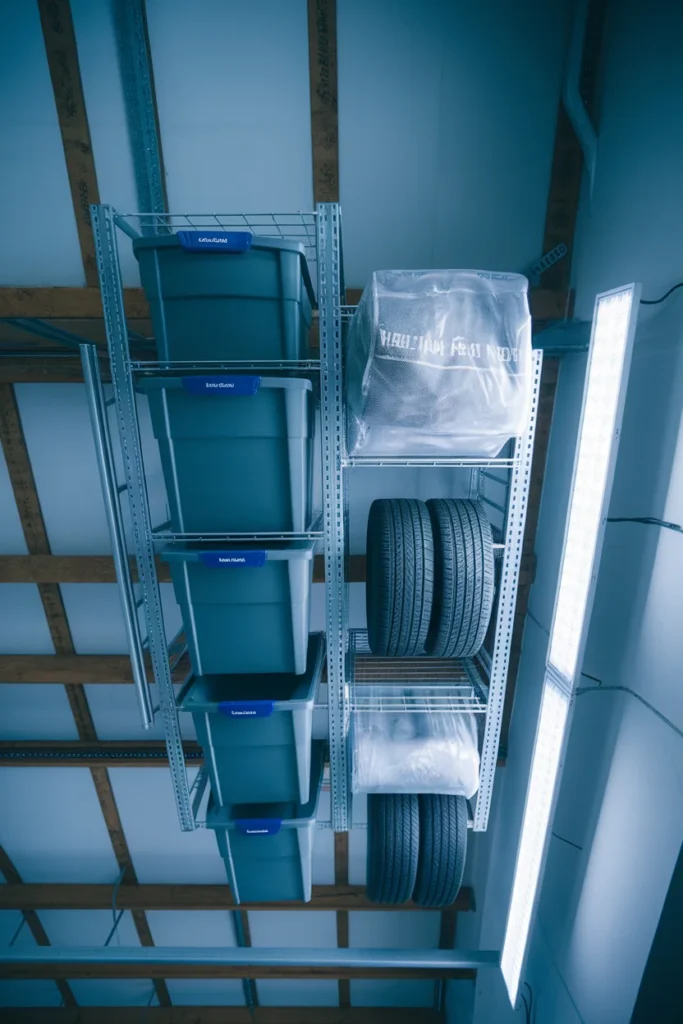
Overhead racks are the biggest untapped storage in most garages, and also the most commonly overloaded.
Typical overhead systems are rated for 400 to 600 pounds, and that rating assumes the rack is lagged directly into ceiling joists rather than drywall, with weight spread evenly across the platform. A rack rated at 600 pounds can still fail if most of that sits in one corner. You want at least an 8 foot ceiling to keep safe clearance, especially over a parked car.
What belongs up there: holiday bins, camping gear, pool and outdoor items, spare tires (a bagged set runs 80 to 120 pounds), and anything bulky you touch once or twice a year.
What does not: heavy tools, automotive chemicals, fragile items, and anything you reach for more than twice a month. Ring 3 in the Three-Ring Workshop Rule is a storage zone, not a working zone.
Check your ceiling structure before you buy. Engineered trusses and dimensional joists carry loads differently, and a truss bottom chord is often not designed for the load people assume it is.
Tame the Fasteners, Bits, and Small Parts
Small parts eat more of your time than anything else in the shop. You do not lose an hour to a missing miter saw. You lose it to a missing 2 1/2 inch screw.
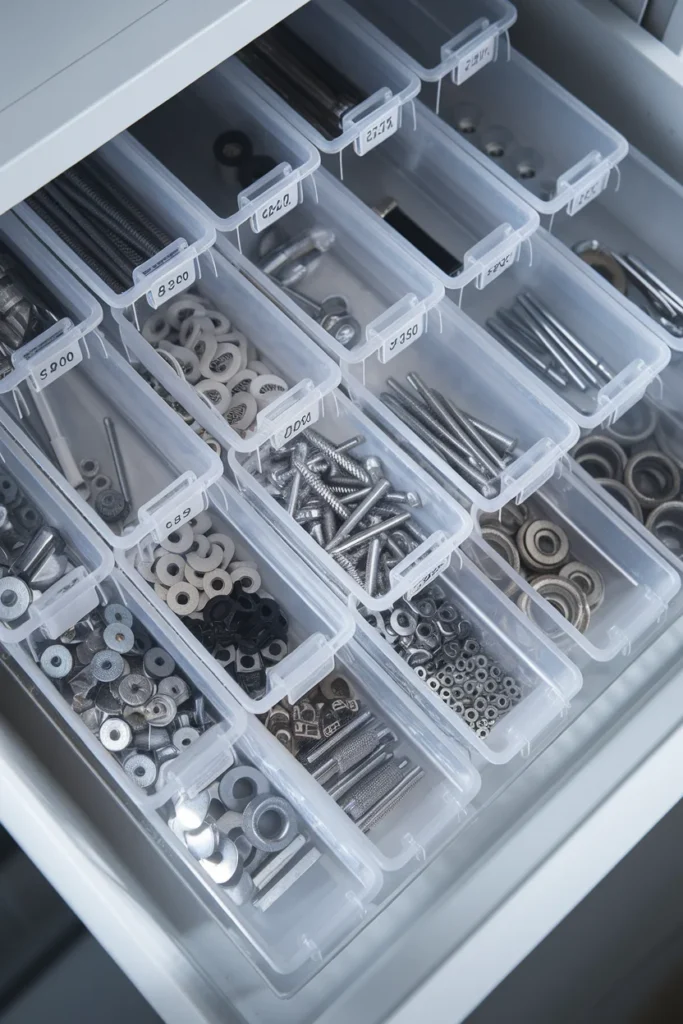
Sort fasteners by type first, then by length. Screws with screws, bolts with bolts, then subdivide. Use clear stackable bins. Opaque boxes lose every time, because you will not open one just to check.
Label the front face, not the lid. You read bins from the front when they are stacked.
This is the same zoning logic behind craft room organization on a budget, where a make, mark, and mend split keeps tiny supplies from becoming one undifferentiated drawer. A shop version might be fasten, cut, and finish.
Then buy a three-tier rolling cart. It is the best $40 to $70 in the shop. It carries the current project’s parts around with you instead of sending you back to a wall every four minutes.
Fix the Lighting and Power Before You Fix Anything Else
This is the second gap in the ranking articles, and it is the upgrade people wish they had done first.
Most garages ship with one bare bulb in the middle of the ceiling. That puts your own shadow directly on your work. Two 4 foot LED shop lights running parallel to your bench, mounted slightly in front of where you stand, cost about $25 to $40 each and remove the shadow entirely. Then clamp one adjustable task light at the bench for detail work.
Paint helps more than you would guess. The Handyman’s Daughter starts her whole workshop organization sequence with bright white walls for exactly this reason: light-colored walls bounce your fixtures instead of swallowing them.
For power, count your outlets. Most garages have two. A workbench realistically needs four to six, and a surge-protected power strip mounted to the underside of the bench front edge keeps cords off the floor. If you are running a table saw or a dust collector, talk to an electrician about a dedicated 20 amp circuit before you trip the breaker mid-cut.

Store Fuel, Solvents, and Finishes Safely
Every garage workshop has a shelf of things that can catch fire, and none of the top-ranking articles say a word about it.
The Consumer Product Safety Commission’s guidance on fuel container and liquid fuel safety is direct. Store gas cans and portable fuel containers in well-ventilated, cool areas only. Never inside a house or basement. Never near ignition sources like fuel-burning appliances, pilot lights, heaters, or stoves. Buy child-resistant containers, keep them capped, and keep them away from kids.
Practical translation for a garage workshop: fuel lives on a low shelf on the wall furthest from the water heater and furnace, in its original approved container, never decanted into a bottle. The same original-container rule behind how to organize a utility closet for cleaning supplies and tools applies double out here. You are adding heat, sparks, and sawdust to the mix.
Tools deserve the same seriousness. OSHA’s hand and power tools guidance notes these tools “have the potential for causing severe injuries when used or maintained improperly.” That is a decent argument for storing blades sheathed, guards on, and cords coiled rather than stuffed.
Keep an ABC fire extinguisher mounted by the door you actually walk through. Not the back corner.
Keep Scrap Wood From Taking Over
Scrap is the quiet killer of shop space. It multiplies. It never gets thrown out. It ends up leaning against every vertical surface you own.
Build or buy one vertical scrap cart on casters, then set a hard rule: if a piece does not fit in the cart, it is not scrap, it is trash. Sort into three slots by length, something like under 12 inches, 12 to 36 inches, and full sheets stored flat or on edge against a wall.
Cull the cart when it overflows, not on a schedule. The cart tells you when.
The 10-Minute Shop Close
An organized garage workshop stays organized because of what happens in the last ten minutes, not the first two Saturdays. Here is the close, and it is short on purpose:
- Return every Ring 1 tool to its slot. Only Ring 1. Sixty seconds.
- Sweep or vacuum the bench top and the floor around it.
- Put the current project’s parts back on the rolling cart.
- Empty the trash if it is over half full.
- Look at the bench top. If anything is still on it, it does not have a home yet. Give it one now or it will be there in three weeks.
Step five is the entire system. Everything that piles up is telling you about a missing home.
Small Garage Workshop Organization: Under 200 Square Feet
If you are working in a single-car garage or sharing space with a parked vehicle, three moves matter most.
Put everything on wheels. A miter saw station, a bench, a tool cart, and a dust collector on locking casters means you roll the shop out, work, and roll it back. Nothing else comes close in a tight space.
Go up, not out. Exposed studs in an unfinished garage are free storage: 2×4 blocking between studs holds long-handled tools, and the joist bays overhead hold lumber and trim.
Fold what you can. A wall-mounted folding workbench gives you a full work surface that disappears to 6 inches deep when the car comes in.
The Three-Ring Workshop Rule compresses well here. In a small shop, Ring 1 and Ring 2 collapse into a single wall behind the bench, and Ring 3 moves almost entirely to the ceiling.
What to Buy First: A Budget Order of Operations
Do not buy the whole system at once. Buy in this order and stop when the space works.
Under $50 total: Everbilt pegboard hook assortment ($6.98), a sheet of pegboard, 1×2 furring strips, and a box of clear stackable bins. This alone clears most bench clutter.
$50 to $200: Two LED shop lights, a three-tier rolling cart, and either a Rubbermaid FastTrack panel with hooks ($19.98 per 48 inch panel) or a sheet of 3/4 inch plywood for a French cleat wall.
$200 to $500: An overhead storage rack rated to 400 to 600 pounds, a height-adjustable workbench, and heavy-duty shelving. Gladiator’s heavy-duty racks are rated to 2,000 pounds per shelf if you are storing engine parts or bulk lumber.
Above $500: Full slatwall coverage, cabinets, dust collection. Wire shelving and clips run about $20 for a run, and building large cabinets in place runs roughly $27 per linear foot in materials, which is worth knowing before you price a cabinet quote.
Frequently Asked Questions
How do I organize my garage workshop? Start by clearing the floor completely, then sort tools by how often you use them rather than by size. Assign each group a zone using the Three-Ring Workshop Rule: daily tools within arm’s reach of the bench, weekly tools within two steps, and seasonal items overhead or on the back wall. Pick one wall system (pegboard, slatwall, or French cleat) and mount it before you buy any bins.
How much space do you need for a garage workshop? More than you think, but less than you fear. A standard two-car garage is 20 by 22 feet (440 square feet) and a 24 by 24 build gives you 576 square feet. Subtract your vehicle and most people end up with 120 to 200 usable square feet, which is plenty for woodworking, repairs, and general projects if the storage goes vertical.
Where should a workbench go in a garage? Along the wall with the best natural light, ideally perpendicular to the garage door so daylight rakes across your work instead of behind it. Keep at least 3 feet of clearance behind you. Avoid the wall shared with the water heater or furnace so you are not working next to an ignition source.
What is the best way to store tools in a garage? Hand tools go on a pegboard or French cleat wall directly above the bench, sorted by task rather than by brand. Power tools do better on a French cleat with custom holders or on a slatwall rated for the weight. Long-handled yard tools belong on a track system or between exposed studs. Nothing that fits on a wall should live in a bin on the floor.
Is pegboard or a French cleat wall better for a workshop? Pegboard is cheaper, faster, and fine for hand tools, though standard hooks tend to lift out with the tool. A French cleat wall costs a bit more and needs a saw, but it carries heavier power tools and lets you move any holder anywhere in a second. Many shops run both: pegboard over the bench, French cleat on the long wall.
How do I set up a small garage workshop? Put everything on locking casters so the shop rolls out and back in, use exposed studs and joist bays for vertical storage, and mount a folding workbench that collapses to about 6 inches deep. In a small shop, keep only your fifteen most-used tools on the wall behind the bench and move everything else overhead.
What should you never store in a garage? Skip anything sensitive to temperature swings or humidity: paint you plan to reuse, canned food, propane tanks (those belong outdoors), important paper documents, and photographs. Fuel should be stored only in approved, capped, child-resistant containers in a cool, well-ventilated spot away from any pilot light or heater, per CPSC guidance. Heavy tools and automotive chemicals do not belong on overhead racks.
Your Next Two Saturdays
Garage workshop organization is not really about bins. It is about deciding where things live and then making that decision easy to obey. Clear the floor, pick one wall system, set the bench at elbow height, and run the ten-minute close every time you finish.
Do the floor clear this Saturday. Do the wall next Saturday. That is the whole plan, and it works in a 200 square foot shop just as well as a three-car build.
If you try the Three-Ring Workshop Rule, come back and tell me which ring surprised you most. It is almost always Ring 1, because nobody believes fifteen tools is enough until they try it.


