Where to Start Decluttering When Every Room Feels Like Too Much
You stand in the doorway, coffee going cold in your hand, and every surface seems to shout at once. The counter. The chair that collects laundry. That drawer you cannot close. If you have been wondering where to start decluttering, the honest answer is that the room barely matters. The order does. Start with the wrong thing and you burn out by 10 a.m. Start with the right thing and the whole house feels lighter by lunch. This guide gives you that exact order.
Here is the promise: by the end, you will know precisely where to start decluttering your home, which spaces to save for later, and how to keep going on the days your motivation taps out.
Why “where to start” trips everyone up
Most people freeze because they treat the whole house as one giant task. Your brain sees a hundred decisions stacked on top of each other and quietly files the project under “someday.” That is not laziness. It is decision fatigue, and it is completely normal.
Researchers who study clutter have tied messy, overloaded spaces to higher stress. Utah State University Extension summarizes work from the University of Connecticut on how clutter raises stress, which is exactly why the first small win matters so much. Clear one visible surface and your nervous system gets the memo: this is doable.
So we are not going to attack the house. We are going to follow a sequence built on one idea.

The Easy-First Order (your decluttering north star)
Here is the framework this whole guide runs on. Call it the Easy-First Order. You declutter in the sequence of how hard the decisions are, not how big the room is. Trash first, because it needs zero thought. Then flat surfaces. Then storage zones. Sentimental items dead last, once your decision muscle is warmed up.
That single reorder is what separates people who finish from people who quit at the memory box in hour one.
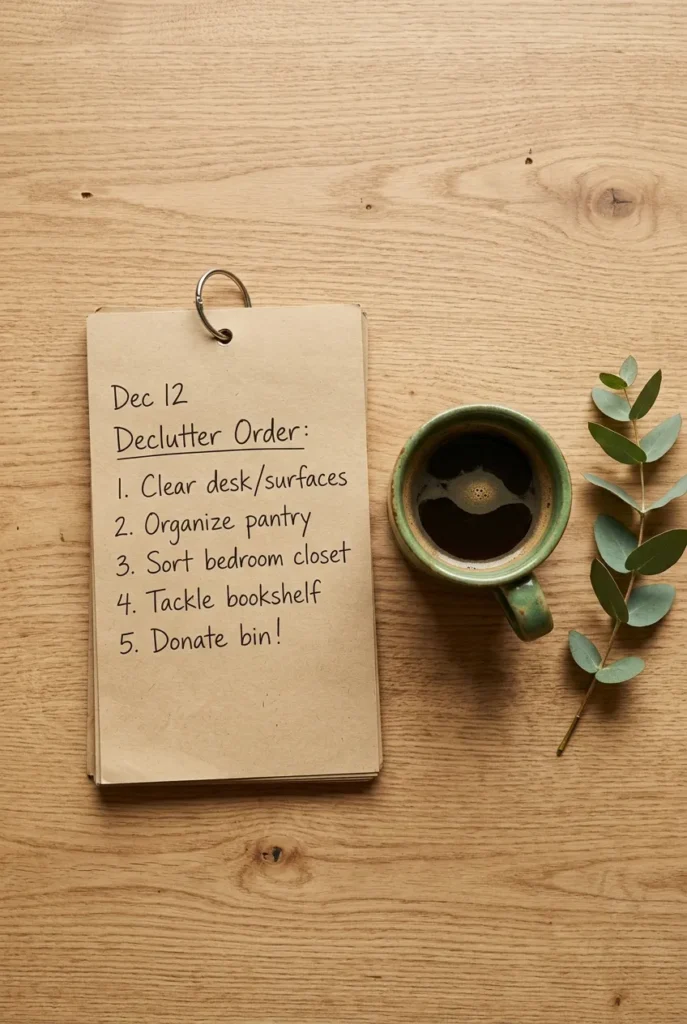
Here is the order at a glance:
- Obvious trash and recycling (no decisions)
- Visible flat surfaces (counters, tables, the laundry chair)
- One high-use small zone (junk drawer, entry drop spot)
- The bathroom (fast, unsentimental)
- The kitchen (high impact, mostly practical)
- The bedroom and closet (clothing decisions ramp up)
- Paper and mail (its own beast)
- Sentimental and keepsakes (save for the end)
Screenshot that. It is your map for the rest of this post.
Step 1: Start with trash, because it asks nothing of you
Grab a bag. Walk one room. Toss anything that is unarguably garbage: dead pens, dried-out markers, snack wrappers, expired coupons, the twist ties multiplying in a drawer. You are not deciding whether to keep things yet. You are only removing what nobody would ever argue for.
This is where to start decluttering when overwhelmed, full stop. It gives you a fast, visible result with your decision-making still at full battery. Ten minutes here changes how the room feels and, more importantly, how you feel about continuing.
[YOUR EXPERIENCE: add one true detail here, e.g. the room you did your first trash pass in and roughly how full the bag got.]
Step 2: Clear the flat surfaces you see all day
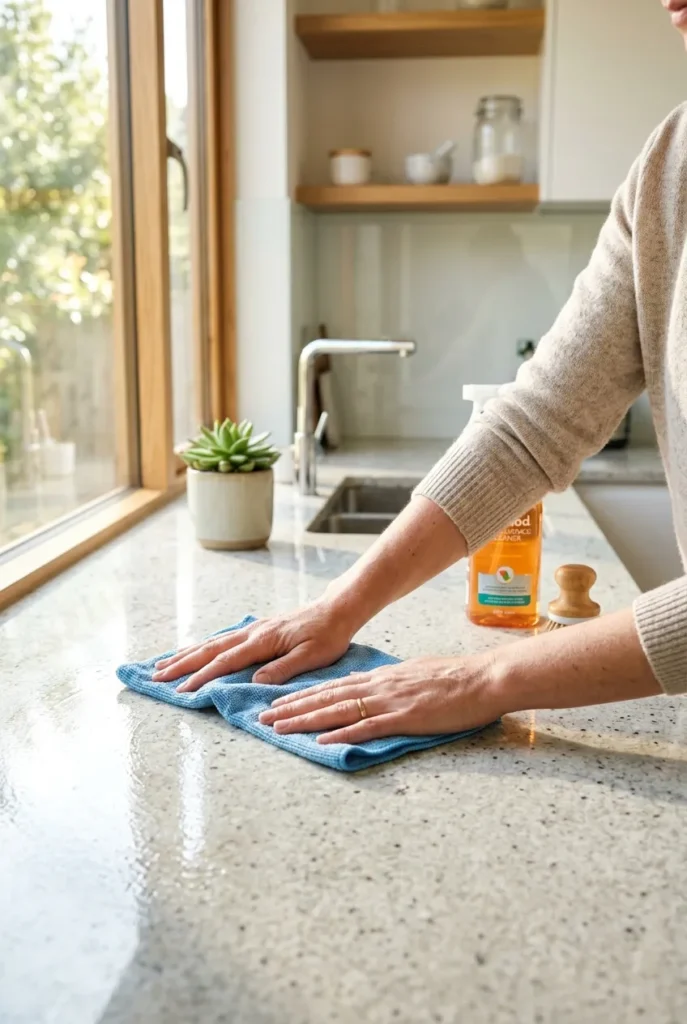
Now the counters, the kitchen table, the top of the dresser, and yes, the chair. Flat surfaces are visual noise generators. Clearing them delivers the biggest “my house feels calmer” payoff per minute, which is why so many high-saving Pinterest pins promise a home that feels bigger. It is not magic. It is empty surfaces.
Work one surface at a time. Everything that does not belong there goes into one of four sorting piles, which brings us to the system underneath all of this.
The four-box method: the sorting system to use everywhere
Before you go further, set up four containers or bags and label them: Keep, Donate, Sell, Trash. Some people add a fifth, Relocate, for things that belong in another room. This is the four-box method, and Oklahoma State and Mississippi State Extension programs both teach a version of it because it removes the “where do I even put this” hesitation.
Every item you pick up goes into exactly one box. No staging piles on the bed. No “I’ll decide later.” Later is the enemy.
Here is a tiny mini-table you can screenshot:
| Box | What goes in it | The question to ask |
|---|---|---|
| Keep | Used in the last year, has a home | Do I use this or truly love it? |
| Donate | Good condition, no longer needed | Would this help someone else now? |
| Sell | Real resale value, worth the effort | Is the payoff worth the listing time? |
| Trash / Recycle | Broken, expired, unusable | Would anyone reasonably want this? |
For where the donate box actually goes, the EPA’s donation guide is a genuinely useful map of what can be donated and reused instead of landfilled, from textiles to electronics.
Step 3: Win one small high-use zone (hello, junk drawer)
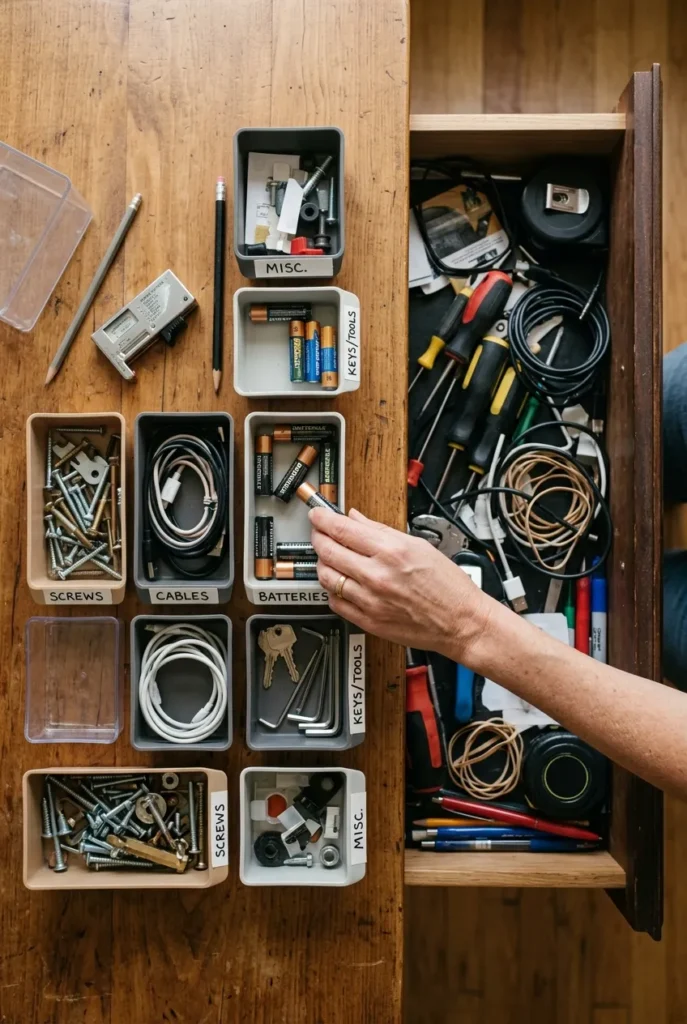
Momentum needs a trophy. Pick one small, high-traffic zone you open every single day. The junk drawer is the classic. So is the entryway drop spot where keys, mail, and sunglasses breed.
Empty it completely. Sort with your four boxes. Put back only what earns its place. You will use this exact micro-method again and again, and it pairs perfectly with a quick daily habit like the 10-10 decluttering method, which keeps small zones from refilling.
Step 4: The bathroom, your fastest full-room win
If you want to feel like you conquered a whole room in under an hour, start with the bathroom. It is small, and almost nothing in it is sentimental. Nobody weeps over an expired sunscreen.
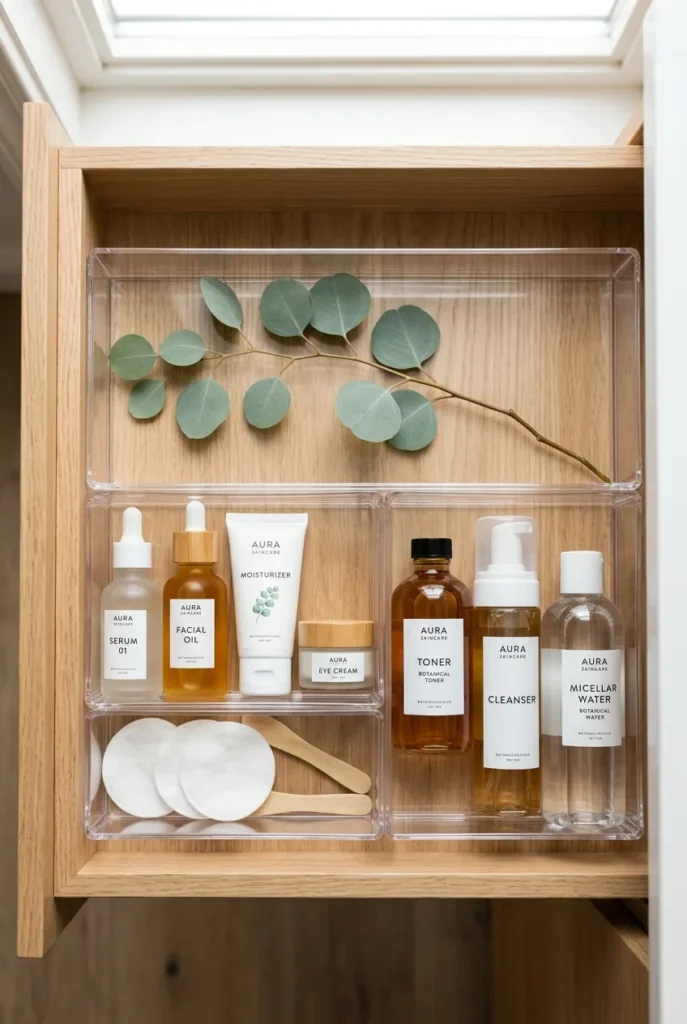
Pull everything from the vanity and the medicine cabinet. Toss expired products, dried-out mascara, sample bottles you will never use, and any medication past its date (check your city’s drug take-back options rather than flushing). Group what stays into simple zones: daily use, backup stock, first aid. A small acrylic drawer organizer or a couple of mDesign bins under the sink keeps it from sliding back.
[YOUR EXPERIENCE: name one real product or expired item you actually found in your own bathroom pass, so this reads as first-hand.]
Step 5: The kitchen, high impact and mostly practical
The kitchen feels big, so we shrink it. Do not try to declutter the whole room at once. Go zone by zone: one cabinet, one drawer, the pantry shelf, the fridge, the dreaded lids-and-containers cabinet.
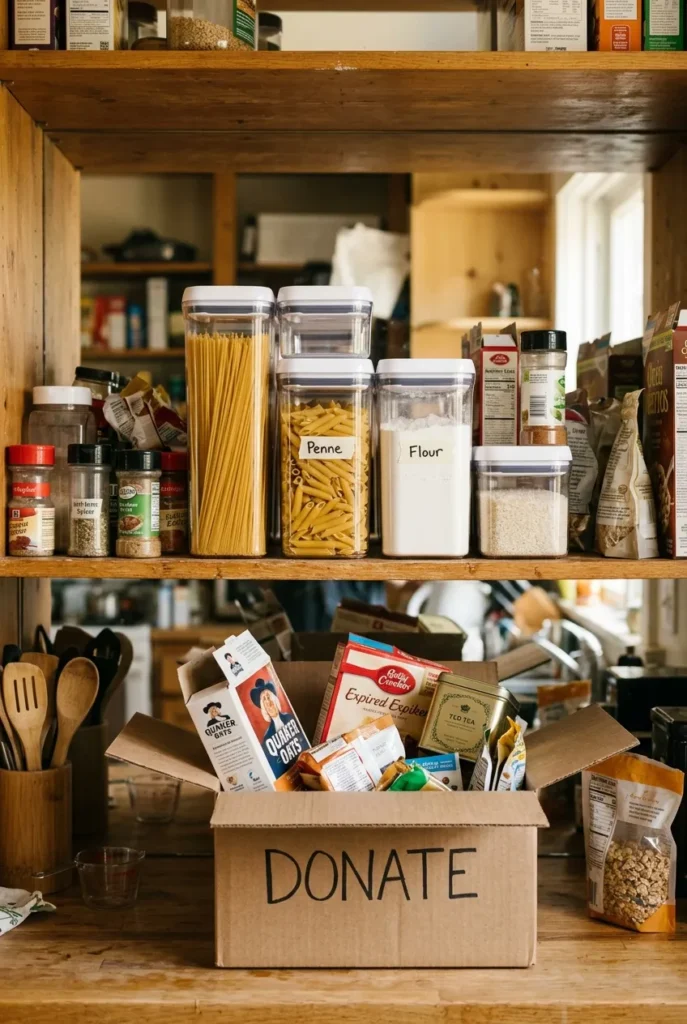
Toss chipped mugs, duplicate gadgets, and the mismatched lids with no bottoms. In the pantry, pull expired items and group what remains by category. Clear canisters like OXO POP containers earn their spot here because you can see when you are running low, but remember the container-last rule: declutter first, buy storage only after you know what is left. Buying bins before you purge is how people end up organizing clutter they should have removed.
Step 6: The bedroom and closet, where clothing decisions ramp up
Now the decisions get a little harder, which is exactly why we saved this for step six instead of step one. Your decision muscle is warmed up by now.
Start with the bedroom surfaces and under-bed zone, then move to the closet. For clothes, the fastest filter is the wear test: if you cannot picture three real occasions you would wear it, it goes to donate. Pull anything stained, ill-fitting, or untouched for a full year. Slim velvet hangers and a few IKEA Skubb boxes make the kept clothes breathe, but again, purge before you buy.
This is where to start decluttering clothes without the spiral: one category at a time (tops, then bottoms, then shoes), never the whole closet dumped on the bed at once.

Step 7: Paper and mail, the sneaky time sink
Paper deserves its own step because it multiplies and because each piece can carry a tiny decision (shred? file? action needed?). Set up three simple folders: Action, File, Recycle. Open mail over the recycling bin daily so it never becomes a pile again. Shred anything with account numbers.
Digitize what you can. A photo of a receipt or a warranty saves a drawer full of curling paper.
Step 8: Sentimental items, saved for last on purpose
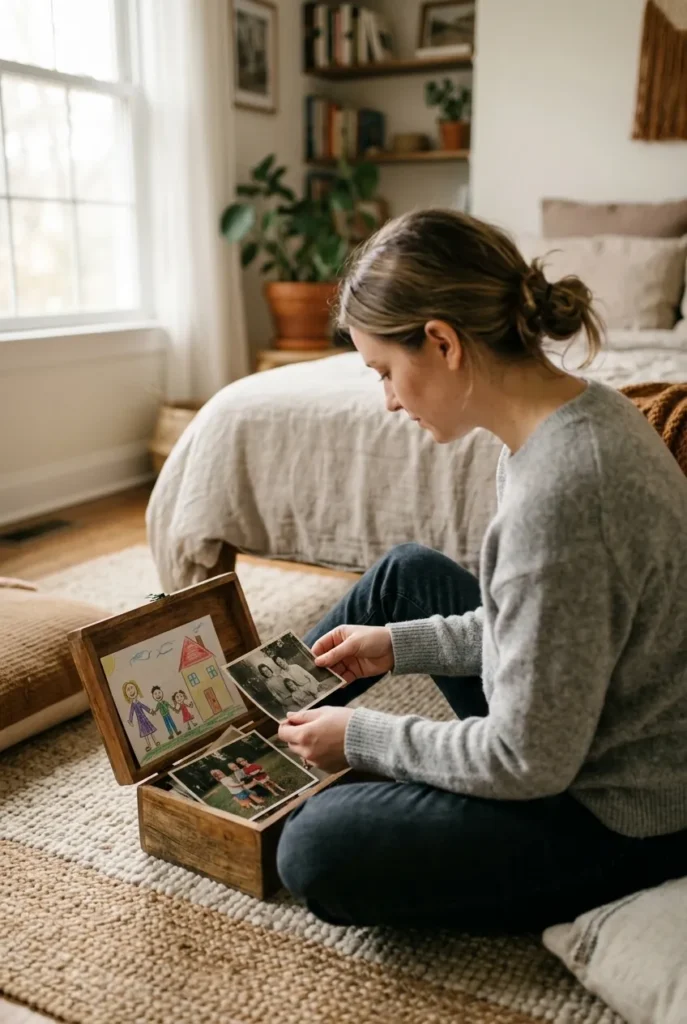
Only now, with your decision muscle fully warmed, do you touch the memory box, the kids’ art, the inherited things. Penn State Extension’s advice to work one small area at a time matters most here, because sentimental sorting is slow and emotional by nature.
A gentle rule: keep the few pieces that genuinely spark the memory, photograph the rest, and pass down (never “toss”) anything inherited that another family member might treasure. There is no prize for keeping everything, and no shame in keeping what you love.
If a whole day of this feels like too much, it is. Sentimental work is better in short, kind sessions. When it gets heavy, our guide on how to declutter when you’re overwhelmed without burning out walks through pacing it without guilt.
The two things almost nobody tells you
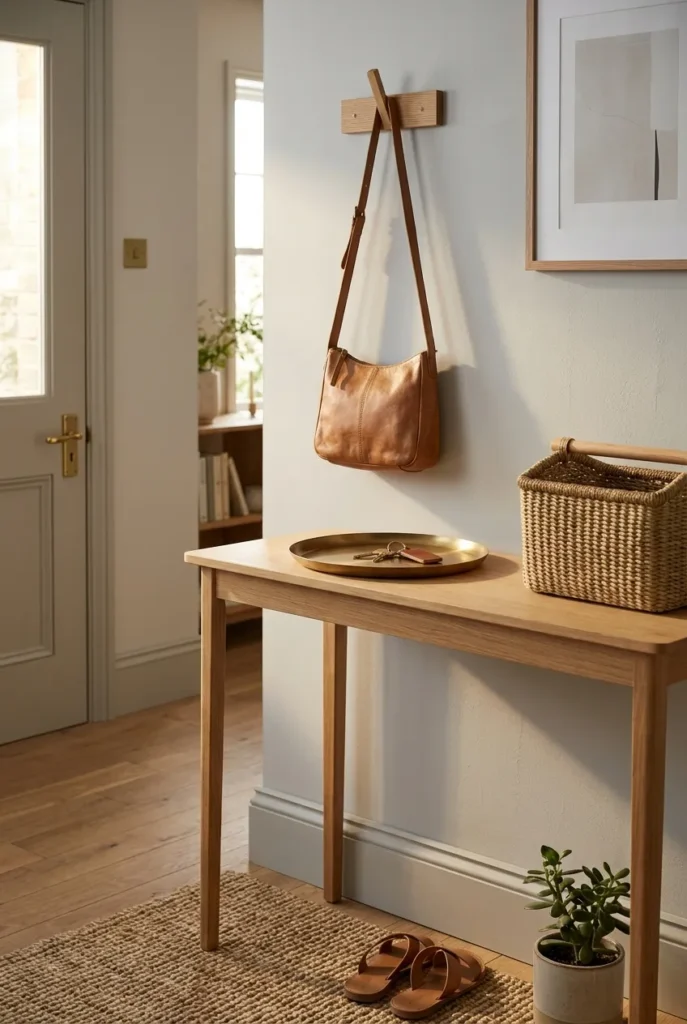
First, tackle clutter hotspots before whole rooms. A hotspot is any surface that collects things within a day of being cleared: the entry table, the kitchen island end, the nightstand. Fix those four or five spots and your home reads as “tidy” even mid-project. This is the angle the big room-by-room guides skip.
Second, decide by difficulty, not by size. Everyone tells you to “pick a room.” The room-order guides online almost all start with a whole space. But if you order by how hard the decisions are, easy to hard, you spend your best focus when items are easy and coast through the tough stuff on momentum. That is the entire secret behind the Easy-First Order.
How to keep going when motivation runs out
Motivation is not the plan. The plan is the plan. On low-energy days, shrink the task until it is almost silly: one drawer, one shelf, a single ten-minute timer. Small repeated wins beat rare heroic weekends, and they are far kinder to your nervous system.
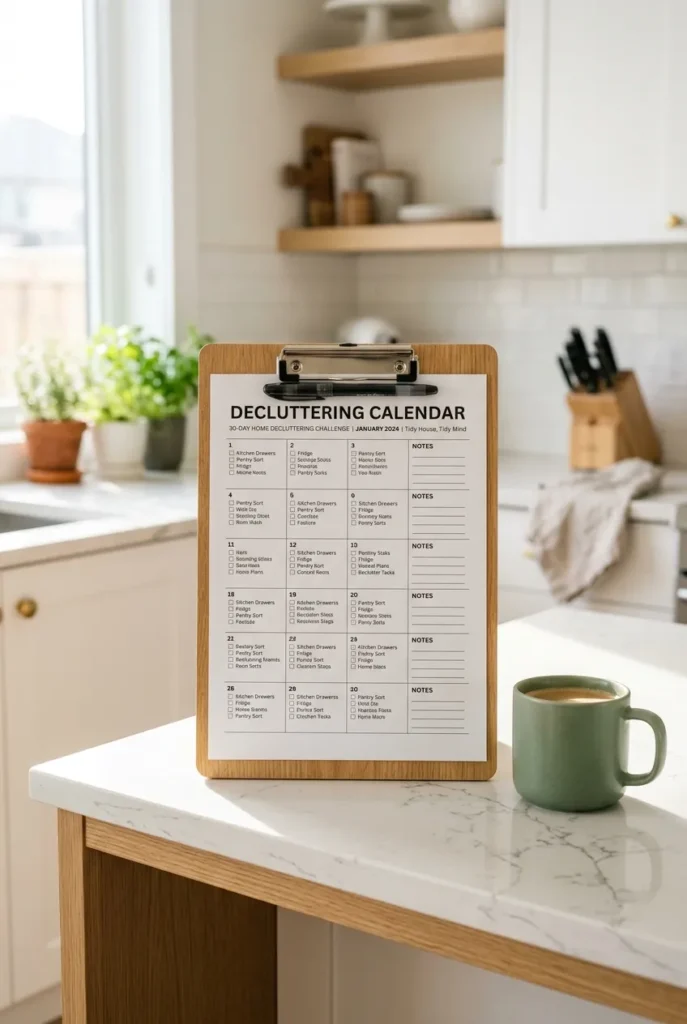
If you want structure that decides for you each day, a 30-day declutter challenge with a free printable calendar hands you one small target at a time so you never have to ask “where do I start” again.
Frequently Asked Questions
When decluttering, where do you start first?
Start with obvious trash, then visible flat surfaces. Both need almost no decision-making, so they give you a fast, visible win while your focus is fresh. Save clothing, paper, and sentimental items for later, once your decision muscle is warmed up.
What is the 3-3-3 rule for decluttering?
It is a pacing idea, and people define it a few different ways. One common version is to split a decluttering effort into three shorter sessions rather than one exhausting marathon, which keeps the habit sustainable. Another popular “rule of three” is the wear test: if you cannot picture three occasions to use an item, let it go.
How do you declutter for beginners?
Set up four boxes (keep, donate, sell, trash), pick one small area, and sort every item into exactly one box with no “decide later” pile. Begin with an easy, unsentimental space like the bathroom so you finish a whole zone fast and feel the payoff.
What are the 4 C’s of decluttering?
They are commonly described as Clear, Categorize, Cut back, and Contain. You clear a space completely, sort like with like, remove what you do not use or love, and only then contain what remains in bins or organizers, never before.
How do I declutter my house fast?
Work by difficulty, not by room. Do a trash pass, clear every visible surface, then hit clutter hotspots like the entry table and nightstand. Fixing the spots you see most makes the whole house read as tidy long before every closet is perfect.
Where should I start decluttering when I feel completely overwhelmed?
One drawer. Truly. Set a ten-minute timer, empty a single drawer, sort it, and stop. Overwhelm shrinks the moment you prove to yourself that starting is small.
Your first hour starts now
If you only remember one thing, remember the order: trash, surfaces, one small zone, then rooms from easy to hard, with sentimental things saved for last. That is where to start decluttering, and it works precisely because it protects your energy instead of testing it.
Pick your bag. Set a ten-minute timer. Do the trash pass in whatever room you are standing in. Then come back and tell us which room felt lightest first, we love hearing where people began.