How to Build a Coffee and Hydration Corner in Any Kitchen (Even a Tiny One)
It’s 6:47 a.m. You shuffle into the kitchen, eyes half open, and the search begins. Where’s the coffee scoop. Why is there a mug on the windowsill. Who left the water bottle in the dishwasher. By the time you finally pour that first cup, the morning already feels behind schedule.
Here’s the truth nobody on the prettiest Pinterest pins will tell you. Beautiful coffee station organization is not about marble trays or matching canisters. It’s about a system that survives Tuesday at 6:47 a.m. when your brain is offline and your toddler is asking for crackers.
After testing four different setups in my own narrow galley kitchen, I built one that finally stuck. We’re going to walk through every zone, every container, every dollar-store hack, and a no-drill version for renters. Plus, we’re folding in something the top ten ranking articles skip entirely: hydration. Because if your coffee station ignores water, you’re only solving half the morning.
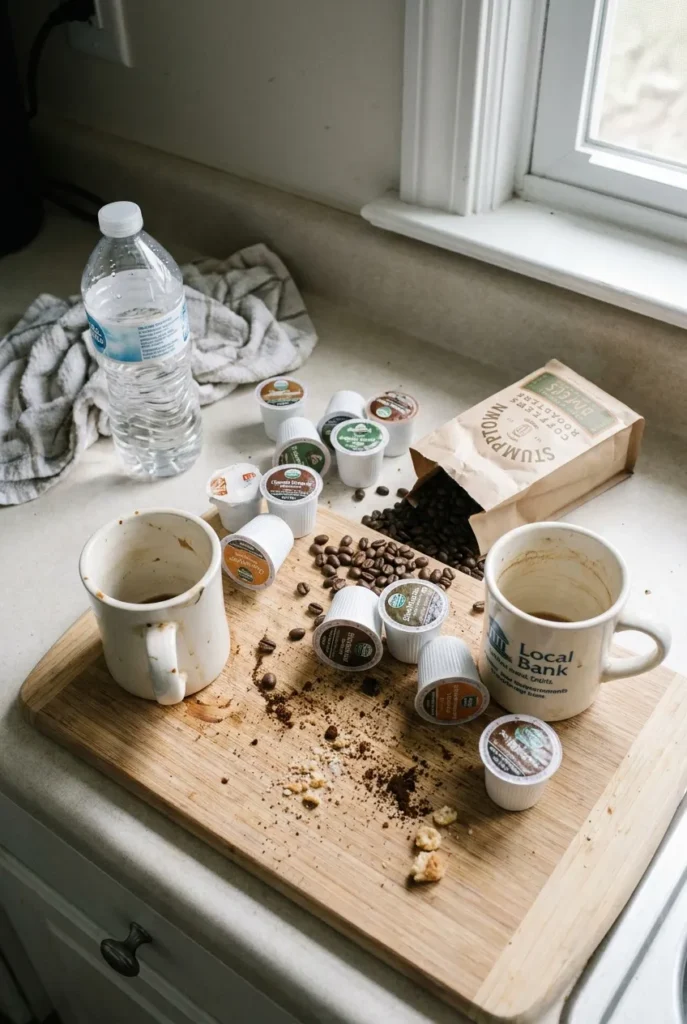
Why Most Coffee Station Setups Fall Apart in Two Weeks
You’ve seen the photos. A walnut shelf, three white mugs lined up like soldiers, a single fern. Gorgeous. Useless by Wednesday. Most coffee bar ideas online focus on the styled photo, not the daily reality of refilling, wiping, and putting the milk frother somewhere that isn’t the silverware drawer.
The system breaks down for three reasons. First, the station doesn’t have defined zones, so every item drifts. Second, containers are chosen for looks instead of how often you reach for what’s inside. Third, hydration gets ignored, which means your water bottle still lives on the counter next to the toaster.
A real coffee station organization plan fixes all three. Once you give every item a home, choose the right size container for the bean bag or pod brand you actually buy, and add a parallel zone for water, the corner stays styled because it has to. Function holds the form in place.
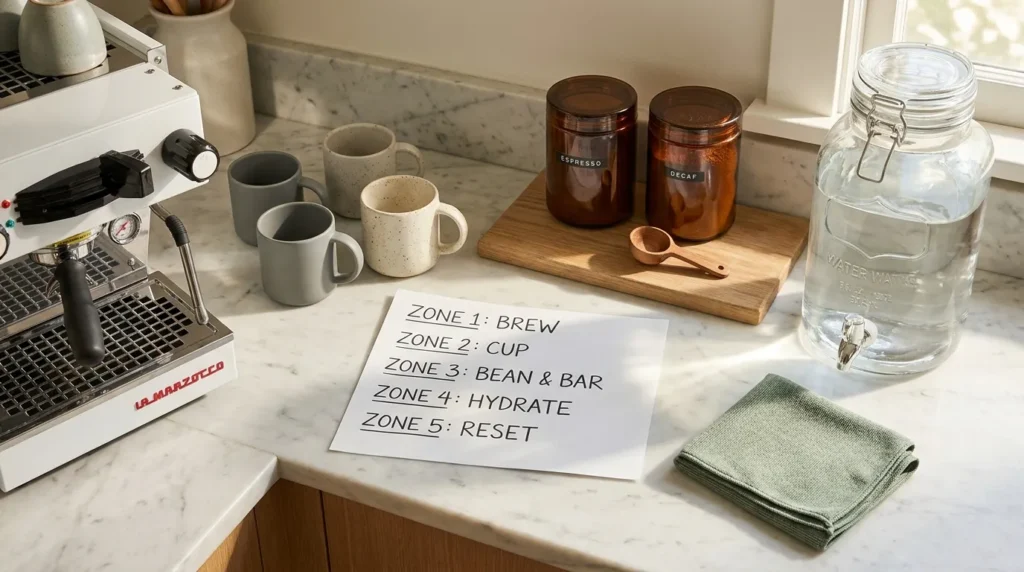
The 5-Zone Brew and Hydrate System (Original Framework)
This is the spine of the whole article. The 5-Zone Brew and Hydrate System breaks your drink corner into five clearly named zones, each with one job. When every zone has a boundary, the chaos has nowhere to spread.
Here are the five zones in the order your hand actually moves in the morning:
- The Brew Zone. Your machine, the grinder, the scoop, the filters.
- The Cup Zone. Mugs, glasses, travel tumblers, lids.
- The Bean and Bar Zone. Beans, pods, sugar, sweeteners, stir sticks, syrups.
- The Hydrate Zone. Water dispenser or carafe, water bottles, electrolyte packets, tea bags.
- The Daily Reset Zone. A small dish for the wet spoon, a folded microfiber cloth, a tiny tray for the pod garbage that gets emptied nightly.
The trick is keeping the zones in that exact left-to-right order if you can. Your hand sweeps across the counter in a clean arc, no backtracking. I learned this the hard way after putting the mugs on the far side of the espresso machine for six months and wondering why I was always reaching across hot steam.
Zone 1: The Brew Zone (Where the Machine Lives)
Start here because the machine is the heaviest, hardest-to-move object. Wherever it lands sets everything else. Pick a spot near an outlet, with at least 4 inches of clearance above the top of the machine if it has a removable bean hopper or water reservoir.
A few specifics that matter. If you have a single-cup brewer like a Keurig K-Mini, the footprint is about 5 inches wide. A standard drip pot needs roughly 8 to 10 inches. A semi-automatic espresso setup with a grinder beside it can claim 18 to 22 inches of linear counter. Measure your stretch of countertop before you start moving things, because nothing kills a coffee bar dream faster than realizing the lid won’t open under the upper cabinet.
Store the scoop, the brush, and the filters in a small drawer right below the machine if you have one, or in a slim acrylic caddy on the counter (mDesign makes one that’s about 4.5 inches wide). For a fully styled look, a small wood tray under the machine catches drips and visually anchors the zone. I use a 12-inch acacia tray from Target’s Threshold line that has earned its keep every single morning.
If you want to deep-dive on container choices before you commit to canisters, the breakdown in pantry organization essentials guide saves a lot of buyer’s remorse.
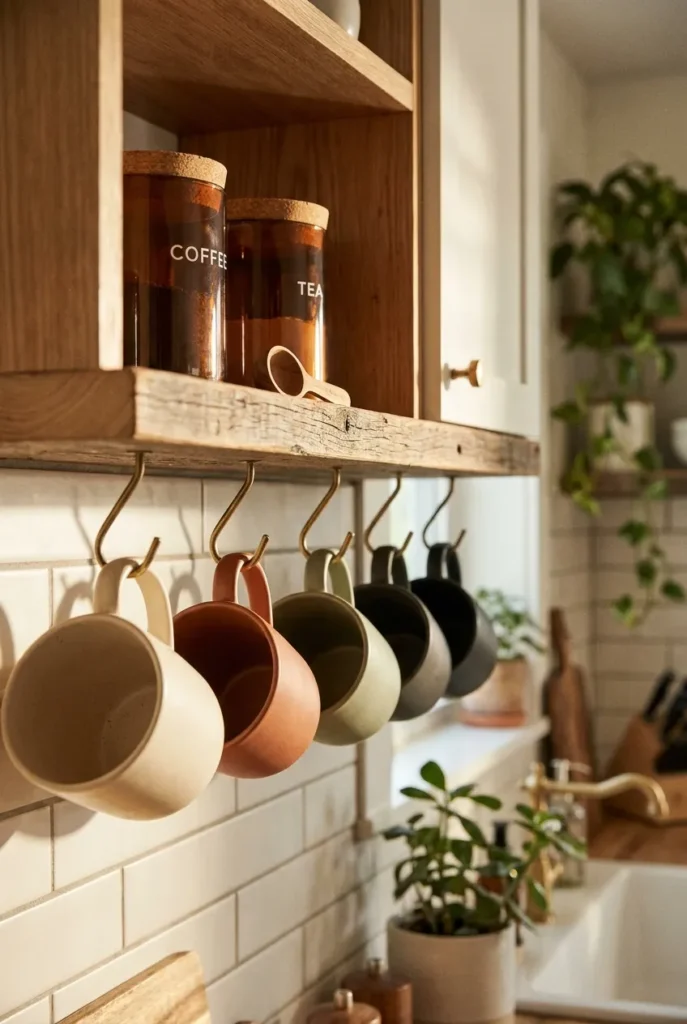
Zone 2: The Cup Zone (Mugs, Glasses, and the Travel Tumbler Problem)
Mugs eat space. Most kitchens have 18 mugs and a family of four. Be honest about how many you actually use, and donate the rest to a Buy Nothing group. A working coffee station needs four to six mugs at most, plus two travel tumblers per regular drinker.
Three placement options, ranked by how often I see them work in real homes:
- Under-shelf hooks. Brass cup hooks or 3M Command hooks installed under an existing upper shelf. Frees the counter completely.
- A tiered shelf riser. A 10-inch by 6-inch riser inside the cabinet doubles your mug capacity without drilling.
- A small open shelf above the station. If you rent and can’t drill, a 12-inch peel-and-stick floating shelf from Command or 3M holds about 8 pounds. Light ceramic mugs only.
For travel tumblers, stand them upright in a cabinet door pocket organizer or a slim acrylic file holder turned into a tumbler corral. The trick is removing the lids and storing them in a separate small bin so you can find a matching set without dumping every cabinet at 6 a.m.
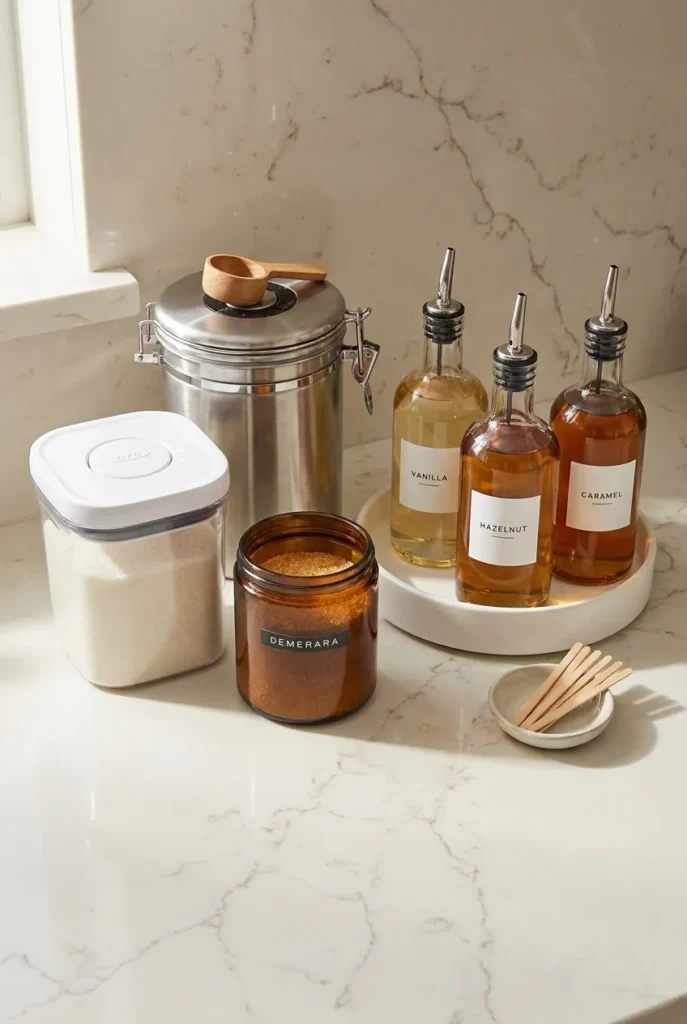
Zone 3: The Bean and Bar Zone (Decanting Without Wrecking Your Beans)
This is where most coffee bar ideas go wrong. People decant whole beans into clear glass jars on the counter because Pinterest told them to. Then they wonder why the coffee tastes flat in two weeks.
Light and air are the enemies of fresh beans. According to the National Coffee Association USA, whole beans stay fresh longest in an opaque, airtight container kept at room temperature. That rules out clear glass jars sitting in sunlight, which is exactly what looks prettiest in photos.
The honest middle ground:
- Whole beans for daily use: an opaque ceramic or stainless canister with a one-way valve, like the Airscape stainless model (sizes range from 32 oz to 64 oz). Keeps two to three weeks of freshness without losing the styled-counter look.
- Whole beans for backup: the original bag, rolled tight, in a dark pantry shelf.
- Pods: a clear acrylic drawer organizer holds 30 to 40 standard pods in a 9 by 12 inch tray. The OXO Good Grips pod holder fits about 27 pods and tucks under most upper cabinets at 5.5 inches tall.
- Sugar, sweeteners, stir sticks: a small lazy Susan, 10 inches across, holds the trio plus a syrup bottle and one tea tin.
For the sweetener jar, I use a 16-ounce OXO POP container, the small square. It sits next to a 1.6-quart amber glass jar I picked up at Target for $9.99. Different sizes, same visual family. That’s the real secret to a coffee station that looks intentional without matching everything.
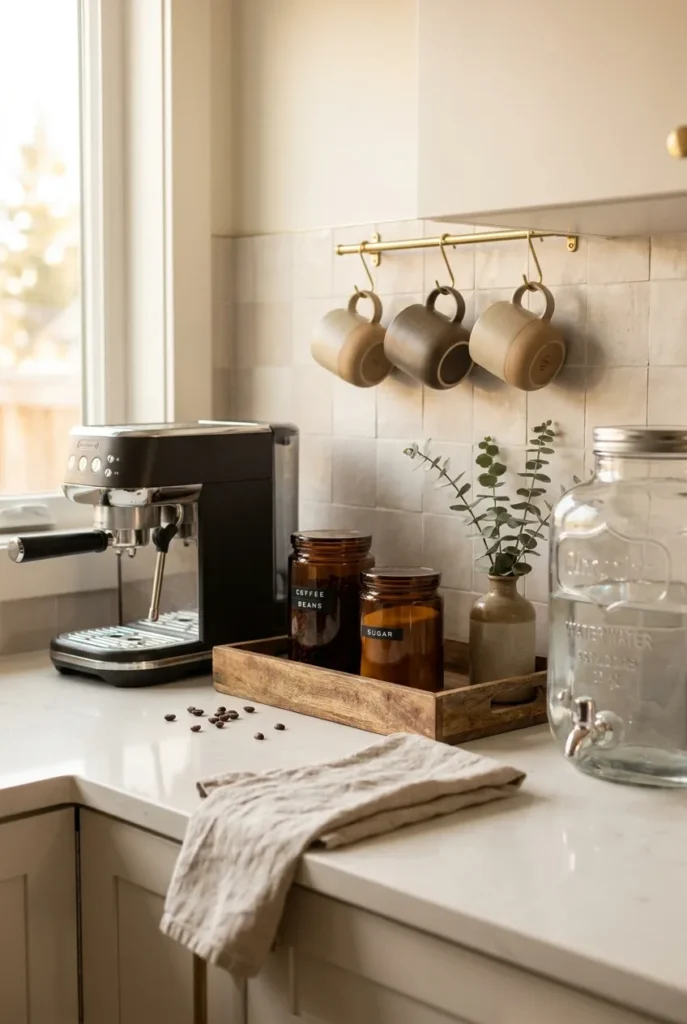
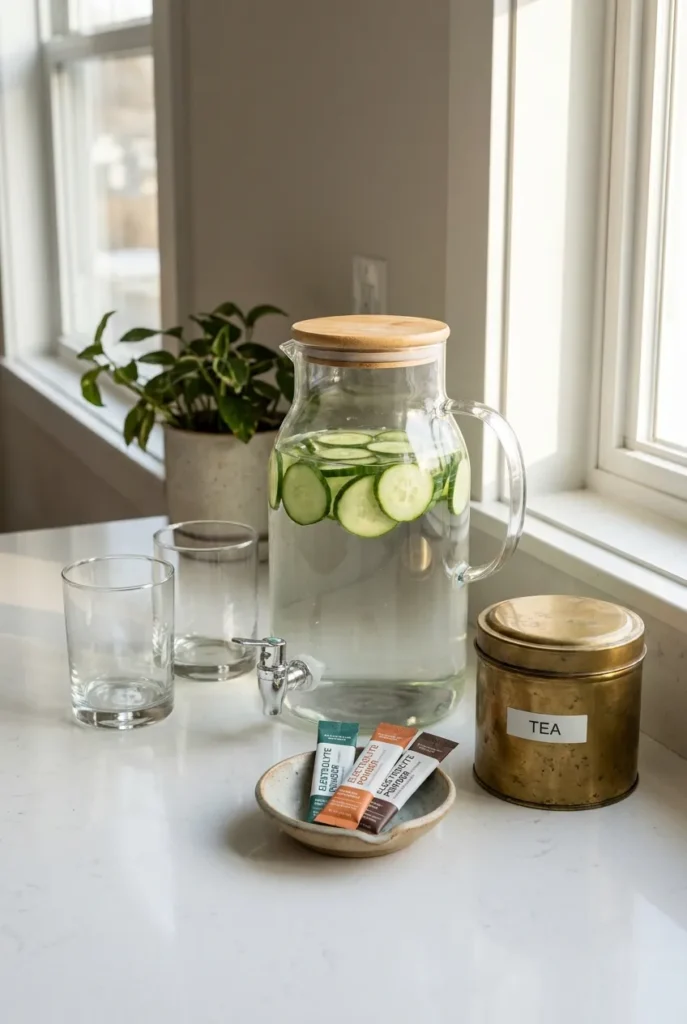
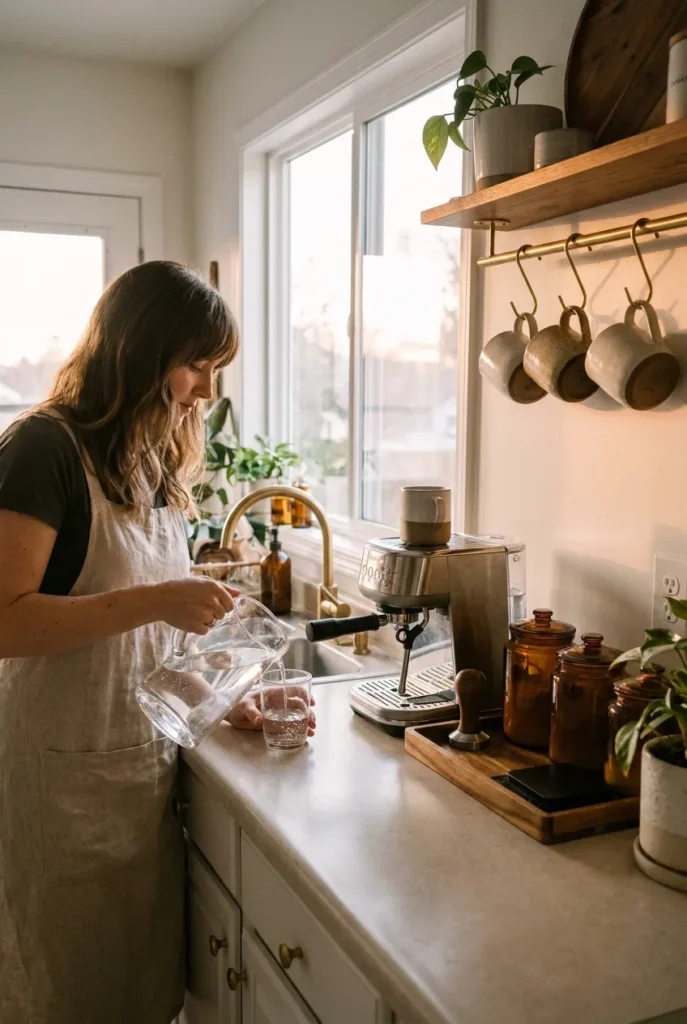
Zone 4: The Hydrate Zone (The Angle Nobody Else Covers)
Here’s where this guide breaks away from the rest of the internet. Every other coffee station article stops at the espresso. You’re going to add a parallel hydration setup right next to it. Same counter, same workflow, opposite end.
Why bother. Because the morning ritual that actually works is one glass of water before the first cup of coffee, and that habit dies the second the water lives across the kitchen. Put the carafe six inches from the brew zone and you’ll start drinking water without thinking about it.
The pieces:
- A glass water dispenser or carafe. A 64-ounce glass pitcher with a wood lid works for one or two adults. A 2.5-gallon beverage dispenser with a spigot works for a family.
- A small electrolyte station. A tiny ceramic dish or open jar for LMNT, Liquid IV, or Nuun packets. Picture two weeks of packets at any given time. Refill on Sunday.
- A tea drawer or tin. A 10 by 14 inch drawer divider holds 6 to 8 tea boxes upright. If you don’t have drawer space, a 9-inch round tin holds about 40 sachets.
- Two glass tumblers. Permanent on the station, washed daily. The point is friction reduction. If you have to open a cabinet, you’ll skip the water.
A small detail that makes the whole thing feel cohesive: pick one finish for all the lids, scoops, and hooks. Brass, matte black, or natural wood. I went brass after a year of accidentally collecting three finishes, and the visual upgrade for $40 in swap-outs was significant.
If you want the same daily reset logic applied to the broader kitchen, the workflow in [INTERNAL LINK: the 15-minute kitchen reset routine → https://homeorganizehacks.com/kitchen-reset-routine/] pairs perfectly with this hydration corner.
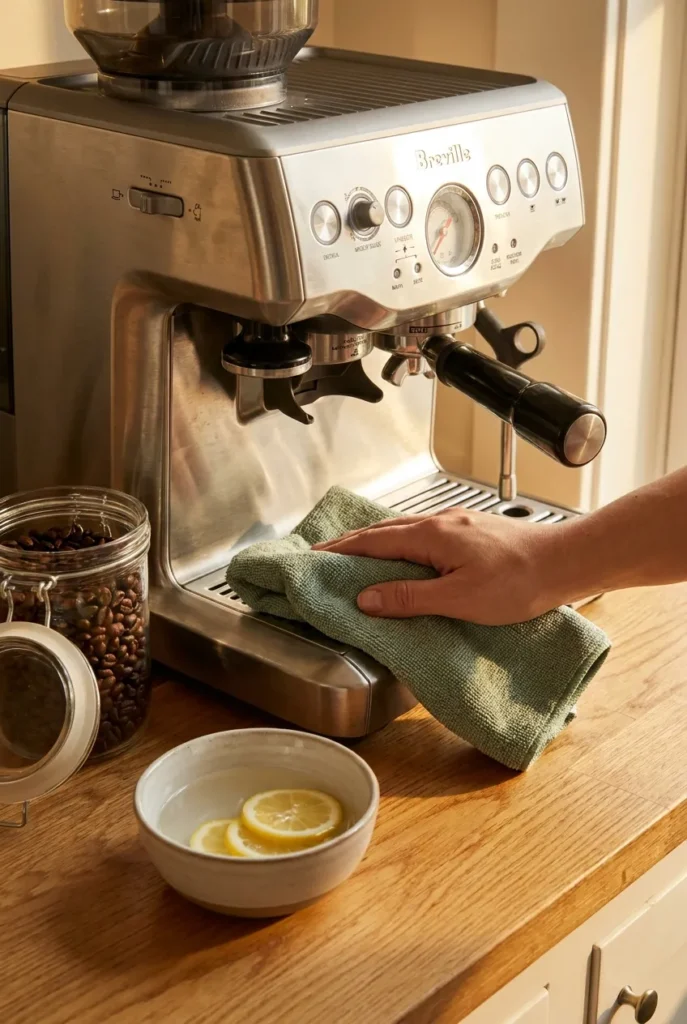
Zone 5: The Daily Reset Zone (Where the System Stays a System)
Without this last zone, everything you just built collapses within a week. The Daily Reset Zone is one small tray or dish that holds the three things you grab during nightly cleanup: a folded microfiber cloth, a small dish for wet spoons, and a tiny lidded jar or bin for used pods and tea bags.
This is also where the system meets your evening routine. After dinner, the reset is 90 seconds. Wipe the counter with the cloth. Toss the spent pods. Wash the two tumblers. Refill the water pitcher. Done.
The reset zone is the difference between a coffee station that looks like the Pinterest photo on day 14 versus day 1. Without it, crumbs and rings of dried espresso build up under the machine and the whole corner starts to feel grimy.
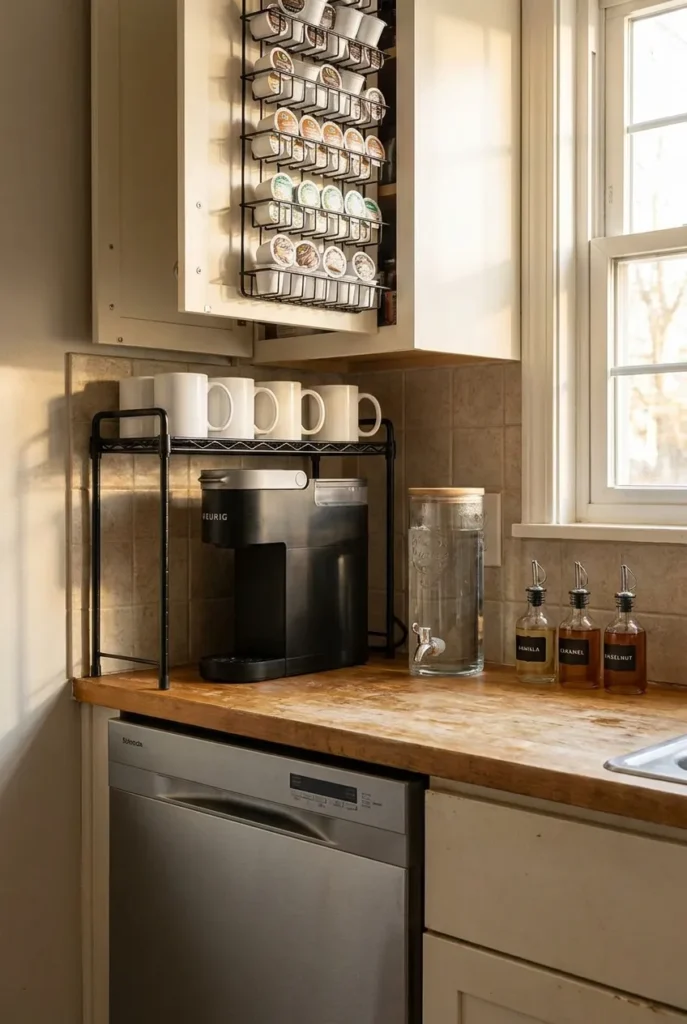
Small Coffee Station Ideas (Under 24 Inches of Counter)
A lot of these articles assume you have a sprawling kitchen. Most of us don’t. Here’s the compressed version for a 20 to 24-inch stretch of counter, which is roughly the width of a standard dishwasher.
- Stack vertically. A 2-tier wire shelf riser puts mugs above the machine. Buys 60% more storage in zero new floor space.
- Move the bean canister into the cabinet above. The Airscape canister fits in most upper cabinets. Counter stays clear, beans stay dark.
- Use the cabinet door. A 16-inch over-the-cabinet-door organizer (about $14 on Amazon) holds pods, stir sticks, and a small pack of filters on the inside of the door above your station.
- Choose a slim dispenser. A 2-liter glass water bottle with a tap is half the footprint of a standard pitcher.
- Skip the syrup bottles. If counter space is tight, pour each syrup into a 6-ounce glass jar with a pour spout. Three jars take up the space of one big bottle.
The Rental-Friendly Version (No Drilling, Promise)
If you rent, you’ve probably stared at a wall and wondered how to mount anything without losing your deposit. This setup is fully no-drill and works in apartments, dorms, and short-term stays.
- 3M Command hooks for mugs, scoops, and a small dish towel. The medium-size hooks hold 3 pounds each. Press, wait an hour, then load.
- A peel-and-stick floating shelf above the station. The Command 12-inch shelf holds 8 pounds, enough for a row of light mugs or two ceramic canisters.
- A tension rod inside the upper cabinet to hang small S-hooks for measuring spoons and a milk frother.
- An over-the-cabinet-door bin for pods. Zero hardware, zero damage.
- A freestanding wood tray that defines the zone visually without attaching anything. When you move out, the whole station packs in one box.
I lived in a 600-square-foot rental for three years and ran this exact setup. No holes, no damage charges, no compromise on the morning routine. For more rental-safe stacking ideas that translate beyond the kitchen, the layout walkthrough in home command center ideas uses the same logic for entryways.
Cleaning Schedule for Your Coffee Station
A clean station tastes better. According to the FDA guidance on food contact surfaces, coffee equipment with milk components needs daily attention to prevent buildup. Here’s the realistic weekly rhythm:
- Daily (90 seconds): Wipe the counter, empty the drip tray, rinse the tumblers, refill water.
- Weekly (10 minutes): Wipe down the machine exterior, clean the steam wand if you have one, wash the bean canister with warm water and let it air-dry completely before refilling.
- Monthly (30 minutes): Descale the machine with a vinegar solution or the manufacturer’s descaling product, wipe the inside of all canisters, replace any open box of baking soda used to absorb fridge odors near the station.
Honestly, the monthly descale is the one most people skip. Set a reminder on the first of every month. Your coffee will taste noticeably brighter after the first one.
Styling the Coffee Station Without Killing Function
Once the system works, styling is the easy part. Three rules keep it from sliding into “magazine photo nobody can touch”:
- One color story, three textures. Wood, glass, ceramic. Or brass, black, oak. Pick three materials and repeat them.
- One living thing. A small pothos, a sprig of eucalyptus in a bud vase, a tiny olive tree on the windowsill nearby. Living matter softens the hardware.
- One personal object. A vintage mug from a trip, a hand-thrown ceramic spoon rest, a framed 4 by 6 photo of the kitchen you grew up in. This is the thing that makes the corner yours instead of a showroom.
To be fair, this last rule is the one I cheated on for years. I styled the station like a catalog. It looked beautiful and felt cold. Adding a small ceramic mug my grandmother made changed the whole feel of the corner.

What to Buy First (Budget Order, Not Aspirational Order)
If you’re starting from scratch, buy in this order. Skip ahead only if you already own the previous item.
- One opaque bean canister, 32 oz. (~$28 on Amazon)
- One small wood or acacia tray to anchor the brew zone. (~$15 at Target)
- Three Command hooks for mugs. (~$8 at Walmart)
- One 64-oz glass water pitcher. (~$22 at HomeGoods)
- One lazy Susan, 10 inches. (~$10 at Dollar Tree or $24 at The Container Store)
- One pod or sweetener acrylic organizer. (~$14, mDesign)
- One microfiber cloth for the reset zone. (~$5)
Total under $100, and that’s if you buy everything at full price. Watch HomeGoods and TJ Maxx for the canisters and trays, where the same items run 30 to 50% less than the brand sites.
FAQ
How do you organize a coffee station?
Split the counter into five zones in left-to-right order: brew, cup, bean and bar, hydrate, and daily reset. Give every item one zone and one home. The system holds because every piece has a defined neighborhood.
Where should a coffee station go in the kitchen?
Near an outlet, away from the main cooking triangle (sink, stove, fridge), and ideally on a stretch of counter that gets morning light. A spot between the fridge and a side wall is the sweet spot in most kitchens.
What should be in a coffee station?
At minimum: a brewer, a bean storage canister, four to six mugs, sweetener, a spoon or scoop, and a small dish towel. The hydration add-ons (glass pitcher, two tumblers, tea tin, electrolyte packets) extend the same corner into a full drink station.
How do you organize a coffee bar in a small space?
Build vertically. Use a 2-tier shelf riser to double mug storage, mount Command hooks under upper cabinets, store the bean canister inside the cabinet instead of on the counter, and use the cabinet door for an over-the-door pod organizer. Pick a slim water bottle dispenser over a wide pitcher.
How do you store coffee beans for freshness?
Opaque, airtight container at room temperature. Skip the clear glass jar, no matter how pretty it looks. Whole beans last two to three weeks at peak. For longer storage, freeze the original sealed bag and pull out a week’s worth at a time.
What is a hydration station and do I need one?
A hydration station is a small parallel setup beside your coffee station with a water source (pitcher or dispenser), permanent tumblers, optional electrolyte packets, and tea. You need one if you want to actually drink water in the morning. Friction kills the habit, and a hydration station removes the friction.
How much counter space does a coffee station need?
A minimal station fits in 18 to 24 inches. A full coffee and hydration corner with both setups side by side needs 36 to 48 inches. Less than 18 inches, and you’ll want to move the bean canister into the cabinet to keep the counter usable.
Wrapping Up: Your Next 30 Minutes
Coffee station organization isn’t a Saturday project. It’s a 30-minute setup followed by a five-day adjustment period where you tweak which zone holds what. The 5-Zone Brew and Hydrate System is the bone structure. Your daily habits are the muscle that keeps it standing.
Start with one zone tonight. Pick the brew zone, since it anchors everything else. Move the machine to its final spot, add a tray under it, and place the scoop and beans within one hand-sweep. That’s it for tonight. Tomorrow morning, notice what feels right and what doesn’t. Adjust on Sunday.
If this resonated, the next logical step is the 15-minute kitchen reset routine, which pairs with the daily reset zone you just built. Which zone are you tackling first tonight?
General organizing information only. For specific guidance on coffee equipment maintenance or food storage safety, consult the manufacturer’s documentation or a qualified professional.