

Fridge Organization Bins That Actually Last (Not Just Look Good on Day One)
Here is the truth nobody pins. Fridge organization bins are easy to buy and weirdly hard to keep. You spend a Saturday styling clear containers, snap the photo, feel amazing. Then two weeks later a yogurt has migrated behind the drink bin and the whole thing looks like it never happened.
We have done exactly that. More than once.
So this is the version that sticks. You will measure before you buy a single fridge organization bin, shop without overspending, and set up a layout that survives real weeknights. First-hand, tested, mistakes included.
Why Most Fridge Organization Bins Fail by Week Two
Bins do not fail. The plan around them does.
The usual mistake is buying first and measuring never. You grab a cute set, get home, and the bin is half an inch too tall for the shelf gap. So it lives on the counter. Sound familiar?
The second mistake is treating bins as decor instead of a system. A clear bin with no assigned job just becomes a smaller junk drawer. Cold, this time.
Here is our honest fix, and it has a name.
The 2-Week Bin Test
Before you commit to a full fridge of matching containers, run one bin for two weeks. Pick your messiest zone (usually snacks or condiments), drop in a single clear bin, and watch. If that one bin stays neat and you actually reach for it, scale up. If it turns into chaos, the problem is the zone rule, not the product. Fix the rule first, then buy.
This one habit saves the most money, because you stop buying bins for a system you have not proven yet.
Measure First: The Numbers That Decide Which Bins Fit
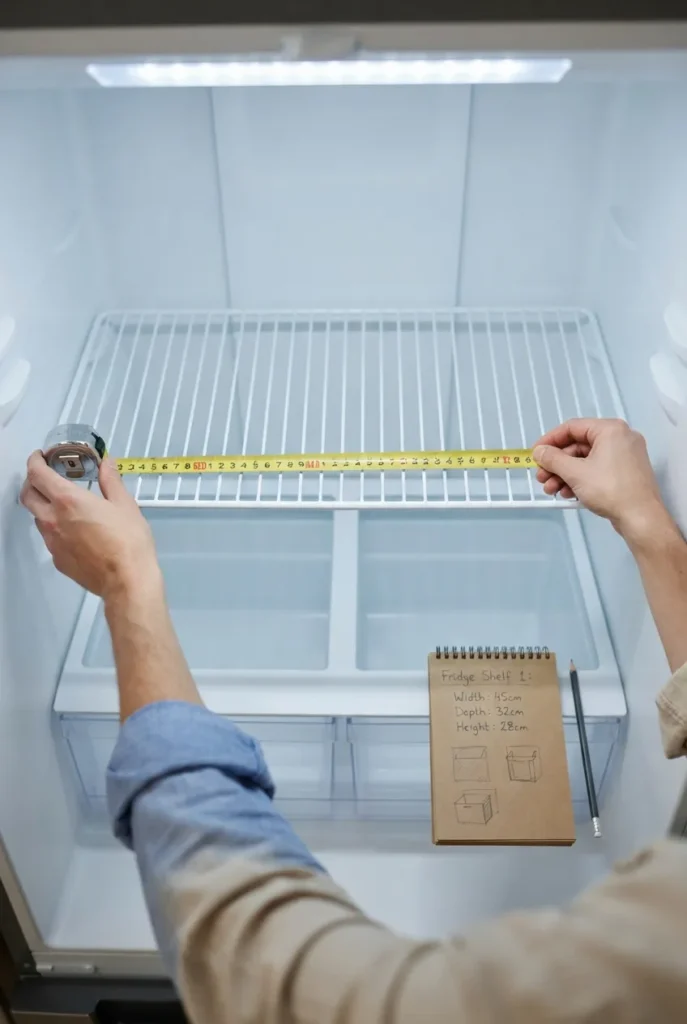
Grab a tape measure. Two minutes now saves a return trip later.
Most standard fridge shelves sit about 12 to 16 inches deep, and the vertical gap between shelves runs roughly 7 to 10 inches (adjust if yours are movable). Door bins are shallower, often 3 to 4 inches deep. Write your three numbers down: shelf depth, shelf height gap, and door depth.
Then match bins to those numbers. A 4-inch-tall bin under an 8-inch gap leaves room to reach in. A bin deeper than your shelf will hang off the edge and tip.
A Quick Bin-Sizing Cheat Sheet
Screenshot this before you shop.
| Zone | Bin type | Rough size to look for |
|---|---|---|
| Drinks (cans) | Soda can dispenser bin | 12 to 14 in deep, holds 9 to 12 cans |
| Produce (in-drawer) | Low clear bin | 6 in wide, under 4 in tall |
| Condiments | Handled clear bin | fits shelf gap with 2 in clearance |
| Snacks | Open shallow bin | 4 in tall, easy grab |
| Leftovers | Wide flat bin | shelf-depth minus 1 in |
Numbers are approximate starting points, not gospel. Your fridge wins any tie.
Clear Bins vs. Colored, Plastic vs. Acrylic: What We Actually Reach For
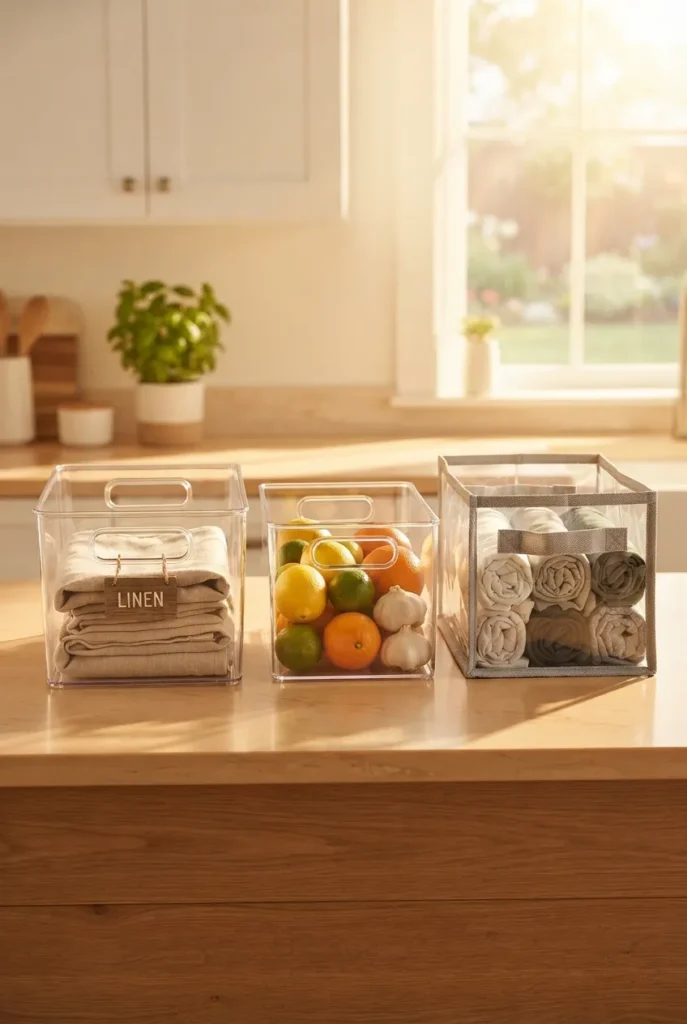
Clear wins for one boring reason: you use what you can see. Frosted and colored bins hide the wilting spinach until it is too late.
For everyday use, clear plastic bins (think mDesign or OXO Good Grips) take the daily bumps without cracking. Acrylic looks gorgeous in photos and chips if you are rough with it. We keep acrylic for low-traffic zones and plastic for the grab-and-slam spots. Honestly, the kids’ snack bin has survived things acrylic would not.
BPA-free matters if food touches the bin directly. If items stay in their own packaging, it matters less.
The Fridge Zone Map (Where Each Bin Actually Goes)
Chefs do not organize by prettiness. They organize by temperature and safety. So should we.
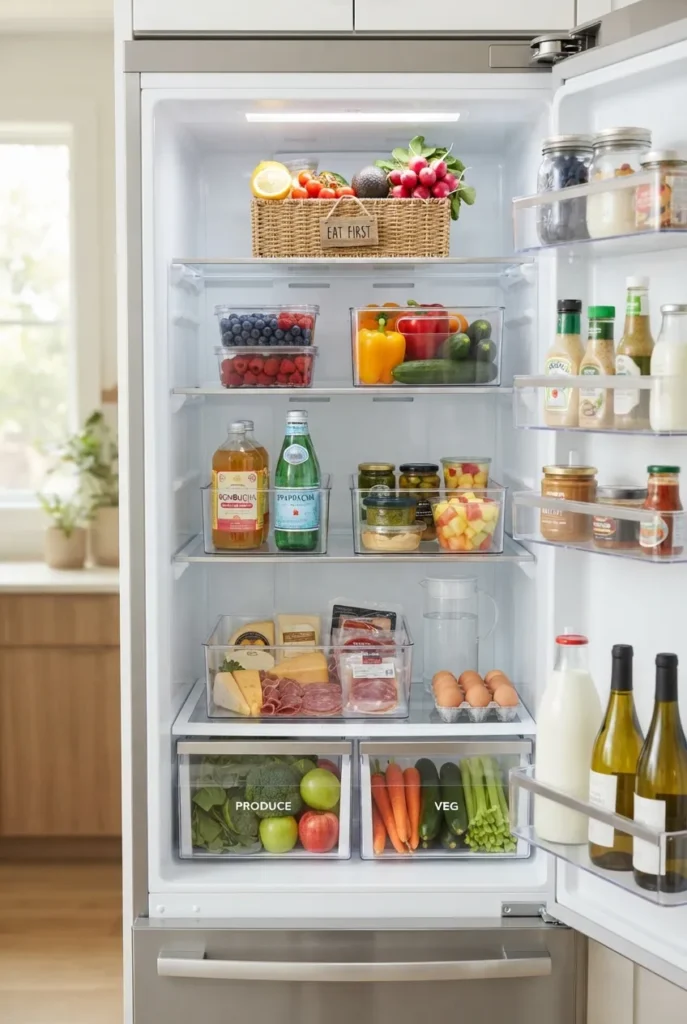
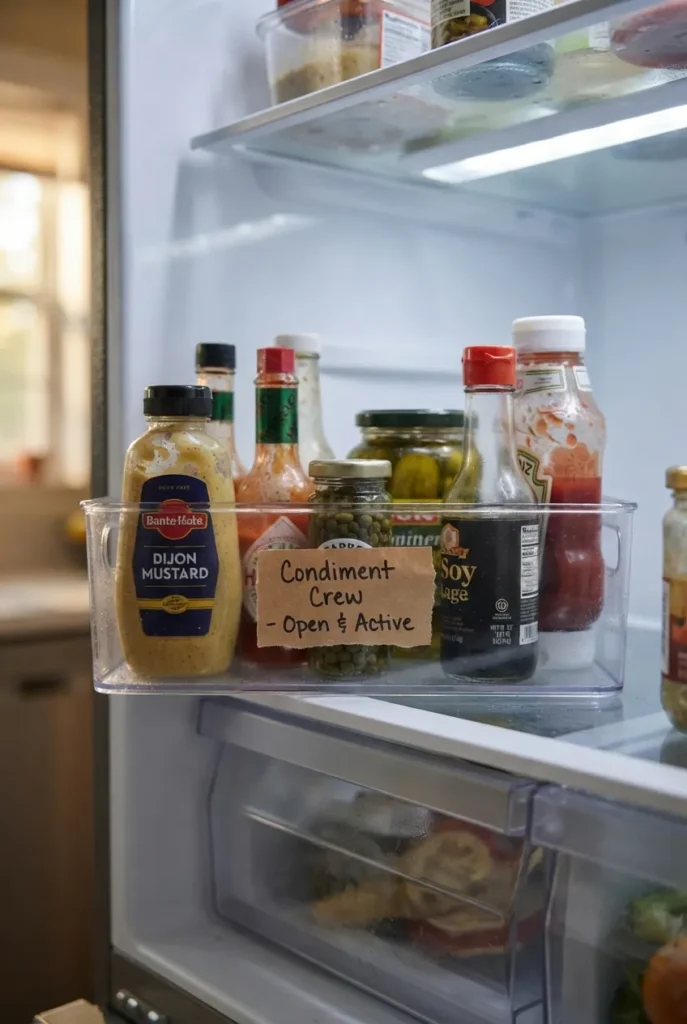
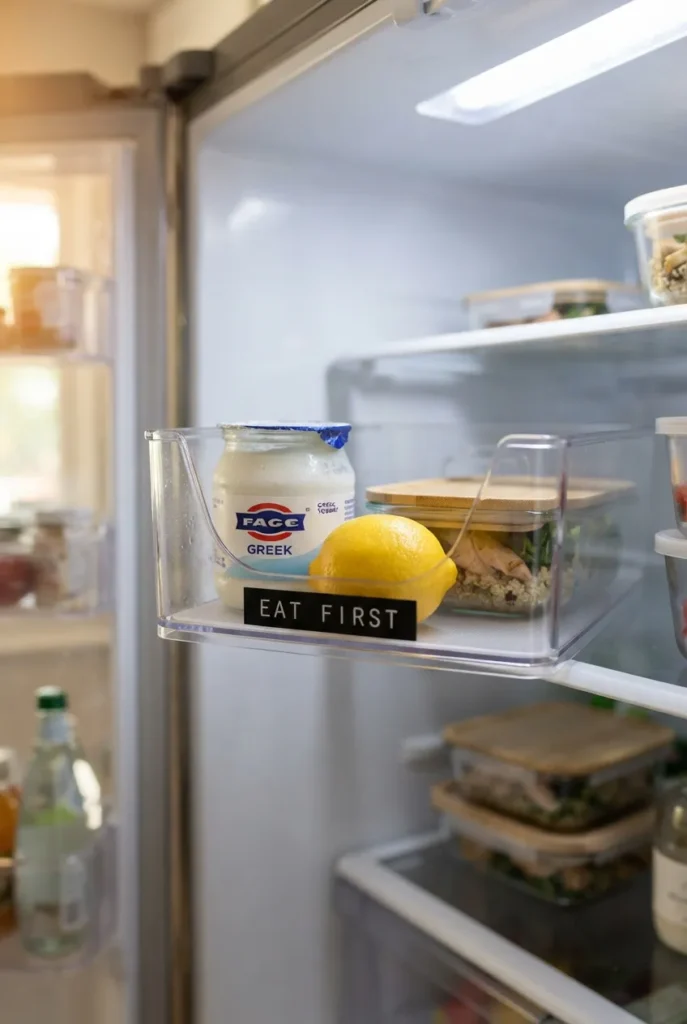
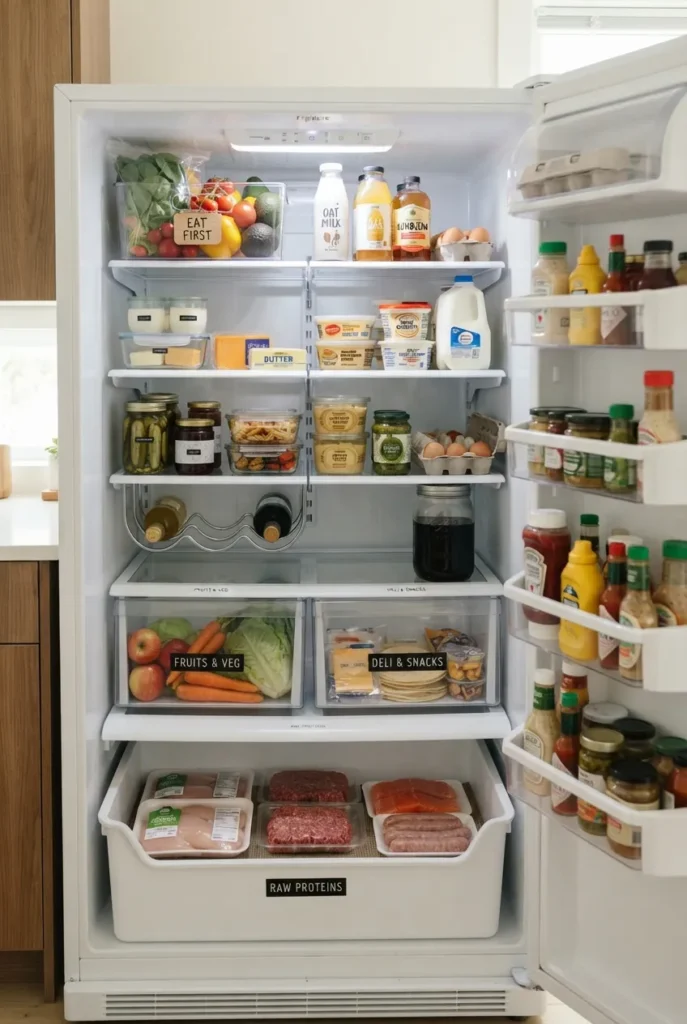
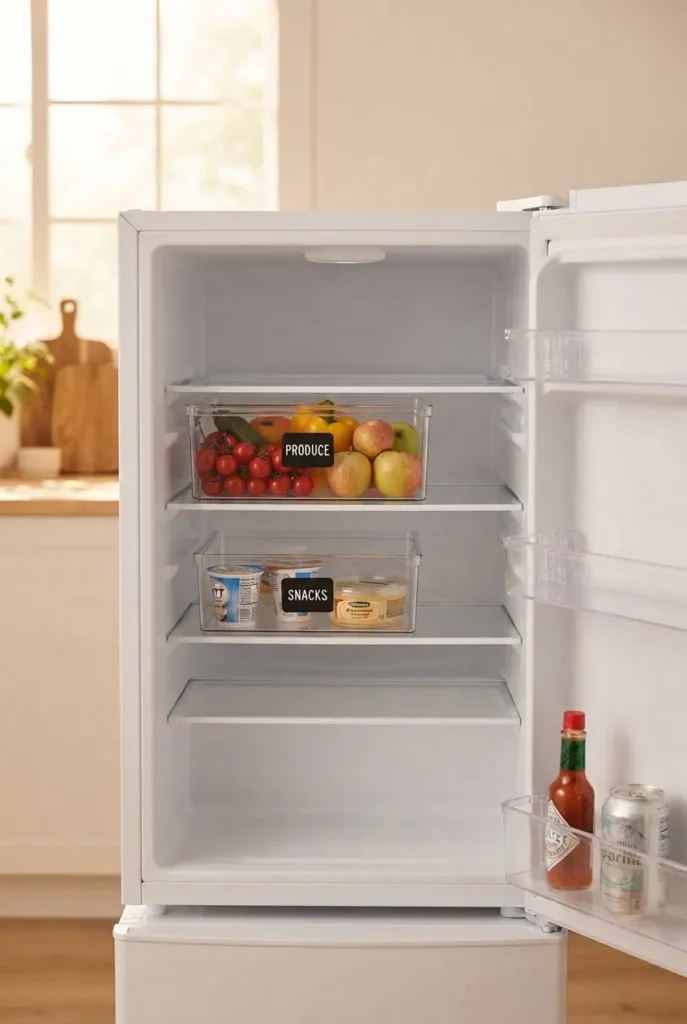
Cold air pools at the bottom, so raw proteins go on the lowest shelf, ideally in a wipeable bin or on a tray, to stop drips landing on anything below. The middle shelves are your steady zone for dairy and leftovers. The top shelf is warmest and most stable, great for drinks and an “eat first” basket. The door swings warm, so keep condiments and water there, not milk or eggs. This lines up with basic food-safety guidance on keeping the fridge at or below 40°F .
If you want a deeper walkthrough of full layouts, we broke down 12 aesthetic fridge layouts that stay tidy in a separate guide, and a start-to-finish version on how to organize your refrigerator like a pro.
The Eat-First Basket Rule
Keep one open bin at eye level labeled “eat first.” Anything close to its date moves there. It is the single fastest way to cut food waste, because the fridge stops hiding your good intentions behind a jar of pickles.
Produce Drawers: Where Bins Quietly Make the Biggest Difference
Crisper drawers are deep caves. Things vanish into the back and liquefy.
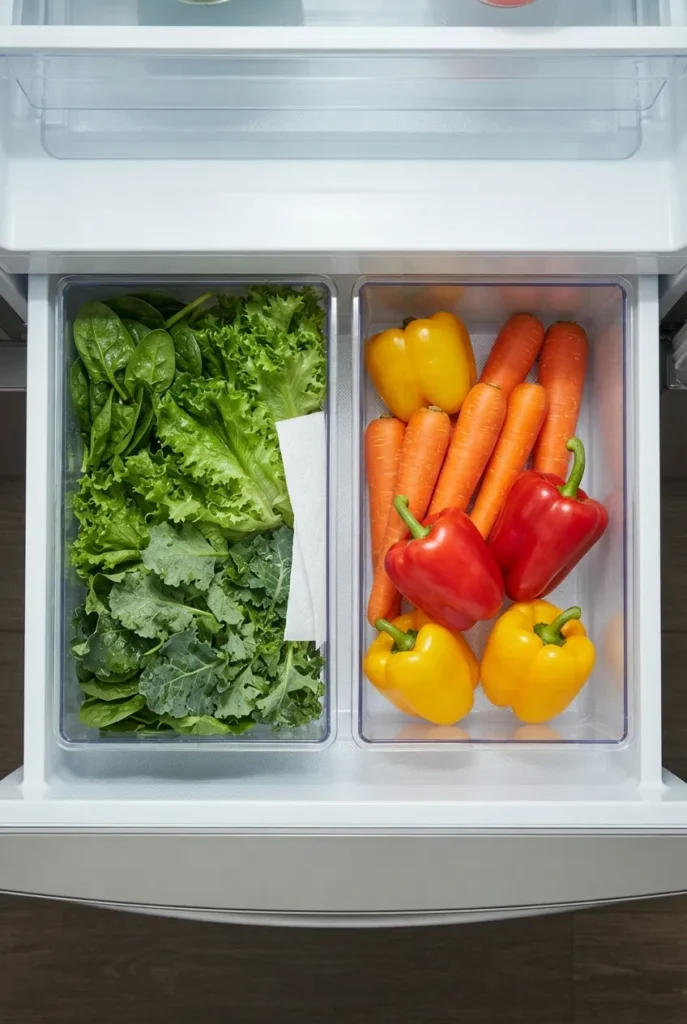
Drop two low bins inside a single crisper to split it into front and back, or left and right. Leafy greens in one, hardy veg in the other. You see everything, and you stop the sad back-of-drawer surprise. A paper towel in the greens bin absorbs extra moisture and buys you days.
For which foods pair with which container, we mapped it out in which bin goes with which food, and the logic carries straight over from pantry to fridge.
Shopping Without Overspending: The Under-$25 Starter Set
You do not need the 18-piece influencer haul on day one.
Start with five: one can dispenser, two low produce bins, one condiment bin with a handle, and one snack bin. Dollar Tree and Amazon Basics cover the budget end, mDesign and OXO cover the mid-range. Mix freely. A $1.25 bin holding cans works exactly as hard as a $15 one.
The 5-Bin Fridge Starter Kit
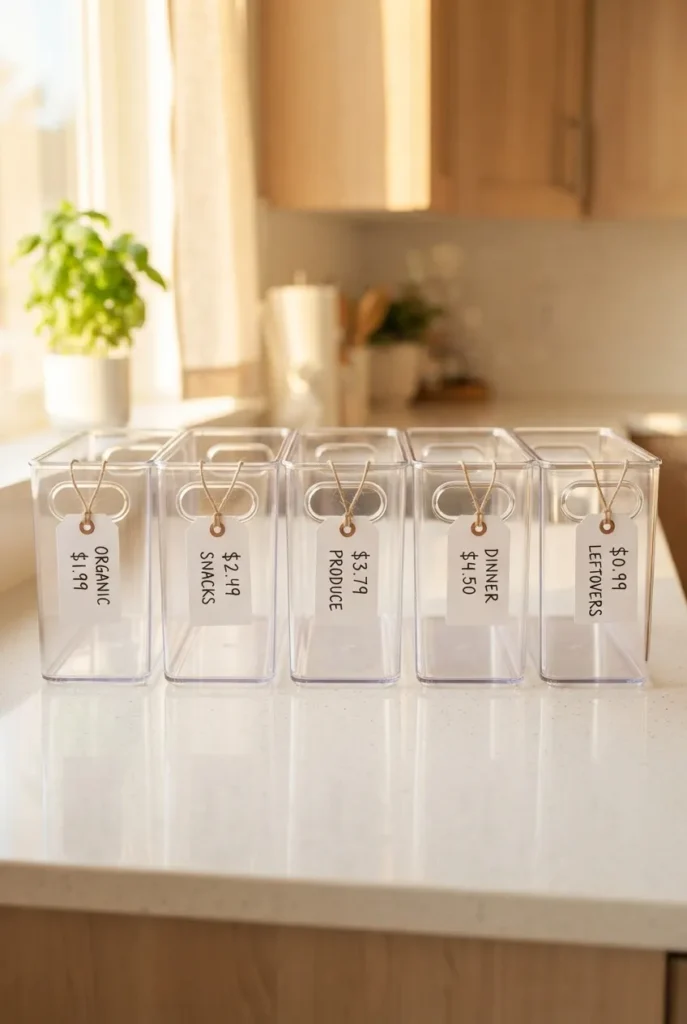
This is our named starter framework, and it is deliberately small: Cans, Greens, Hardy Veg, Condiments, Snacks. Prove those five, live with them for two weeks, then add only what you still wish you had. Most people never need more than eight bins total.
Labels and Upkeep: The Part That Keeps It Alive
A bin without a label drifts. A bin with a label gets defended.
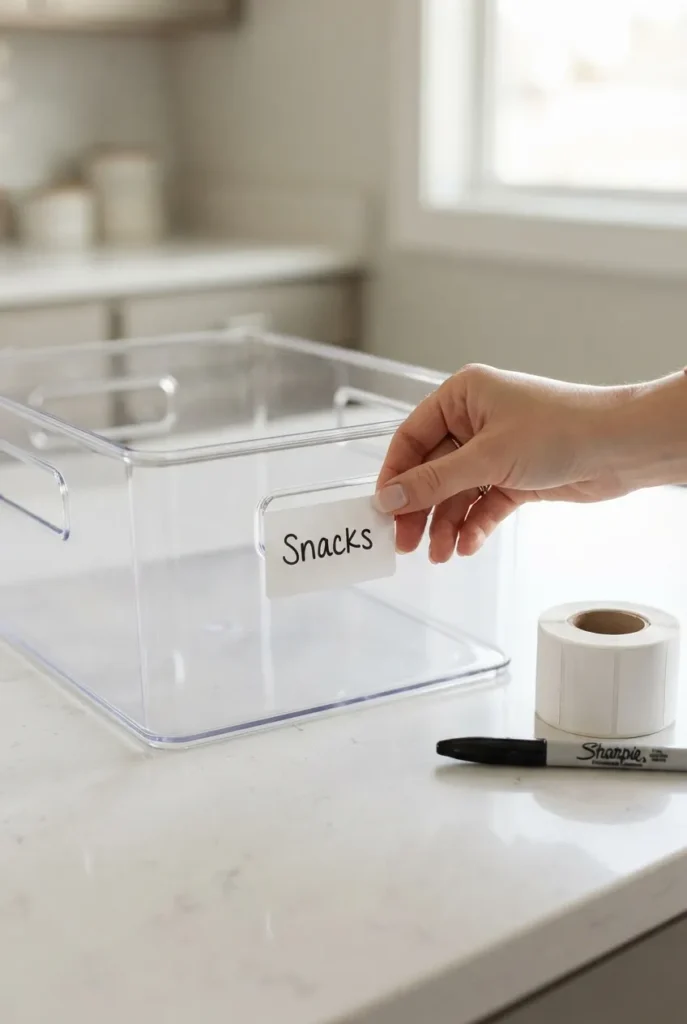
Use simple removable labels, handwritten is fine, and label the zone, not the exact item (“Snacks,” not “granola bars”). That way the system flexes when your groceries change. Reset takes about 90 seconds during your weekly fridge wipe.
The Sunday 5-Minute Fridge Reset
Once a week, pull the eat-first basket forward, wipe one shelf, and slide everything back into its bin. Five minutes. That is the whole maintenance secret, and it is why your bins will still look good in month three.
When Bins Are the Wrong Answer
Sometimes the honest move is fewer bins.
A small dorm fridge or a packed family fridge can lose usable space to thick bin walls. In tight fridges, use one or two bins for the messiest zones and leave the rest open. Bins are a tool, not a trophy. If they are costing you space instead of saving it, pull a few back out.
Frequently Asked Questions
What is the best way to organize your fridge?
Work by temperature, not looks. Raw proteins on the bottom, dairy and leftovers in the middle, drinks and an eat-first basket on top, condiments in the door. Then add bins only where a zone tends to get messy.
What is the best way to organize cans in the fridge?
A dedicated can dispenser bin on the top shelf is worth it. It stops rolling cans, uses gravity to keep the next one ready, and holds around 9 to 12 cans in a standard 12-to-14-inch bin.
What order should a refrigerator be organized?
Top to bottom by rising risk: ready-to-eat and drinks up high, dairy and leftovers in the middle, raw meat lowest so nothing drips onto food below. The door is warmest, so it is for condiments and water only.
How do chefs organize their fridge?
By food-safety zones and FIFO (first in, first out). They keep raw proteins low, rotate older items to the front, and label everything so any cook can find it fast. You can borrow the exact logic at home.
Do I really need clear bins, or can I organize without bins?
You can absolutely organize without bins by grouping items and using the built-in shelves and drawers. Clear bins mostly help with messy zones and visibility. If your fridge is small, going bin-light can actually work better.
Are plastic fridge bins safe for food?
Choose BPA-free bins if food touches them directly. If items stay in their own packaging inside the bin, the bin material matters less. Check the manufacturer’s food-contact note to be sure.
How often should I reset my fridge bins?
A quick 5-minute pass once a week keeps it alive, ideally the same day you plan meals or shop. A deeper wipe-down every month or so handles spills.
The Setup That Survives Real Life
Pretty fridges are easy for a day. A fridge that still works in month three comes from measuring first, buying only the five bins you can prove, and giving each one a job and a label. That is the whole trick, and it is genuinely doable this weekend.
Start with one messy zone and one bin. See how it feels. If you want the full room-by-room layouts next, save this and grab your tape measure first. Your future self, standing in front of an open fridge at 6 p.m., will thank you.


