Pantry Baskets Organization: Which Bin Goes With Which Food
Most pantry baskets organization advice stops at “add cute baskets.” Then two weeks later your granola bars are hiding behind the flour again. The real trick is matching the right basket to the right food, because a crinkly bag of chips needs something totally different from a bag of onions. Get that pairing right and the whole shelf stays neat on autopill, honestly with almost no effort from you.
Here’s the promise: by the end of this, you’ll know exactly which basket type to grab for snacks, produce, baking staples, and backstock, plus the one measurement that decides whether a basket fits your shelf at all. Let’s set it up.
Why Basket Type Matters More Than Basket Looks
Pretty baskets photograph well. Functional baskets keep your pantry working. Those are not always the same thing.
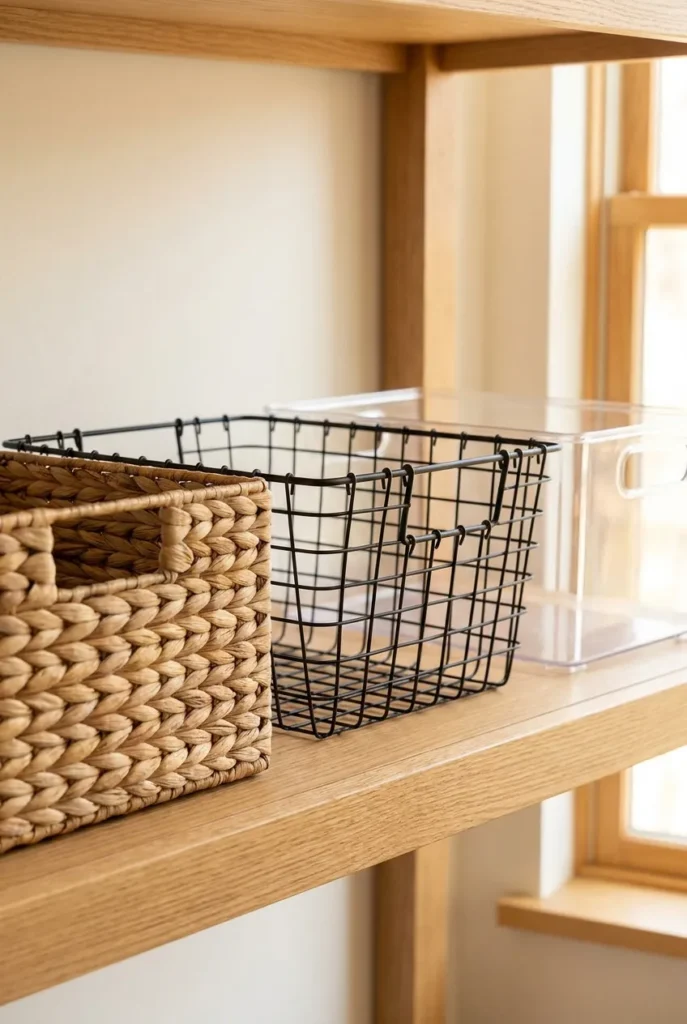
Think about what each food actually needs. Onions and potatoes need airflow or they sprout and go soft. Snack pouches need containment so they stop sliding around. Flour and sugar need a sealed container, not an open weave. When you pick a basket by its job first and its color second, your pantry baskets organization stops falling apart by Thursday.
There’s one more reason material matters, and it’s a safety one. The USDA notes that shelf-stable pantry foods still need a cool, dry spot to hold their quality (see the USDA FSIS guidance on shelf-stable food storage). An open woven basket is perfect for onions and terrible for anything that needs a tight seal. Match the container to the food, not just the shelf.
The Food-to-Basket Matching System
This is the framework I keep coming back to. Call it the Four-Basket Match: every food in your pantry falls into one of four jobs, and each job has a basket built for it.
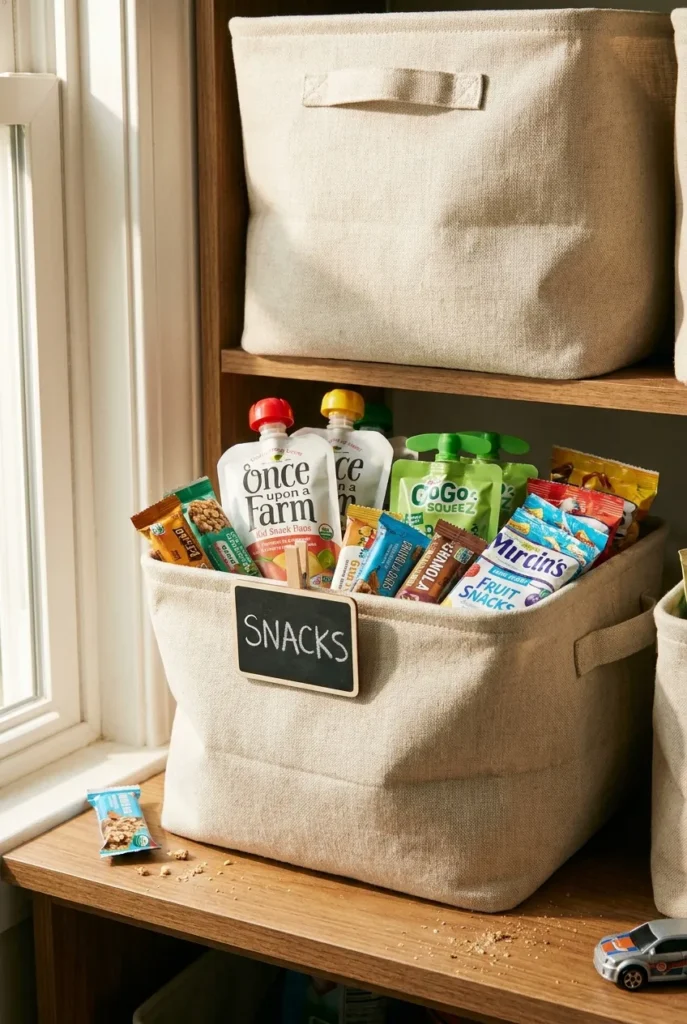
Snacks and Crinkly Pouches: Deep Fabric or Solid Bins
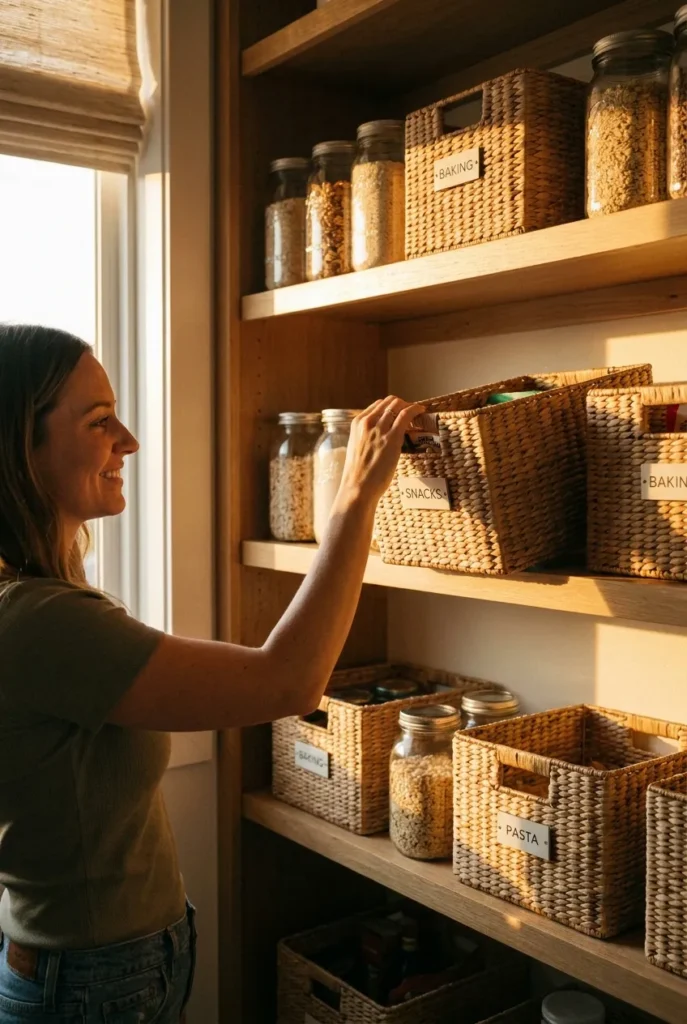
Snacks are chaos. Granola bars, chip clips, fruit pouches, they all slide and tip. A deep fabric bin or a solid-sided plastic bin (roughly 6 to 8 inches tall) corrals them so nothing escapes. Solid sides matter here, because open weave lets small pouches slip through the gaps.
Group by who eats what. One bin for grab-and-go kid snacks at a low, reachable height. One for adult or “ask first” snacks up higher. If little hands are involved, this pairs perfectly with DIY pantry labels your kids can actually read so a four-year-old can find the pretzels without unpacking the shelf.
Produce (Onions, Potatoes, Garlic): Open Wire or Airy Weave
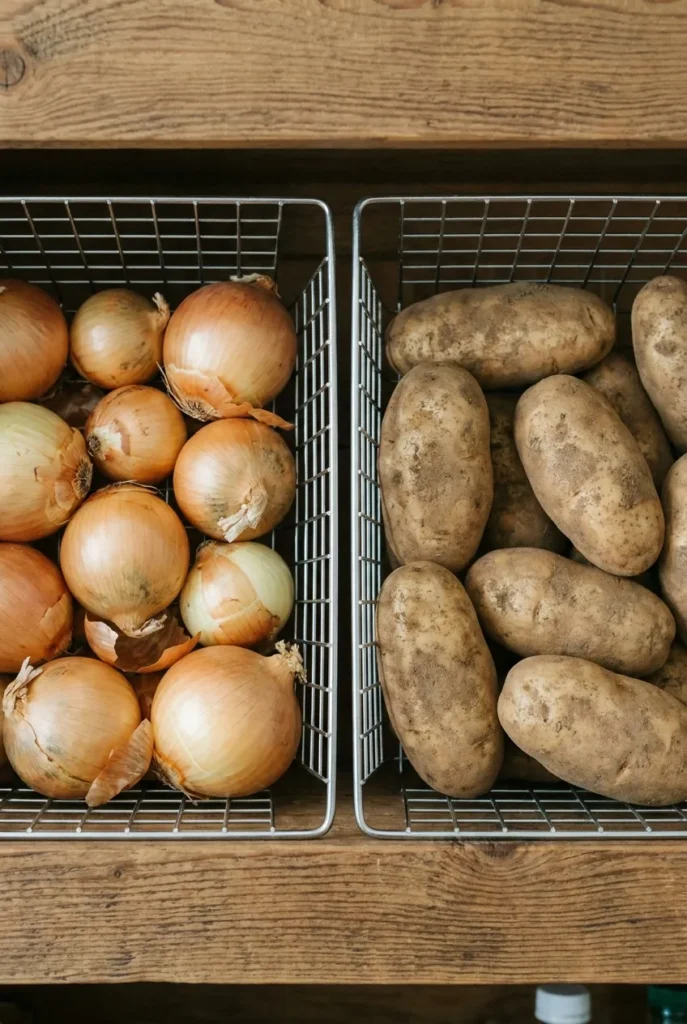
Here’s where people go wrong. They put onions in a sealed bin and wonder why everything sprouts. Produce that lives outside the fridge wants air moving around it. A coated wire basket or a loose, open weave basket does exactly that.
Keep onions and potatoes in separate baskets, by the way. Stored together they spoil each other faster. A quick tip: a shallow wire basket (about 4 inches deep) lets you see everything at a glance so nothing rots in the back. Pantry baskets for onions is one of the top things people search, and this is the answer.
Baking and Dry Staples: Clear Sealed Containers, Not Baskets
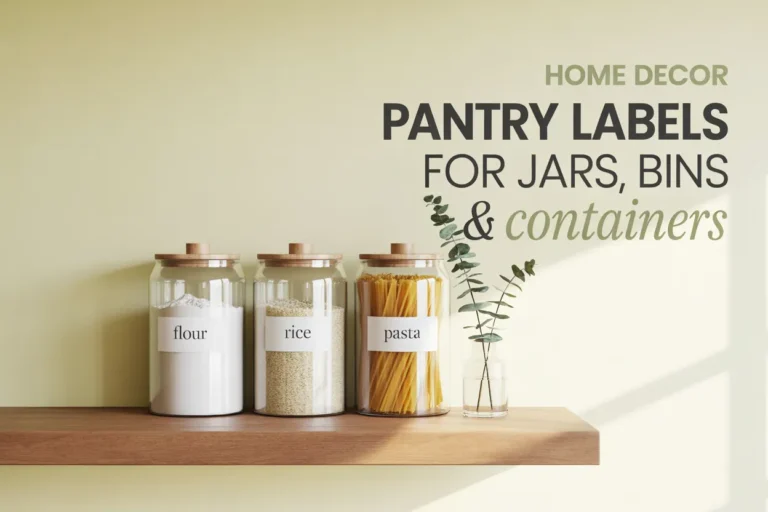
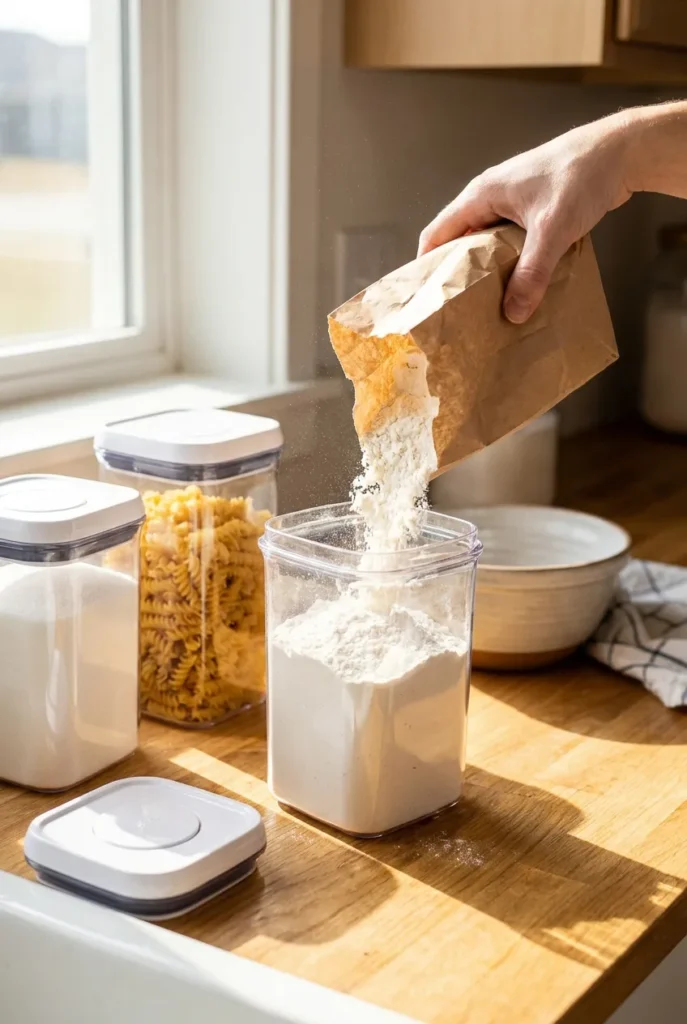
This is the one exception to the basket rule, and it’s important. Flour, sugar, rice, and pasta do not belong in an open basket. They belong in clear, sealed containers, then you can corral those containers inside a shallow basket or tray if you like the look.
Clear wins because you see the level dropping and know when to restock. Sealed wins because it keeps pantry moths and moisture out. If you want to see real container sizes before you buy, OXO lists the exact capacities for its POP Containers (their official POP Container lineup shows which size fits a standard bag of flour). Decant once, thank yourself for months.
Backstock and Bulk: Large Bins Down Low
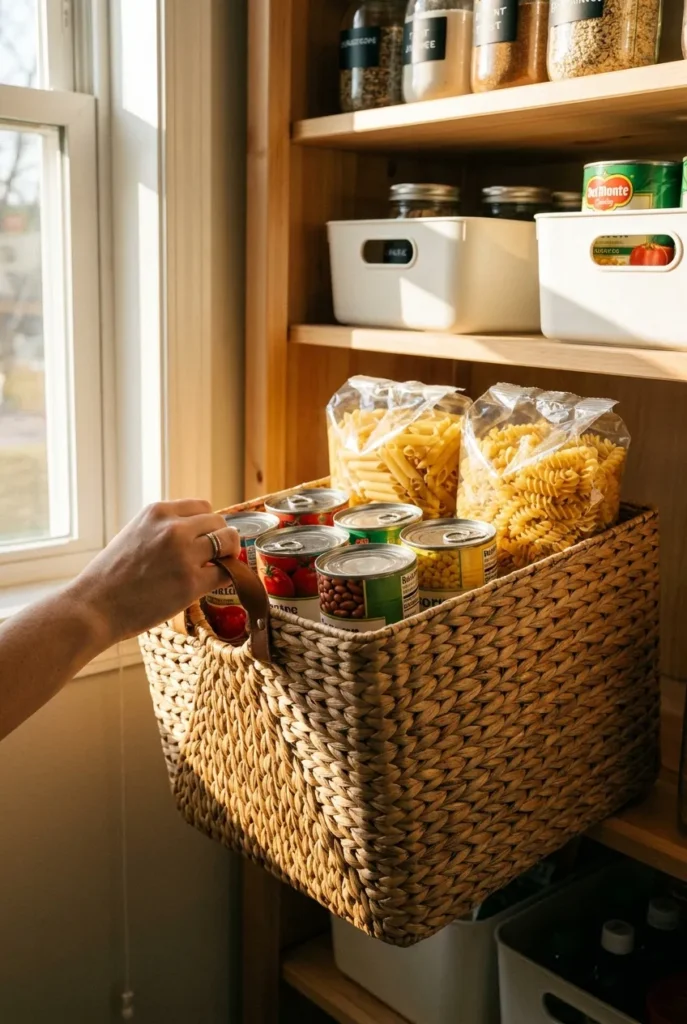
Extra canned goods, backup pasta, the warehouse-club overflow. This stuff is heavy and awkward, so it goes in large, sturdy bins on the lowest shelf or the floor. A big handled bin (10 inches deep or more) means you can pull the whole thing out, grab what you need, and slide it back without digging.
Floor baskets also solve the deep-shelf problem that so many readers ask about. On a deep shelf, a pull-out bin turns dead back-of-shelf space into usable storage.
The One Measurement That Decides Everything: Shelf Depth
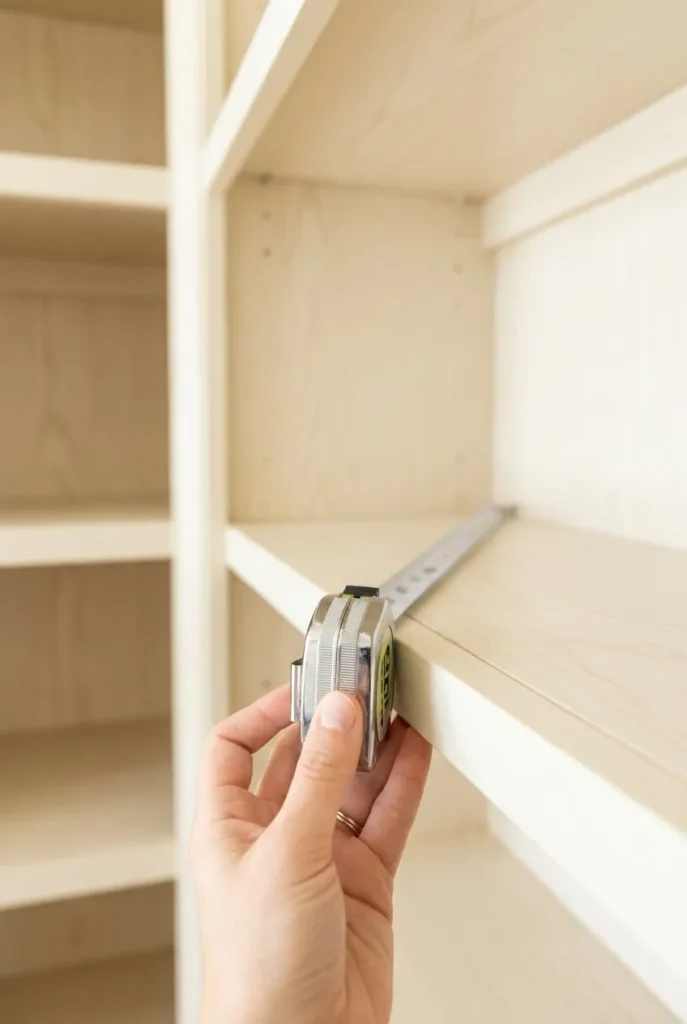
Before you buy a single basket, measure your shelf depth. This is the step everyone skips.
Grab a tape measure and check the depth (front to back) and the height between shelves. Most pantry shelves run 12 to 16 inches deep. If you buy baskets shallower than your shelf, you lose inches of space at the back. If you buy taller than the gap, they won’t slide in. Write your numbers down before you shop.
A quick reference table you can screenshot:
| Food type | Best basket | Rough size to look for |
|---|---|---|
| Snacks and pouches | Deep fabric or solid bin | 6 to 8 in tall, solid sides |
| Onions and potatoes | Open wire or airy weave | 4 to 6 in deep, separate baskets |
| Baking and dry staples | Clear sealed container (in a tray) | Match to bag size |
| Backstock and bulk | Large handled bin | 10+ in deep, floor level |
If you want the full “what to actually buy” breakdown before spending money, I put it in what pantry gear is actually worth buying so you skip the stuff that just collects dust.
How to Arrange the Baskets Once You Have Them
Buying baskets is half the job. Placement is the other half.
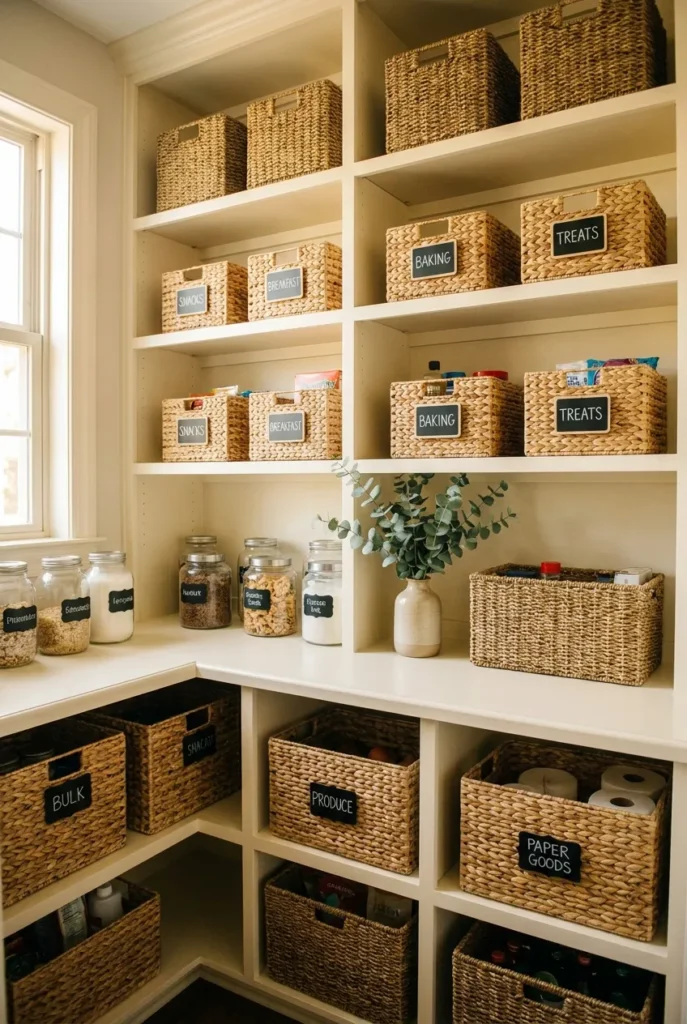
Put the stuff you reach for daily at eye level. Snacks and breakfast items live in the easy zone. Backstock and rarely-used appliances go high or low. Heavy things stay low so a full bin never comes crashing down on you.
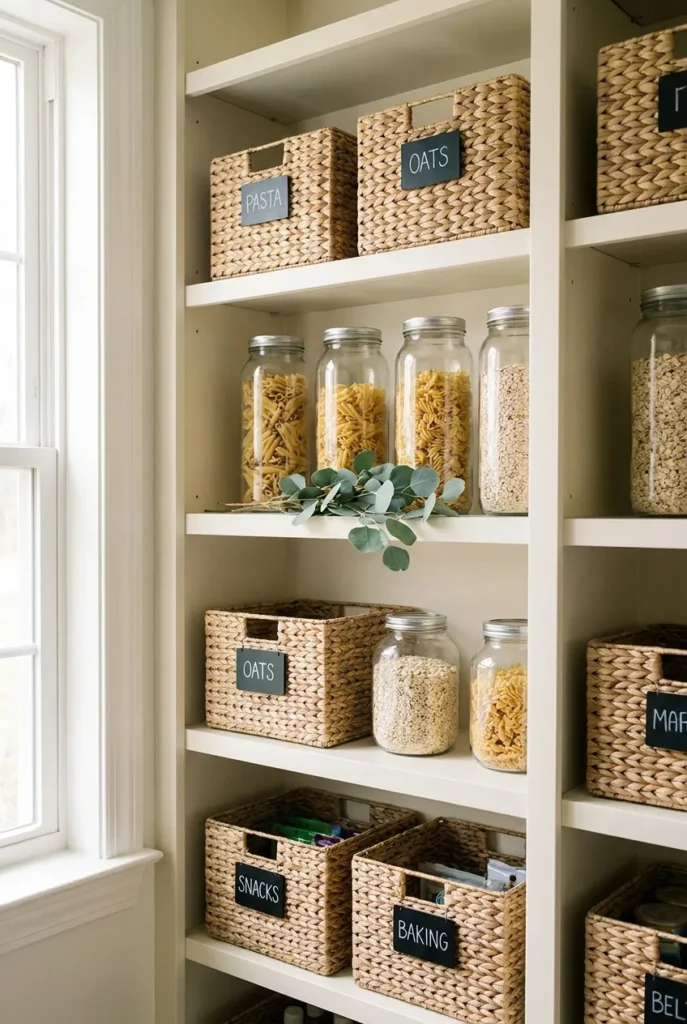
Keep it to a consistent basket color or two so the shelves read calm instead of busy. This is exactly how you make a pantry look nice without a full renovation, and it’s the same principle behind keeping open pantry shelving looking tidy where everything is on display.
Labeling: The Step That Keeps It Neat
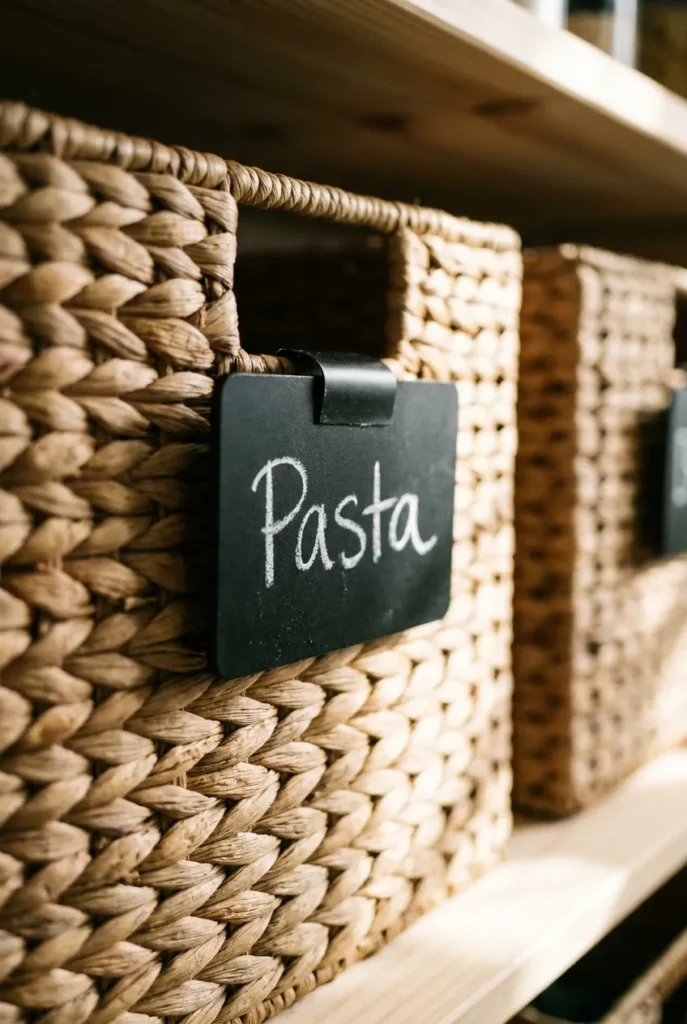
A system without labels lasts about a week. Labels tell everyone in the house where things go back, which is the whole point.
Chalkboard tags look great and wipe clean when you rotate contents. For anything a child uses, add a little picture next to the word. Keep the label wording short. “Snacks” beats “Assorted Snack Items” every time.
Common Pantry Basket Mistakes to Skip
A few honest ones I see all the time. Buying baskets before measuring (you already know that one). Using open weave for flour and sugar, which invites pests. Cramming too much into one giant bin so it becomes a junk drawer. And picking baskets purely for looks with no thought to the food going inside.
Fix those four and your pantry baskets organization holds up for the long haul.
Frequently Asked Questions
How do I use baskets in a pantry?
Sort your food into four jobs first: snacks, produce, baking staples, and backstock. Then match each job to the right basket, deep solid bins for snacks, open wire for produce, sealed containers for baking staples, and big floor bins for bulk. Placement and labels do the rest.
What materials are best for pantry baskets?
It depends on the food. Water hyacinth and wicker look warm and work for dry, packaged goods. Coated wire is best for produce that needs airflow. Solid fabric or plastic bins are best for small, slippery snack items. Skip open weave for anything that needs a seal.
How do I make my pantry look nice?
Stick to one or two basket colors, add short clean labels, and keep daily items at eye level. Matching containers and a little greenery do more for the look than an expensive remodel.
How do I best arrange a pantry?
Zone it by how often you reach for things. Daily items at eye level, heavy bulk down low, rarely-used items up high. Keep like with like so you never buy a third jar of cinnamon by accident.
What baskets are best for onions and potatoes?
Open wire or loosely woven baskets, and keep the two in separate baskets since they spoil each other faster when stored together.
How do I organize a small pantry with deep shelves?
Use handled bins you can pull all the way out, so the back of the shelf stays reachable instead of becoming a black hole.
Do I really need to decant flour and sugar?
For anything you use often, yes. Clear sealed containers keep pests and moisture out and let you see when you’re running low, which open baskets can’t do.
Bring It All Together
Pantry baskets organization gets easy the moment you stop shopping for pretty and start matching each basket to the food’s actual job. Snacks get contained, produce gets airflow, staples get sealed, and bulk goes low. Measure first, label second, and your shelves basically maintain themselves.
Pick just one shelf this weekend and try the Four-Basket Match. Save this to your pantry board so you have the size chart handy when you shop, and come back to tell me which zone made the biggest difference.
General information only; for food storage safety specifics, check current USDA guidance or a qualified professional.