Kitchen Appliance Organization: Store Small Appliances Without Clutter
Your counters did not sign up for this. The air fryer, the coffee maker, the blender, the toaster that only sees weekends, somehow they all claimed permanent real estate. Now you prep dinner on a strip of countertop the size of a cutting board.
Kitchen appliances organization fixes that without a remodel and without giving up a single gadget you actually use. In this guide you get a 15 minute audit, a four rung framework you can screenshot, and storage ideas pulled from real kitchens. You also get the two steps almost nobody covers: outlet mapping and a one bin rule for cords and attachments. Consider this the last kitchen appliances organization guide you will need to pin. Grab a notepad. Your counters are about to breathe.
Start With a 15 Minute Small Appliance Audit
Before you spend a dime at The Container Store, take inventory. No amount of kitchen appliance organization can outrun owning more appliances than your kitchen holds, and most of us are carrying a few passengers we forgot about. We counted nineteen small appliances in a kitchen with realistic storage for maybe ten, and honestly, two of them still had the twist ties on the cords.
Here is the whole audit:
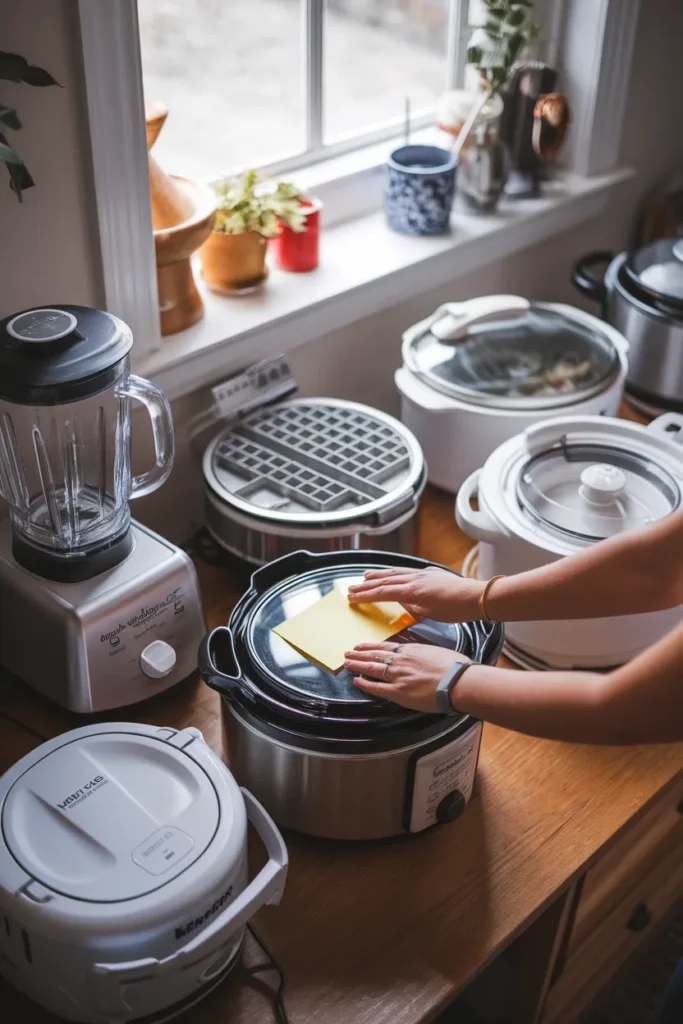
- Pull every small appliance out and line them up on the kitchen table. Every single one, including the panini press hiding in the coat closet. Seeing the full fleet in one place is the highest value fifteen minutes in this entire guide.
- Count them. Write the number down. It will surprise you.
- Ask three things per appliance: whether it still works, whether you used it in the last 12 months, and whether another appliance already does the same job.
- Sort into three piles: keep, donate, sell. Anything broken gets recycled, and inherited pieces you love but never use can go to a family member who will.
A dozen appliances or fewer takes about 15 minutes. Closer to twenty appliances, budget half an hour. Either way, everything that survives the audit has now earned real kitchen appliance organization, which is exactly what the next section assigns.
The Appliance Ladder: Match Storage to How Often You Cook
Meet The Appliance Ladder, the framework this whole kitchen appliance organization system hangs on. The Appliance Ladder sorts every appliance onto one of four rungs based on how often you truly use it, then assigns each rung a physical zone in the kitchen. An appliance never climbs higher than its frequency deserves, so daily workhorses stay within arm’s reach while the ice cream maker stops hogging prime shelf space.
| Rung | How often you use it | Where it lives | Examples |
|---|---|---|---|
| 1: Counter | Daily | Countertop, plugged in | Coffee maker, air fryer |
| 2: Prime | 1 to 3 times a week | Waist to eye level cabinet, front row | Blender, rice cooker |
| 3: Stretch | About once a month | High shelf or a low back cabinet | Waffle maker, stand mixer |
| 4: Remote | A few times a year | Pantry top shelf, hall closet, labeled garage bin | Turkey roaster, ice cream maker |
Screenshot that table. Seriously, it is the map for every decision below. When a friend asks how your kitchen appliances organization stays this tidy, the honest answer is that nothing lives above its rung. Demote without guilt. You can always promote an appliance back to Rung 2 the month you fall in love with smoothies again.
Which Kitchen Appliances Earn Counter Space
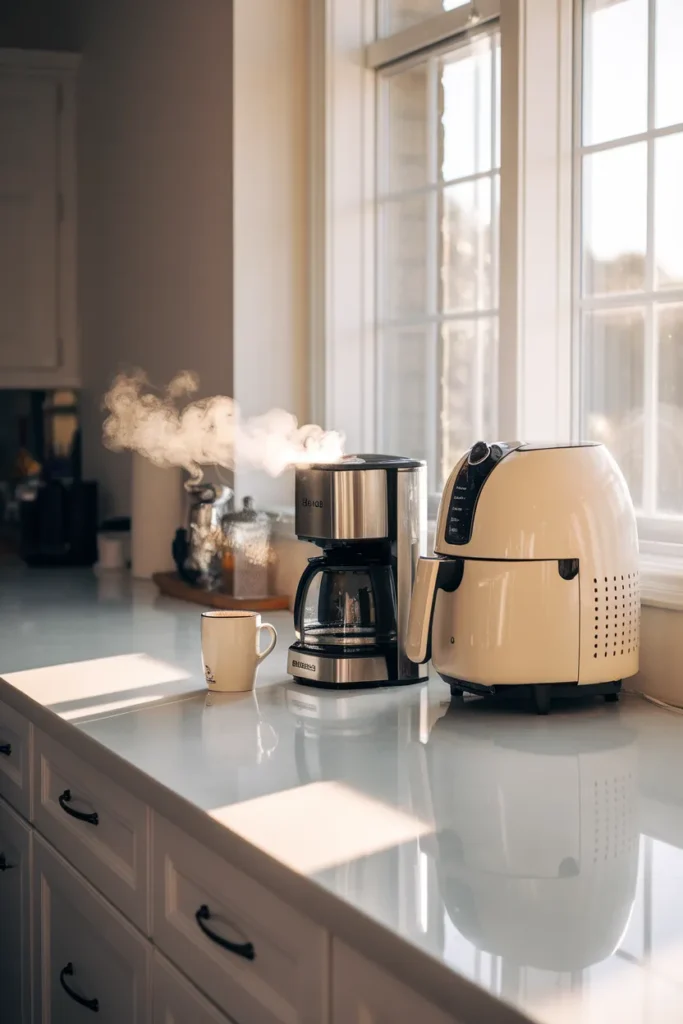
Rung 1 is beachfront property, so guard it. Our rule: two appliances per run of counter, three only if that run stretches past six feet. On a standard 25 inch deep countertop, every parked appliance erases roughly two feet of prep space, and cooking gets miserable once your working zone shrinks below about 24 unbroken inches.
Which two earn the spot? Whatever you touched yesterday and will touch tomorrow. For most homes that means the coffee maker and one cooking workhorse, usually the air fryer or toaster. Group the coffee maker with its grinder and mugs into one corner station so the clutter reads as intentional. Give heat producing appliances a few inches of breathing room from the backsplash and upper cabinets, and check the manual for the exact clearance your model wants.
Everything else steps down a rung. Yes, even the pretty blender. Clear counters do more for how a kitchen feels than any amount of decor, and they make daily kitchen appliance organization nearly automatic because there is simply less to shuffle.
Appliance Garage Ideas That Hide the Everyday Three
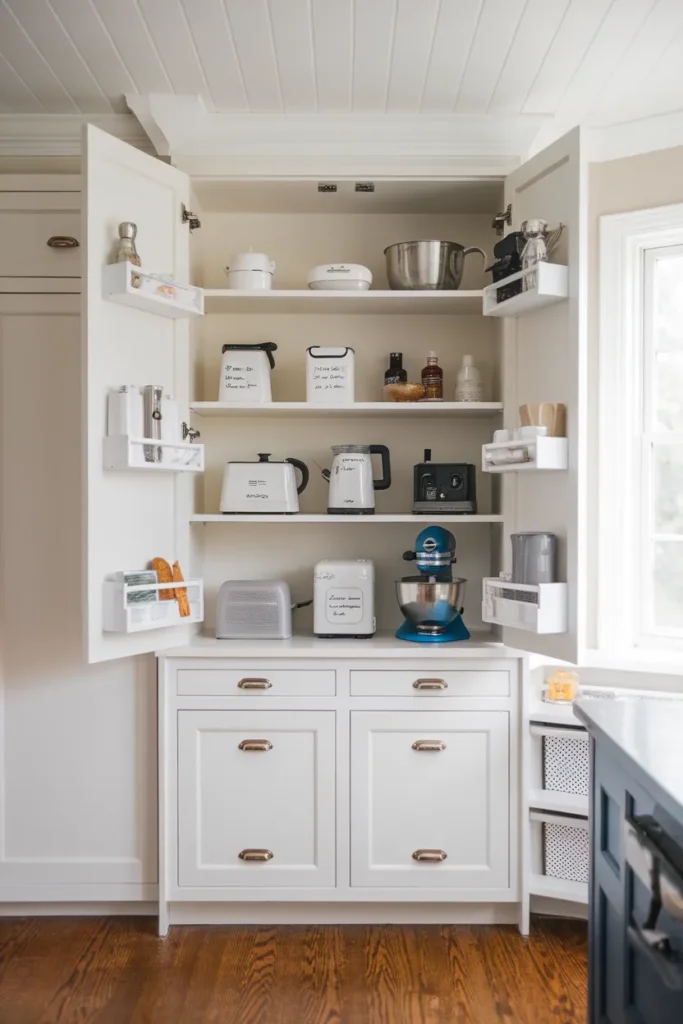
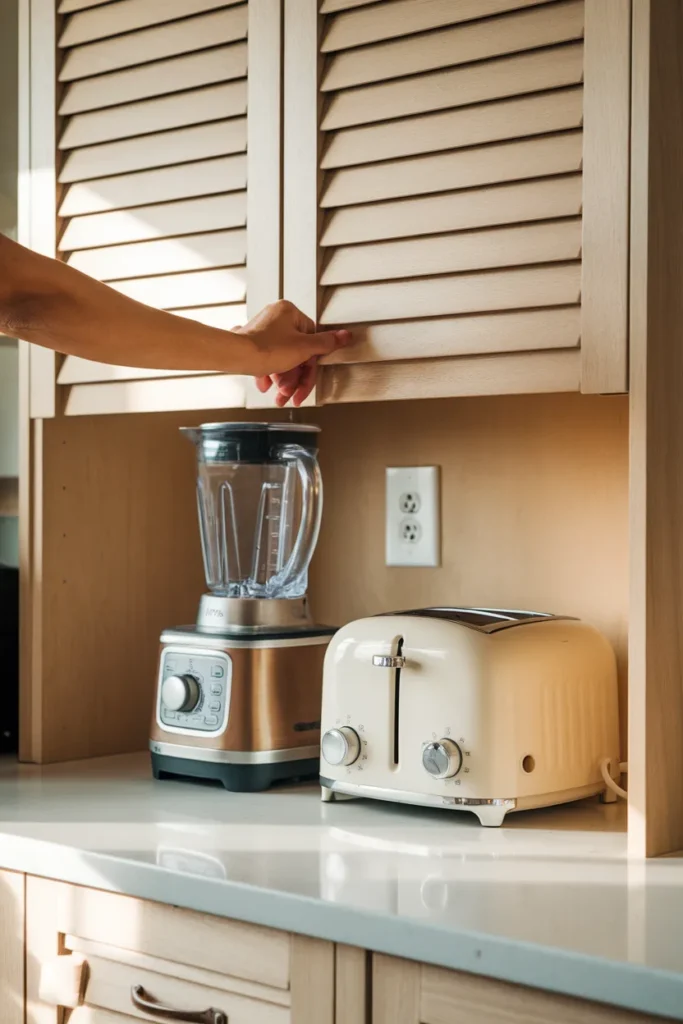
An appliance garage might be the single best trick in this whole guide: a cabinet at counter level with a lift up or tambour door. Your toaster and blender stay plugged in, parked, and completely invisible the second you close it. Pinterest is obsessed with these right now, and for good reason. You get Rung 1 convenience with Rung 4 visual calm.
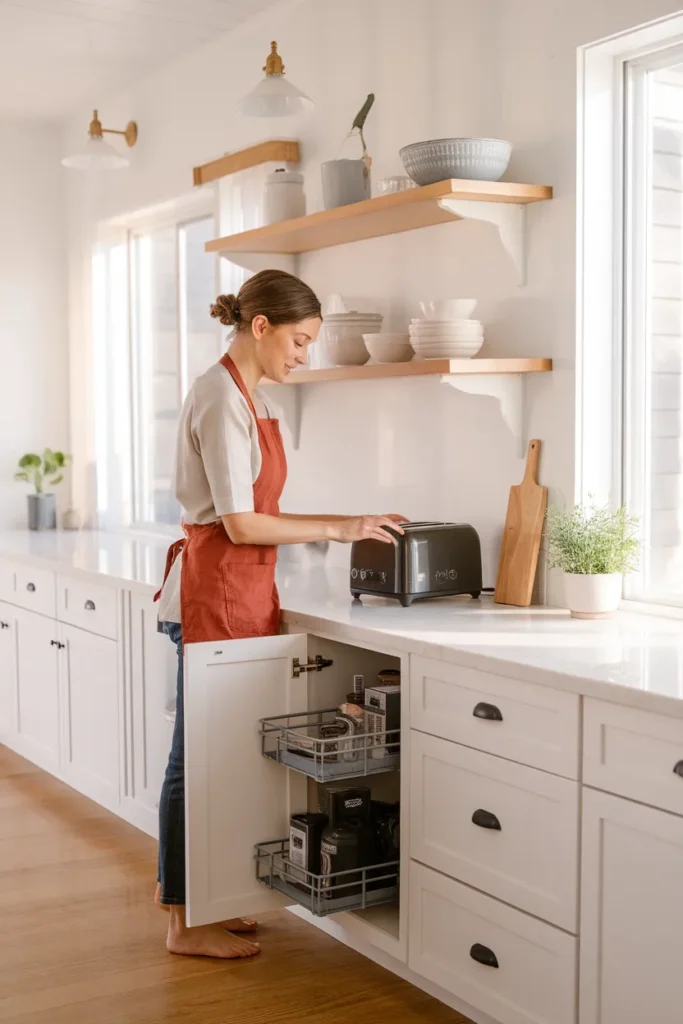
If a renovation is on your calendar, ask for an outlet inside the garage so appliances never move to work, and have a licensed electrician handle the wiring. If not, build the budget version. Dedicate one deep lower cabinet as the parking garage and double its capacity with an IKEA Variera shelf insert, about $5 to $8. The toaster slides under and the blender sits on top. A bamboo bread box style cover on the counter works as a mini garage for one appliance too. Either route delivers the same payoff: the everyday three (toaster, blender, coffee gear) vanish, and your kitchen appliance organization suddenly looks custom without a contractor.
Cabinet and Deep Drawer Storage That Actually Works
Cabinet based kitchen appliance organization fails for one fixable reason: the shelves sit wherever the builder left them. Move the shelf pins first. It costs nothing, and raising one shelf two inches often turns a cabinet that fits zero blenders into one that fits two. Standard base cabinets run 24 inches deep and uppers about 12, so park heavy, wide appliances low and send light choppers and hand mixers up top.
Then apply the ease of exit test. If you have to move two things to reach one, that appliance is slotted wrong, so shuffle until every Rung 2 item slides out in a single motion. Retrofit pull out wire drawers in a lower cabinet if bending and digging drives you crazy; they install with four screws and turn a deep cave into a smooth glide. A corner cabinet with a lazy Susan is the natural parking spot for wide based appliances like the rice cooker, because the spin brings the back row to you.
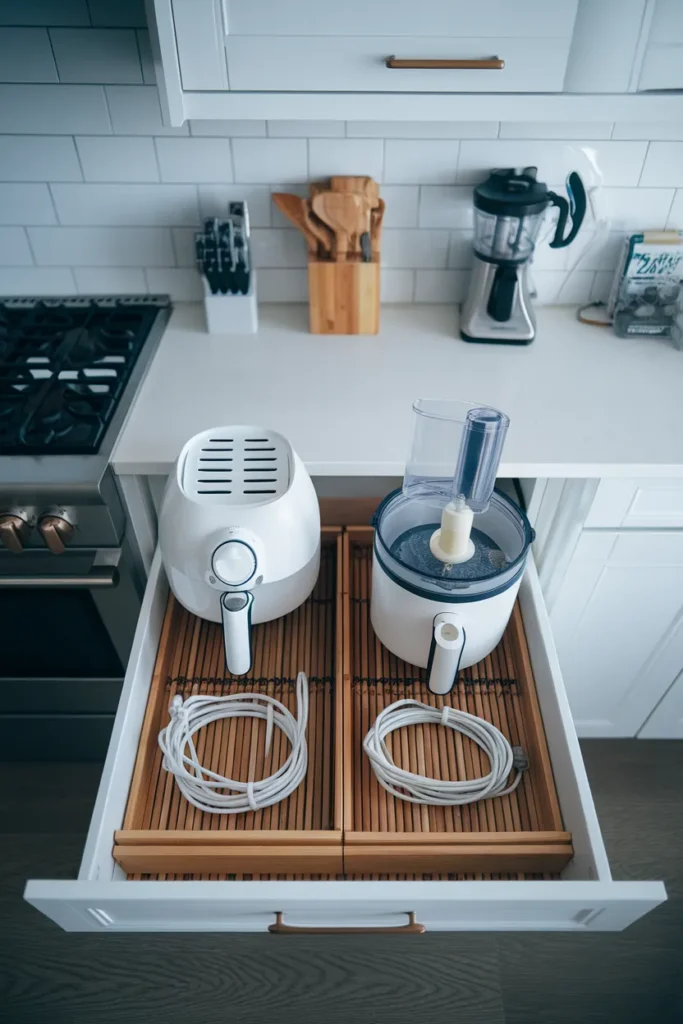
Deep drawers might be the best kept secret in kitchen appliance organization. Stand the air fryer and food processor upright, add a bamboo divider so they never kiss, and coil each cord beside its owner. We ran a full drawer by drawer system for the rest of the kitchen too, and you can steal it in our guide to deep kitchen drawer organization.
Pantry Shelves and Overflow Zones for Bulky Appliances
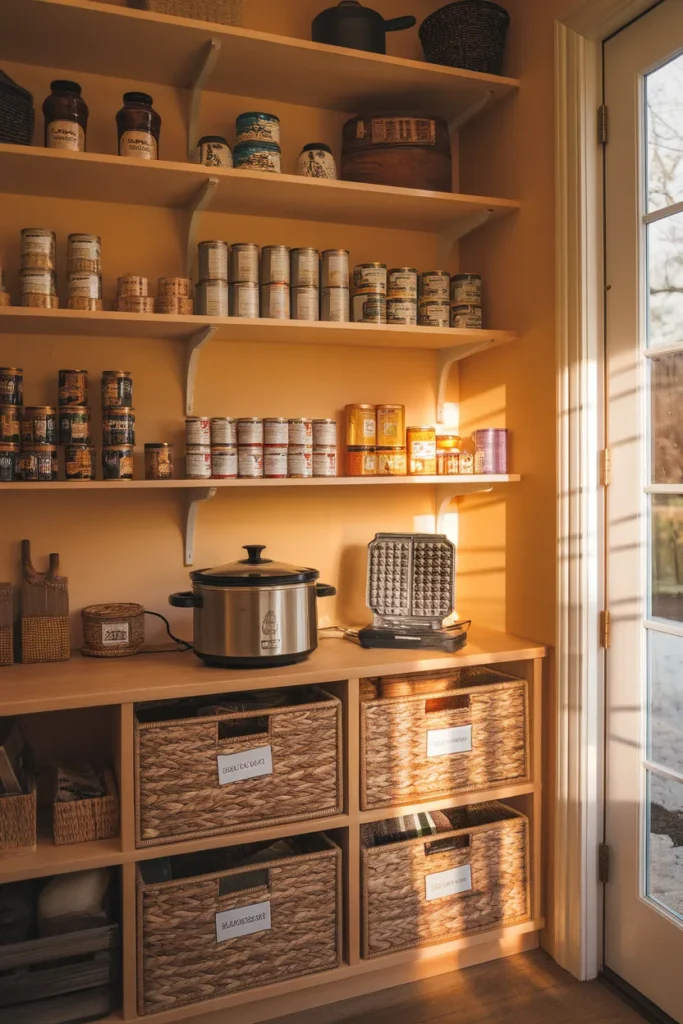
Rung 3 and Rung 4 appliances belong out of the main work triangle, and the pantry is their natural habitat. Two rules keep it safe and sane. Heavy items ride the lower shelves so nothing crashes down on you, and lighter gear goes up high. Professional organizers agree on that stacking order in nearly every kitchen appliance organization guide, and your back will too.
Give appliances one labeled zone so they never colonize the snack shelf. A 16 inch deep pantry shelf swallows a slow cooker with room to spare. A couple of Target Brightroom or mDesign bins with cutout handles let you carry an appliance plus all its parts in one trip instead of three. If yours is a cabinet style pantry instead of a walk in, the shelf math changes, and our pantry cabinet organization guide maps that exact setup.
No pantry at all? Borrow square footage from the next room. A dining buffet, a hall closet shelf, or a labeled garage bin with a dust cover handles the turkey roaster crowd beautifully. Our waffle maker spent two years on top of the refrigerator before we admitted a $6 bin in the hall closet was better kitchen appliances organization than a greasy dust hat.
Renter Friendly Storage: Rolling Carts and No Drill Ideas
Renters get told to install pull outs and cut outlets into cabinetry, which is useless advice when your lease says no. The fix is furniture that moves out when you do. A three tier rolling cart, typically about 21 by 16 inches and 33 inches tall, holds a full coffee station or a baking setup. It tucks against a wall until you roll it to the action. Assign each shelf exactly one job, coffee up top, backup filters and beans below, so the cart never mutates into a junk magnet. Lock the wheels once it is parked; ours wobbled every morning until we did.
A freestanding bakers rack does the same work at a larger scale, and Walmart’s Mainstays line plus Amazon Basics shelving both offer sturdy versions under $80. For hangable gadgets under about three pounds, damage free adhesive hooks on the side of a cabinet keep hand tools off the counter without a single hole. Small kitchen appliance organization in a rental is really just one principle: buy storage you can take with you, and let the walls stay innocent.

The One Bin Rule for Cords, Blades, and Attachments
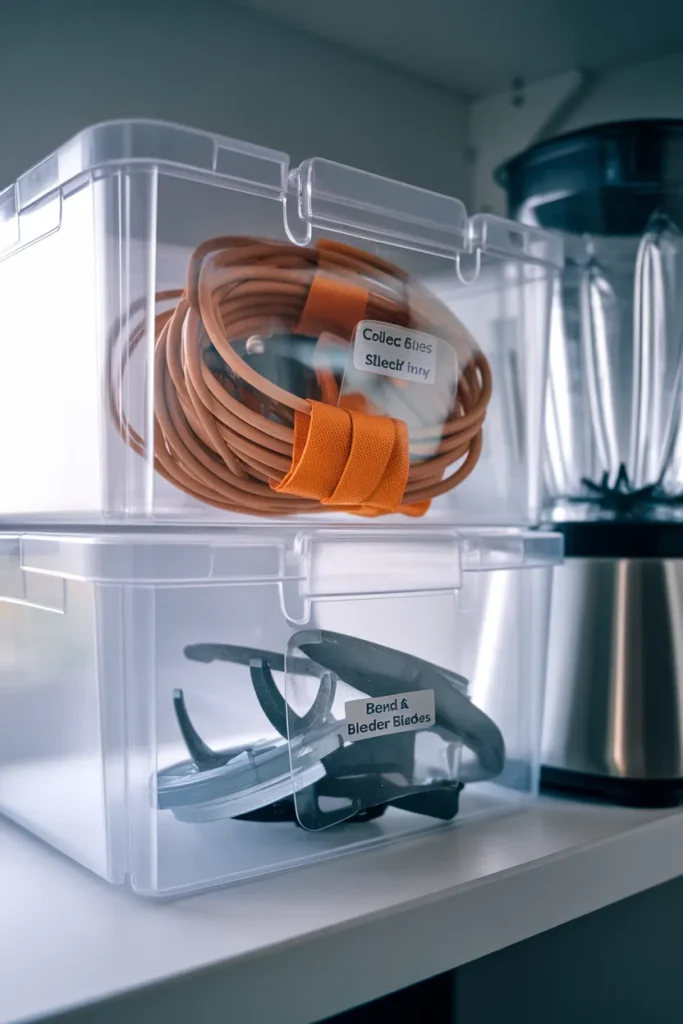
Here is the step every kitchen appliance organization guide skips, and it is the reason organized kitchens fall apart by March. Appliances travel with an entourage: blender blades, mixer paddles, spiralizer discs, power cords, tiny funnels. Scatter those parts and the whole system dies the first time you cannot find the food processor’s S blade.
The One Bin Rule fixes it permanently. Every appliance’s parts live together in one clear bin, and that bin is stored touching its appliance, beside it or directly underneath. Wrap each cord with a velcro tie, five for $1.25 at Dollar Tree, so nothing tangles. Sharp blades go inside a small lidded canister first, a 1.6 quart OXO POP container works great, so no bare edge ever waits for a reaching hand. Label the bin lid with the appliance name and you are done in an afternoon.
OXO Good Grips bins are the premium pick, but the $1.25 versions truly do the same job. We rounded up our favorite cheap ones, jars and racks included, in this Dollar Tree kitchen organization roundup. Total cost for a ten appliance kitchen: under $15, and no lost attachment ever again.
Map Your Outlets Before You Assign Forever Homes
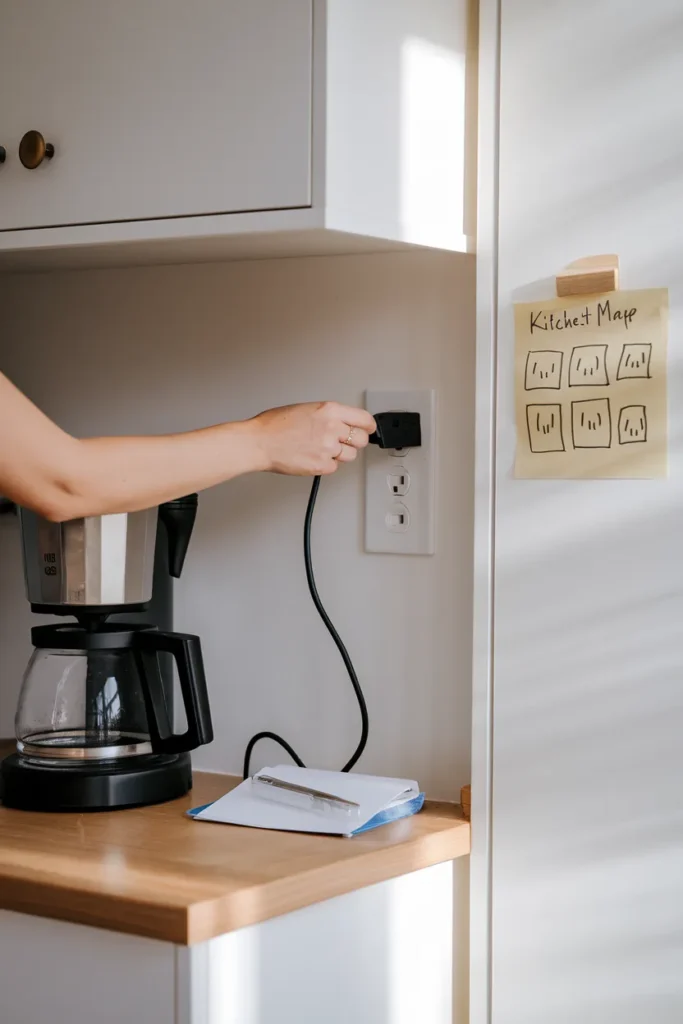
One last gap nobody covers: appliances live where outlets are, or they do not get used. Walk your kitchen with sticky notes and mark every outlet, then match Ladder rungs to plugs. The blender that needs a counter outlet across the room from its cabinet will quietly demote itself to never used, no matter how tidy the shelf looks.
Safety sets two hard rules here. The U.S. Fire Administration says heat producing appliances like coffee makers and microwaves plug directly into a wall outlet, one per outlet, and never into an extension cord. Extension cords can overheat and start a fire. They also recommend unplugging small appliances you are not actively using. That habit pays twice, because idle electronics keep sipping power. Researchers at Lawrence Berkeley National Laboratory advise unplugging devices you rarely use. Department of Energy figures put standby loads at roughly 5 to 10 percent of a home’s electricity, up to a couple hundred dollars a year.
So the outlet map earns its ten minutes. Every appliance gets a home within cord’s reach of its plug, heat makers get a dedicated wall outlet, and Rung 3 and 4 gear gets unplugged and put away. That is kitchen appliance organization working for your safety and your power bill at the same time.
FAQ: Kitchen Appliances Organization Questions, Answered
Where should I store small kitchen appliances?
Match kitchen appliance organization to frequency. Daily appliances stay on the counter or in an appliance garage, and weekly ones go front and center in a waist to eye level cabinet. Monthly gear rides high shelves or low back cabinets, and seasonal pieces move to the pantry, a hall closet, or a labeled bin.
Which appliances should stay out on the counter?
Only the ones you use daily, and no more than two or three per counter run. For most kitchens that means the coffee maker plus one cooking workhorse like an air fryer or toaster. Everything else earns more prep space by living behind a door.
What is an appliance garage?
An appliance garage is a cabinet at counter level with a lift up, tambour, or flip door that hides small appliances while they stay plugged in and ready. Built in versions often include an interior outlet; a deep lower cabinet with a shelf insert makes a solid budget stand in.
How do you organize appliances in a small kitchen with no pantry?
Go vertical and mobile. A three tier rolling cart or bakers rack adds instant homes, upper cabinet shelves handle lightweight gadgets, and rarely used appliances can overflow to a buffet, hall closet, or dust covered garage bin. A ruthless 12 month audit matters most when square footage is tight. Small kitchen appliances organization is mostly subtraction.
What is the best way to store appliance cords and attachments?
Use the One Bin Rule. All of an appliance’s parts live in one clear, labeled bin stored right beside it, cords wrapped in velcro ties and blades sealed in a small lidded canister. Nothing gets separated, so nothing gets lost.
How often should I declutter kitchen appliances?
Once a year works for most homes. Rerun the 15 minute audit, apply the 12 month usage test, and demote or donate anything that failed it. Annual passes keep kitchen appliances organization from silently collapsing under new gadget purchases.
Your Counters, Back in Business
Kitchen appliance organization comes down to one honest sequence: audit what you own, place each survivor on its Appliance Ladder rung, give parts one bin, and let the outlet map settle every tie. None of it needs a contractor, and most of it happens in a single Saturday. Start tonight with the table audit, even if you only get as far as counting. Then save this kitchen appliance organization guide to your kitchen board so the Ladder table is there when the bins come out, and poke around our other kitchen systems while the coffee brews. Your counters have been waiting a long time for this.