Fridge Organization Ideas: 12 Aesthetic Layouts That Stay Tidy
You opened the fridge this morning, and a wilted bag of spinach slid forward, a sticky soy sauce bottle tipped sideways, and three half-used jars of pasta sauce stared at you from the back shelf. You couldn’t find the yogurt. Sound familiar? A messy fridge is the silent reason weeknight dinners feel impossible and grocery money quietly disappears.
Here’s the good news. The right fridge organization ideas can turn that chaos into a calm, aesthetic, grab-and-go space in about 90 minutes flat, and most of it costs less than a single Target run. I tested every layout in this guide in my own kitchen last fall after one too many forgotten leftover containers, and the difference is honestly absurd. Let’s walk through 12 layouts that actually stay tidy past week one.
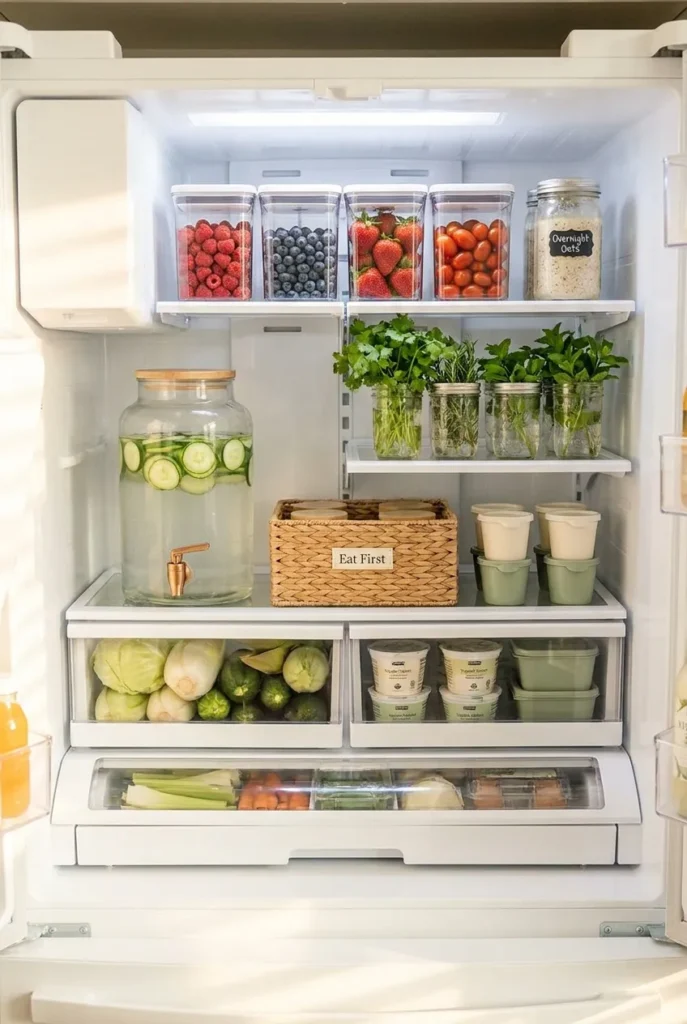
Why Most Fridges Become a Mess in Under a Week
Before we get into the layouts, here’s the thing nobody tells you. A fridge falls apart not because you bought the wrong bins, but because there’s no system telling each item where to live. Every grocery haul, you shove things in wherever they fit. By Thursday, the milk is hiding behind the salsa, the spinach is forgotten, and you’re ordering takeout.
The fix is shockingly simple. You give every item a zone. You give every zone a job. And you do a quick 10-minute reset every Sunday after groceries.
That’s the spine of every idea below.
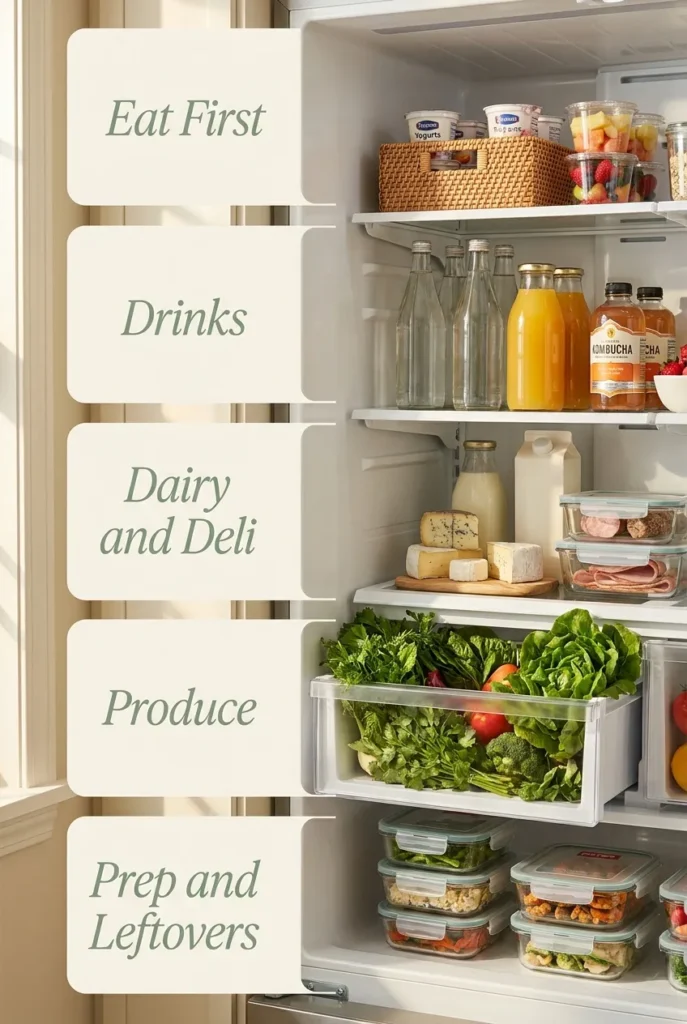
Meet The 5-Zone Fridge Organization Ideas Method
This is the original framework I built after watching my own fridge collapse three Sundays in a row. The 5-Zone Fridge Method breaks any refrigerator (side by side, French door, top freezer, even a dorm mini fridge) into five clear zones:
- Eat-First Zone: front-center on the middle shelf, holds anything close to expiration.
- Drinks Zone: door shelves and one mid-shelf row for tall bottles.
- Dairy & Deli Zone: coldest shelf (usually back-bottom) for milk, cheese, eggs.
- Produce Zone: crisper drawers, humidity-sorted.
- Prep & Leftovers Zone: top shelf for ready-to-grab meals in clear stackable containers.
Print that on a sticky note. Tape it inside your fridge door. The system runs itself after week two.
1. Start With An Empty Fridge And A Wipe-Down
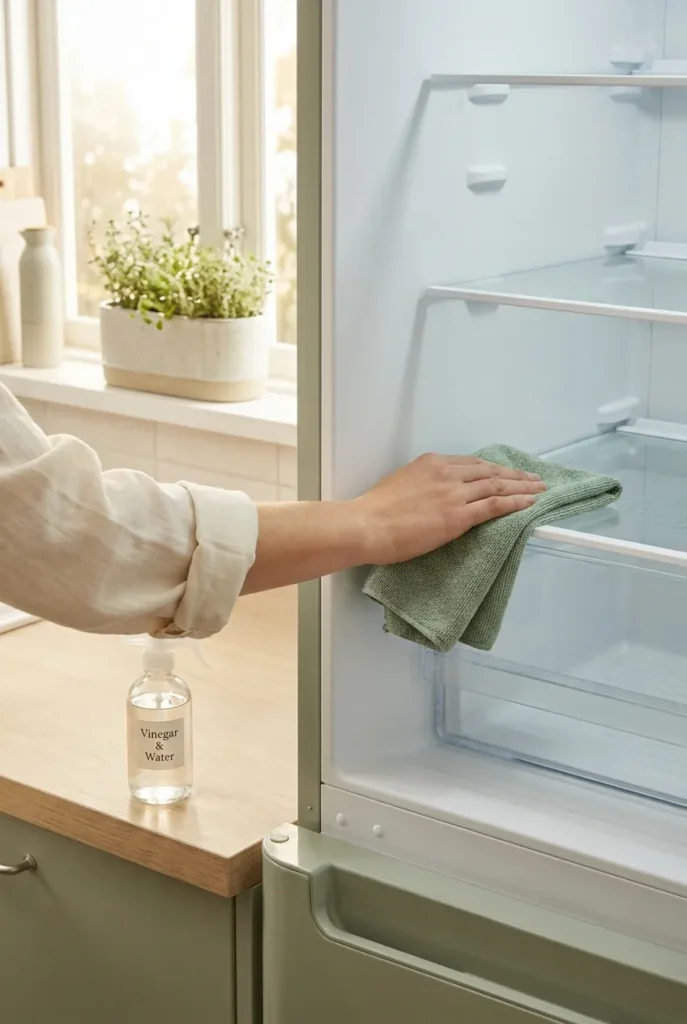
Pull everything out. Yes, everything. Toss expired stuff, wipe down every shelf with a microfiber cloth and a 50/50 mix of warm water and white vinegar, and let the shelves dry while you sort. This single step is what makes the layout stick, because you can finally see what you actually own. Most people are stunned to find three jars of Dijon mustard at the back.
Pro tip from my own kitchen: line each shelf with a thin, washable plastic shelf liner before you put anything back. When a smoothie inevitably leaks, you peel the liner, rinse it, and slide it back in. No more scrubbing dried strawberry off glass.
2. Use Clear Stackable Bins (The Workhorse Hack)
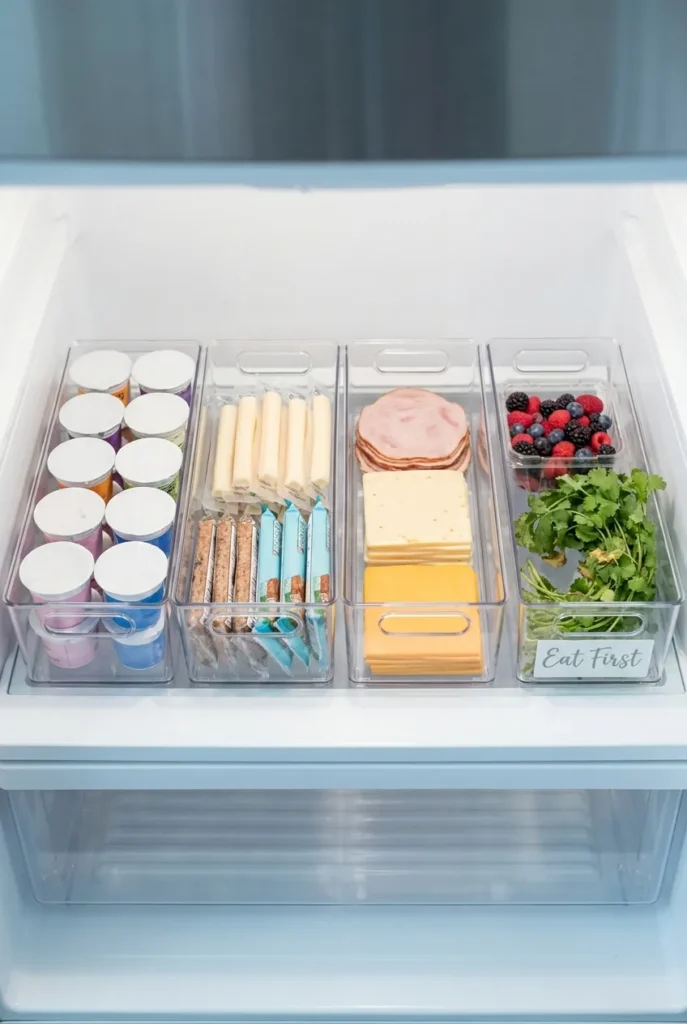
If you only buy one thing for your fridge, make it a set of clear acrylic bins. mDesign and iDesign both sell sets on Amazon between $18 and $32, and the clear material means you can spot the last yogurt without rummaging. I use four sizes in mine: one wide-shallow for cheese sticks, one narrow-tall for tube items (cookie dough, biscuit cans), one deep for backstock condiments, and one slim handled bin for the eat-first zone.
A quick budget-friendly swap: Dollar Tree sells 4-pack clear bins that are honestly fine for a starter setup. They warp after about a year, but at $1.25 each, you’ve already gotten your money’s worth.
3. The Eat-First Bin: Stop Wasting Food This Week
Put one bin, labeled “EAT FIRST,” front and center on your middle shelf. Anything near expiration goes there. Half-used deli meat from last Tuesday, the last two strawberries, the open hummus, the leftover salmon from Wednesday. When dinner planning starts, you raid that bin first.
I track my own household and I cut food waste by about 40% the month I started this. Forty percent. That’s real grocery money.
4. Decant Liquids Into A Beverage Dispenser
This one is half function, half pure aesthetic. A 1-gallon glass drink dispenser with a spigot (Walmart and Amazon both carry the Mason Craft & More version for under $25) holds infused water, iced tea, or cold brew, and turns your second shelf into something you actually want to photograph. Add cucumber slices, lemon rounds, or mint and the whole fridge feels like a wellness ad.
If your fridge is narrow, swap the dispenser for tall slim glass milk-bottle-style carafes. Same vibe, less footprint.
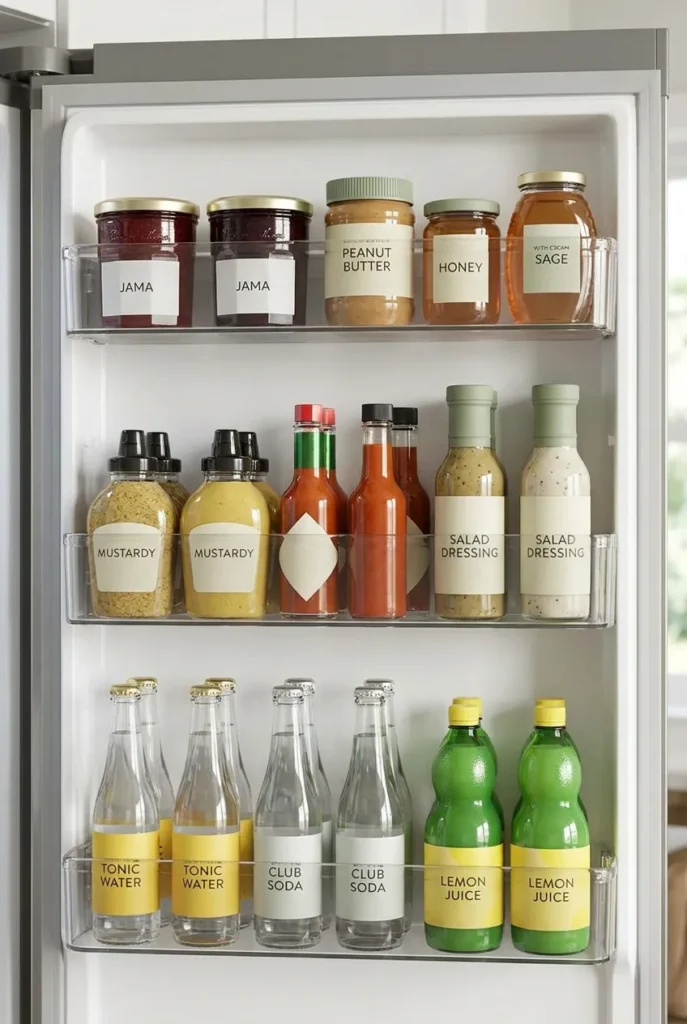
5. Use The Door For Condiments Only
Here’s a temperature truth nobody mentions. The door is the warmest part of your fridge. It swings open multiple times a day, so temps fluctuate. Milk and eggs do not belong here. Condiments, salad dressings, pickles, jams, hot sauces, all the stuff that’s already heavily preserved or acidic? Perfect.
Group door condiments by use: breakfast spreads on top, dinner sauces in the middle, drinks/mixers on the bottom. A small lazy Susan in a wider door slot keeps the back row reachable.
6. Sort The Crisper Drawers By Humidity
Most home cooks (myself included until two years ago) had no idea those little sliders on the crisper drawers actually do something. Here’s the short version:
- High humidity (slider closed): leafy greens, herbs, broccoli, anything that wilts. Closed slider traps moisture in.
- Low humidity (slider open): apples, pears, stone fruit, anything that produces ethylene gas. Open slider lets gas escape so the fruit doesn’t ripen too fast.
Label the front of each drawer with a small chalkboard tag or a strip of painter’s tape, and your produce lasts noticeably longer. I had blueberries last 11 days in my low-humidity drawer last June. Eleven.
7. The Mason Jar Herb Trick (Aesthetic + Functional)
Cut the bottom inch off your fresh herb stems, drop them in a half-pint mason jar with about an inch of cold water, loosely cover with a small plastic bag, and place the jar on a middle shelf. Cilantro, parsley, and basil will stay fresh for up to two weeks instead of slimy by day four.
The visual payoff is a quiet little herb garden inside your fridge, and it’s the single most-shared image when I post my fridge on social.
8. Label Leftovers With Removable Tape
Grab a roll of masking tape and a Sharpie. Every leftover container gets a label with the food name and the date it was made. Anything past day four is automatic eat-first. Anything past day six gets composted or tossed.
This is the cheapest hack in the entire article and probably the highest ROI. No more leftover archaeology where you open a container, sniff it, and panic-cook a frozen pizza instead.
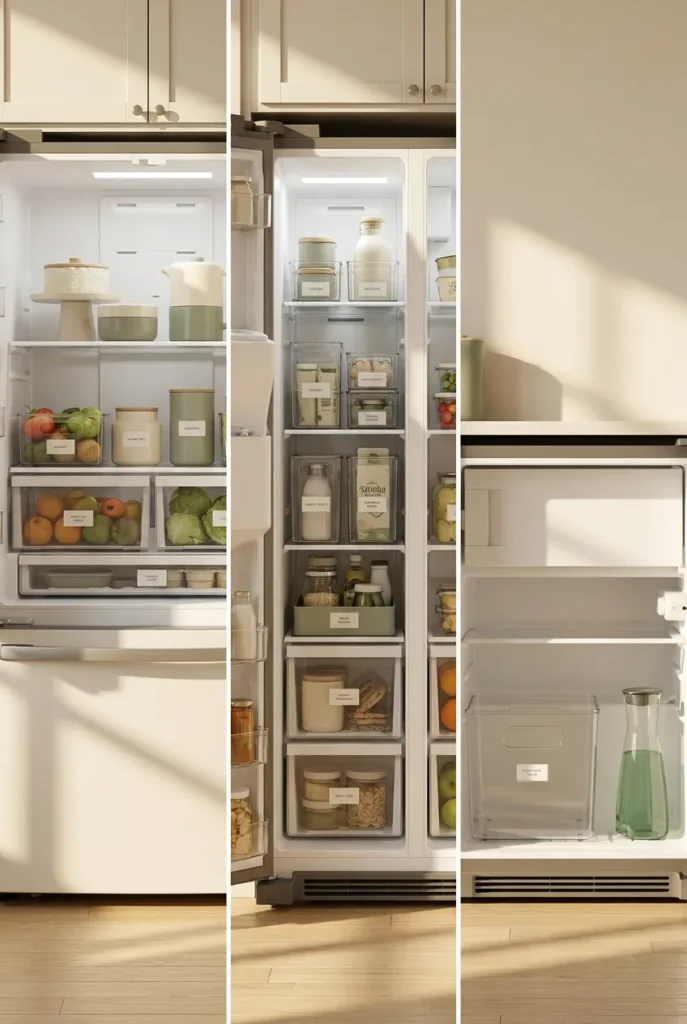
9. Side By Side, French Door, Or Top Freezer: Adjust Your Zones
The 5-Zone Method flexes for every fridge type. Quick translation:
- Side by side fridge organization: the narrow tall layout means vertical bins win. Use slim 4-inch-wide stackable bins for the fridge side, and treat the top shelf as your eat-first row. Drinks go in the door.
- French door fridge: widest middle shelf is prime real estate, so put your eat-first bin and a beverage dispenser there. Crisper drawers are deep, so split them with a divider to keep fruit and veg separate.
- Top freezer / traditional: middle shelf at eye level is the eat-first zone. Top shelf, hardest to see, holds backstock and leftovers in labeled containers.
- Small fridge / dorm fridge organization: one clear bin per category, stackable. Door for drinks. Skip the dispenser, use a slim glass carafe. Total cost under $20.
10. Add A Lazy Susan For Hard-To-Reach Corners
A 9-inch turntable on a deep shelf solves the back-row problem in one move. mDesign and iDesign both sell food-safe turntables for around $12. Spin to find. Tall jars (pasta sauce, salsa, pickles, kombucha bottles) work especially well here.
I keep one turntable on the top shelf of my fridge for backstock condiments I bought in bulk and one on the bottom shelf for taller jars. Both have earned their keep.
11. The Sunday 10-Minute Fridge Reset Workflow
Here’s the workflow that keeps the layout from collapsing. Every Sunday, after groceries are home but before they go away:
- Pull the eat-first bin out and decide what’s becoming dinner this week.
- Wipe the middle shelf with a damp microfiber cloth (30 seconds).
- Move anything from last week to the eat-first bin.
- Restock each zone with fresh groceries.
- Check the crisper sliders are set correctly for what’s inside.
Ten minutes. Set a timer. After the third Sunday it becomes muscle memory.
If you want to pair this with a broader weekly tidy, the 10-10 Decluttering Method layers in perfectly. Same time block, different room.
12. The Aesthetic Layer: How To Make Your Fridge Pinterest-Worthy
You’ve earned the pretty step. Once function is locked in, layer on the aesthetic:
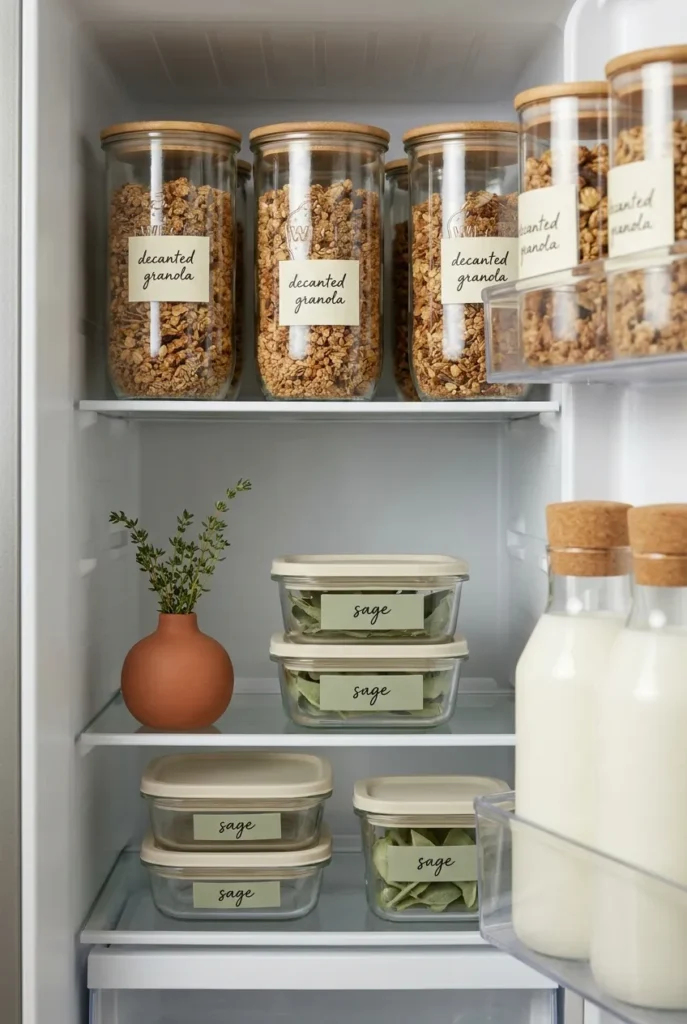
- Decant snacks (granola, trail mix, dried fruit) into glass jars with bamboo lids. Weck and Anchor Hocking both make affordable sets.
- Unify your label font. A black-and-cream label maker (the Niimbot D11 is a Pinterest favorite for around $25) or printed adhesive labels from Etsy under $8 instantly upgrade the look.
- Add a single sprig of fresh herbs in a small bud vase on one shelf. Sounds extra, looks incredible.
- Group by color within each zone. A row of yogurts in the same brand, drinks in matching glass bottles, produce in one woven liner basket.
The trick is restraint. Two unifying details beat ten random ones.
Budget Breakdown: What This Costs (Real Numbers)
For readers building this from scratch, here’s a realistic spend by tier:
- Dollar Tree starter ($10–$15): 4 clear bins, 1 masking tape roll, 1 Sharpie, 1 chalkboard label pack. Done.
- Mid-tier ($35–$60): 1 mDesign 4-pack of clear acrylic bins, 1 iDesign turntable, 1 set of 4 small mason jars, washable shelf liners. This is the sweet spot.
- Full aesthetic ($90–$130): Weck jar set, beverage dispenser, label maker, woven liner basket, bud vase. Pinterest-grade.
You can absolutely start at tier one and add over months. The framework works at every budget.
If you’re tackling a small kitchen alongside the fridge, the layout principles from Small Kitchen Organization Ideas That Create More Counter Space stack neatly on top of this guide.
Storage Containers To Avoid In Your Fridge
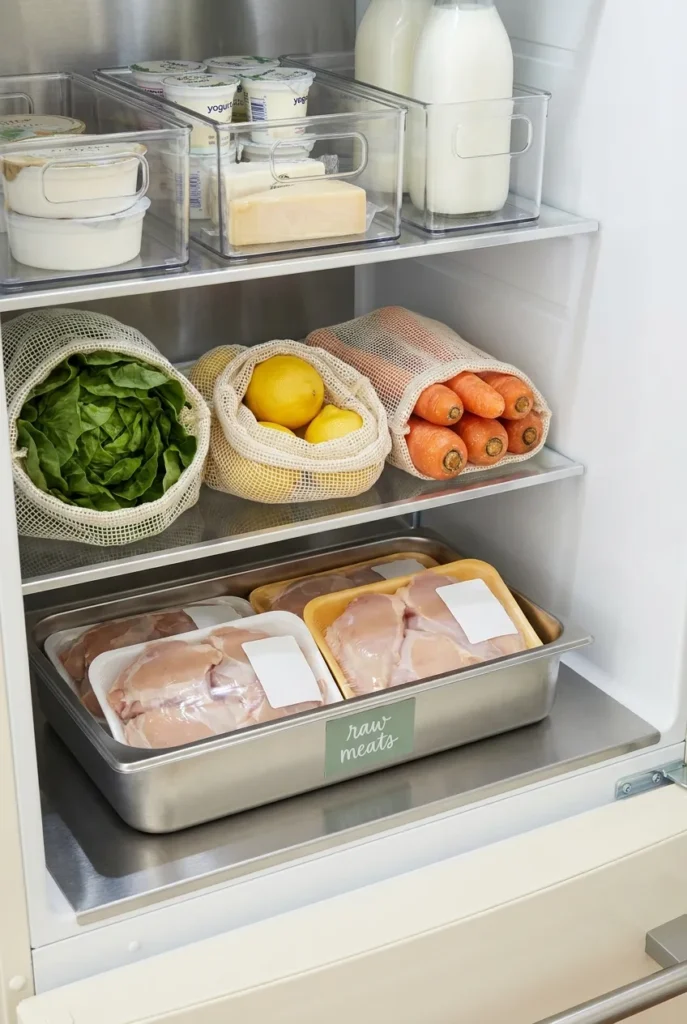
A quick safety note since it matters. Never decant food into non-food-grade containers (random craft jars, repurposed candle vessels, decorative tins). Stick to food-safe glass like Pyrex, Anchor Hocking, Weck, Ball mason, or food-grade plastic from OXO and Rubbermaid Brilliance. For raw meat, keep it in its original packaging on a labeled tray on the bottom shelf so any drips contain themselves. Cross-contamination is not the aesthetic we want.
For the science-backed version of food safety storage, the USDA’s FoodKeeper guidance is the most current free resource available and worth a five-minute skim before your first reset.
Roommate And Shared Fridge Hacks
Sharing a fridge with roommates? Add three things:
- Color-coded bins per person. One blue, one cream, one terracotta. Yours is yours.
- A shared “EAT SOON” basket for anything close to expiration that you’re happy to share. Reduces waste, reduces tension.
- One labeled shelf per person if depth allows. Painter’s tape with each name on the shelf edge. Cheap and removable.
I lived in a four-roommate apartment in Brooklyn for two years. This system saved actual friendships.
How To Maintain Your Layout Past Week Two
Most fridge makeovers fail at week two. Here’s why yours won’t:
- Weekly reset is non-negotiable (10 minutes, Sunday).
- Restock in the same zones every time. No exceptions, even for that weird specialty item you bought on a whim.
- Label everything. Including the wholesale-club backstock.
- Compost or toss anything older than 7 days that isn’t a preserved item.
If you find yourself drifting, do one quick wipe-down (a properly stocked cleaning caddy makes this 60 seconds flat) and reset all five zones. It rarely takes more than 15 minutes once the framework is in place.
Common Layout Mistakes (And Quick Fixes)
A few I see all the time:
- Storing milk in the door. Move it to the back of the dairy zone. Door temps swing.
- Overstuffing the crisper. Air needs to circulate. Half-full is the sweet spot.
- Bins that are too big. Big bins become junk drawers. Smaller, categorized bins win.
- Skipping labels. Within two weeks, you (or your partner, or your kid) will forget the system. Labels keep it intact.
- Buying organizers before purging. Always declutter first, measure second, shop third. I learned this the expensive way after returning $40 of bins.
Tools And Products Worth The Money (Quick Comparison)
| Product | Approx Price | Best For | Material |
|---|---|---|---|
| mDesign clear acrylic bin (medium) | $14 | Snacks, yogurts, deli | BPA-free plastic |
| iDesign 9-inch turntable | $12 | Condiments, tall jars | Food-safe plastic |
| Dollar Tree clear bin | $1.25 | Starter setups | Lightweight plastic |
| Weck 19.6 oz jar | $7 each | Decanted snacks | Glass with lid |
| 1-gallon Mason Craft & More dispenser | $24 | Infused water, tea | Glass with spigot |

Frequently Asked Questions
What is the best layout for organizing a refrigerator?
The best fridge layout uses zones. Put your eat-first bin and ready-to-grab items on the middle shelf at eye level, dairy and deli on the coldest bottom shelf, drinks and condiments in the door, produce in humidity-sorted crisper drawers, and backstock or leftovers on the top shelf. The 5-Zone Fridge Method described above works in any fridge type.
How do you make a fridge organizer at home?
The cheapest DIY fridge organizer is a clear plastic bin or a small basket you already own, labeled with a strip of painter’s tape and a Sharpie. For a slightly more polished look, line a shoebox-sized cardboard box with adhesive vinyl shelf liner, then label it. Total cost: under $3 if you have tape and a marker at home.
How do you make a fridge look aesthetic?
Three moves: decant snacks and dry goods into matching glass jars with bamboo or cream lids, unify your label font (handwritten in sage or black ink, or printed from a label maker), and add a single fresh element like a bud vase with one sprig of herbs. Avoid clutter. Restraint reads aesthetic.
What are some unique fridge organization hacks?
A few favorites: the mason jar herb trick (cilantro and parsley in water last two weeks), a 1-gallon drink dispenser for infused water, ring binder clips on a wire shelf to hang bagged shredded cheese, a dedicated “EAT FIRST” bin to cut food waste by 40%, and a 9-inch lazy Susan for backstock condiments on a deep shelf.
How do I organize a small fridge or dorm fridge?
Use one clear bin per category (snacks, dairy, drinks), stack vertically, keep the door for tall items only, and skip a beverage dispenser in favor of a slim glass carafe. Total setup costs under $20 and takes 30 minutes. Reset weekly.
How often should I do a full fridge reset?
A 10-minute weekly reset every Sunday after groceries keeps the layout intact. A full empty-and-wipe deep clean is good every 6 to 8 weeks, or any time something spills or smells off. Mark it on your calendar and it never becomes overwhelming.
Can I use Dollar Tree containers for fridge organization?
Yes. Dollar Tree’s clear plastic bins at $1.25 each are food-safe for storing packaged items (cheese sticks, yogurt cups, snacks). They warp after about 12 months of regular use, but for a starter setup they’re genuinely solid. Just avoid using them for raw meat or anything that could leak.
Final Thoughts: Your Fridge Reset Starts This Sunday
Here’s the truth. The perfect fridge isn’t about expensive bins or a magazine-grade aesthetic. It’s about a system that survives a chaotic Tuesday night and a busy Saturday grocery haul. The 5-Zone Method, the eat-first bin, and the 10-minute Sunday reset are the three habits that carry the whole thing.
Pick one shelf this weekend. Just one. Empty it, wipe it down, set up one zone with one clear bin, and notice how it feels Monday morning when you open the door and actually see what’s in there. That tiny win is what makes the rest happen.
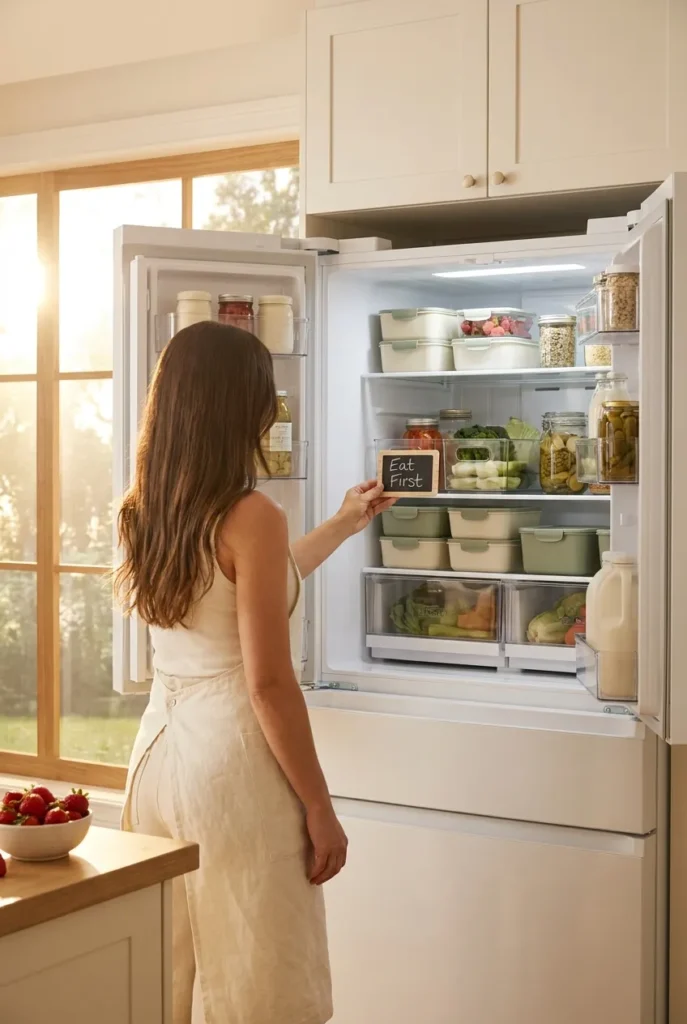
Which zone are you tackling first? The eat-first bin is the fastest win and honestly the most satisfying. Save this guide, screenshot the 5-Zone Method, and tag your Sunday reset on the calendar. Your future weeknight self is going to be very grateful.
For the food safety details behind raw meat storage and shelf temperature zones, the FDA’s refrigeration and food safety page is a free 10-minute read that pairs well with everything above.
General information only. Consult product manufacturer guidance and local food safety authorities for storage specifics.