Snack Station Ideas Kids Can Reach (Pantry & Fridge)
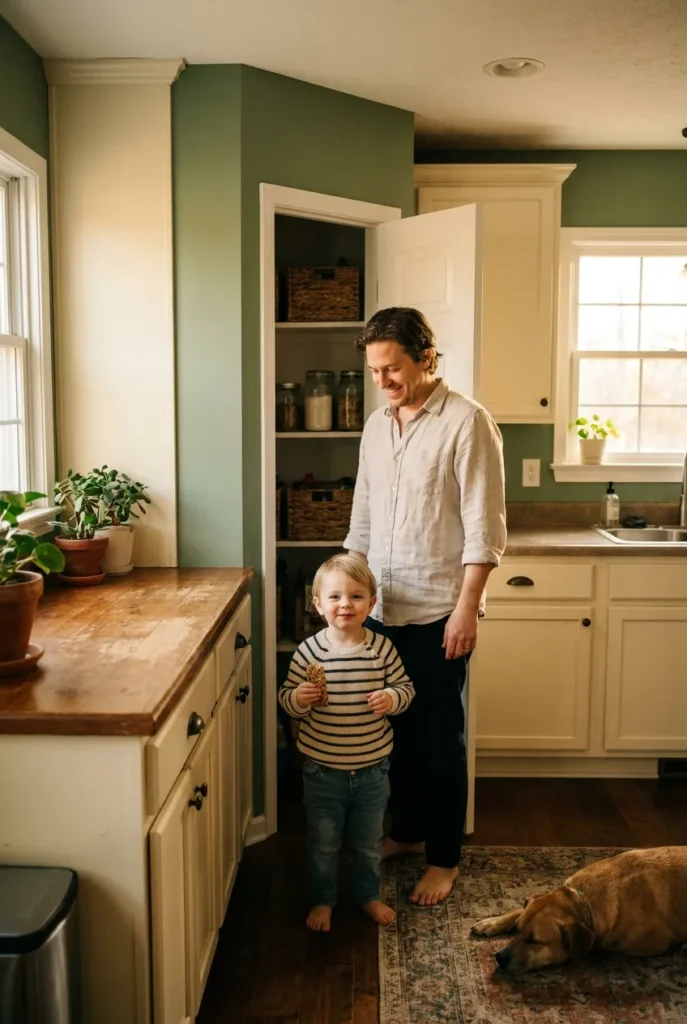
It is 4 p.m. The backpacks just hit the floor, two kids are already chanting the word “snack” like a tiny union on strike, and you are standing in front of a pantry that looks like a granola bar fight broke out. Sound familiar? We have lived that exact scene more afternoons than we can count. Good snack station organization is the fix, and the part nobody tells you is this: the secret is not buying more bins. It is putting the right snacks at the right height so your kids can serve themselves and you can stay seated.
Here is the promise. By the end of this, you will have a pantry station and a fridge station that work together, a height map so little hands can actually reach, and a refill rhythm that keeps the whole thing neat past week one. No stool required. No 4 p.m. negotiation. We tested this setup in our own kitchen across a long, snack-heavy spring, and the day the begging stopped was the day we stopped over-thinking storage and started thinking about reach.
Let’s set it up.
What Makes a Snack Station Actually Work (The Reach-and-Refill System)
Most snack station advice stops at “use clear bins and label them.” Good start, but it misses why so many setups fall apart by Thursday. The bins end up too high, the kids ask anyway, and you are back to playing snack waiter.
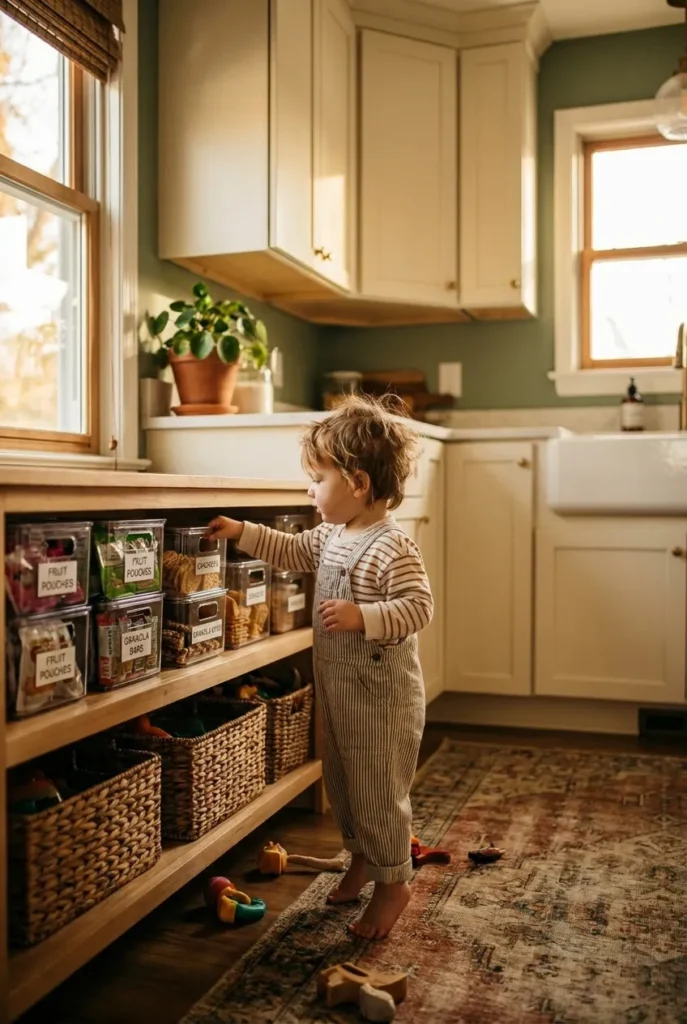
So here is the framework we built, and the one we will come back to all the way through. We call it the Reach-and-Refill System, and it has two simple halves. Reach means every kid-approved snack sits between your child’s knee height and their eye level, never above. Refill means you top the station back up on one fixed day each week, so it resets before it ever spirals. Reach solves the begging. Refill solves the mess. You need both, or the station works for about six days and then quietly dies.
Think of it like a tiny store you run for very short, very hungry customers. The shelves they can reach are self-serve. Everything above is your stockroom. That single mental shift, store versus stockroom, changes how you load every shelf.
Step One: Map the Reach Zone Before You Buy a Single Bin
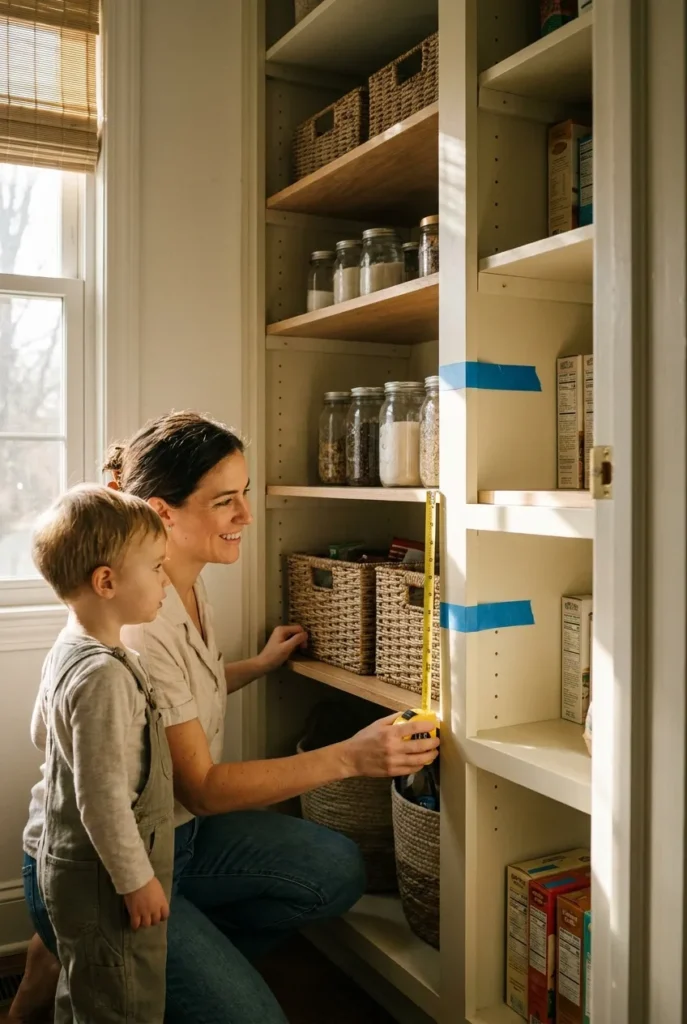
Before you spend a dollar, grab a tape measure. This is the step every Pinterest-pretty pantry skips, and it is the one that makes or breaks a kids snack station.
Stand your child by the pantry or the fridge. Mark two heights with a piece of painter’s tape. The first is their relaxed reaching height, usually right around their shoulder, which for a lot of four to seven year olds lands somewhere between 30 and 42 inches off the floor. The second is their knee, the comfortable low point, often near 14 to 18 inches. Everything that lives between those two marks is the self-serve zone. That band is your whole game.
Why bother measuring? Because a shelf that is two inches too high turns a self-serve snack into a “Mom, can you get it” snack, and the entire point evaporates. We learned this the hard way after mounting a bin our youngest could see but not quite grab. She just stared at it like a cat at a closed door.
A quick reach-zone cheat you can screenshot:
- Toddler (2 to 3): knee to about 30 inches. Keep it tiny and soft.
- Preschool (4 to 5): roughly 14 to 38 inches. Lightweight bins only.
- Early grade school (6 to 8): about 16 to 44 inches. They can handle a fuller bin.
- Tween: standard low shelf works, focus shifts to portion logic, not height.
Step Two: Choose Bins That Survive Real Kids
Now you can shop, and you can shop smart because you know your zone. The bins do three jobs: they contain, they label, and they tip-proof. Here is what has actually held up in our kitchen.
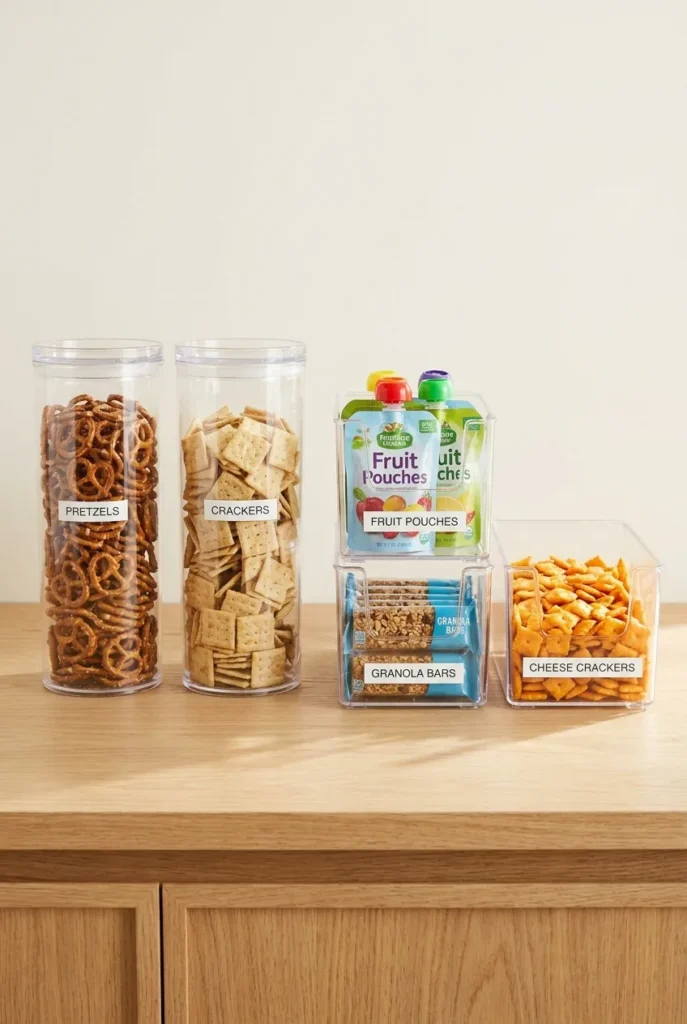
Clear is non-negotiable. Kids choose with their eyes, so a snack they cannot see is a snack they will not pick. We lean on clear bins like the OXO POP line for anything you decant, and simple open-front bins (mDesign and Target Brightroom both make solid, cheap ones) for grab-and-go pouches and bars. For a budget start, Dollar Tree clear shoe boxes are honestly hard to beat at the price, and you can replace them without a second thought when a lid cracks.
A few sizing notes that save you a return trip. A 1.6-quart OXO POP container holds a satisfying amount of crackers or pretzels without towering over a small shelf. For open bins, look for something close to 4 inches tall at the front so little hands can dip in without fighting the rim. And keep the bins light. A heavy bin is a spilled bin, and a spilled bin is the reason a kid stops using the station at all.
Honestly, the bins matter less than people think. The labels and the height matter more. But a wobbly, too-deep bin will sabotage a perfect plan, so this is worth ten minutes of care.
Step Three: Label So a Non-Reader Can Shop
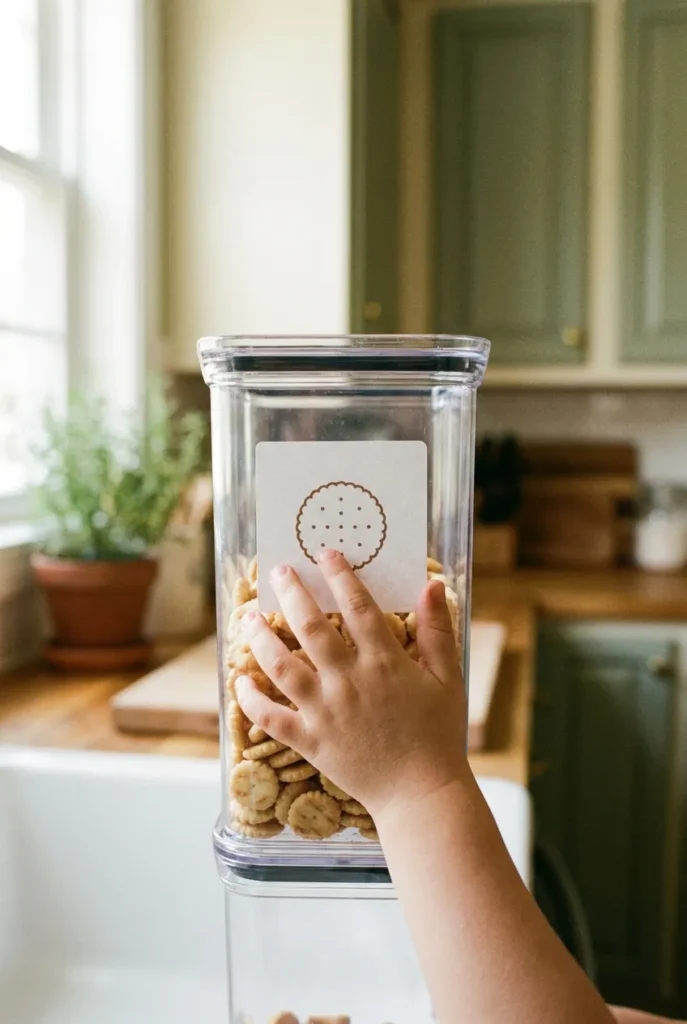
Labels are not just for looks, and they are not only for kids who can read. For a two or three year old, the label is a picture. For a six year old, it is a word they are learning. For you, it is the thing that keeps the granola bars from migrating into the fruit-snack bin every single day.
Use a visual label for the littlest kids: a simple printed picture of the snack taped to the bin front. For older kids, a clean word label from a basic label maker or a sheet of Avery labels does the trick. Put the label on the front face at the child’s eye line, not on top, because they read the front, not the lid.
Want this part done for you? We made a free printable snack label set sized for US letter (8.5 by 11 inches) that you can print, cut, and tape on in about ten minutes. It comes as a PDF, prints clean in black and white to save ink, and you can laminate the sheet or slip the labels into a strip of clear packing tape so sticky fingers wipe right off.
Step Four: Build the Pantry Station Kids Can Reach
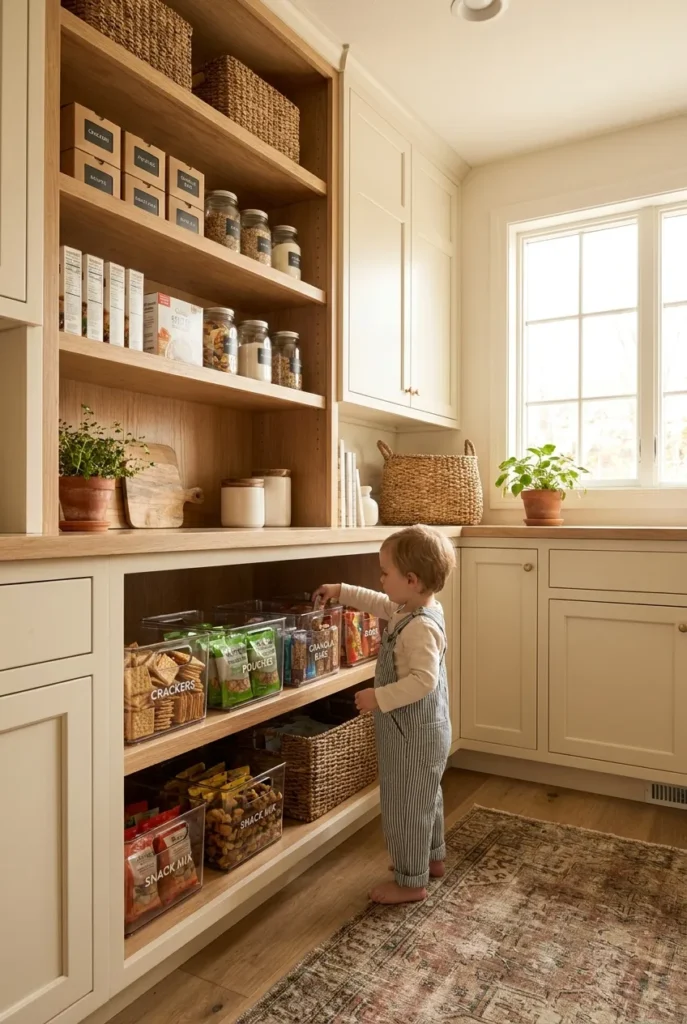
Time to load the shelves. Remember the store-versus-stockroom rule, and remember your tape marks. The reach zone is your store. Everything above is the stockroom.
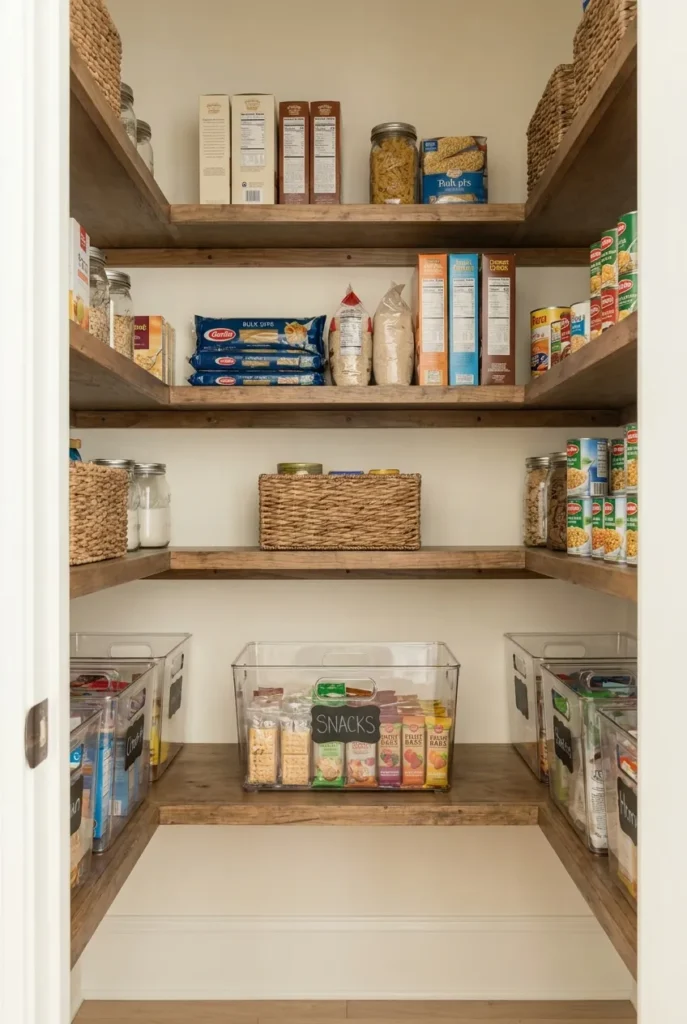
Down low, in the reach zone, set three to five bins, no more. Too many choices at 4 p.m. is a recipe for a meltdown, so cap it. We run a simple rotation: one crunchy bin (crackers, pretzels), one sweet-ish bin (granola bars, fruit snacks), one fruit-or-real-food bin (applesauce pouches, raisins, freeze-dried fruit), and one wildcard that changes weekly. Front-load the healthiest, most-grabbed option in the easiest-to-reach spot, because whatever sits at the perfect height gets eaten first. That is your single highest-leverage move: put the snack you actually want them to choose exactly where their hand lands.
Up high, in the stockroom, keep the bulk boxes, the backup multipacks, and anything you are rationing. When a reach-zone bin runs low, you refill from the stockroom. Kids never touch the top shelf, so the “no, not that one” conversations basically disappear.
One zone rule we swear by: keep snacks grouped by type, not by brand. A kid does not think “I want a Cheez-It,” they think “I want something crunchy.” Sort the way they think, and the station runs itself.
Step Five: Build the Fridge Station (The Half Everyone Skips)
Here is the gap most snack roundups leave wide open. They organize the pantry and call it done. But half of what hungry kids actually want is cold, and a pantry-only station sends them straight back to you for the fridge stuff. So we pair the two.
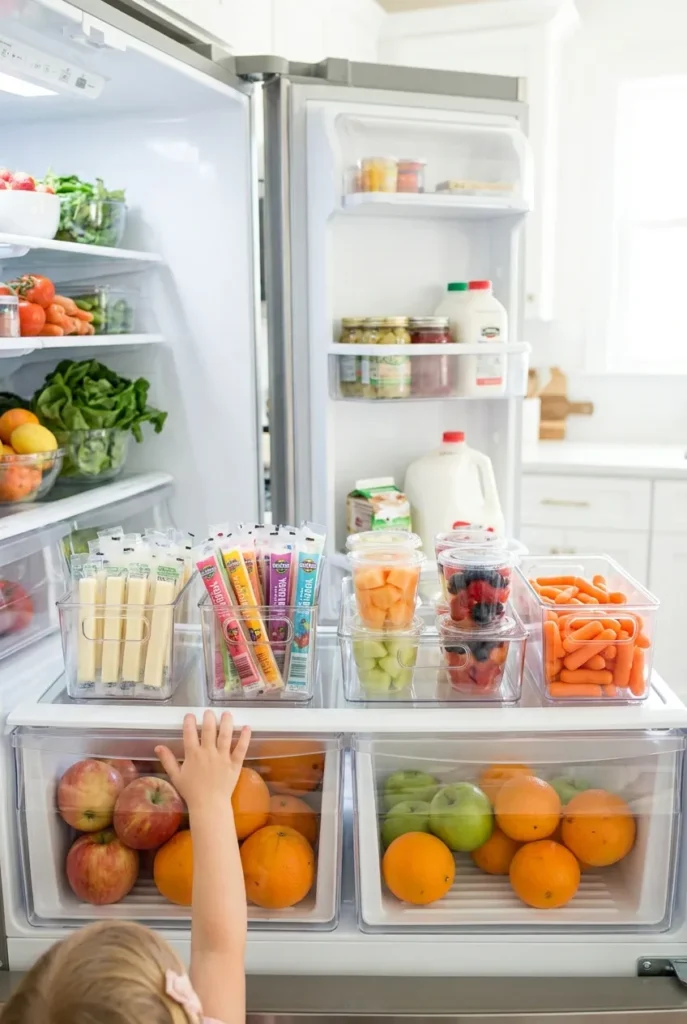
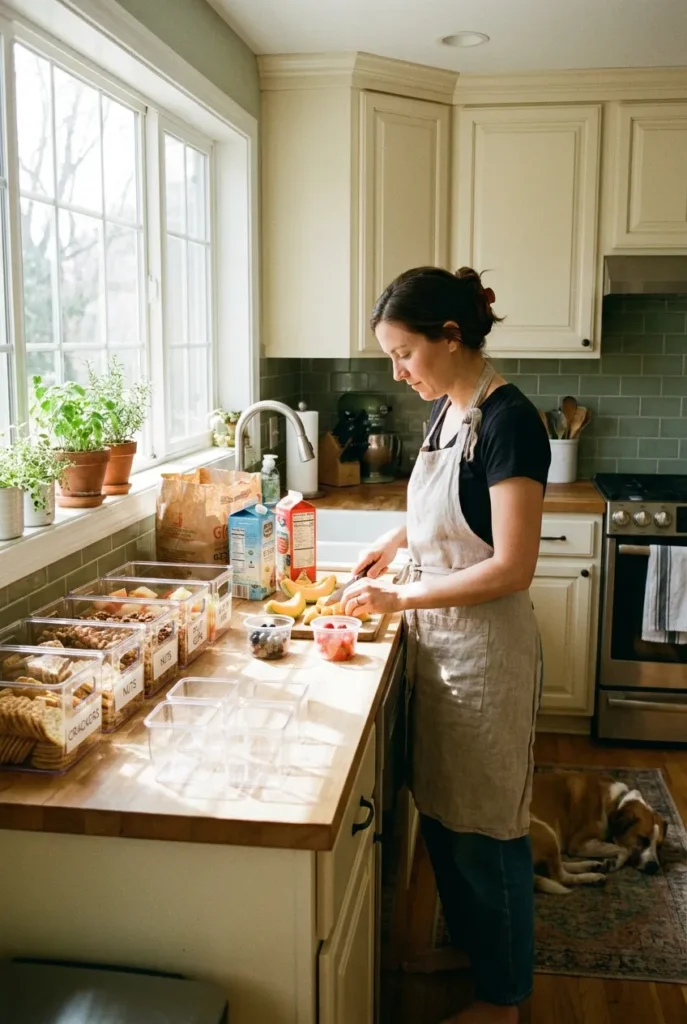
Clear a single low fridge shelf or one drawer and make it the cold mirror of your pantry station. Same logic, same height rule, just refrigerated. Use a couple of clear fridge bins (the OXO and mDesign fridge bins both work, and a 1.6-quart open bin fits most shelves) and load them with pre-portioned cold snacks: string cheese, yogurt tubes, cut fruit in small lidded cups, baby carrots, a few hard-boiled eggs on a busy week. The trick is the portioning. You do the cutting and cupping once, on refill day, so the kid’s job is only to grab.
Put the cold station at the same reach height as the pantry one. If your fridge has a bottom drawer, that is gold for little kids. For taller kids, a low shelf is fine. The point is that pantry and fridge sing the same song: see it, reach it, grab it, done.
A quick food-safety note, because cold snacks have rules pantry snacks do not. Keep your fridge at or below 40 degrees Fahrenheit, store cut fruit and dairy in food-grade containers only, and follow the two-hour rule, which means perishable snacks left out longer than two hours (one hour if your kitchen is above 90 degrees) should be tossed, not returned to the bin. The USDA spells this out clearly, and it is worth a glance if you are new to pre-portioning USDA FoodSafety.gov cold food storage guidelines.
Step Six: Set Simple Snacking Rules So It Does Not Get Raided
A self-serve station is a gift, but without two or three light guardrails it becomes a free-for-all by Saturday. We keep the rules dead simple, the kind a four year old can follow without a chart.
Rule one: one item per trip. They can come back, but they take one thing at a time, which slows the grab-everything instinct. Rule two: the reach zone is always fair game, the top shelf and the rest of the fridge are not. Rule three, optional but useful, is a time gate, like “snacks after backpacks are hung,” which doubles as a nice handoff from school mode to home mode (our entryway routine makes that handoff smoother, more on that below).
Notice these rules are about behavior, not lock-and-key control. The whole design does the heavy lifting. When only kid-safe portions sit in the reach zone, you do not have to police much, because there is nothing in arm’s reach you would say no to anyway. That is the quiet genius of pre-portioning: the “no” is already built into the shelf.
Snack Station Ideas for Every Space (Aesthetic, Bedroom, Movie Night, Party)
Not every snack station lives in a pantry, and the Pinterest crowd knows it. Here are quick spins on the same Reach-and-Refill logic for the spaces people actually search for.
For an aesthetic countertop station, swap loud packaging for matching canisters and a small tiered shelf riser, then keep a single woven basket for grab-and-go bars. It photographs beautifully and still follows the reach rule if you set it on a low counter or a kid-height cart.
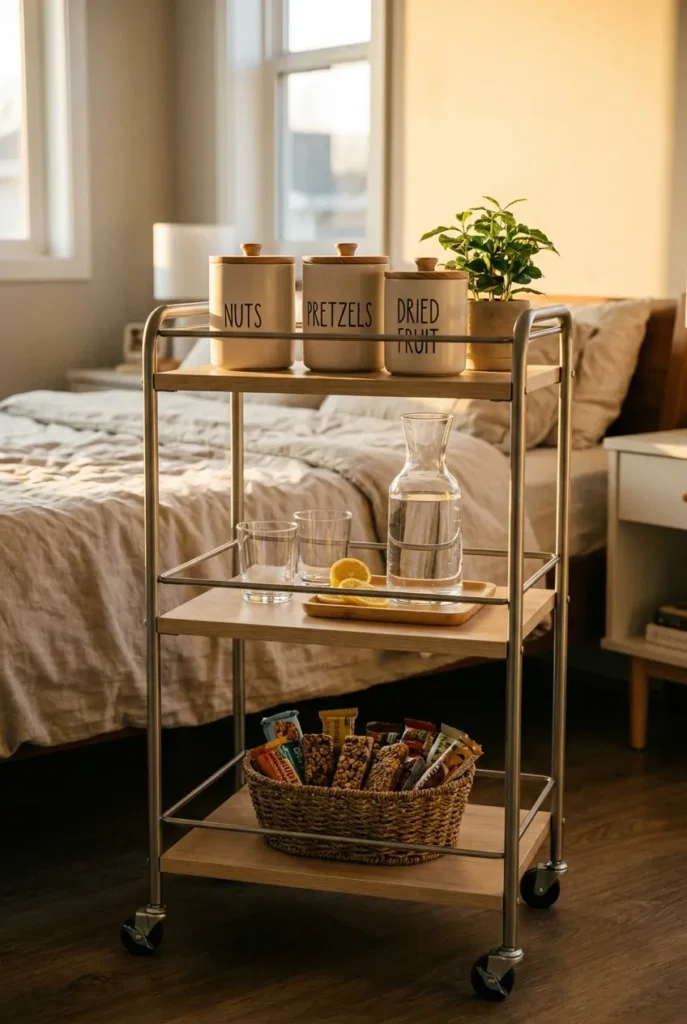
For a bedroom or teen snack station, a slim rolling cart (the IKEA-style three-tier kind) holds shelf-stable snacks plus a water bottle station, which keeps the after-school crowd out of the kitchen while you cook. A mini fridge nearby turns it into a full bedroom snack bar for older kids.
For movie night, load a portable caddy or a divided snackle-style box with popcorn, a couple of candies, and a salty option, then carry the whole thing to the couch. The container is the station, no pantry required.
For a party or a healthy spread, build a grazing zone on a low table with clear jars and small tongs so little guests serve themselves, and group sweet and salty on opposite ends so the table reads balanced at a glance.
How to Run a Snack Station With No Pantry at All
Plenty of homes do not have a pantry, and a snack station does not need one. The station is a zone, not a room.
In a small kitchen or an apartment, dedicate one low cabinet, one drawer, or one shelf of a rolling cart and treat it exactly like the reach zone we built above. Our full walk-through on setting up a tidy snack drawer organization system breaks the drawer version down step by step, and the same height and label rules carry straight over. Pair it with one fridge bin and you have a complete two-station setup in about six linear feet of kitchen.
Renting? Skip anything that needs drilling. A tension-rod shelf inside a cabinet, a few Command hooks for hanging mesh bags of pouches, and a freestanding cart give you a full station with zero damage and a deposit that comes back intact.
Keep It Neat: The Sunday Refill Loop
Every system dies without maintenance, and snack stations die faster than most because they empty out daily. This is the Refill half of the Reach-and-Refill System, and it is short on purpose.
Pick one day, we like Sunday, and run a ten-minute loop. Pull every reach-zone bin, toss the stale stragglers, wipe the bin, and refill it from your stockroom and from this week’s grocery haul. Do the cold cutting and cupping for the fridge station in the same sitting so weekday mornings need zero prep. Re-front the healthiest snack so it lands where their hand reaches first. That is the entire ritual.
Building this into an existing weekly reset makes it stick. If you already run a Sunday tidy, the snack loop just clips onto the end of it. The reason this matters: a station refilled on a schedule never reaches the granola-bar-fight stage, because it resets before the chaos compounds. Five minutes of pull-and-wipe beats an hour of dig-and-despair every time.
Frequently Asked Questions
What is the best way to store snacks so kids will actually eat them?
Store them where kids can see and reach them, in clear bins set between knee and eye height, sorted by type rather than brand. Visibility plus reachability is the whole trick. A snack hidden in opaque packaging on a high shelf may as well not exist to a four year old.
How can I organize snacks without a pantry?
Use a zone, not a room. One low cabinet, a single drawer, or a three-tier rolling cart works as a full station. Apply the same reach-and-label rules, add one fridge bin for cold snacks, and you have a complete setup in just a few feet of kitchen.
How do I make a snack corner kids can reach on their own?
Measure your child’s knee and shoulder height, then load three to five clear labeled bins in that band. Keep backups up high out of reach, pre-portion the cold stuff, and front-load the snack you most want them to grab. That is a self-serve corner in under an hour.
Where should I store snacks at home for the easiest grab-and-go?
Split them into two stations that mirror each other: a pantry or low-cabinet station for shelf-stable snacks and a low fridge shelf or drawer for cold ones. Keep both at the same kid-reach height so the rule is identical no matter which one they open.
What are some good grab-and-go snack ideas for the bins?
Crackers, pretzels, granola bars, freeze-dried fruit, applesauce pouches, and trail mix for the pantry side. String cheese, yogurt tubes, cut fruit cups, baby carrots, and hard-boiled eggs for the fridge side. Pre-portion anything that needs it on refill day so grabbing is a one-step job.
Your Next Five Minutes
So here is the catch with snack station organization: the prettiest pantry in the world fails if the bins sit too high, and the plainest set of Dollar Tree boxes wins if your kid can reach them. Reach first, refill second, and the 4 p.m. chant fades on its own.
Want to start tonight? Grab a tape measure, mark your kid’s reach zone, and move just three snacks into it. That is it. You can build the fridge half and the fancy labels this weekend. While you are in family-systems mode, our entryway drop zone setup and our backpack and school paper station guide pair perfectly with a snack station to tame the whole after-school rush.
For the science-minded, the Dietary Guidelines for Americans offer solid, US-based guidance on building balanced snacks for kids if you want to fine-tune what goes in those bins USDA Dietary Guidelines for Americans.
Which snack are you putting at perfect reach height first? Tell us in the comments, then go reclaim your afternoon.