Can Organization in Pantry: Stop the Canned Goods Avalanche
You reach for one can of black beans and three roll off the shelf. One dents the tile, one disappears under the fridge, and the third turns out to be two years past its date. I built this can organization in pantry system the night a pyramid of beans hit our kitchen floor at 11 p.m. (the tile survived, my pride did not).
Here is the promise: by the end of this post you will have a zone plan, the right organizer for your exact shelves, a can size chart nobody else publishes, and a five minute reset that keeps every label facing out. If you only do one thing, buy a cheap tiered riser and set up three labeled bins. Everything else builds on that move.
Why Cans Take Over the Pantry
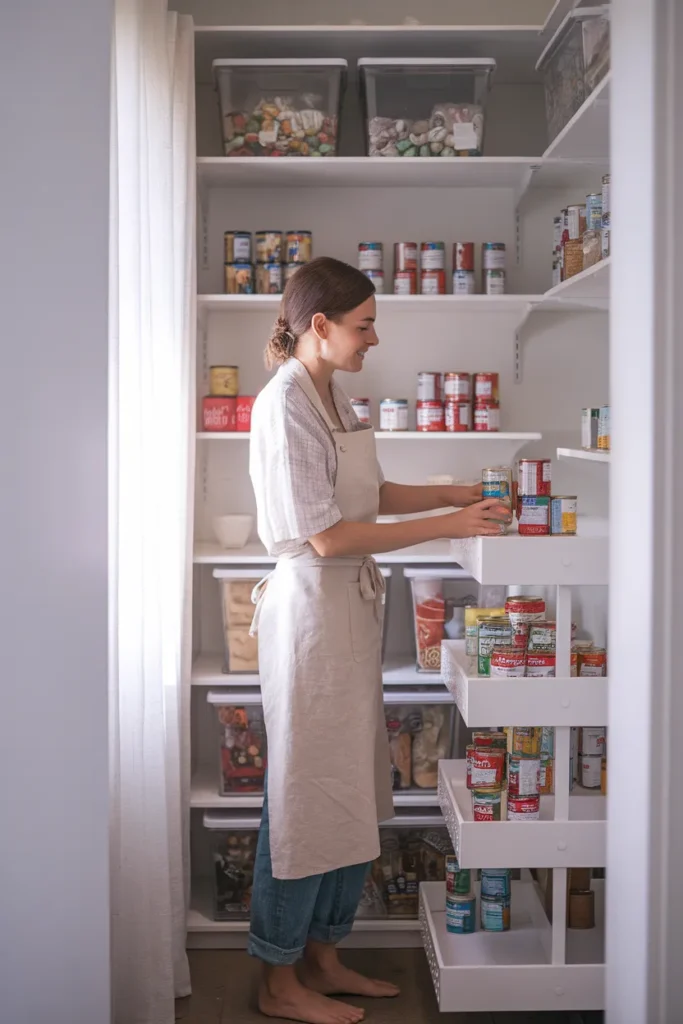
Cans are the worst behaved item in the kitchen. They roll, they stack badly, and from above they all look identical. Most pantry shelves run 16 to 20 inches deep while a standard 15 ounce can is only about 3 inches across, so a single shelf swallows five or six rows and the back two become a mystery zone.
Mixed sizes make it worse. A squat tuna can hides behind a tall can of crushed tomatoes, and a skinny soup can slides into any gap like a puzzle piece with no memory of where it belongs. Add gravity, a busy week, and a kid unloading groceries at random, and you get the avalanche.
None of this is a discipline problem. It is a geometry problem, and geometry problems have hardware solutions. Once you see it that way, the fix stops feeling like a chore and starts feeling like a Saturday morning project with a clear finish line.
Do the Five Minute Can Audit First
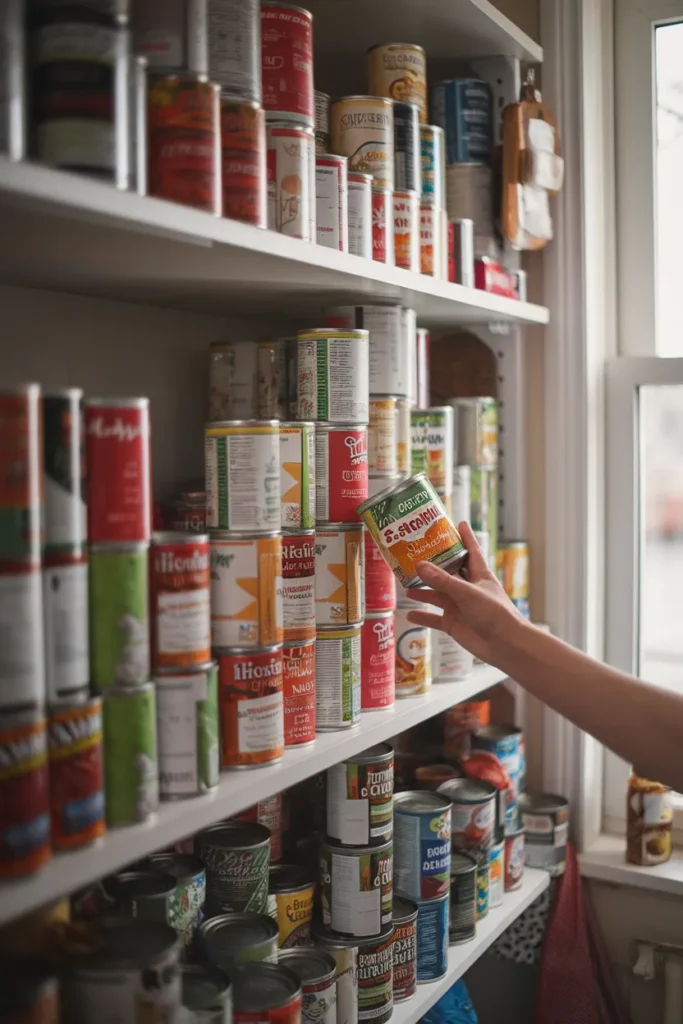
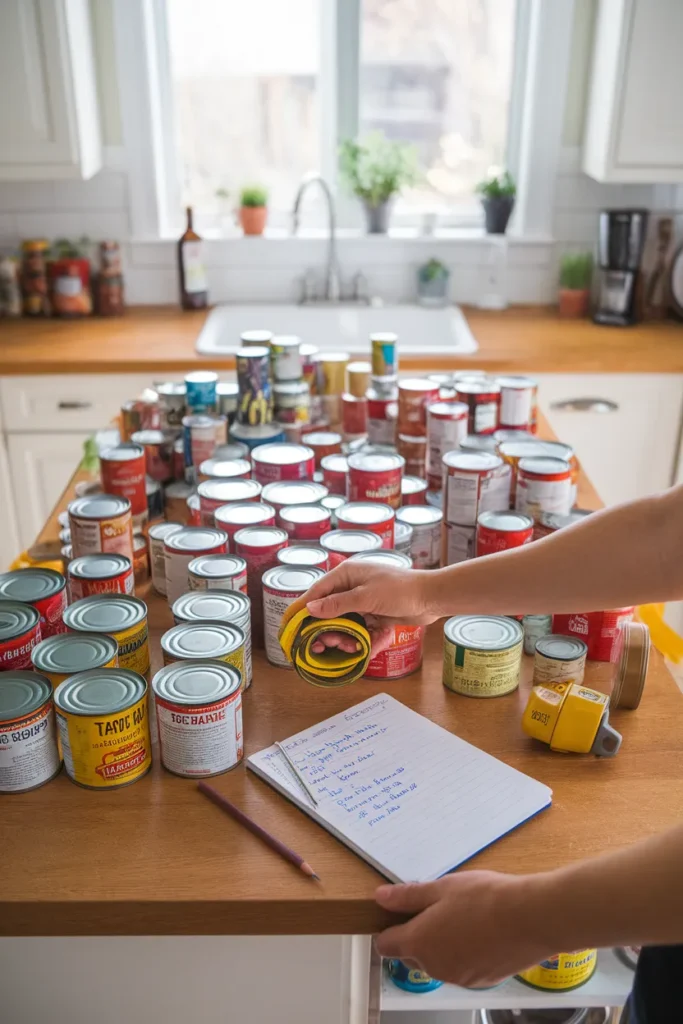
Before you spend a dollar on organizers, pull every can out onto the counter. All of them, including the mystery cans from the back. Check the dates and set anything past its prime aside. Group what is left by type: beans, tomatoes, soups, vegetables, fruit, proteins, sauces. Then count each pile, because the counts tell you what size bins to buy. Our own audit turned up nine cans of chickpeas and zero diced tomatoes, which explained a lot about our dinners that month.
Now grab a tape measure and write down three numbers: shelf depth, shelf width, and the vertical clearance between shelves. Those three numbers decide which organizers will actually fit your space. Skipping this step is how people end up boxing up a rack that is one inch too tall and standing in a return line on Sunday. One more thing before you restock. Unexpired extras you know you will never eat can go to a local food bank instead of back on the shelf, which frees space and does some good on the same trip.
The 3 2 1 Can Zone Method
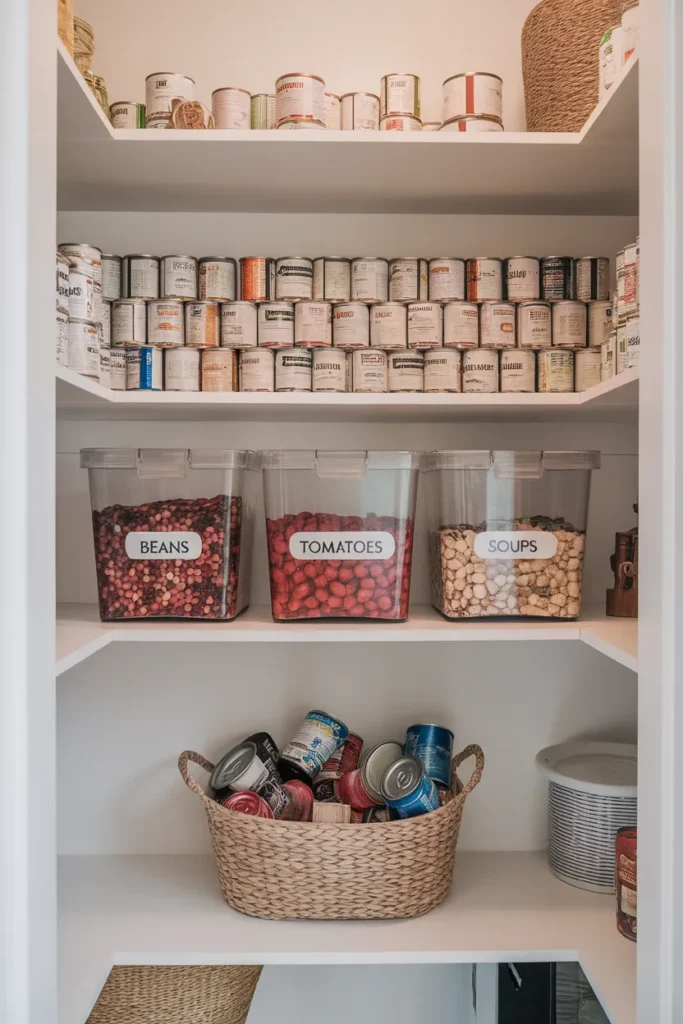
Here is the system this whole article hangs on. The 3 2 1 Can Zone works like this: three labeled bins at eye level for your everyday cans, two backup rows on a riser one shelf up or down, and one small basket for oddballs like coconut milk and that lone can of pumpkin. The three bins are what you cook from. The two backup rows are where new groceries land. The oddball basket keeps randoms from wandering the shelves.
That is the whole method, and it survives real weeks for one reason: every can has exactly one home, so putting groceries away stops requiring decisions. Your everyday three will probably be beans, tomatoes, and soup, but let your audit counts pick them. A household that eats a lot of canned fruit swaps fruit in without breaking anything. If you are choosing containers, our guide to which bin suits which food walks through the pairing logic, and for cans the answer is nearly always the same: clear and rigid beats woven and soft, because you need to see labels through the side.
The Best Can Organizers for Pantry Shelves
Four tools cover almost every pantry, and most homes only need two of them.
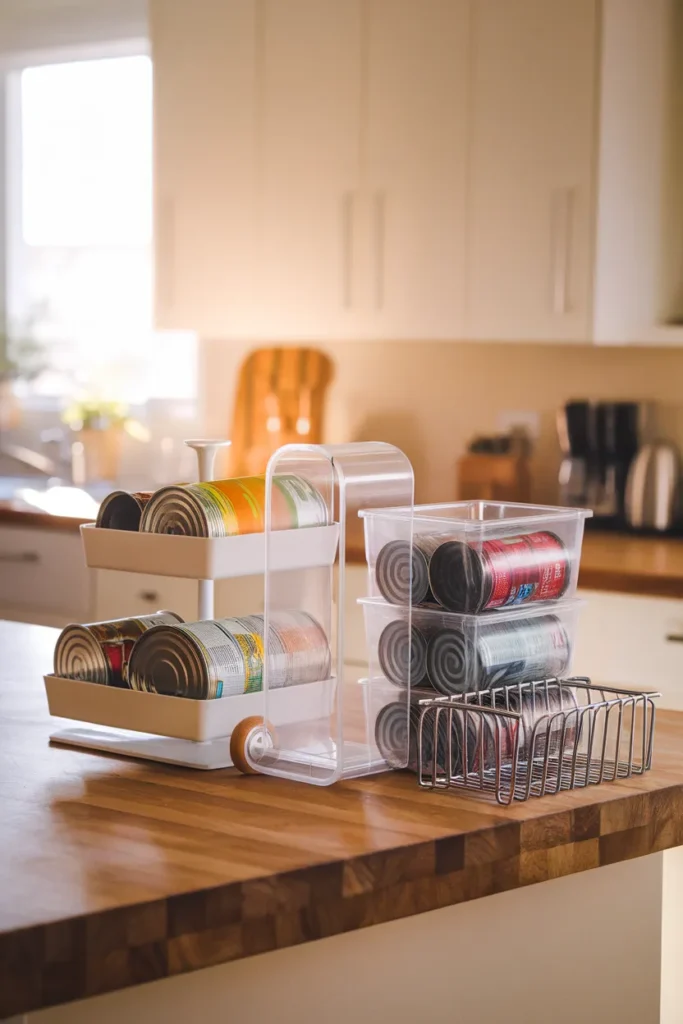
Start with a tiered riser, the highest value five to twenty dollars in this entire post. It turns a flat shelf into stadium seating so back row labels stay visible, and expandable versions stretch to match your exact shelf width. Put your two backup rows on one and the mystery zone disappears overnight.
A gravity fed can dispenser is the upgrade for rotation. You load new cans in the top, the oldest can rolls to the front, and first in first out happens without you thinking about it. Honestly, I put off buying one for a year because the big units looked like vending machines. Then a slim two pack changed my mind; mDesign makes a popular clear version that runs around twenty five dollars for two and sits neatly on a standard shelf. Households that buy canned goods by the case can step up to a large rack that holds 40 to 60 cans and accepts everything up to a 30 ounce size.
Clear bins are the deep shelf answer, and both The Container Store and Target’s Brightroom line make sturdy ones that act like drawers, one category per bin. And a simple wire can rack, the kind that rails about 36 cans in neat rows, is the pick when you want everything on open display.
Deep Pantry Shelves: Stop Losing Cans in the Back
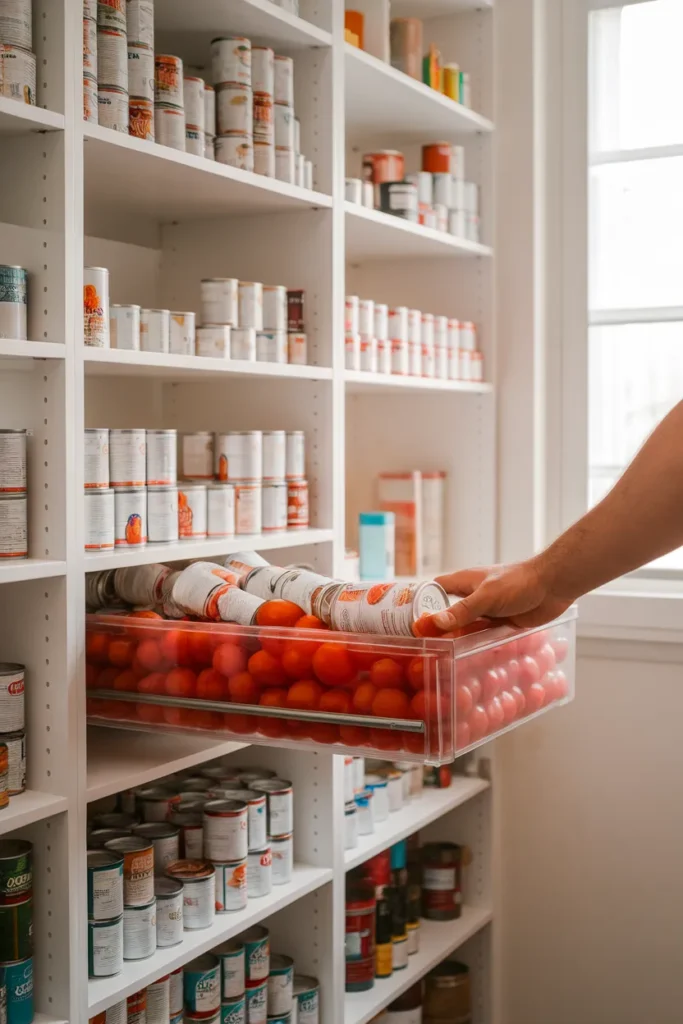
Deep shelves eat cans. The fix is to stop treating them like shelves and start treating them like drawers. Load cans into clear bins sized nearly as deep as the shelf itself, then pull the whole bin toward you when you cook and push it back when you are done. Nothing gets stranded, because the back of the shelf travels with the front.
Two more moves finish the job. Run a riser across the back third so the rear row stands taller than the one in front of it. And give corners a turntable; a 12 inch nonskid lazy Susan handles the odd cans you reach for twice a year, while OXO Good Grips makes a 16 inch version when the corner is generous. Spin it, grab the can, done. If your kitchen already has rollout hardware, or you are weighing whether to add some, our post on pull out pantry organization for deep and narrow shelves covers how to zone the slides so cans stay put.
Know Your Can Sizes Before You Buy Anything
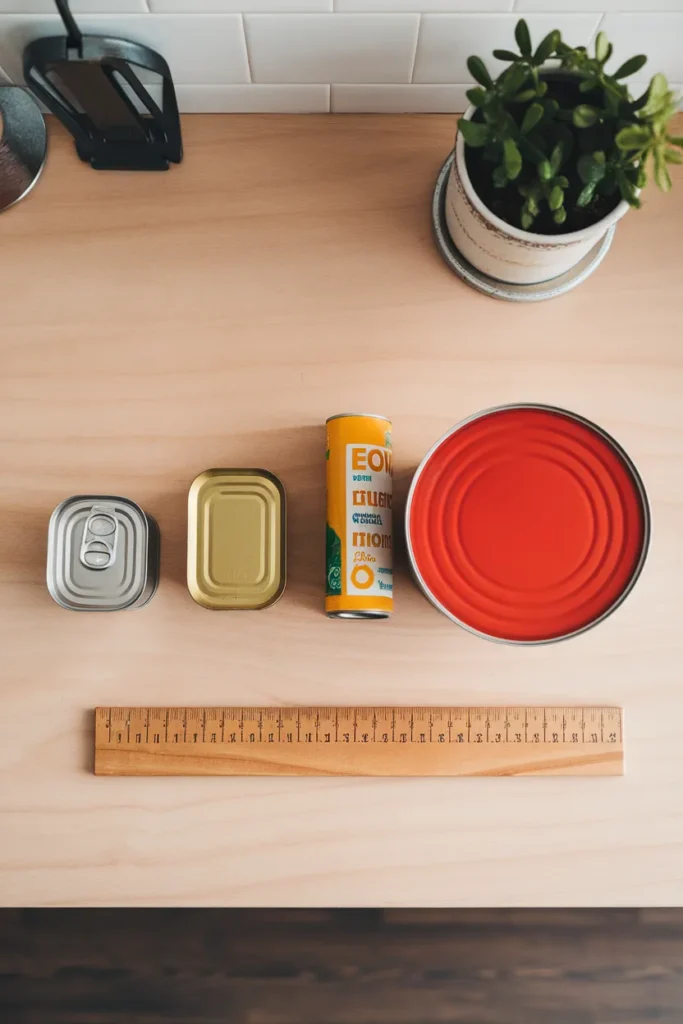
Here is the part almost no pantry post covers, and it is the number one reason organizers get returned. Cans come in standard sizes, and your organizer has to match the cans you actually buy, not the cans in the product photo. Screenshot this chart before you shop:
| Can type | Common size | Width (about) | Height (about) |
|---|---|---|---|
| Tuna and small fish | 5 oz | 3.5 in | 1.7 in |
| Condensed soup | 10.5 oz | 2.6 in | 4 in |
| Beans and vegetables | 14.5 to 15.5 oz | 3 in | 4.4 in |
| Crushed tomatoes, pumpkin | 28 to 29 oz | 4 in | 4.7 in |
Three planning numbers fall out of that chart. First, two standard cans stacked need roughly 9 inches of clearance, so measure between your shelves before buying anything stackable. Second, most gravity dispensers are tuned for cans about 3 inches wide, which means squat tuna cans and wide 28 ounce cans usually deserve their own bin instead. Third, a riser step should be at least 4 inches deep so a standard can sits flat rather than tipping forward every time the shelf gets bumped. Ten seconds with this chart saves a return trip later.
FIFO Without the Spreadsheet
FIFO just means first in, first out: older cans get cooked before newer ones. Preppers run it with inventory apps. You do not need any of that. Inside the 3 2 1 Can Zone the rule takes five seconds, because new groceries always land in the backup rows and the bins refill only from those rows. The oldest can is always the one your hand reaches first, automatically.
Then protect the system with a five minute reset on grocery day. Face the labels forward. Slide backups down into any empty bin space. Jot whatever ran low onto next week’s list, and pull anything dented or past date while you are in there. Five minutes, once a week, usually while something is already in the oven. That small habit is the entire difference between a pantry that looks great for a month and one that is still calm next winter.
The Storage Rules Most Pantry Posts Skip
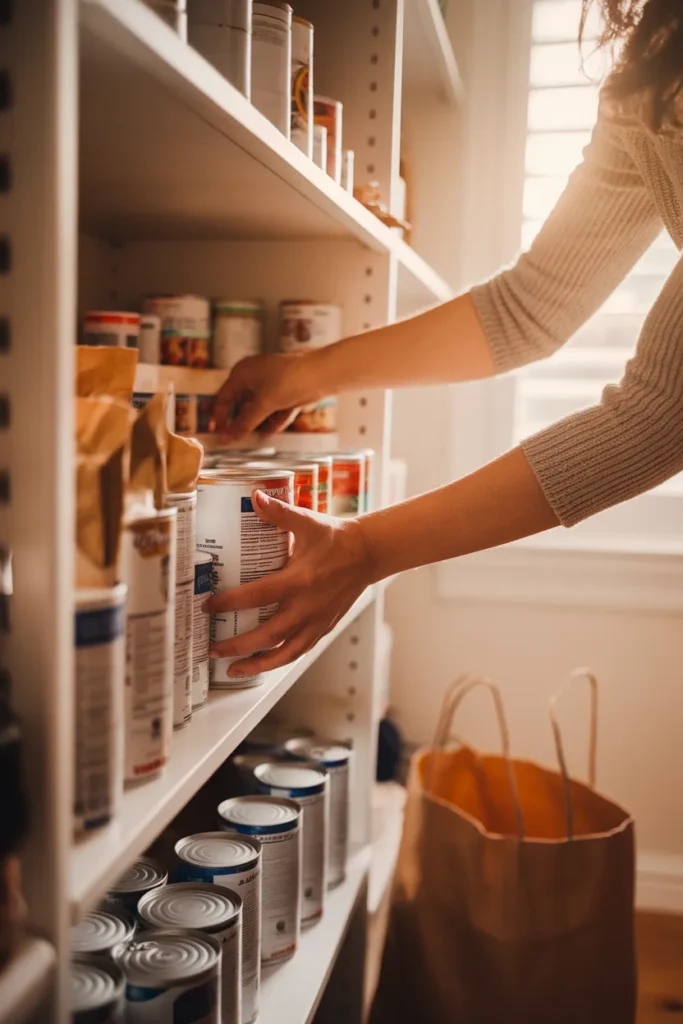
Where you store cans matters as much as how you arrange them. The USDA’s shelf stable food safety guidance recommends a cool, dry spot below 85 degrees Fahrenheit and warns that heat above 100 degrees speeds spoilage sharply. In practice that means three popular spots are out: the cabinet above the stove, the space under the sink, and the damp corner of a garage or basement.
Shelf life has real numbers too. Per USDA food safety basics, high acid cans like tomatoes and pineapple hold their best quality for 12 to 18 months, while low acid cans like beans, corn, and meats keep 2 to 5 years unopened. Dates on cans are quality dates, so a well stored can a little past its date is usually fine to cook.
Dents follow one simple test. A shallow dent on a smooth surface is generally fine. A dent deep enough to rest a fingertip in, any deep dent along a seam, or any can that bulges, leaks, or shows heavy rust goes straight in the trash, no taste test. When in doubt, toss it. Cheap insurance.
No Pantry? Cabinet and Small Kitchen Can Storage
Renters and small kitchen cooks, this section is yours, and nothing here requires a drill. Start inside a cabinet with a riser or a perimeter rack that lifts cans around the edges of a shelf. IKEA’s Variera shelf inserts effectively double a cabinet shelf for a few dollars, and Dollar Tree locker bins group cans by type at a buck twenty five apiece, which makes them the cheapest zone system in America.
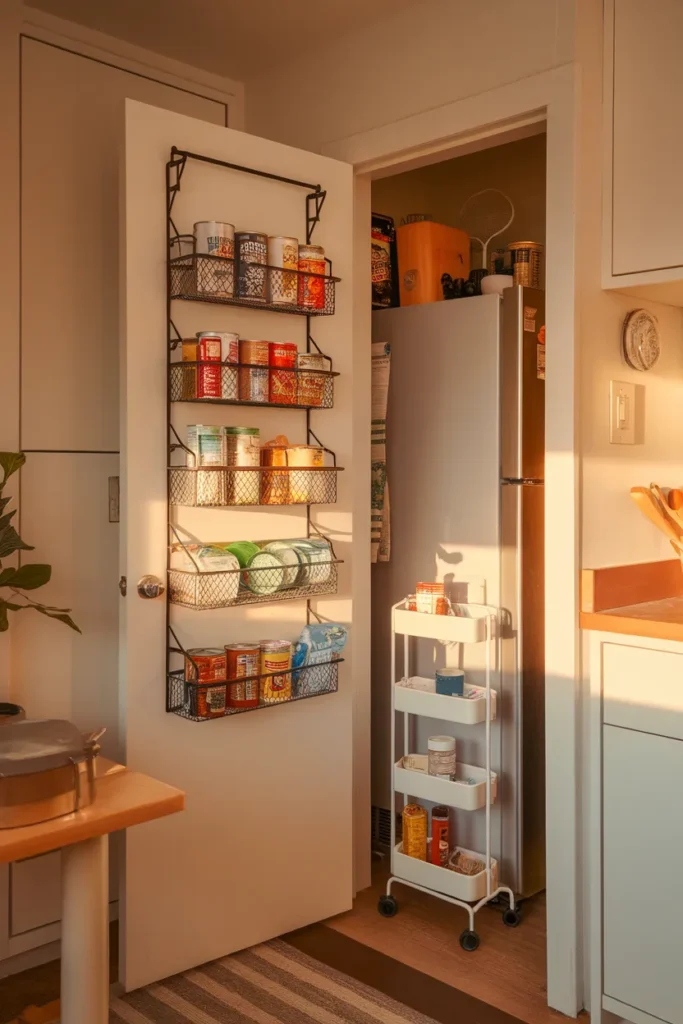
Your doors are storage you already own. An over the door rack with six wire baskets swallows a surprising number of cans; just choose a sturdy one and hang it on solid hinges, because a loaded basket gets heavy fast. Got a skinny gap beside the fridge? A slim rolling cart turns those wasted 6 inches into a rolling can wall. Wherever things land, keep the heaviest cans on the lowest shelf, for the shelf’s sake and for your toes. And once cans have a home, zoning the rest of the room gets easier; our kitchen cabinet layout guide runs the same logic across every cabinet you own.
Label It or Lose It
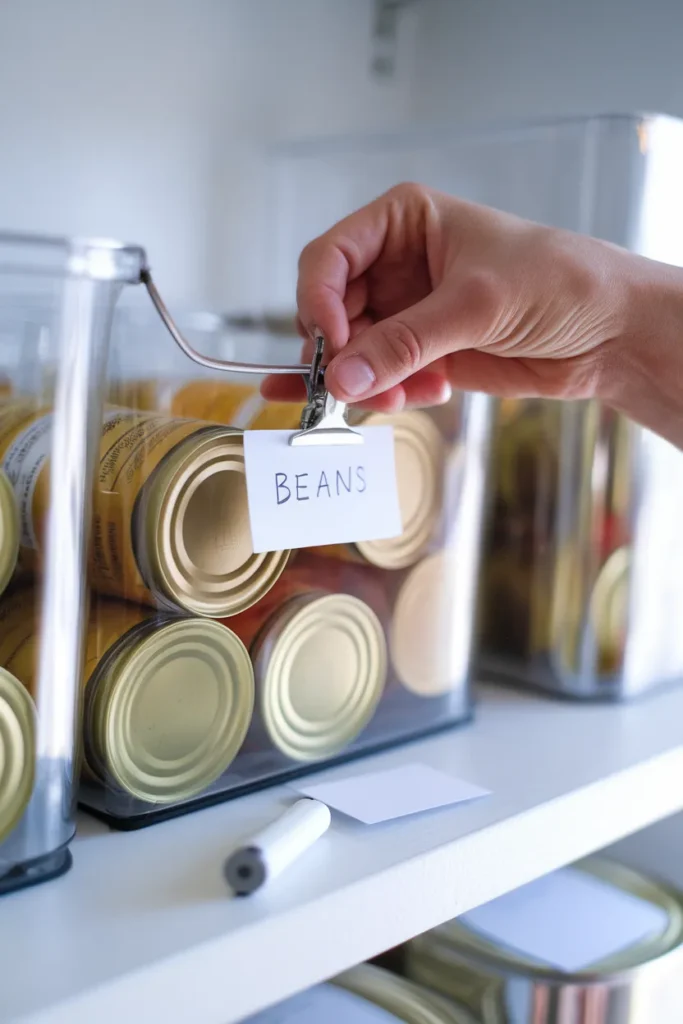
Labels are what turn your system into the household’s system. A bin marked Beans gets refilled correctly by whoever unloads the groceries, including the ten year old. Clip on tags and a chalk marker on the bin face both work fine; pick the one you will actually update after a shopping trip changes what you stock. One more trick for anyone keeping cans in a drawer: write the contents on each lid with a paint pen, and the whole drawer becomes readable from above in a single glance. Small thing. Massive difference.
Can Organization in Pantry FAQs
What is the best way to organize canned goods in a pantry?
Group cans by category, give your everyday types labeled clear bins at eye level, keep backups on a tiered riser, and rotate first in, first out. That is the 3 2 1 Can Zone in one sentence, and it scales from a single cabinet to a walk in.
How do you organize cans in a deep pantry?
Treat the depth like a drawer. Use clear bins nearly as deep as the shelf and pull the whole bin out when you cook, raise the back row on a riser, and give corners a turntable so nothing hides where you cannot see it.
Should you stack cans on top of each other?
Two high is the practical limit for loose cans, rim to rim so they sit flat. Past that, use a riser or a rack instead. And load the heaviest cans onto the lowest shelf, since a full row of 28 ounce cans adds up faster than you would think.
How does FIFO rotation work for canned food?
New cans go behind or below the older ones, and you always cook from the front. A gravity fed dispenser automates the whole thing by rolling the oldest can forward each time you take one.
How long do canned goods really last?
Per USDA guidance, high acid foods like tomatoes and pineapple are at their best within 12 to 18 months, while low acid foods like beans, corn, and meat hold 2 to 5 years unopened. Store them cool and dry, and discard any can that bulges, leaks, or carries a deep dent.
How do you store cans with no pantry?
Use cabinet risers or a perimeter rack, hang an over the door organizer, and slide a slim rolling cart into the gap beside the fridge. Small kitchens almost always have more vertical space than shelf space, so build upward first.
Your Turn: One Shelf Tonight
You do not need a whole weekend for this. Pick one shelf, run the five minute audit, and set up a single 3 2 1 zone with bins you already own. The riser and the dispenser can come next payday. Momentum matters more than matching containers, and one calm shelf has a funny way of spreading to the shelf beside it. If this helped, pin it for your next grocery run, then stick around; the pantry guides linked above carry the same system through the rest of your kitchen.