

Corner Pantry Organization: How to Use That Awkward Angled Space
You open the corner pantry, reach toward the back, and your hand disappears into a black hole where a can of chickpeas has been hibernating since the last time you actually saw the back wall. Sound familiar? Corner pantry organization is the fix, and the real secret is not buying prettier bins. It is understanding why the corner fights you in the first place, then setting it up so the awkward angle works for you instead of swallowing your groceries whole.
Here is the promise. By the end of this guide you will know exactly which type of corner pantry you have, how to conquer the dead wedge in the back, and how to build zones that survive a real week of cooking (not just the photo). We tested every step in a small kitchen with a genuinely annoying 24-inch-deep corner closet, so none of this is showroom theory.
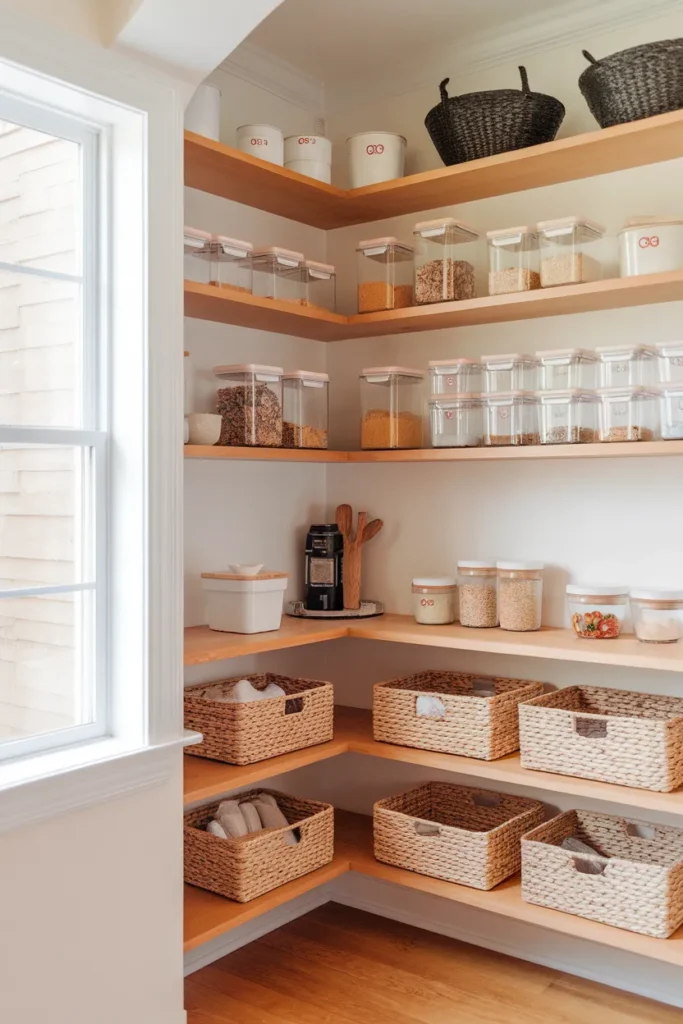
First, Figure Out Which Corner Pantry You Actually Have
Most advice fails because it treats every corner pantry the same. It isn’t. Before you buy a single organizer, name your type, because the right fix is completely different for each one.
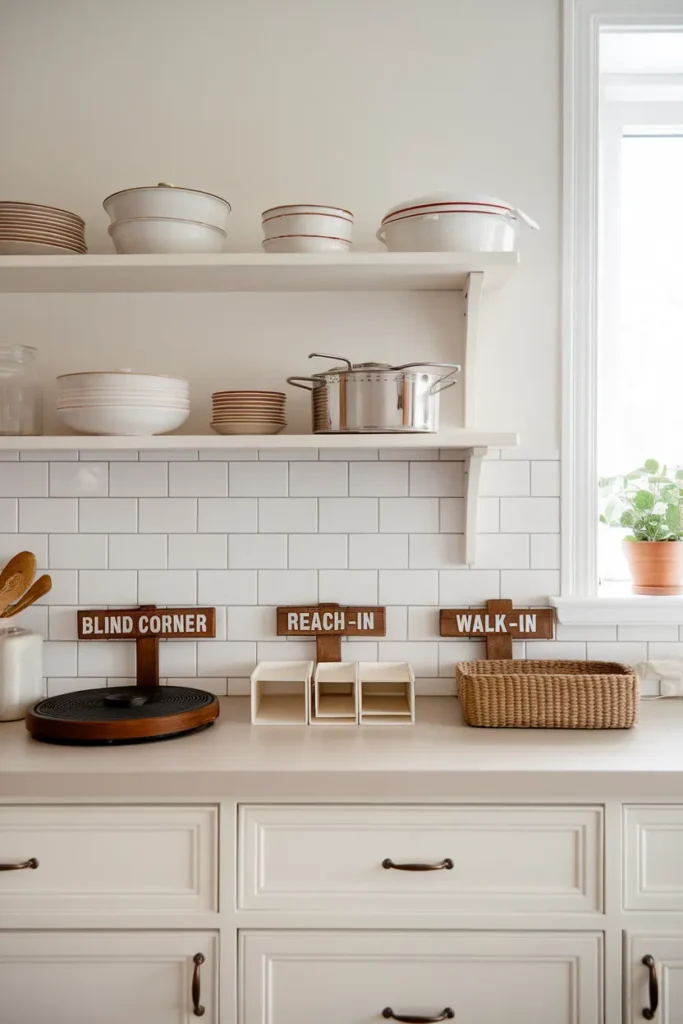
A blind corner cabinet is a base or upper cabinet where one section runs back into a dark corner behind the neighboring cabinet face. You reach in through a normal-width door, but half the storage hides sideways where you can’t see it. A reach-in corner pantry is a shallow closet, usually 24 inches deep, with a door you stand in front of and shelves you reach into. A walk-in corner pantry is the big one, a diagonal or L-shaped room you step inside, often with a 48-inch interior footprint.
Why does this matter so much? Because a lazy Susan saves a blind corner cabinet but wastes space in a walk-in, while pull-out shelving transforms a deep reach-in but is overkill for a shallow cabinet. Diagnose first, shop second. That single habit is what I call the Corner Type Test, and it is the anchor for everything below.
The Dead Triangle: Conquer the Back Corner That Swallows Everything
Every corner pantry has one, that wedge of shelf where the two walls meet and your arm simply can’t reach without climbing onto a chair. Photos hide it. Real life fills it with expired mustard. Let’s solve it directly.
The math is simple and worth saying out loud. On a standard 24-inch-deep shelf, comfortable reach for most people stops around 18 to 20 inches. That leaves a 4-to-6-inch back band, and in a true corner the two shelves’ back bands overlap into a triangle roughly a foot across. That triangle is prime real estate you are currently donating to forgotten cans.
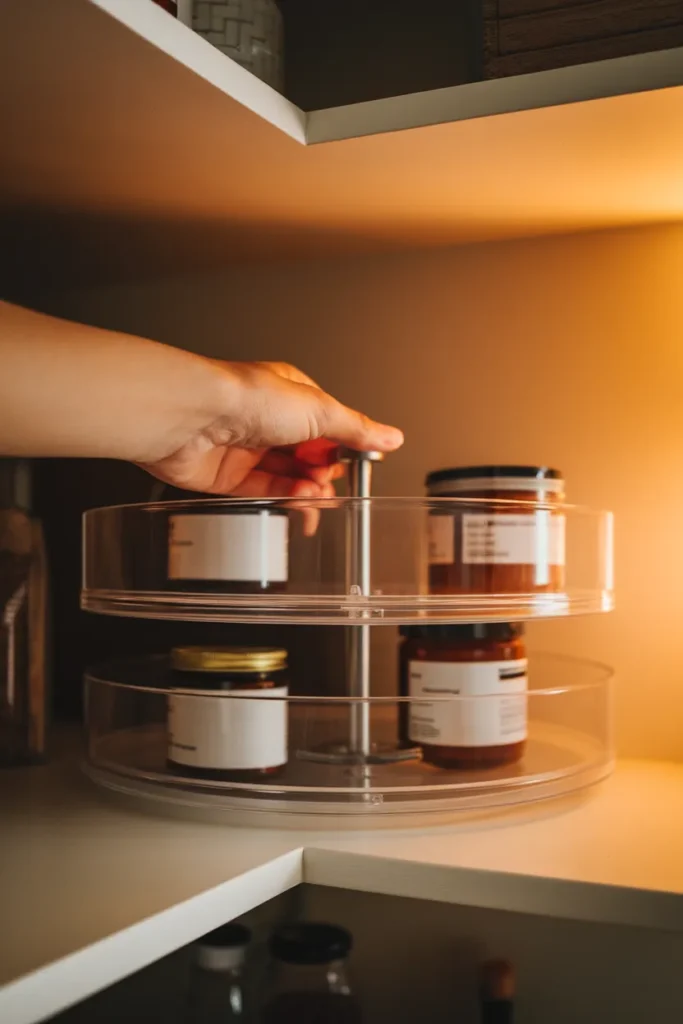
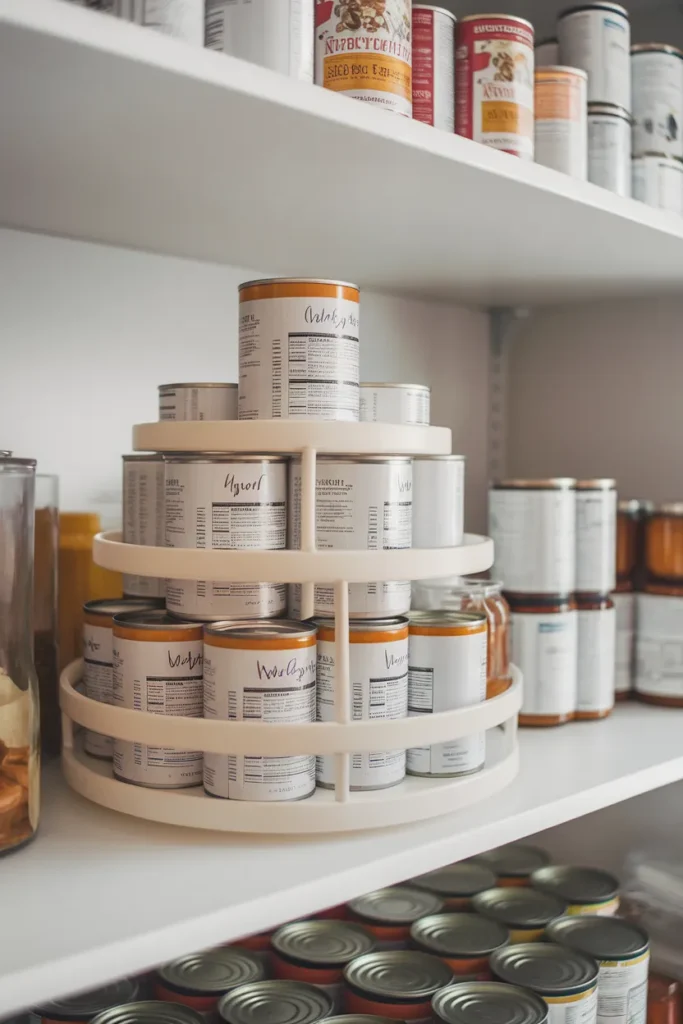
Three fixes, ranked by how well they work. First and best, a turntable. A 9-to-16-inch lazy Susan sits right in the corner and spins the back wedge to the front with a fingertip. Second, put a pull-out solution on deep shelves so the whole shelf comes to you; we walk through exactly how in a pull-out system for deep and narrow shelves, which is the single highest-value upgrade for a deep reach-in. Third, if you can’t add hardware, simply stop stacking the corner and store only tall, rarely-touched backups there (the huge vinegar jug, the backup olive oil) so the unreachable spot holds things you don’t reach for anyway.
Empty It, Sort It, and Decide What Earns a Spot
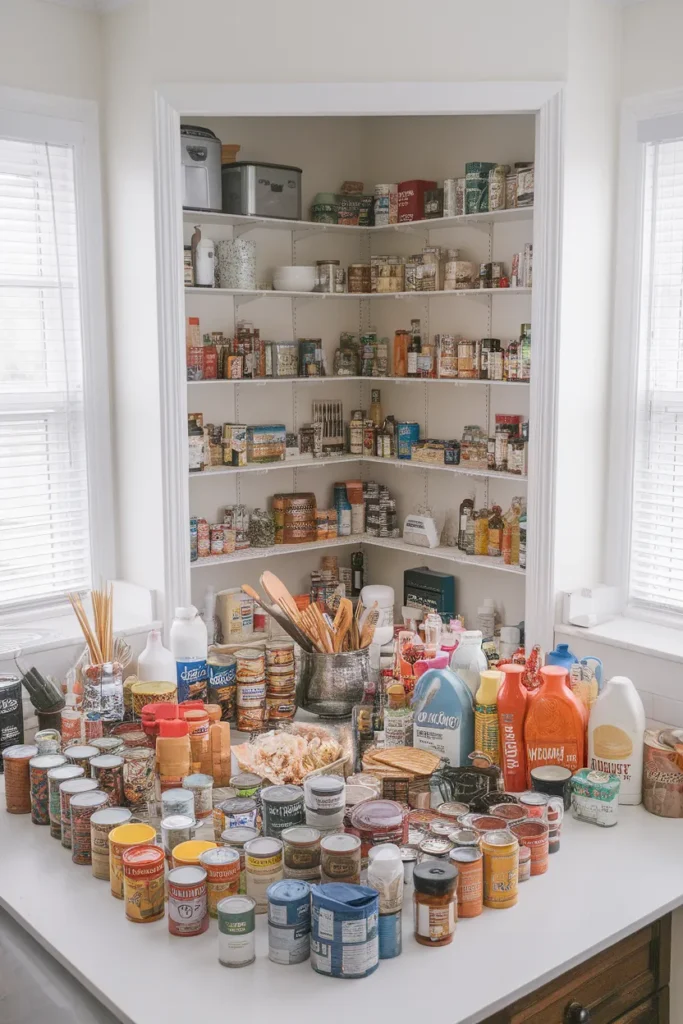
Nothing organizes a corner pantry faster than taking everything out. Pull every item onto the kitchen table so you can see what you own. You will find the three half-open bags of brown sugar and the mystery cans, and that is the point.
As you sort, group like with like: baking, breakfast, canned goods, pasta and grains, snacks, oils and vinegars. Toss anything blown, leaking, or long expired. This is also the moment to be honest about quantity, because a corner tempts you to overbuy simply because there is room. If a corner cabinet is your recycling drop or your appliance graveyard, decide that on purpose rather than by accident.
One habit keeps this from happening again: shop your pantry before you shop the store. A two-minute glance stops you from buying a fourth jar of cumin, which is exactly how corners become bottomless pits in the first place.
Build Zones That Match How You Actually Cook
Now put it back with intent. The winning move in every top pantry is zoning, and in a corner it matters double because reach is uneven. Assign the easy-to-reach front and eye-level shelves to daily items, and send the back band and the top shelf to backups and rarely-used gear.
I use a simple structure I call the Reach-First Zone Map. Eye level and the shelf just below it are the Daily Zone (breakfast, coffee, the snacks everyone grabs). The corner turntables hold the Rotate Zone (oils, vinegars, sauces you want spun forward). The top shelf is the Backup Zone (paper goods, bulk overflow, the stuff you restock from). The floor or lowest shelf is the Heavy Zone (flour, rice, potatoes, anything you don’t want to lift high).
Baskets do the heavy lifting for the odd-shaped middle. Corralling snack pouches, seasoning packets, and loose bags into a single labeled bin means one pull instead of an avalanche, and matching the bin to the food matters more than you’d think, which is exactly what we break down in match the right basket to the right food.
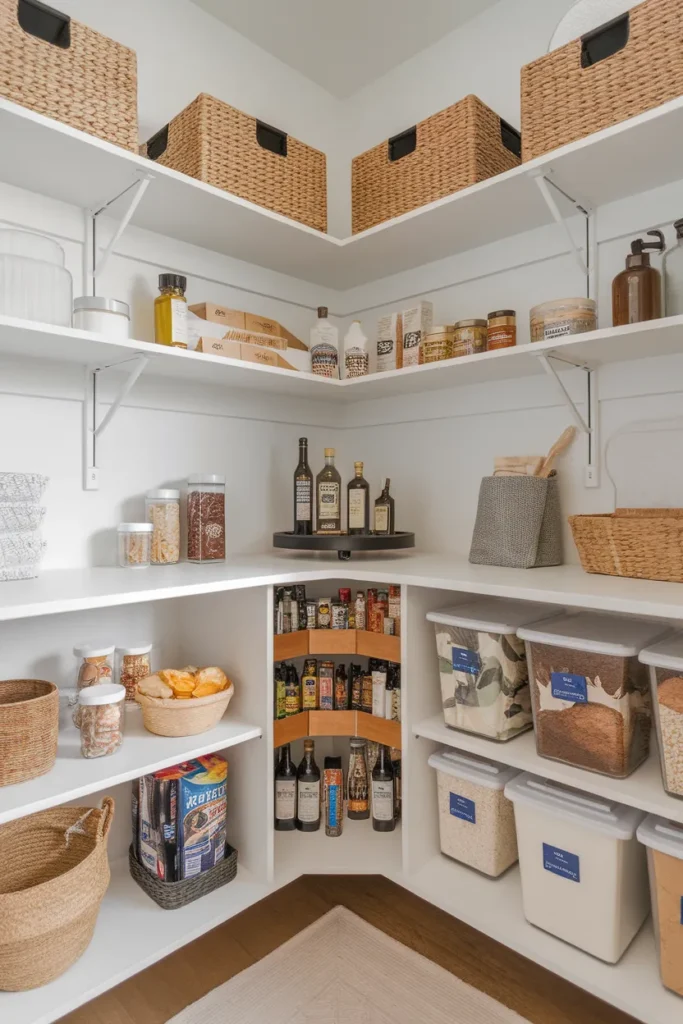
Small Corner Pantry? Go Vertical and Rental-Friendly
A small or shallow corner pantry lives or dies on vertical space. If you are only using the flat shelf surfaces, you are wasting the air between them.
Add a tiered shelf riser so a back row of cans sits visible above the front row. Stack a two-tier turntable instead of a flat one. And do not forget the door, that gap between the door and the first shelf is free storage. An over-the-door organizer holds spice jars, foil boxes, and snack pouches without touching your shelf depth at all. For renters, this is the golden rule: reach for damage-free options first. Command hooks, tension rods, and over-the-door racks give you vertical storage with zero drilling and nothing to patch when you move.
If little hands raid the pantry, put a low snack zone kids can reach on the bottom shelf so they self-serve without climbing; we set one up start to finish in a low snack zone kids can reach.
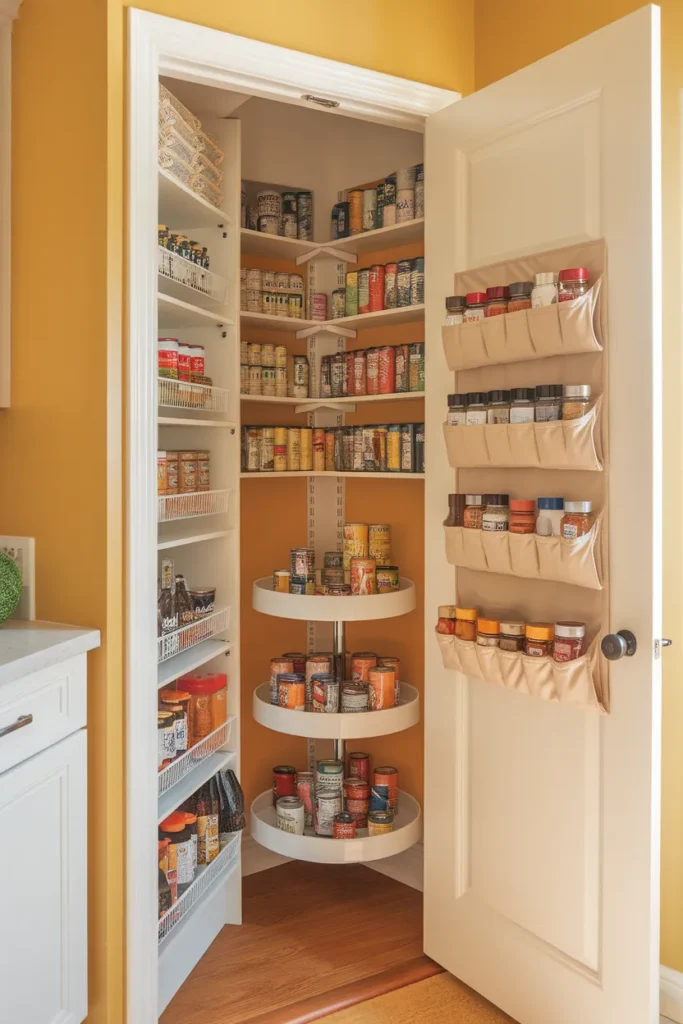
Decant, Label, and Make the Corner Easy to Read
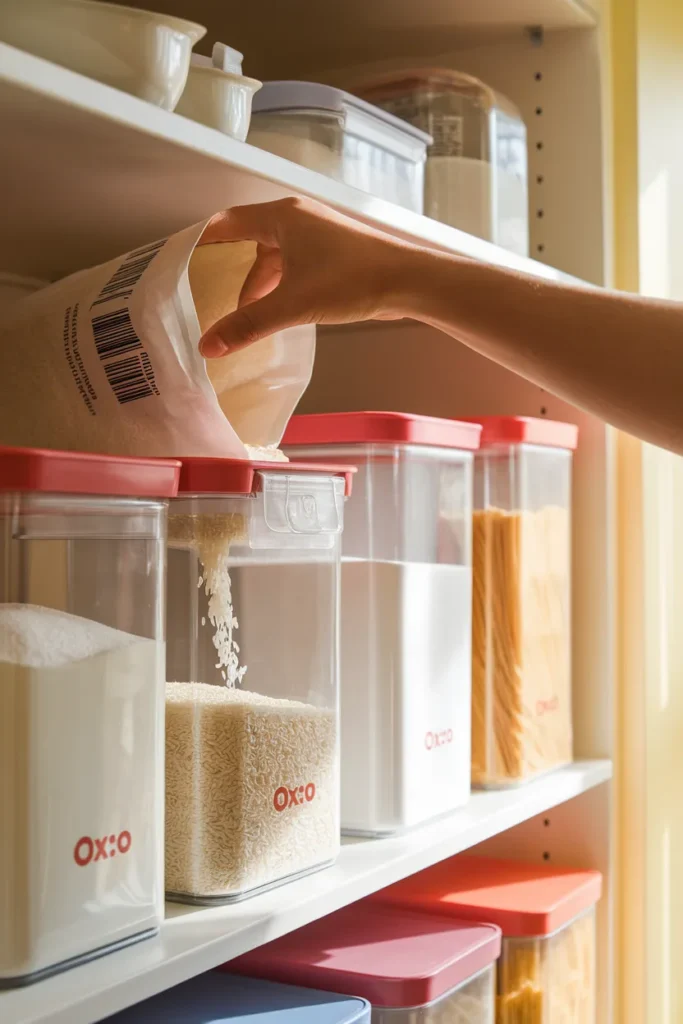
Here is where a corner pantry finally starts to feel calm. Decanting, moving dry goods out of crinkly bags into matching clear containers, does two jobs at once: it makes odd-shaped packages stack neatly, and it lets you see the back of a deep shelf at a glance.
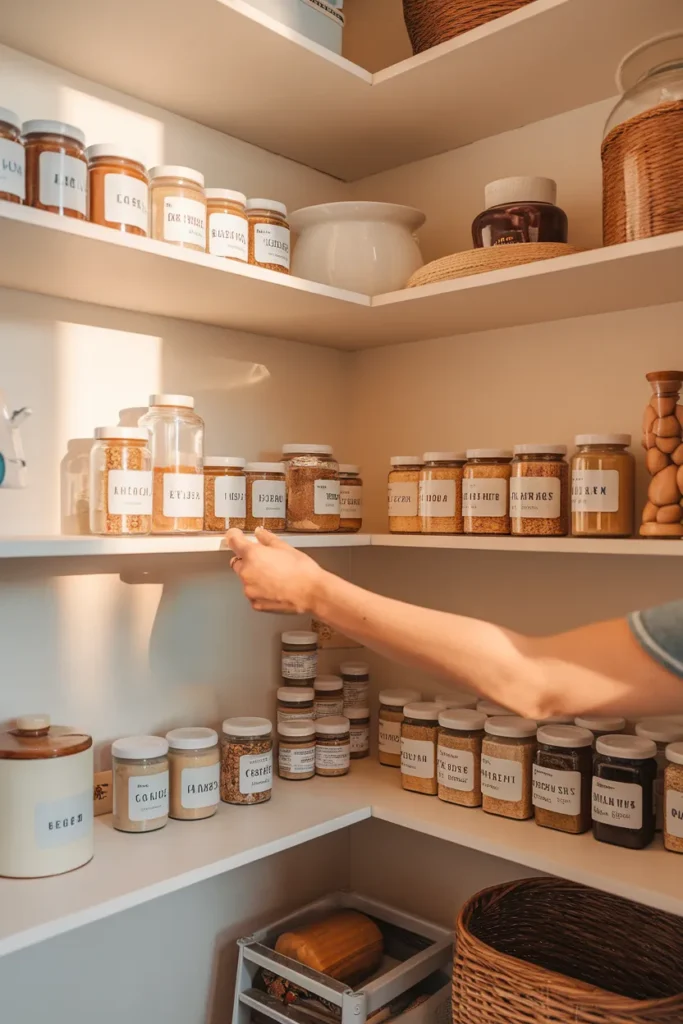
Clear canisters like OXO POP containers or simple glass jars turn a jumble into a readable wall. A 1.6-quart POP container fits most rice, pasta, or cereal refills, and squaring off round bags reclaims the gaps you never notice. Then label everything, because in a shared kitchen labels are what keep the system alive after you stop hovering. A basic label maker or printed tags on the front of each bin and jar means everyone puts things back in the right zone.
One honest caveat: decanting is beautiful, but do not remove packaging that carries cooking instructions or an expiration date you actually need. Snap a photo of the directions or write the date on the jar bottom before you toss the box.
Fix the Lighting So Nothing Hides in the Dark
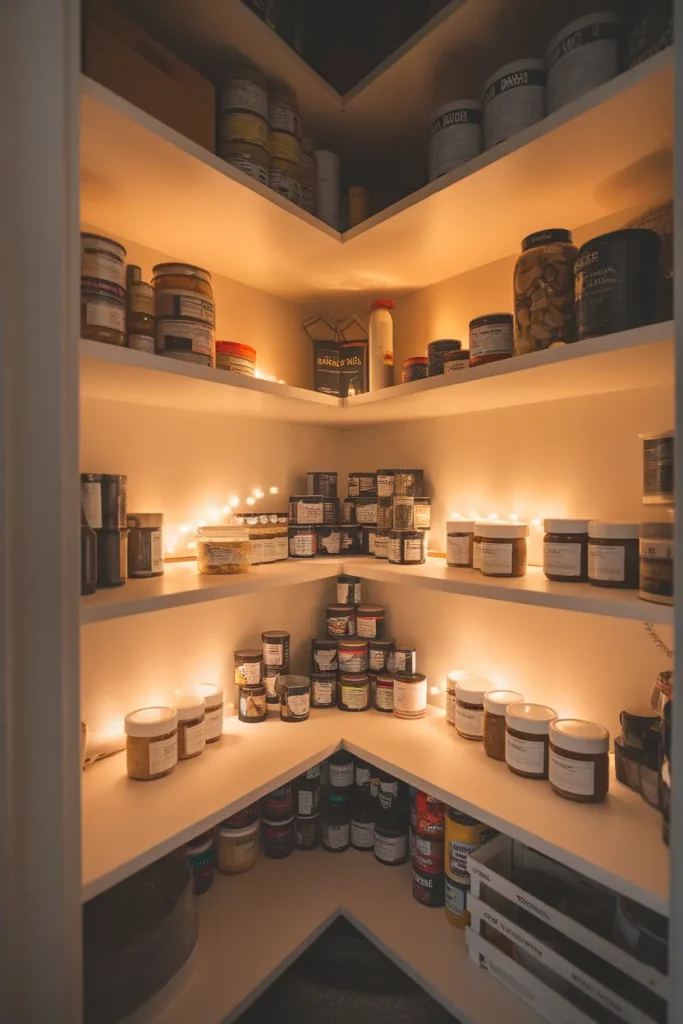
A corner pantry is often the darkest storage in the kitchen, and darkness is where food goes to be forgotten. Our test closet was 24 inches deep with zero light, and honestly, adding light changed it more than any bin did.
Battery-powered puck lights or a stick-on LED strip solve it in minutes with no electrician. Stick one under each shelf so the back of the corner is actually visible, and suddenly you use what’s back there instead of rebuying it. Motion-activated versions turn on the second you open the door, which is a small luxury that pays for itself the first time you find the thing you were about to buy again.
Store Food Where It Actually Stays Safe
A pretty pantry that spoils your food isn’t a win. Corners near an oven, a dishwasher, or an exterior wall can run warmer than the rest of the kitchen, so a quick safety pass matters.
The USDA’s guidance is refreshingly clear: store canned and shelf-stable foods in a cool, dry place and keep them away from heat sources, with temperatures below 85°F ideal. That is a direct argument for not cramming food into the warm corner beside the range. Shelf life follows the same logic: high-acid canned foods like tomatoes keep about 12 to 18 months while low-acid cans last 2 to 5 years, and dented, bulging, or rusted cans get tossed on sight.
Turn that into one repeatable habit: the Front-to-Back Rotation. When you restock, move older cans to the front and slide new ones behind, so you always reach for the oldest first. It is the same first-in, first-out trick grocery stores use, and it keeps the dead corner from becoming an expiration graveyard again.
Keep It That Way With a Five-Minute Reset
The system only wins if it survives the week. The good news is that a maintained corner takes almost no effort once it is set up right.
Once a week, do a five-minute reset: pull anything that drifted into the wrong zone back to its home, wipe the front edge of each shelf, and glance at the turntables to spin forward whatever slid back. Before a grocery run, take that two-second look so you buy only what you’re missing. That’s it. A corner pantry does not need constant work, it needs a home for everything and a quick weekly nudge to keep things there. Do this and the awkward angle stops being the messiest spot in your kitchen and starts being the smartest.
Frequently Asked Questions
Are corner pantries outdated or a waste of space?
Not really, though opinions are split. Designers point out that a walk-in corner pantry can lose space to the walkway and the unreachable back wedge, and some newer builds favor walk-through or straight pantries instead. But a corner pantry uses an area most kitchens ignore, and with turntables, pull-outs, and smart zoning the “wasted” corner becomes very usable. If you already have one, keep it and organize it well rather than gutting it.
How big is a corner pantry, and how deep are the shelves?
It varies by type. A built-in walk-in corner pantry often has an interior footprint around 48 inches, while a reach-in corner closet is commonly about 24 inches deep. Comfortable reach tops out near 18 to 20 inches, which is exactly why the back few inches of a deep shelf need a turntable or pull-out to stay usable.
How do you organize a deep corner pantry so nothing gets lost in the back?
Attack the depth directly. Put a lazy Susan in the corner to spin the back to the front, add pull-out shelving so the whole shelf comes to you, and reserve the true dead corner for tall backups you rarely reach for. Clear containers plus under-shelf lighting make the back visible, and front-to-back rotation keeps the oldest items in reach.
What should you not store in a corner pantry?
Keep it to kitchen-use, shelf-stable items and resist letting it become a catch-all for random household stuff. Skip anything that needs refrigeration, and per USDA guidance, avoid storing food in the warmest corner near the stove or dishwasher. Never keep dented, bulging, leaking, or rusted cans.
What is the cheapest way to organize a corner pantry?
Start with what changes the most for the least: a few clear bins, one or two turntables, an over-the-door organizer, and a roll of labels. Decant into jars you already own, add battery puck lights for a few dollars, and skip custom hardware entirely. Most of the impact comes from emptying, sorting, and zoning, which costs nothing but an afternoon.
Your Awkward Corner, Handled
A corner pantry only feels impossible until you name its type, solve the dead triangle, and give every item a reachable home. Diagnose the corner, spin the back to the front, zone by how you actually reach, and light it so nothing hides. Which fix are you trying first this weekend, the turntable or the great pantry empty-out? Pick one shelf, start there, and let the momentum carry you around the corner.


