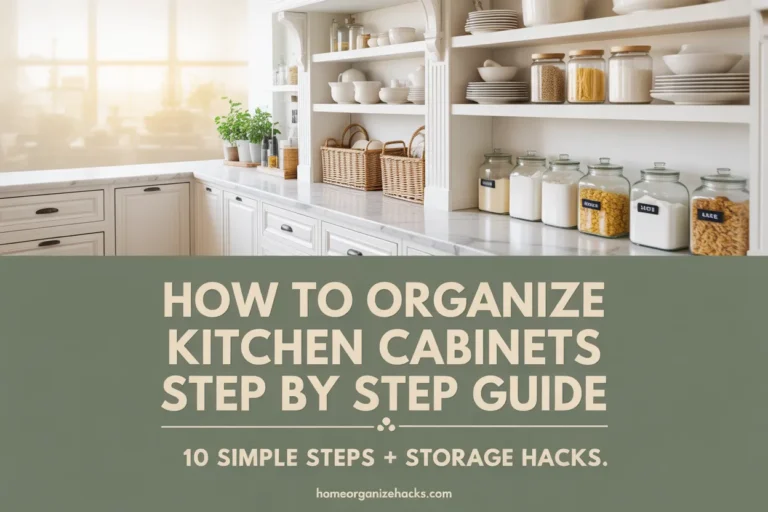
Kitchen Utensil Organization: Where Every Tool Should Live
Somewhere in your kitchen there is a drawer you brace yourself before opening. Kitchen utensil organization fixes that drawer for good, and it does something bigger too. It gives every spatula, whisk, tong, and wooden spoon one permanent address based on where you actually cook. No more digging while the onions burn. In this guide you get the full placement map (we call it the Three Reach Rule), organizer picks with current prices and exact measurements, wall fixes for kitchens with zero spare drawers, and a five minute habit that keeps the whole system standing. Grab a coffee. Let’s hand out addresses.
Start With a Full Utensil Audit
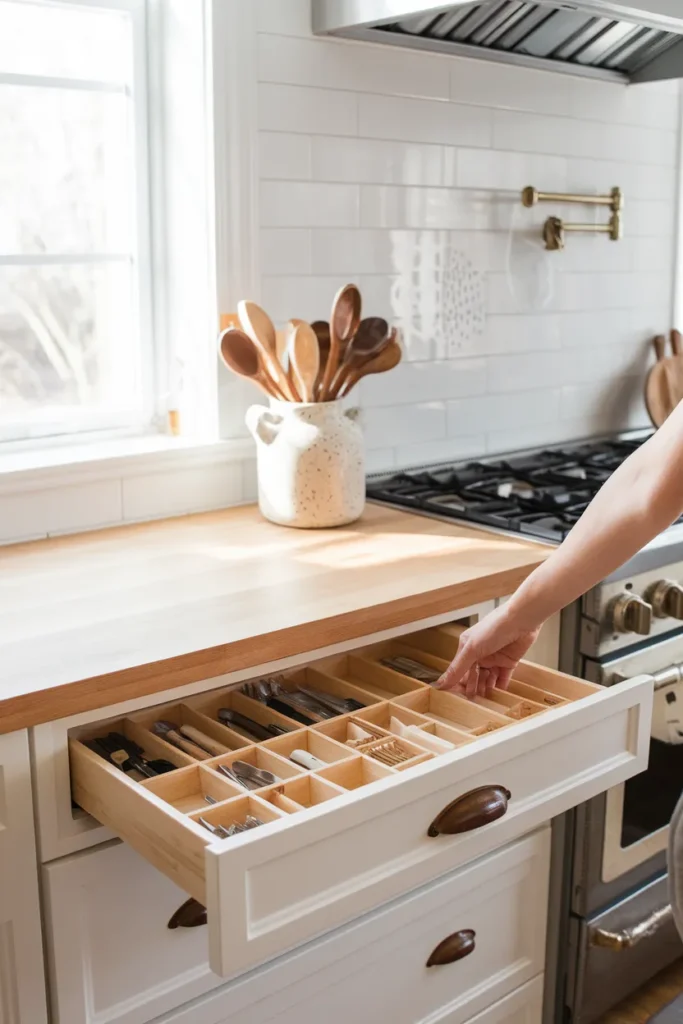
Every kitchen utensil organization project starts the same unglamorous way. Pull every tool out of every drawer, crock, dishwasher basket, and mystery bin, then pile the entire collection on the counter where you can finally see it all at once.
Now sort into three groups: keep, donate, relocate. Be ruthless with duplicates. The professional organizers The Kitchn brought in to rescue a reader’s chaotic drawer said duplicate spatulas, extra serving spoons, and runaway toothpick stashes are the clutter they see most often, and paring those down is what frees real drawer space.
Honestly, the sorting takes longer than the organizing. That is normal.
Before anything goes back, wash trays and tools in hot, soapy water, the same standard FoodSafety.gov sets for utensils and countertops. USDA food safety guidance notes that germs like salmonella can linger on kitchen surfaces for more than a day, so a clean start matters more than it looks.
The Three Reach Rule: Your Placement Map
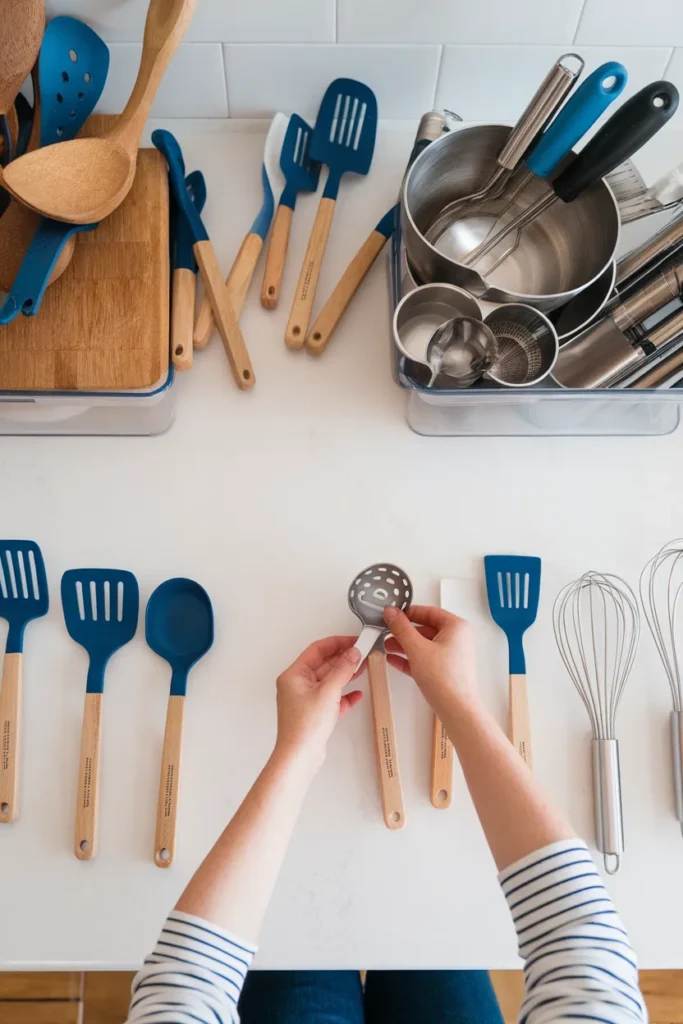
Here is the framework that runs this whole guide. The Three Reach Rule says every tool earns its home by how often you grab it: daily tools live within one reach of where you use them, weekly tools live within one step, and everything else lives within one trip, in a pantry bin or a high cabinet.
That single rule answers the core kitchen utensil organization question of where each tool should live. The flipping spatula sits one reach from the stove. The potato masher waits one step away in a lower drawer. The turkey baster rides one trip out, in a labeled bin on the pantry shelf, patiently holding out for November.
The rule pairs naturally with zoning your cabinets by task, which we mapped in our five zone kitchen cabinet layout guide. Set the zones once and kitchen utensil organization almost runs itself.
Utensil Drawer Organization That Stays Neat
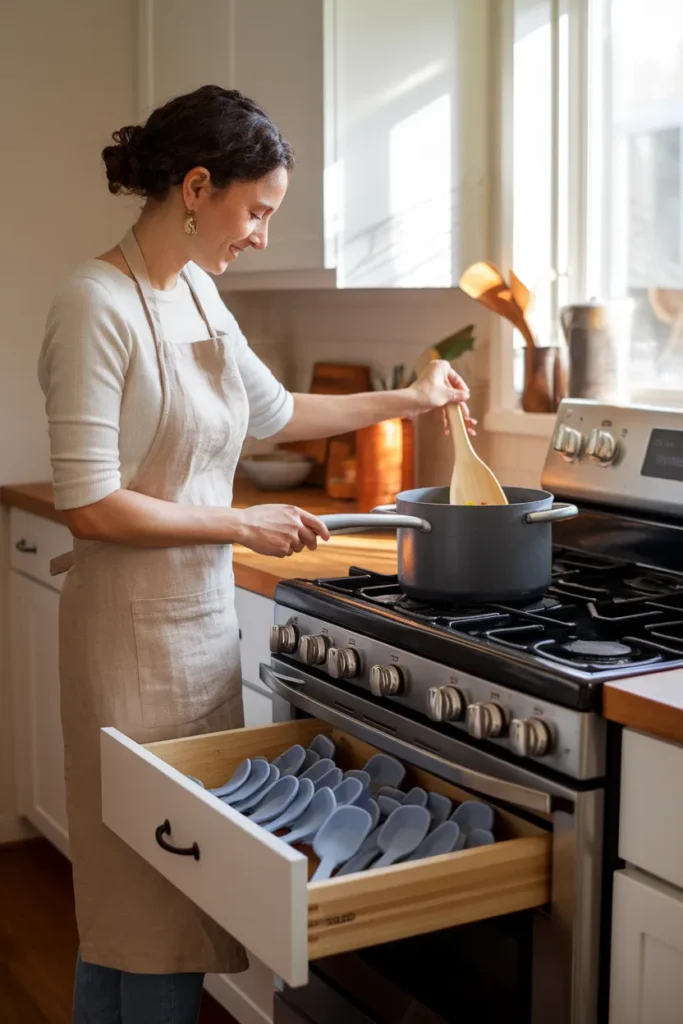
Measure first. This is the part of kitchen utensil organization most people skip, and it is why so many trays rattle around or never sit flat.
Grab a tape and record the interior width, the depth front to back, and the height before you buy anything, because interiors run smaller than the drawer face. IKEA’s own drawer guide, for example, puts the usable interior of its 24 inch kitchen drawers at 21 inches and its 30 inch drawers at 27 inches.
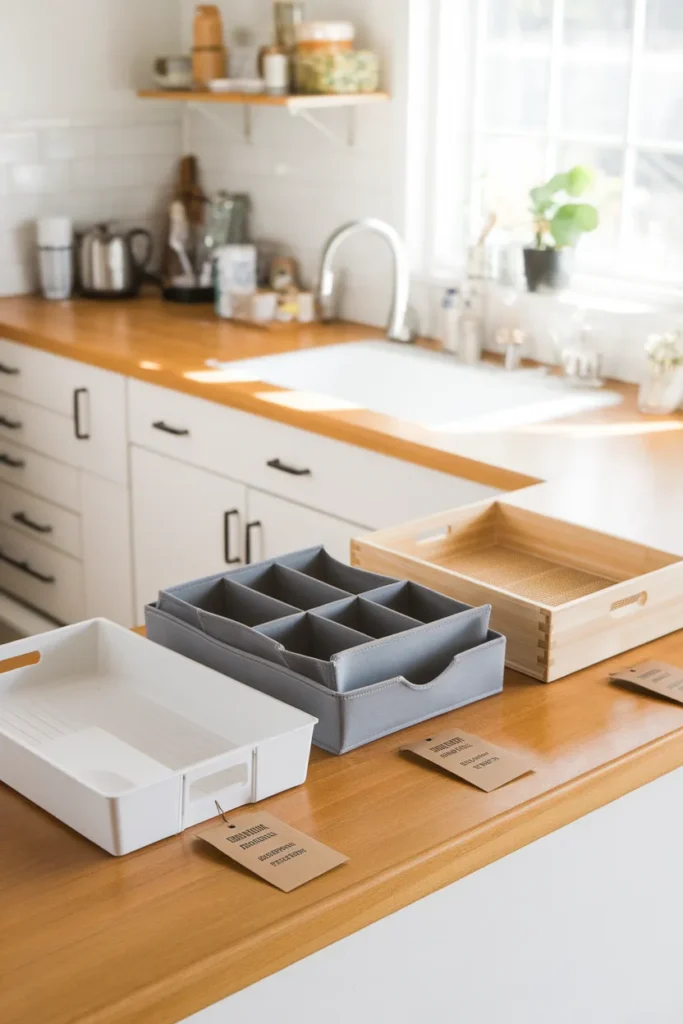
Then match a tray to your numbers. IKEA’s STÖDJA flatware tray costs $3.99 at 11 by 20 inches, a perfect starter for silverware. The UPPDATERA adjustable organizer runs $9.99 at 15 by 24 inches with soft dividers you can resize and rearrange to fit whatever odd drawer your kitchen came with. Expandable bamboo trays with bays around 2.5 inches deep swallow the chunky handled tools that flat trays reject.
Give each drawer exactly one job: silverware in one, cooking tools in the next, the same logic behind our drawer by drawer kitchen system. One job per drawer is what keeps a tidy tray from sliding back into a junk pile.
The Diagonal Trick for Long Tools
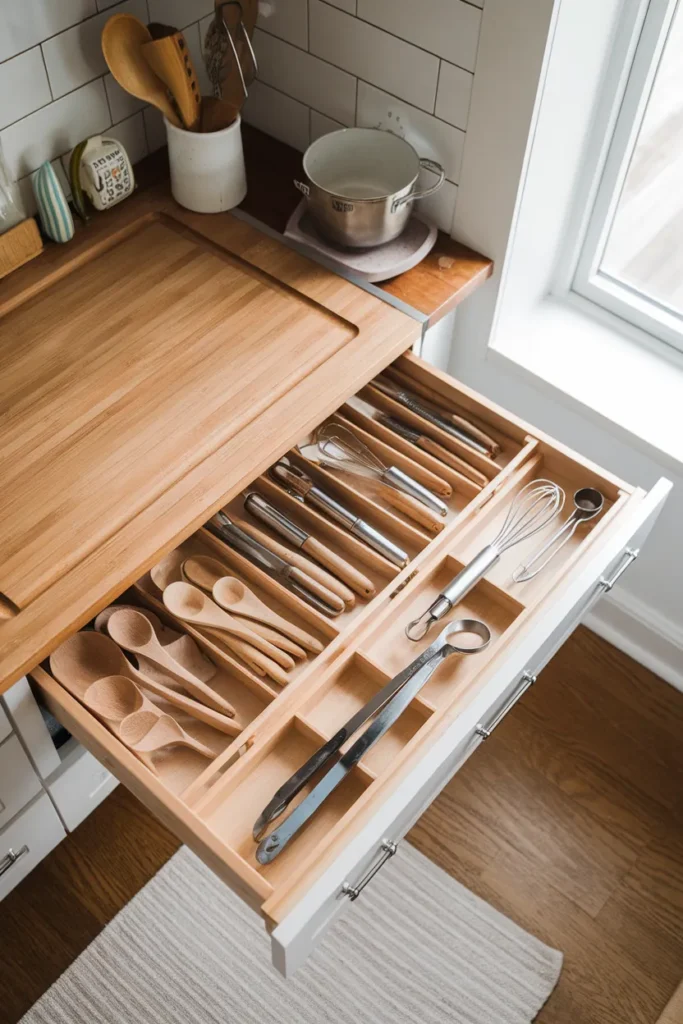
Thirteen inch tongs will never lie flat in a standard tray. Angle them instead. A diagonal insert, store bought or a quick DIY, runs corner to corner so the drawer’s longest measurement finally serves your longest tools. The Kitchn’s editors count it among the smartest kitchen utensil organization moves for exactly this reason.
Countertop Utensil Storage That Earns Its Spot
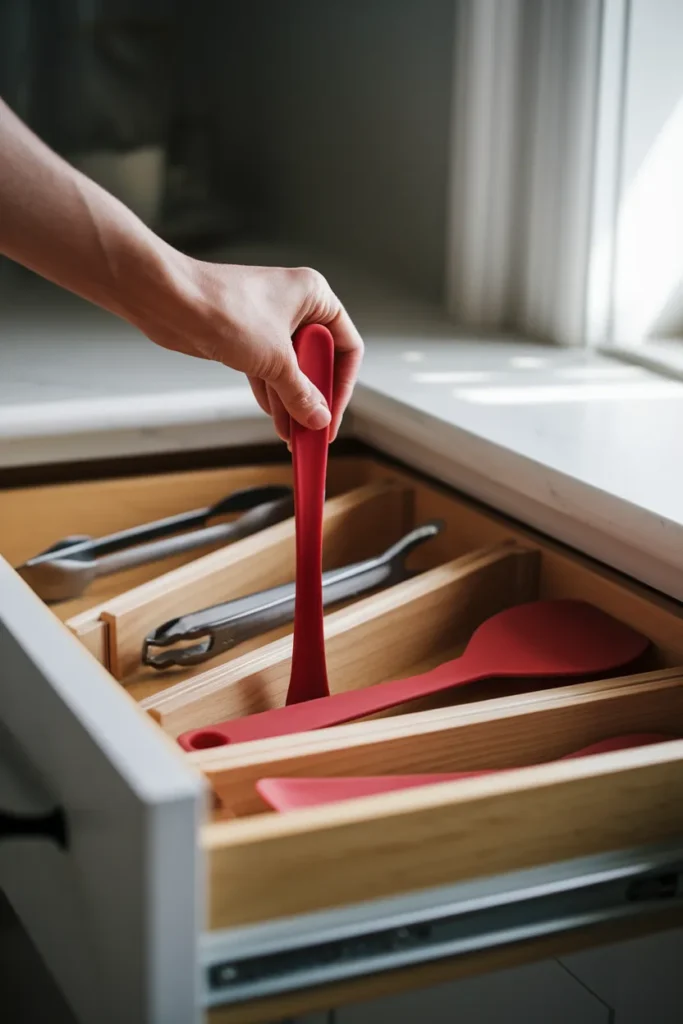
Countertop utensil storage is the visible half of kitchen utensil organization, so it has to earn the exposure. Counter space is prime real estate. Only your daily five to seven tools get to live on it, and everything else pays rent in a drawer.
Choose a crock with real weight. A heavy stoneware jar, like the speckled ones in Target’s Brightroom line or whatever HomeGoods happens to have this week, stays planted when you yank a spatula out with one hand. Thrifted pitchers work beautifully too and usually cost a few dollars.
Placement matters more than the vessel. The U.S. Fire Administration’s cooking fire safety guidance lists wooden utensils among the things to keep away from your stovetop, so park the crock a full forearm from the burners, roughly 12 inches or more. Close enough for one reach. Far enough to stay boring.
No Drawers? Organize Kitchen Utensils on the Wall
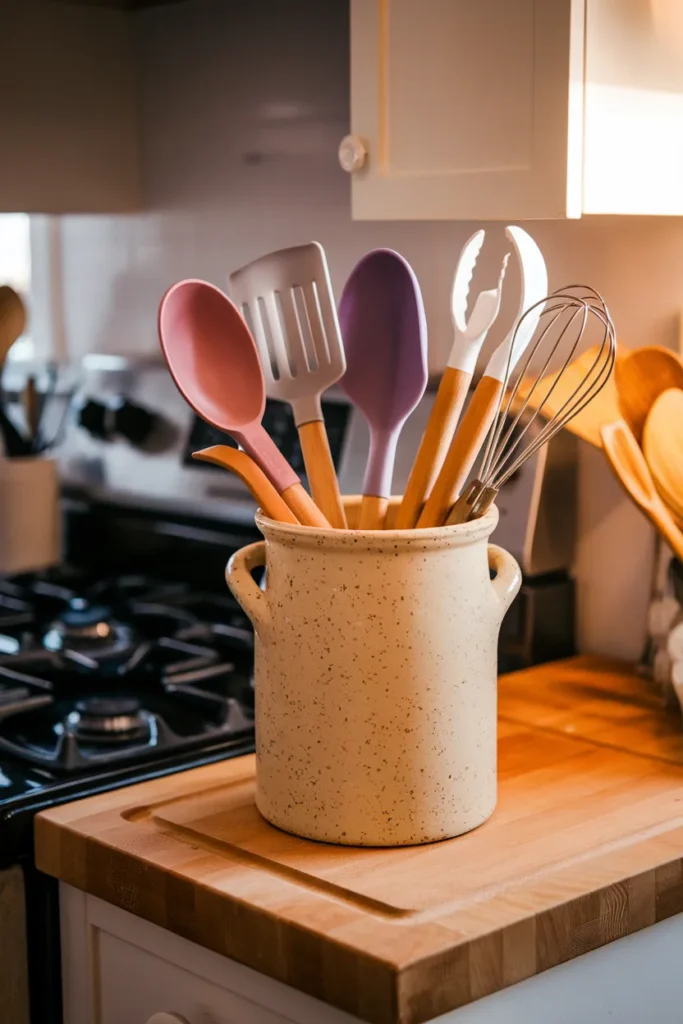
Renting a kitchen with two drawers total? Go vertical. Kitchen utensil organization without drawers is really wall organization, and every kitchen has walls.
A rail with S hooks turns two feet of backsplash into open storage for ladles, whisks, and anything with a hanging loop. A pegboard does the same at scale, and it carries serious history, since Julia Child famously ran her kitchen on one.
Magnetic knife strips hold more than knives. Stainless spoons, ladles, and metal whisks snap right on and stay visible.
For hidden storage, stick Command hooks inside cabinet doors and hang flat tools there, no drilling, fully renter safe. A tension rod dropped into the gap between two cabinets adds one more hanging run without a single hole in the wall.
Big Tools, Gadgets, and the Awkward Stuff
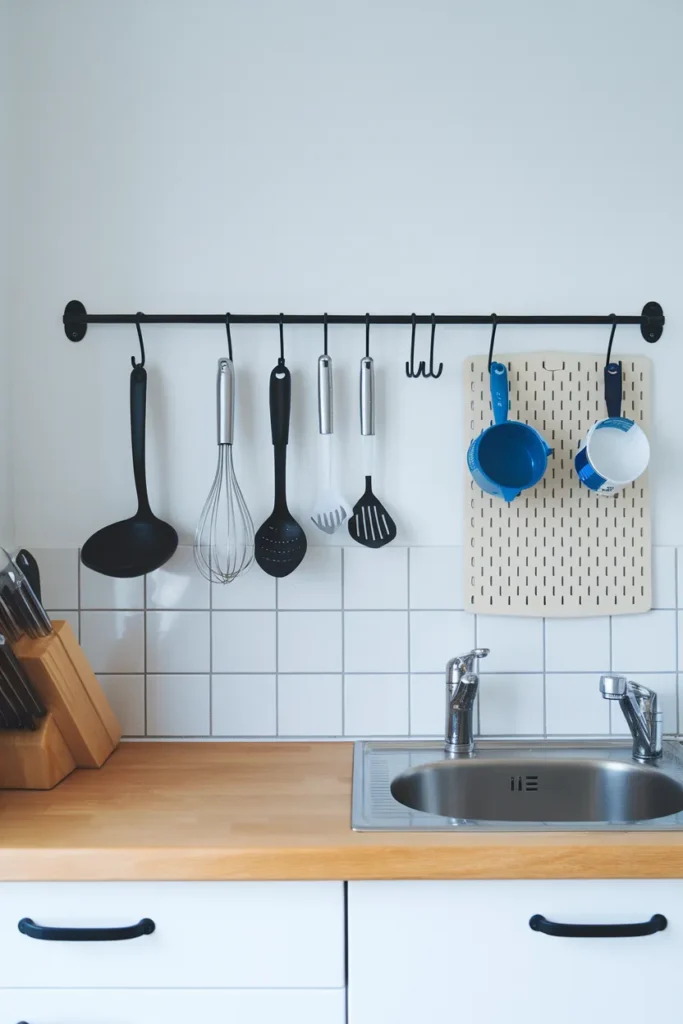
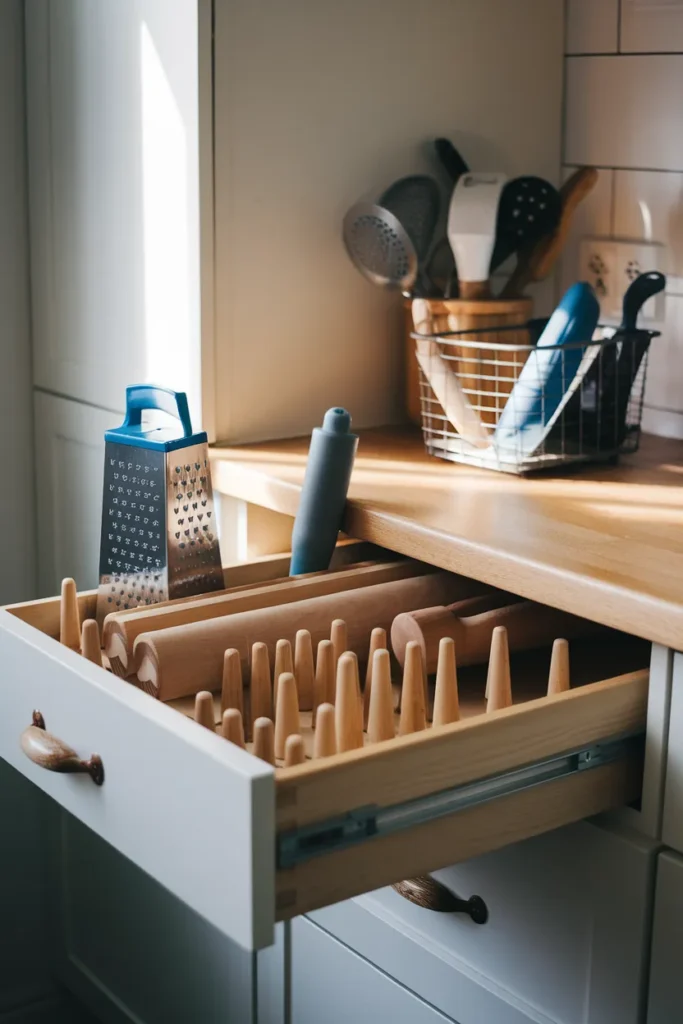
Some tools refuse every tray. The box grater, the salad spinner, the immersion blender, the rolling pin. This is where kitchen utensil organization usually breaks down, so give the awkward stuff structure first.
Hand them a deep drawer with adjustable pegs or tall dividers so they stand upright instead of stacking into a heap, the same upright logic that keeps food container lids from avalanching one cabinet over.
Small gadget chaos gets a different fix. Corral peelers, zesters, and the garlic press into an mDesign wire basket or a Dollar Tree bin inside a cabinet, spin bigger gadget collections on an OXO Good Grips turntable so nothing hides in the back, and keep every appliance attachment together in one labeled Amazon Basics bin.
The once a year crew moves one trip away, per the Three Reach Rule. A labeled pantry bin happily holds the baster, the candy thermometer, and the cookie press, and both The Container Store and Walmart’s Mainstays line sell cheap bins that fit standard shelves.
The Five Minute Weekly Reset
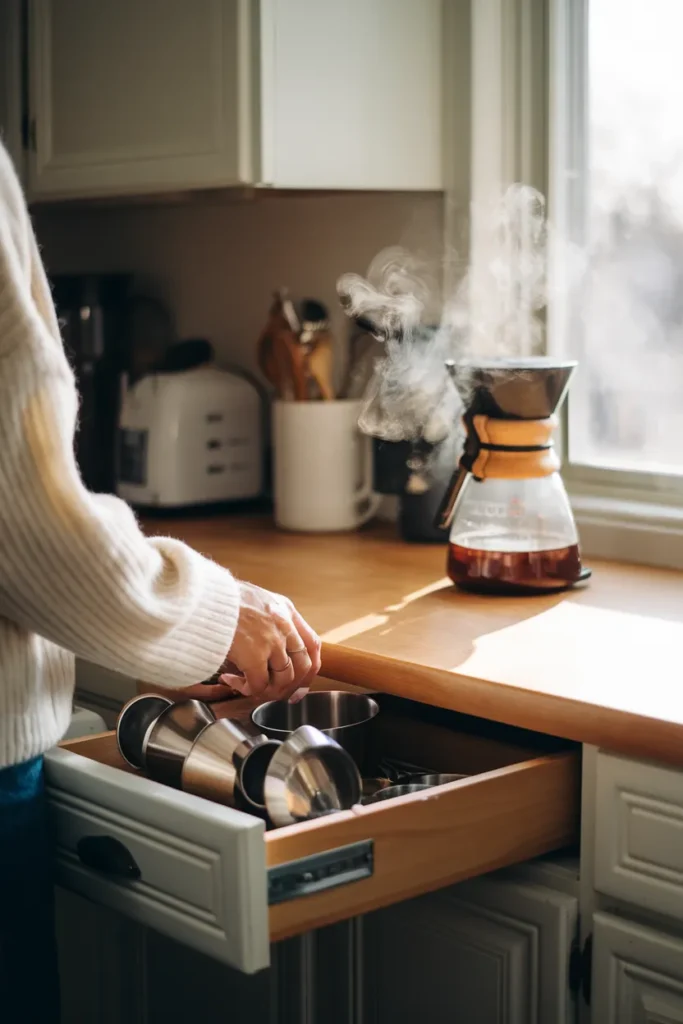
Systems do not maintain themselves, but this one only asks for five minutes. Once a week, while the coffee brews, do three things. Return the strays that migrated to the wrong drawer. Nest the measuring cups and spoons back together. Shake the crumbs out of the tray and wipe it down.
That is the entire ritual.
One extra rule keeps the collection honest: any tool that has not left its slot in a month gets demoted a reach, from counter to drawer, from drawer to pantry bin, or from pantry bin to the donate box. Kitchen utensil organization stays effortless when the collection keeps shrinking to match how you actually cook.
Budget Organizers Compared (Prices Checked July 2026)
You can build this entire kitchen utensil organization system for less than one takeout order, and the numbers below come straight from IKEA’s current US listings.
| Organizer | Price | Size and material | Best for |
|---|---|---|---|
| IKEA STÖDJA flatware tray | $3.99 | 11 x 20 in, white plastic | Silverware and starter drawers |
| IKEA UPPDATERA adjustable organizer | $9.99 | 15 x 24 in, soft resizable dividers | Odd drawer sizes, quiet and scratch free |
| IKEA UPPDATERA bamboo flatware and utensil tray | $37.98 | 20 x 19.5 in, light bamboo | Wide drawers, the forever upgrade |
Want expandable bamboo with deeper bays? Amazon carries spring loaded trays with slots about 2.5 inches deep that handle chunky handles well, so compare current prices there, and screenshot this table before you head to the store.
Kitchen Utensil Organization FAQ
How do you organize kitchen utensils without drawers?
Use walls and doors. A rail with S hooks, a pegboard, or a magnetic strip carries the hanging tools, a weighted crock covers the daily crew on the counter, and Command hooks inside cabinet doors hide the rest without drilling a single hole.
Should cooking utensils go in a drawer or on the counter?
Drawers by default, counter by exception. Keep only your five to seven daily tools in a crock, set at least 12 inches from the burners, and give everything else a drawer slot of its own.
What size utensil organizer should I buy?
Measure the drawer interior first: width, depth front to back, and height. Interiors typically run about 3 inches narrower than the drawer face, so a 24 inch drawer usually takes a tray around 21 inches wide.
How many cooking utensils do you actually need?
Fewer than you currently own. Keep one favorite per job, one flipper, one whisk, one ladle, and send the duplicates to the donate box where they can clutter someone else’s drawer.
What should I do with utensils I rarely use?
Move them one trip away. A labeled bin on a pantry or closet shelf holds the turkey baster and the cookie press just fine, and your prime drawers stay clear for the tools you touch daily.
How do I keep the utensil drawer from getting messy again?
Two habits: every tool has exactly one home, and a five minute weekly reset returns the strays. Demote anything untouched for a month and the drawer basically polices itself.
Give Every Tool Its Address
Kitchen utensil organization is really one decision made a few dozen times: deciding where each tool earns its keep. Run the audit, apply the Three Reach Rule, and let the drawer, the crock, the wall, and the pantry each carry their share.
Start with the single drawer that bugs you most. Tonight, even. Then save this guide for the full weekend pass, and if you map out your reaches, we would genuinely love to hear which zone you sorted first.