Bathroom Vanity Organization: Inside-the-Cabinet Systems That Work
Your vanity looked fine last Tuesday. Then a bottle of face serum tipped, a curling iron cord wound itself around a can of dry shampoo, and now you’re kneeling on cold tile at 7 a.m. hunting for floss. Bathroom vanity organization usually fails for a reason that has nothing to do with how many bins you own. A vanity cabinet is a deep, dark box with a drainpipe running through the middle of it, and almost nobody measures that box before they shop.
So here’s the promise. By the time you finish this, you’ll have a depth-based map of your cabinet, a real method for working around the plumbing, and a short list of things that should leave your bathroom for good. One Saturday morning covers most of it.
Start With a Plumbing Survey, Not a Shopping List
Every ranking guide on this topic tells you to measure. None of them tells you what to measure. That gap is why so many people come home from Target with a bin that sits proud of the door by half an inch and never closes right again.
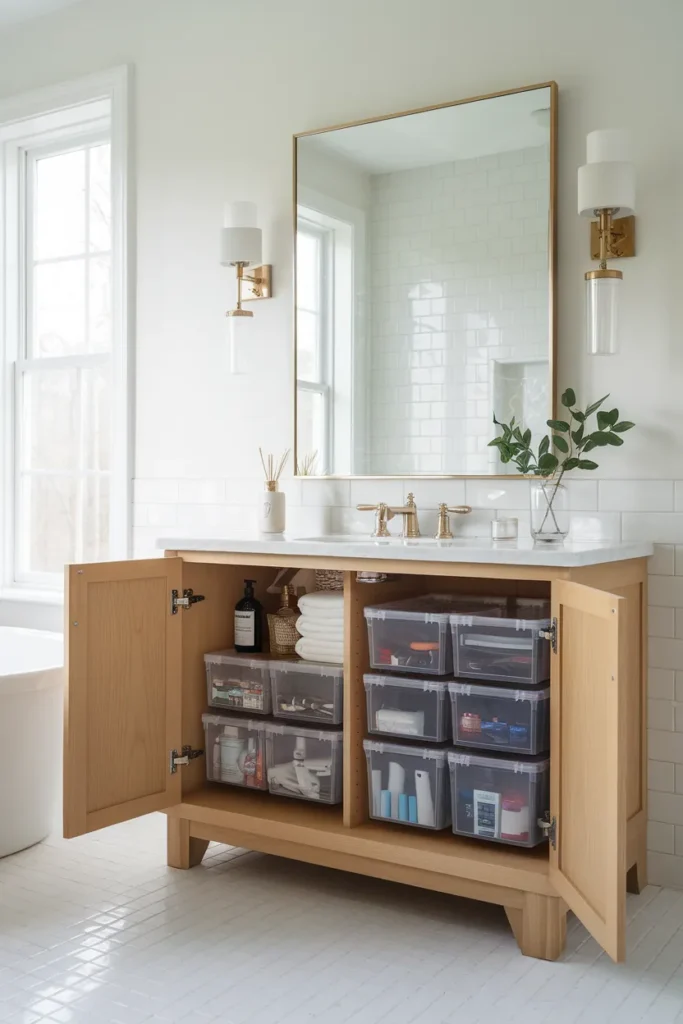
There are three numbers that decide your entire layout. Grab a tape measure and write them on your phone before you buy anything.
Clear height under the trap. Measure from the cabinet floor straight up to the lowest point of the curved P-trap. On most builder-grade installs this lands somewhere between 6 and 12 inches, and it is the single hardest ceiling in the whole cabinet. Anything taller than that number only fits in the corners.
Usable depth. Most standard vanities run about 21 inches front to back, but the face frame steals an inch or two on each side and the door hardware steals more. Measure the actual opening, not the countertop.
Valve clearance. Your hot and cold shutoff valves usually sit on the back wall, four to eight inches up. Leave them reachable. If a supply line ever lets go, you want to grab that valve in three seconds, not unpack a stack of bins first.
Measure first. It fits or it doesn’t. That’s the whole trick, and it’s the step nearly everyone skips.
The Three-Depth Vanity Map
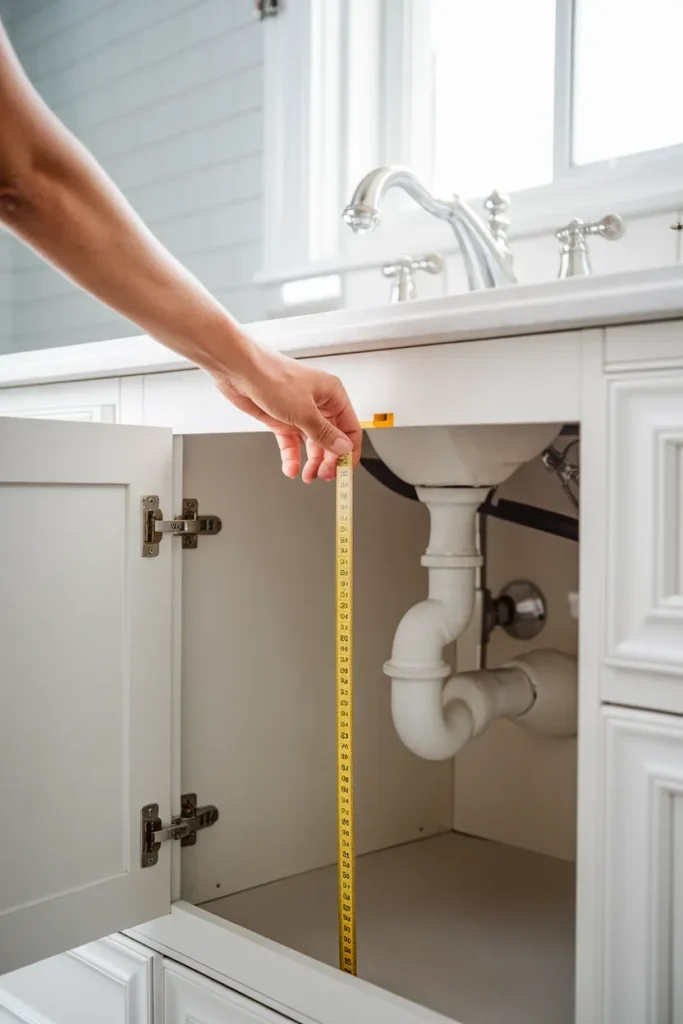
Here’s the framework this whole guide runs on. Most bathroom cabinet organization advice sorts items by category: hair here, skincare there, dental somewhere else. That works in a shallow drawer. It falls apart in a cabinet that’s nearly two feet deep, because category tells you nothing about whether you can actually reach the thing.
Sort by depth instead.
| Zone | Distance from the door | What lives there | Rule |
|---|---|---|---|
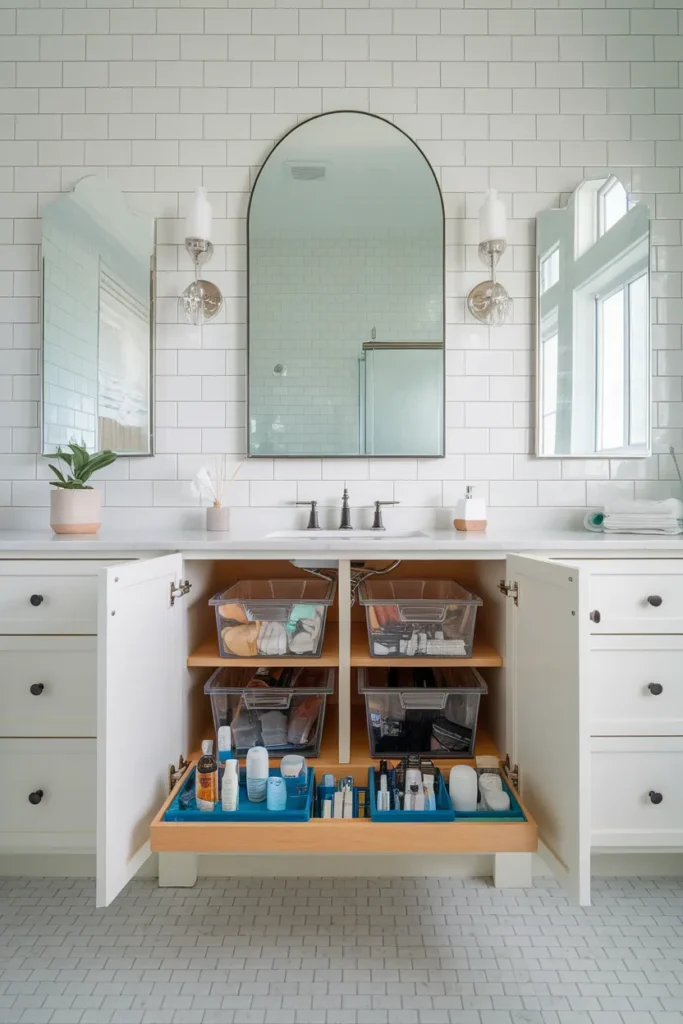
| Front Row | First 6 inches | Daily items: toothpaste, deodorant, the face wash you use every morning | Reachable with zero digging |
| Mid Zone | 6 to 12 inches | Weekly items: hair tools, backup skincare, nail supplies | One motion, slight lean |
| Back Wall | Past 12 inches | Backup stock and bulk paper goods | Pull-out containers only, never loose items |
The Back Wall rule is the one that matters. Nothing loose ever goes past twelve inches, because loose items back there become archaeology. They get forgotten, they expire, and eighteen months later you buy a third bottle of the same conditioner because you couldn’t see the first two.
Screenshot the table. It’s the part you’ll actually reference on Saturday.
Empty It Completely, Then Sort by How Often You Touch It
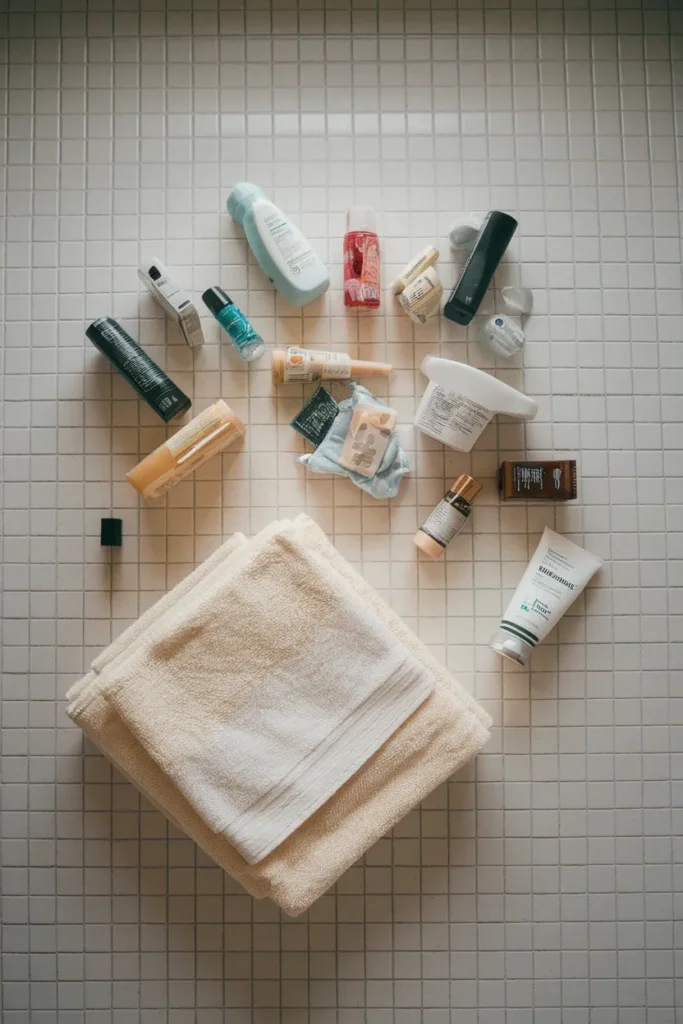
Take everything out. All of it, including the drawer liners and that mystery bag of hotel soaps. Group it on a towel on the floor while the cabinet sits empty, then wipe down the interior walls, the drawer glides, and the cabinet floor.
Now sort into four piles, and do it by frequency rather than by product type.
- Every day. Realistically five to ten items, no more.
- Every week. Hair tools, the good face mask, nail clippers.
- Backup stock. Sealed refills you genuinely will use.
- Gone. Expired, dried out, or bought in a moment of optimism you no longer feel.
That last pile is where people stall, so give yourself a rule instead of a decision. If you haven’t touched it in twelve months and it isn’t sealed, it goes.
Cosmetics deserve a closer look here. According to FDA guidance on cosmetic shelf life, there’s no U.S. law requiring cosmetics to carry an expiration date at all, and the agency notes that products stored in heat or sunlight can degrade well before any date printed on them. Eye products are the shortest-lived of the bunch. Some industry experts suggest replacing mascara around the three-month mark, and dried-out mascara should be thrown out rather than revived with water.
What Should Not Live in Your Vanity at All
This is the part no competing guide covers, and it’s the highest-value fifteen minutes of the whole project.
A bathroom is the most humid room in your house. Every shower spikes the temperature and the moisture in that room, and a closed cabinet three feet from the tub gets the worst of it. Some things simply should not be stored there.
Medicine is the big one. The FDA is direct about this: in its guidance on expired medicines, the agency notes that improper storage such as a damp bathroom cabinet can reduce a medicine’s effectiveness even before the printed expiration date, and recommends a cool dry spot instead, like a dresser drawer, a closet shelf, or a kitchen cabinet away from the sink and hot appliances.
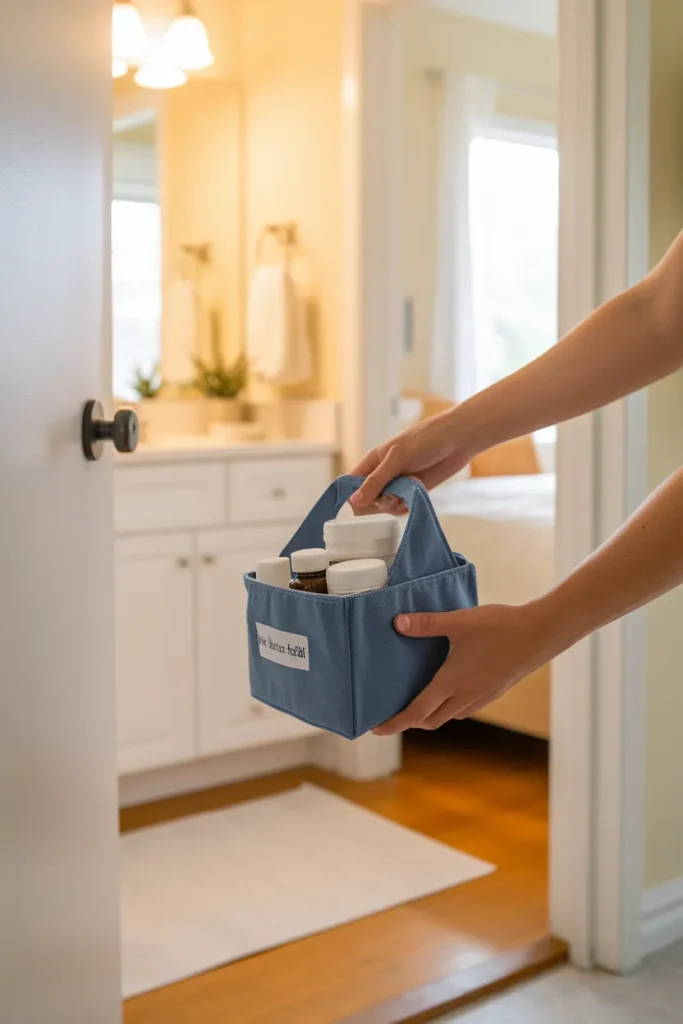
So move the pill bottles. A labeled bin on a bedroom closet shelf takes four minutes to set up and it’s the single most useful thing in this article.
A few more candidates for eviction:
- Bulk paper goods on the cabinet floor. A slow supply-line leak shows up down there first, and cardboard wicks water beautifully. Keep them raised in a bin or move them out.
- Anything you own more than two backups of. Storage isn’t a warehouse.
- Electric hair tools stored still warm. Give them ten minutes on the counter first.
Keep cleaning supplies in their own closed bin, well away from anything that touches your face, and leave every product in its original labeled container.
Bathroom Vanity Organization Under Sink: Building the Front Row
Now you refill, front to back, using the depth map.
Your Front Row wants a single shallow tray or a low turntable holding the five to ten things you touch daily. A turntable earns its place here because it solves the reach problem without you moving anything. Small ones run about ten dollars at Target and spin the back items forward, which is exactly the motion a deep cabinet needs.
The Mid Zone is where stacking earns its keep, and there’s a real decision to make. Stacking bins with lids cost less. Stacking drawers cost more and work better, because you open a drawer instead of unstacking three lids to reach the bottom one. When Organized-ish priced both versions of this project, the budget build came to roughly thirty-five dollars using Target and Amazon pieces, while the premium build using Container Store drawers landed near a hundred and fifty. Her verdict after living with both was to splurge on the cabinet drawers and skimp on the drawer trays, and having set up cabinets both ways, that split matches what I’d tell a friend too.
The Back Wall gets one pull-out container and nothing else. One handle, one motion, done.
For a full walkthrough of this specific space, including the awkward corner cases, we’ve covered organizing under the bathroom sink in a tiny bathroom in its own guide.
Drawers: Divide Before You Fill
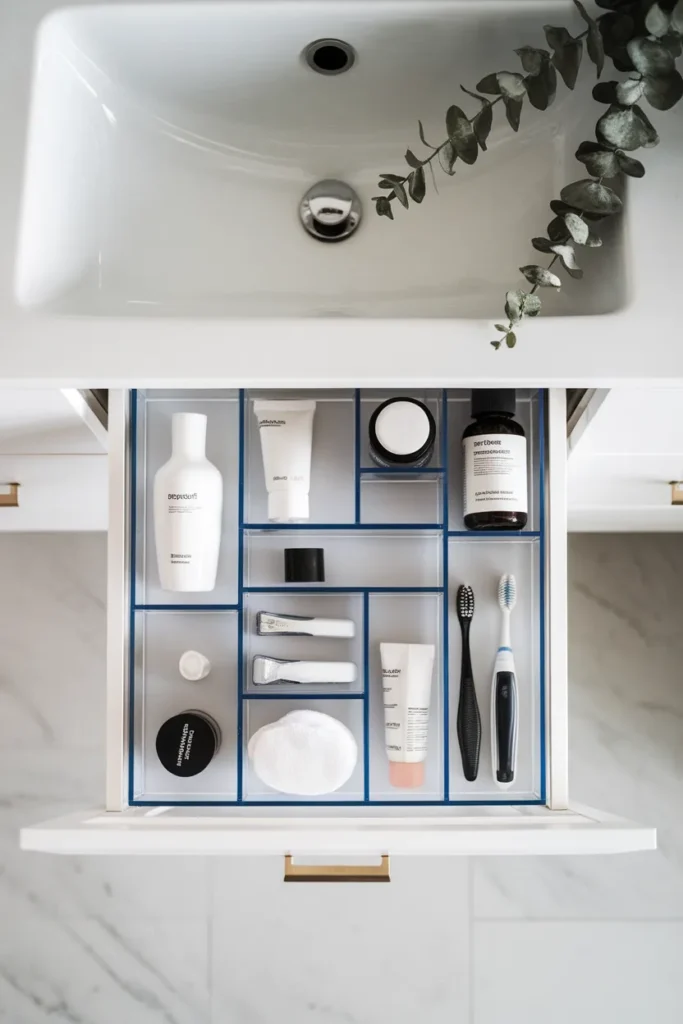
A vanity drawer without dividers is a bowl. Everything migrates to the back, the small stuff sinks, and you buy your fourth pair of tweezers.
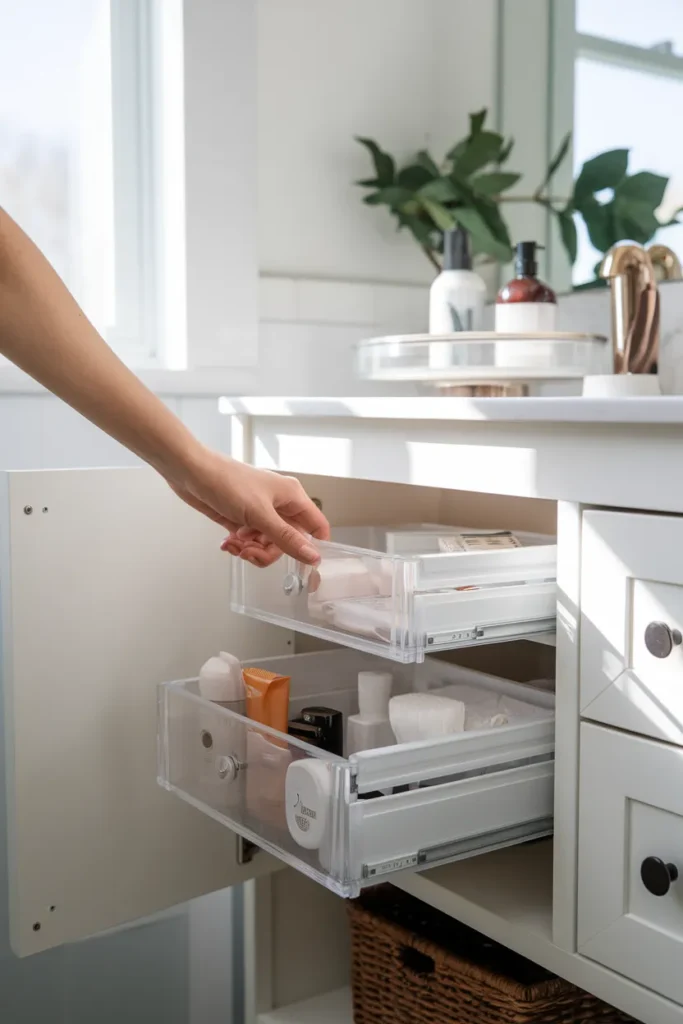
Divide first, then fill. Clear acrylic organizers from iDesign or mDesign let you see contents at a glance, and non-slip liner underneath stops the whole grid from sliding forward every time you close the drawer. Bamboo works too if you prefer the look, though acrylic wipes clean faster after a foundation spill.
Two sizing notes that save a return trip. Shallow drawers around five inches deep are ideal for flat small items and terrible for tall bottles, so measure your drawer interior height before buying anything advertised as a “vanity set.” And check the tallest thing you plan to store, because plenty of popular organizer sets sit just tall enough to catch on the underside of the counter.
Assign each drawer a single job. Top drawer for daily, second for hair, third for backup. Family bathroom? Give each person a drawer rather than mixing everyone’s things in shared bins, which fails within a week.
We go much deeper on this space in our guide to bathroom drawer organization, including the layouts that survive a busy household.
The Cabinet Door Is Free Real Estate
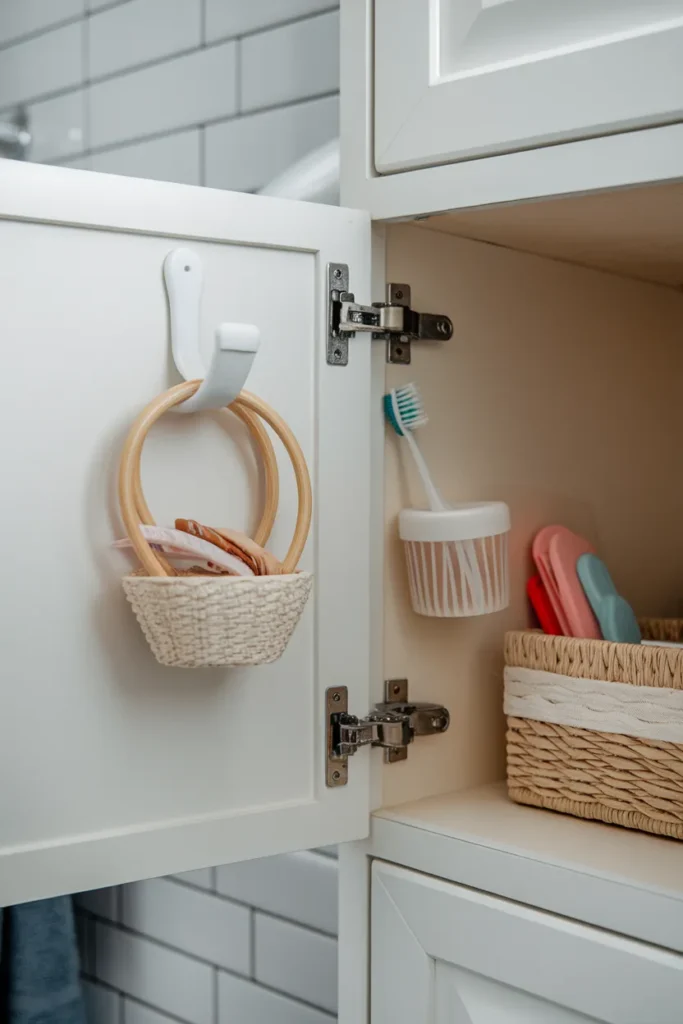
Open your vanity door and look at the back of it. That flat panel is doing nothing, and it’s the cheapest square footage in the room.
3M Command Hooks hold a small hair dryer, a lightweight basket, or a razor caddy without a single hole. Press them on, wait an hour before loading, and follow the weight rating on the pack rather than guessing. An adhesive cup mounted on the door panel keeps a toothbrush and toothpaste off the counter entirely, which is a small change with an outsized effect on how the counter looks.
An over-the-door pocket organizer works if your cabinet has the clearance, though check that the door still closes flush before you commit. Slim is better than deep here.
One caution, learned the annoying way. Don’t hang anything on the door that sits at the same height as your Front Row tray, or the door will nudge it every time it swings shut and you’ll spend six months wondering why your tray keeps creeping backward.
Bathroom Vanity Organization With No Drawers
Plenty of vanities are one open box with a pipe in it. Pedestal sinks give you even less. If you rent, start with the damage-free options, because every one of these comes back off cleanly.
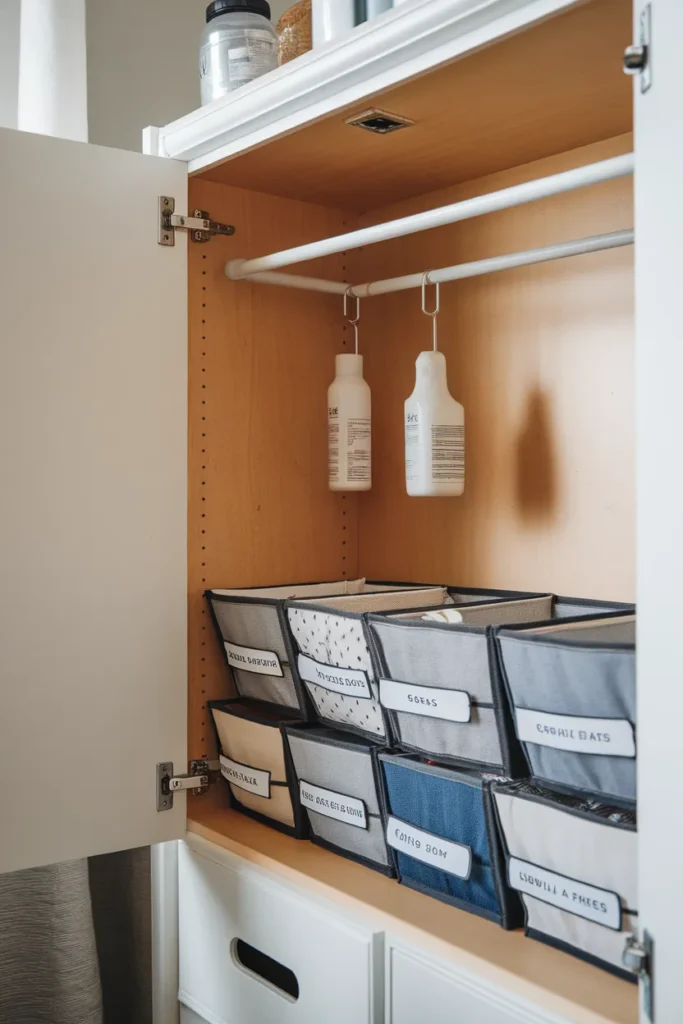
Add the drawers yourself. Stackable modular drawer units sit inside the cabinet and give you drawer function without touching the vanity. Measure the opening height and the clear height under the trap first, then buy.
Run a tension rod across the cabinet. Set it a few inches below the countertop and hang spray bottles by their trigger necks. Costs a few dollars, needs no hardware, and uses the dead air above your bins that would otherwise go to waste.
Go vertical outside the cabinet. A slim rolling cart in the gap beside the vanity, or a freestanding corner shelf, pulls pressure off the cabinet entirely.
Use the wall without drilling. Adhesive-mount shelves and hooks hold light items well when you follow the weight limits.
For renters working with genuinely tiny bathrooms, we’ve pulled together a full set of small bathroom storage ideas that need no drilling.
The Five-Minute Reset That Keeps It Working
Systems don’t fail on setup day. They fail in week three, when you’re late and you set the dry shampoo down instead of putting it back.
So build in a reset. Once a week, give the vanity five minutes: everything back to its zone, wipe the counter, and pull anything empty. Once a season, do a fifteen-minute version that includes checking backup stock so you stop rebuying things you already own.
The maintenance test is simple. If putting something away takes more than one motion, the system is wrong, not you. Lids that need unstacking, bins wedged behind the pipe, a basket you have to lift with two hands: all of that is friction, and friction is what actually undoes bathroom vanity organization. Fix the container, not your willpower.
Frequently Asked Questions
What is the best way to organize a bathroom vanity? Measure before you buy anything, then sort by how often you reach for something rather than by product category. Use the Three-Depth Vanity Map: daily items in the first six inches, weekly items from six to twelve, and backup stock past twelve inches in pull-out containers only.
What do you store in bathroom vanity drawers? Daily-use small items work best: toothpaste, dental supplies, skincare you apply every morning, grooming tools. Give each drawer one job. Keep tall bottles in the cabinet instead, since most vanity drawers are too shallow for them.
How do you organize a bathroom vanity with no drawers? Add stackable modular drawer units inside the cabinet, run a tension rod across the interior to hang spray bottles, and use adhesive hooks on the door panel. All three come back off cleanly, which matters if you rent.
How do you organize under a sink when the pipes are in the way? Measure the clear height under the P-trap first, then buy containers that fit under that number. Stack in the two corners where the pipe doesn’t reach, use a turntable in the center gap, and keep the shutoff valves clear.
How do I keep my bathroom vanity tidy? Give everything one home and make putting it back a single motion. Run a five-minute weekly reset. If a container takes two hands or requires unstacking, swap it before you blame yourself.
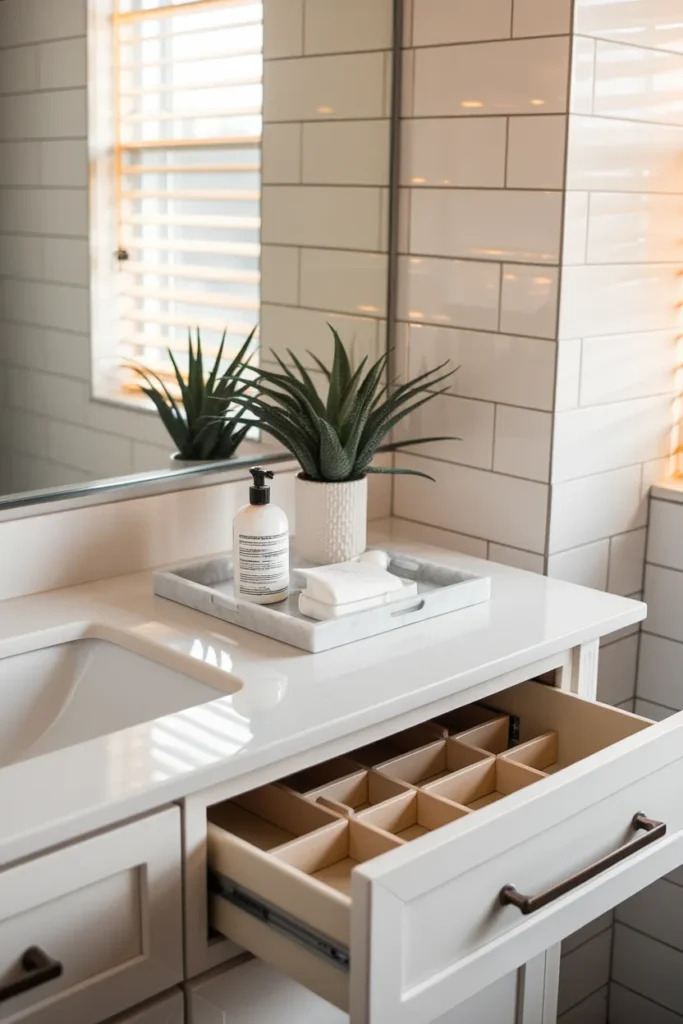
How can I make my vanity look nicer? Clear the counter down to one tray, match your containers so the cabinet reads calm when it opens, and add a single plant or a folded hand towel. Consistency does more visual work than any individual product.
What should I not store in a bathroom vanity? Medicines, per FDA guidance, because bathroom humidity can reduce their effectiveness before the expiration date. Also avoid bulk paper goods sitting directly on the cabinet floor, and anything you already own three backups of.
Start With One Cabinet
You don’t need a whole weekend or a shopping trip. Pull out the tape measure, get your three numbers, and empty one cabinet onto a towel. The map does the rest of the thinking for you.
Come back and tell us which zone gave you the most trouble, because in most homes it’s the Back Wall, and there’s usually a conditioner bottle involved. If this one worked for you, the drawer guide is the natural next step.