

Closet Shoe Organization: 9 Ways to Store Shoes in Your Closet
Open your closet and look down. There is a good chance you are looking at a pile, a lean, or one lonely boot whose partner has gone missing since roughly April. Closet shoe organization is the fix, and it takes one Saturday.
Here is the promise. By the end of this guide you will know the exact shelf clearance your shoes need in inches, which storage type suits your closet, and how to keep it all from sliding back by Thursday.
Most guides hand you a photo of a rack, name a product, and wish you luck, which is why so many closet shoe organization projects stall out before the weekend is over. Good closet shoe organization starts one step earlier, with a tape measure.
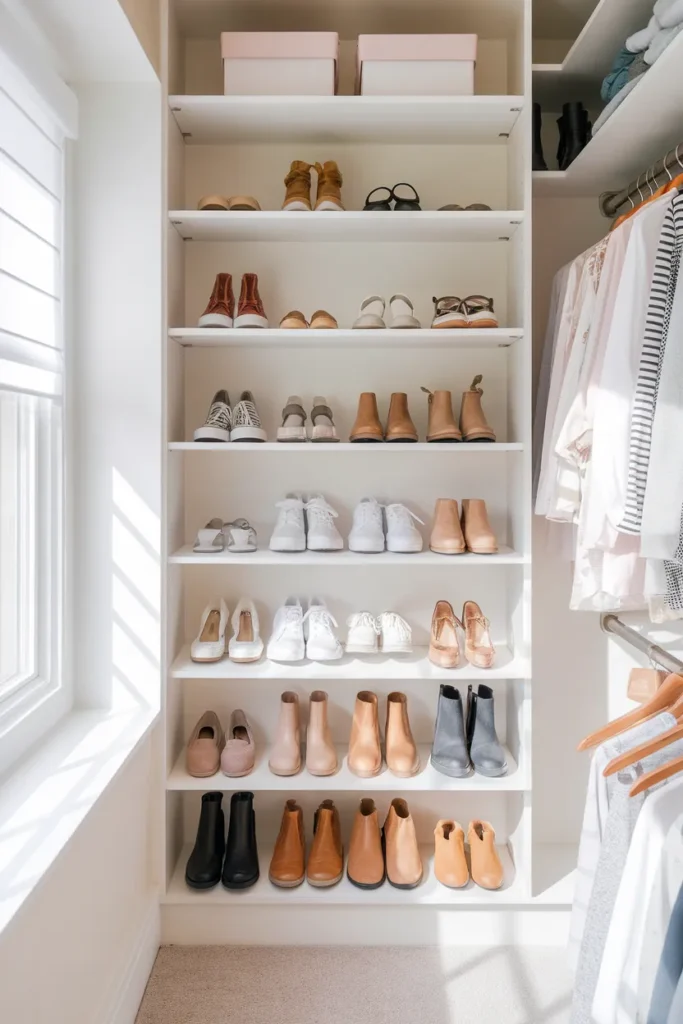
Closet Shoe Organization Starts With a Tape Measure
This is the step every competing article skips, and it is the single biggest reason a shoe rack bought in January ends up on the curb by summer.
Shoes are not one size, and closet shoe organization falls apart the moment you forget it. Flats and knee-high boots need completely different vertical space. Buy a five-tier rack with fixed shelves and you have just guaranteed that two of those tiers are useless to you. Measure once, buy once, and you will not repeat the whole exercise in six weeks.
Here are the working numbers for closet shoe organization. Grab a tape measure and check them against your own tallest pair.
| Shoe type | Vertical clearance needed | Shelf depth needed |
|---|---|---|
| Flats, sandals, flip-flops | 6 to 7 inches | 10 to 12 inches |
| Sneakers, loafers, low profile | 6 to 8 inches | 12 inches |
| Heels and ankle boots | 10 to 15 inches | 12 to 14 inches |
| Tall and knee-high boots | 16 to 20 inches | 14 to 16 inches |
Two more numbers worth writing on your hand. Each pair needs roughly 8 to 10 inches of shelf width, so a 24 inch shelf holds three pairs across comfortably. A standard shelf running 12 inches deep, 24 inches wide and 36 inches high stores somewhere near 18 to 20 adult pairs once you use the full height.
One depth trick buys you inches for free. Turn shoes sideways or set them on an angled rack and a 10 to 12 inch shelf works fine. Point the toes straight out into the room and suddenly you need 14 to 16 inches. Same shoes. Four inches of difference.
Fixed shelves you cannot move? That is not a dead end. It just means you sort shoes to shelves instead of shelves to shoes.
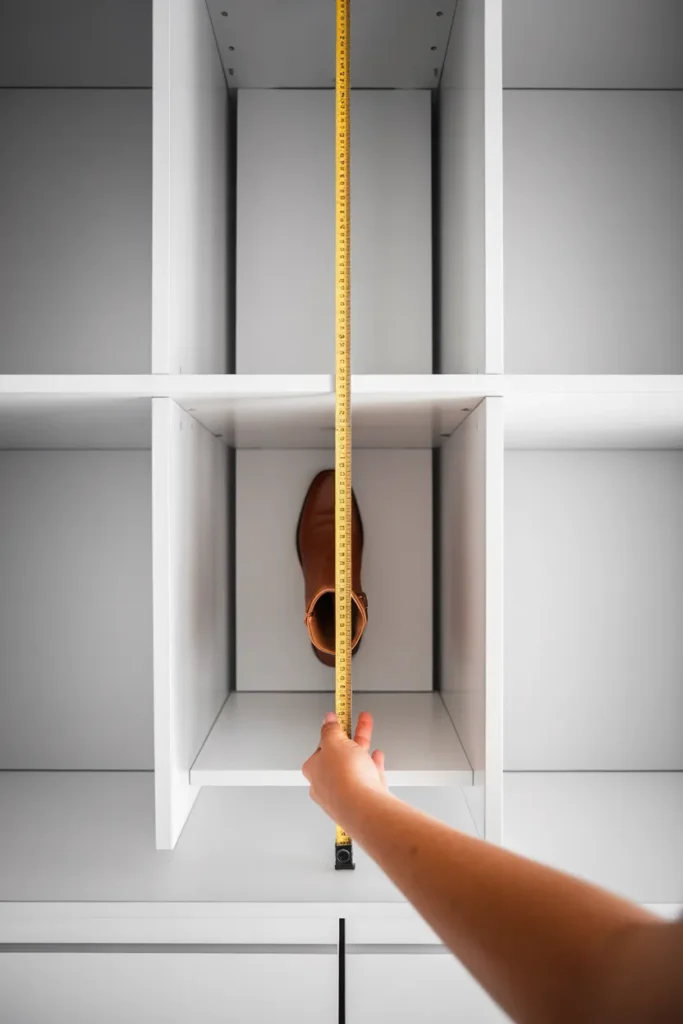
The 3-Zone Shoe Shelf: The Core of Closet Shoe Organization
Here is the system that holds everything else together. We call it the 3-Zone Shoe Shelf, and it sorts your closet by reach instead of by category.
The idea is simple. Your closet has three horizontal bands, and each one has a job.
Zone 1, the Reach Zone (hip height to eye level). Everything you wear weekly lives here. Work shoes, daily sneakers, the flats you grab without thinking. If you have to bend, stretch, or move something else to reach a pair, that pair is in the wrong zone.
Zone 2, the Stretch Zone (above eye level). Occasion shoes, wedding heels, the pairs that come out four times a year. Reaching up is fine when you only do it occasionally.
Zone 3, the Floor Zone (below hip height). Boots, rain shoes, anything bulky or anything that arrives wet and muddy. Heavy things belong low. Dirty things belong where grit does not fall onto clean shoes underneath.
Sort your shoes into those three piles before you buy anything. Most people find their Reach Zone only needs to hold eight to twelve pairs, which changes the entire shopping list. The same reach logic runs through a whole closet, and it is the backbone of zoning your master closet too.
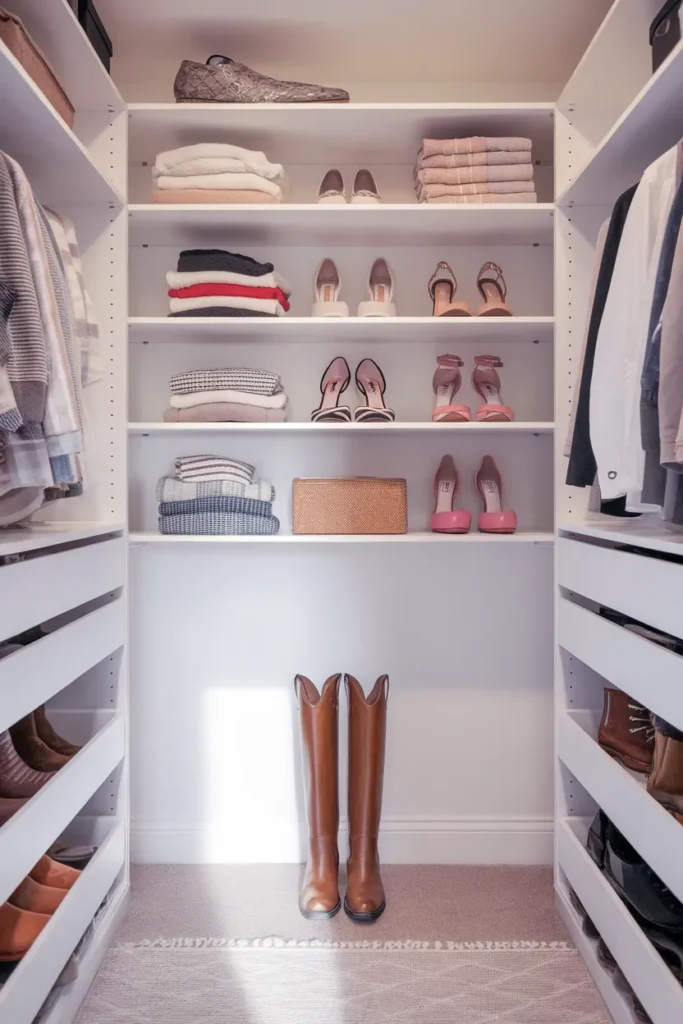
1. Zone Your Main Shelf by Reach, Not by Color
Start with the shelf you already have. Pull everything off it, wipe it down, then reload it using the three zones above.
Color sorting looks beautiful in a photo, and it falls apart in about nine days, because nobody standing in a dark closet at 7 a.m. thinks “I need the navy ones.” You think “I need my work shoes.” Sort by how often you wear a pair and your closet shoe organization survives contact with a real morning.
Front-load your best real estate. The pairs you wear four or five days a week belong dead center at eye level, and once those are placed, everything else in your closet shoe organization arranges itself around them.
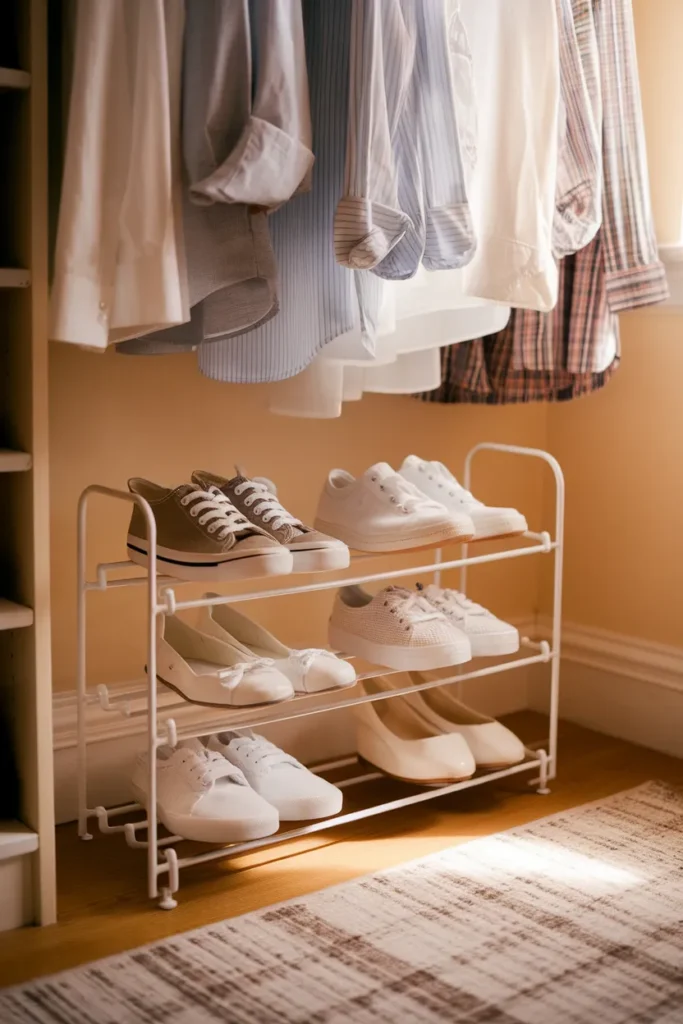
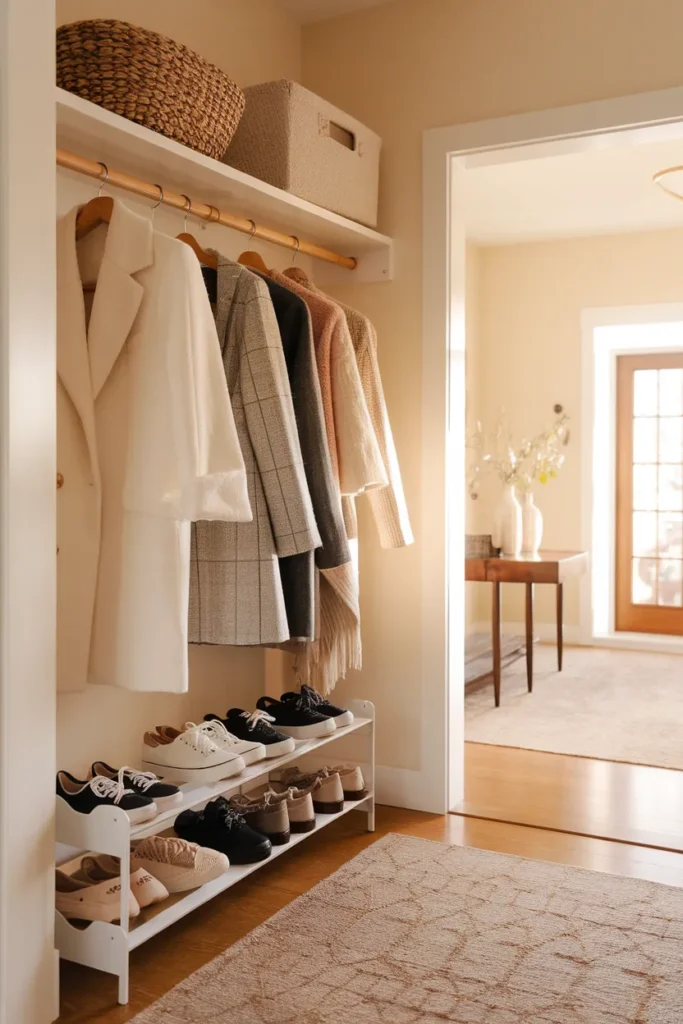
2. Add a Tiered Rack Under Your Hanging Clothes
The gap beneath hanging shirts is the most wasted space in almost every closet. Shirts and jackets stop around 40 inches from the floor. That leaves you two or three feet of pure air.
A two-tier or three-tier rack slides right in. ClosetMaid and Mainstays both make stackable versions under $30, and because they stack you can build height to match your gap instead of buying a fixed tower.
Measure the drop first, meaning the distance from the bottom of your shortest hanging garment to the floor. Then buy to that number. This is the cheapest capacity upgrade in closet shoe organization, and it takes ten minutes to assemble.
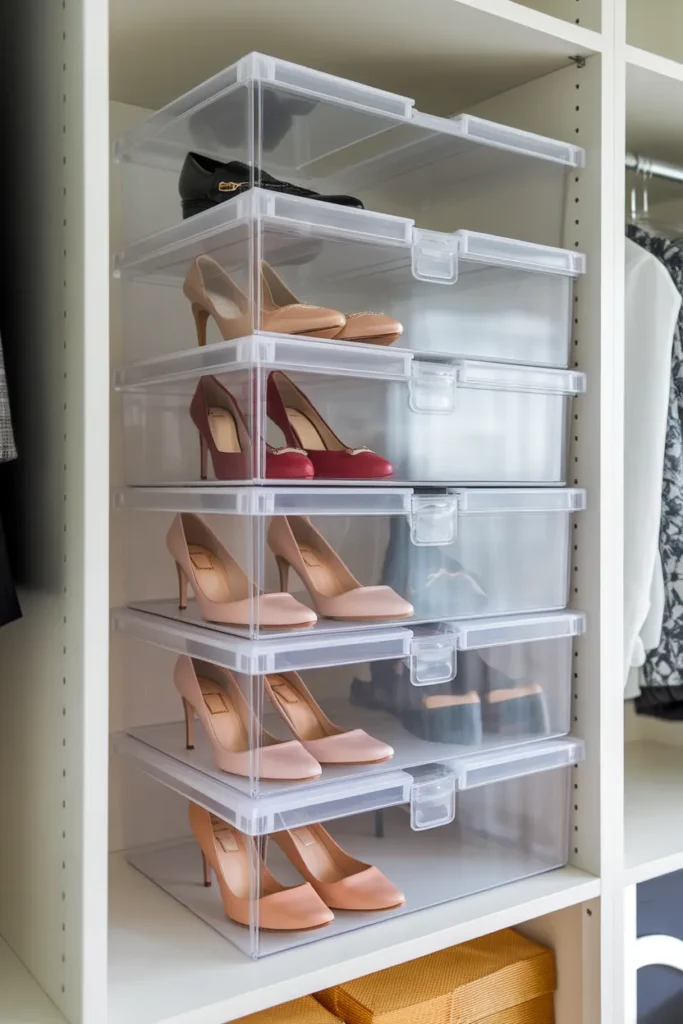
3. Switch to Clear Stackable Shoe Boxes
Clear boxes solve two problems at once. You can see what is inside without unstacking anything, and your shoes stop collecting the fine grey dust that settles on open shelving.
The Container Store’s clear shoe boxes and the IKEA Skubb shoe box both work well here. Drop-front versions are worth the extra couple of dollars, since you can reach the bottom box without dismantling the tower.
One caution matters more than most articles admit. Sealed plastic and damp shoes are a bad combination. Never box a pair that came in wet. Let them dry fully in open air first, ideally overnight. More on why in a moment.
Stack boxes in the Stretch Zone where visibility matters least. Keep daily pairs on open shelves where you can grab them one-handed.
4. Put the Back of the Closet Door to Work
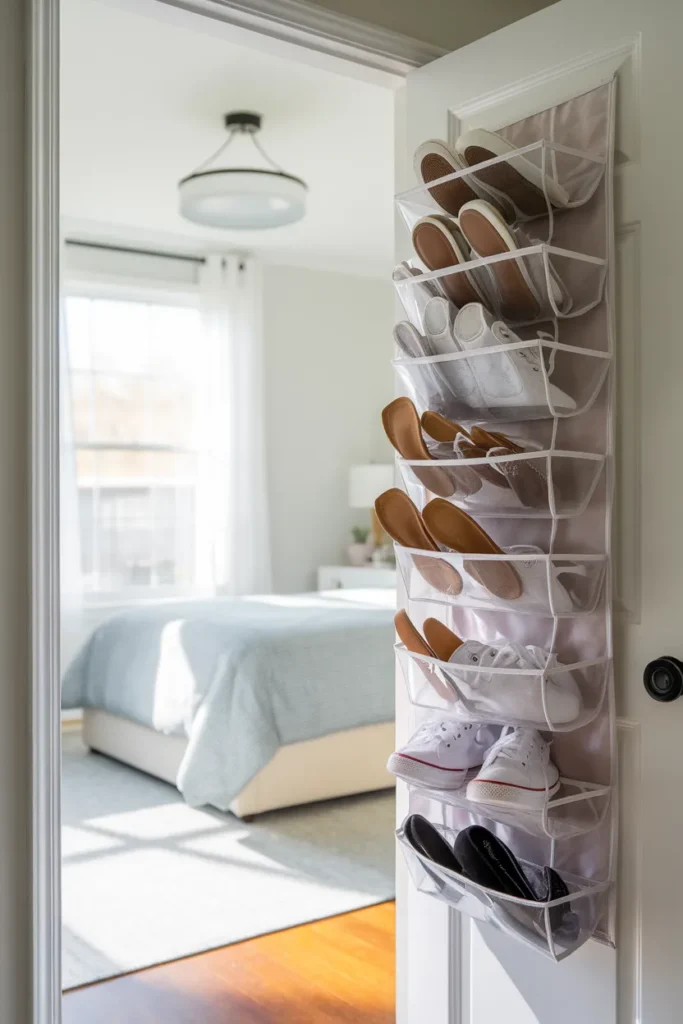
The inside of your closet door is free square footage, and you are almost certainly ignoring it.
An over-the-door organizer with clear pockets holds anywhere from twelve to twenty-four pairs depending on the model you buy and how bulky your shoes run. It mounts with hooks rather than screws, and it comes down clean when you move. That last part matters if you rent.
Know its limits. These panels are built for flats, sandals, sneakers and slippers. Load one with boots or heavy heels and the panel sags away from the door, the pockets stretch, and the door stops closing properly. Keep it light and it lasts for years.
If your door is commercial thickness, common in older apartments and dorms, check the hook depth before you buy. Standard residential hooks will not clear it. This is the most renter-friendly move in closet shoe organization.
5. Hang an Organizer From the Rod
If your door is glass, mirrored, or already spoken for, hang from the rod instead.
A fabric hanging organizer clips onto the closet rod like an oversized garment, giving you five to ten cubbies stacked vertically without touching the floor or the door. It costs almost nothing in floor space. It is also the fastest closet shoe organization fix on this list: ten seconds to hang, no tools.
The tradeoff is hanging width, so it suits closets where you have more rod than clothes. Slim velvet hangers claw some of that width back. Amazon Basics velvet hangers measure about 15 inches wide against the 18 inches of a standard plastic hanger.
6. Reclaim the Closet Floor With Rolling Bins
The closet floor collects shoes by default and organizes them by accident. Give it structure and it becomes real storage.
Low rolling bins slide out so you can see the back row, and invisibility is the whole problem with floor storage in the first place, so this one change does a lot of work. Target Brightroom and mDesign both make shallow wheeled versions sized to fit under hanging clothes.
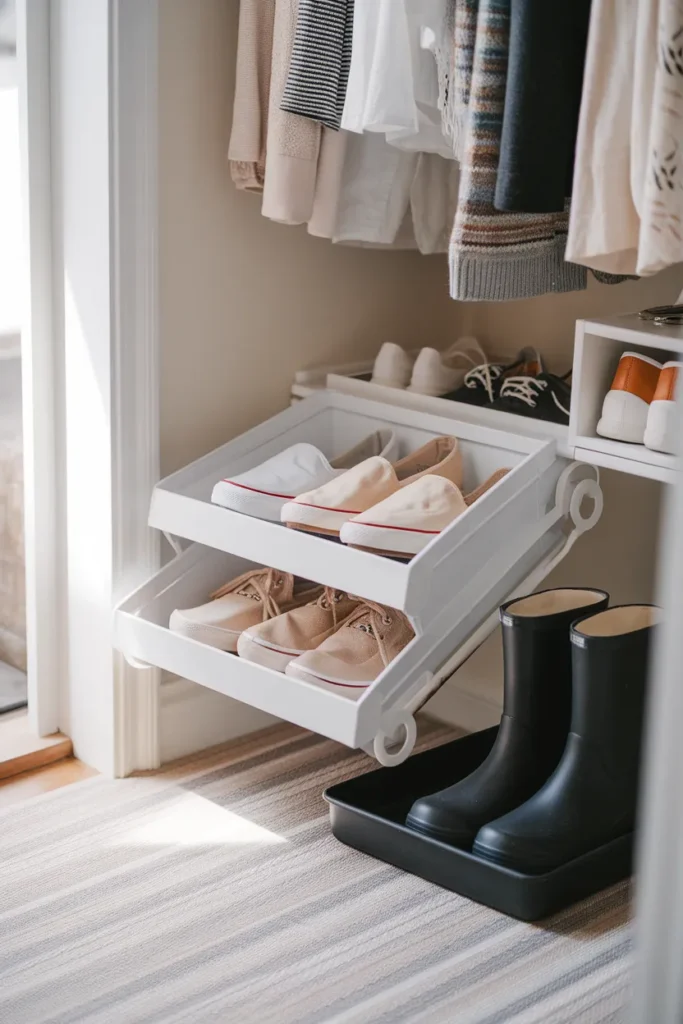
Add a boot tray just inside the closet door for anything that arrives wet, because melt water and street grit are what actually wreck a closet floor. A plastic or rubber tray catches melt water and street grit before either reaches the carpet, and it wipes out in thirty seconds.
For deeper closets, under-shelf baskets clip onto an existing shelf and add a second layer of closet shoe organization with no hardware and no drilling at all. They suit flip-flops and slippers well. Anything heavier will bow the wire.
7. Give Boots Their Own Vertical Lane
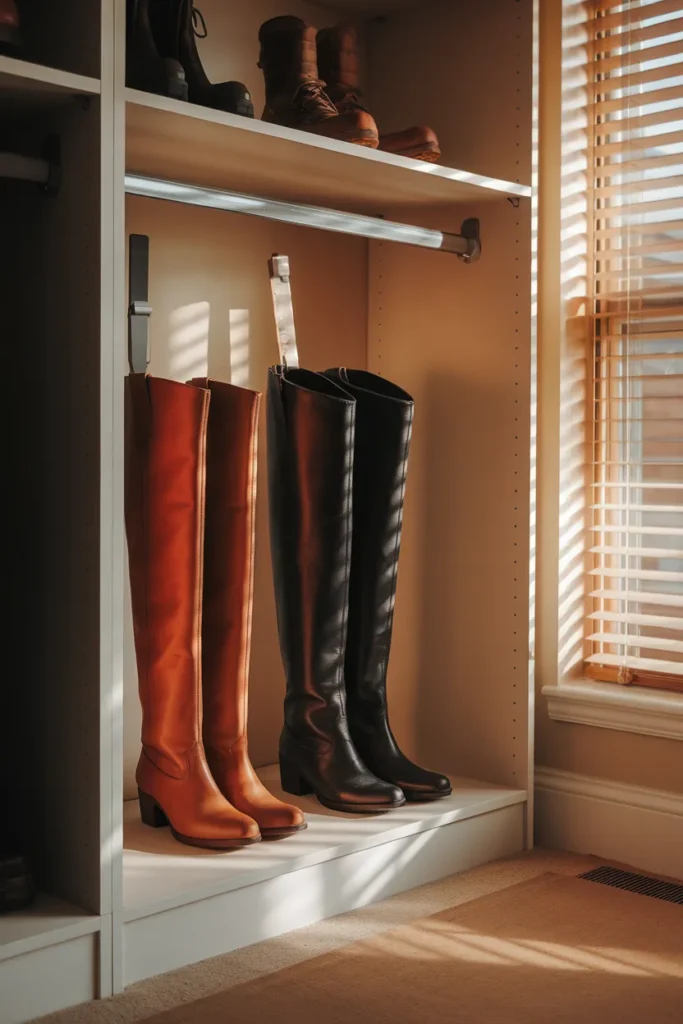
Boots are the reason most closet shoe organization systems fail. They are tall, they are heavy, and they slump.
A slumped boot creases across the ankle, that crease sets over a season or two, and no amount of closet shoe organization afterward will press it back out. Standing them upright preserves the shaft, so give boots a dedicated vertical lane rather than squeezing them onto a shelf built for sneakers.
Three ways to do it. Boot hooks clip over the closet rod and hang each boot by the shaft, which keeps the leather straight, the pair together, and the floor completely clear. A tension rod mounted low across a closet corner does the same job for a few dollars. Or reserve one floor bay with 16 to 20 inches of clearance and stand them upright there.
For tall boots that still flop, a rolled magazine or a pool noodle cut to shaft length works as well as a purpose-made shaper. Cost: nothing.
8. Angle the Shelf or Store Heel to Toe
Two small tricks add capacity without adding a single product.
First, heel to toe. Place one shoe facing forward and its partner facing backward, so that the heel of one nests neatly beside the toe of the other and the pair occupies less width. Shoes are widest at the toe box, so alternating direction lets each pair sit tighter. On a 24 inch shelf this often gains you a fourth pair.
Second, angle the shelf. A shelf tilted forward five to ten degrees displays the whole shoe rather than just the toe, and it lets you drop the depth to 10 or 11 inches. Add a thin lip or shoe fence along the front edge so nothing slides off.
Adjustable systems make both easy. If you are rethinking shelving generally, it pays to plan how to make every closet shelf earn its space before you commit to a layout.
9. Send the Overflow to a Second Closet
Sometimes the honest answer is that your bedroom closet is not the right home for all of your shoes.
Own more than roughly thirty pairs? Splitting the collection almost always beats cramming it, and closet shoe organization gets easier the moment you stop asking one closet to do everything. Everyday shoes stay in the bedroom. Seasonal, occasion, and rarely worn pairs move to a hall closet, a spare room closet, or a landing cupboard.
The front hall closet is the natural overflow candidate, since that is where shoes come off anyway. It also tends to be the least optimized closet in the house, so a little coat closet organization frees up more room than people expect.
Pairs you have not worn in two full seasons deserve a harder question. Donate or pass down anything that no longer fits your life. Take genuinely worn pairs to a cobbler before you replace them, since resoling costs a fraction of buying new.
The Closet Shoe Organization Mistake That Ruins Leather
Here is the part other guides leave out entirely, and it is the one that actually damages shoes.
A closet is dark, enclosed, and poorly ventilated. That combination is exactly what mildew wants. University of Missouri Extension notes that mildew-causing molds grow most readily on materials including leather. They flourish in spaces that are damp, warm, poorly lighted, or short on air circulation, and clothing closets are listed by name.
University of Georgia Extension puts numbers on it. Mildew generally starts growing once relative humidity holds around 60 percent and temperatures sit at 60 degrees Fahrenheit or above. Leather goods stored in closets are among the usual casualties.
Leather shoes sit right in the crosshairs. So what actually helps?
- Let damp shoes dry fully in open air before they go near a closed box or bin.
- Choose ventilated baskets over sealed tubs for anything stored long term.
- Leave a finger of space between pairs instead of packing the shelf wall to wall.
- Open the closet door for a stretch each day, or run a small dehumidifier in humid climates.
- Store shoes clean. Surface soil gives mold something to feed on.
None of that costs money. Airflow is the whole answer, and building it into your closet shoe organization is the difference between shoes that last five years and shoes that come out green in October.
How to Keep Your Closet Shoe Organization From Sliding Back
A system that needs willpower is a system that fails. Build the maintenance in instead.
The one-touch rule. Shoes come off, shoes go back. Not beside the shelf. On it. This single habit prevents more closet floor piles than every bin and rack in this guide combined.
The seasonal swap. Twice a year, in March and again in September, swap what lives in the Stretch Zone with what lives in the Floor Zone. Winter boots go up when sandals come down. Fifteen minutes, tops.
The edge test. If shoes are creeping past the front edge of the shelf, you are over capacity. That is your signal to donate a pair or expand, not to stack higher.
The empty slot. Leave one gap on the main shelf on purpose. New pairs need somewhere to land, and a closet with no slack turns into a pile the moment anything arrives.
Honestly, the edge test does most of the heavy lifting. It gives you a visible physical signal before things get bad, which beats relying on memory.
Frequently Asked Questions
What is the best way to store shoes in a closet? There is no single best method, and most closets need a combination. Open shelving or a tiered rack works for pairs you wear weekly. Clear stackable boxes protect occasion shoes. An over-the-door or rod-hung organizer picks up the overflow. Good closet shoe organization matches the storage type to how often you reach for the shoe.
Where should shoes be stored in a closet? Inside the closet, away from direct sun, at the height that matches how often you wear them. Weekly pairs go between hip height and eye level. Occasion pairs go above eye level. Boots and anything bulky or wet go on the floor.
How do I organize 30 pairs of shoes in a small closet? Split the collection. Keep ten to twelve everyday pairs in the bedroom closet and move the rest to a hall or spare closet. Then go vertical with a tiered rack under hanging clothes, and add an over-the-door organizer for flats and sandals.
Should I keep shoes in boxes or on open shelves? Both, for different pairs. Open shelves for daily shoes, since visibility and one-handed access matter most. Clear boxes for occasion and seasonal pairs, since dust protection matters more than speed. Never box a pair that is still damp.
How much space does a pair of shoes need on a shelf? Roughly 8 to 10 inches of width per pair. Vertically, allow 6 to 7 inches for flats, 6 to 8 inches for sneakers, 10 to 15 inches for heels and ankle boots, and 16 to 20 inches for tall boots. Depth runs 10 to 12 inches if shoes sit sideways or angled, 14 to 16 inches if toes point out.
How do I stop shoes from getting musty in the closet? Airflow is the whole answer. Dry shoes completely before storing them, use ventilated baskets rather than sealed tubs, leave breathing room between pairs, and open the closet door regularly. In humid climates a small dehumidifier earns its keep, since mildew gets going around 60 percent relative humidity.
What is the cheapest way to organize shoes in a closet? Free first: sort by reach zones, store heel to toe to gain width, and reuse shoe boxes you already own. Under $20 gets you a two-tier stackable rack or a hanging rod organizer. Dollar Tree bins handle flip-flops and slippers well if you want containment on a tight budget. Cheap closet shoe organization is mostly about sequence, not spending.
Start With One Shelf
You do not need to do all nine of these today.
Pick your main shelf. Empty it completely, measure the clearance with a tape, sort every pair into the three zones, and reload it from the Reach Zone outward. That one hour teaches you more about what your closet actually needs than any product page will. Most people find they need far less than they assumed.
Come back for the door, the floor, and the boots whenever you are ready, because closet shoe organization works fine in stages and nothing here has to happen at once. Save this closet shoe organization guide to your closet board so the measurements are there when you have the tape in your hand. Tell us in the comments which zone gave you the most trouble. We read every one.


