How to Zone Your Master Closet So It Actually Stays Organized
Your master closet organization problem is almost never a storage problem. It’s a zoning problem. You have the bins. You have the hangers. Stuff still creeps back into chaos by Thursday because nothing has a real address. We fixed that in our own home with one simple idea, and today you get the whole system.
Here’s the promise: by the end of this guide you’ll have a floor-to-ceiling zoning map, the exact rod and shelf measurements pros use, and a maintenance rhythm that keeps the whole thing boutique-neat. No renovation required.
Let’s set it up.
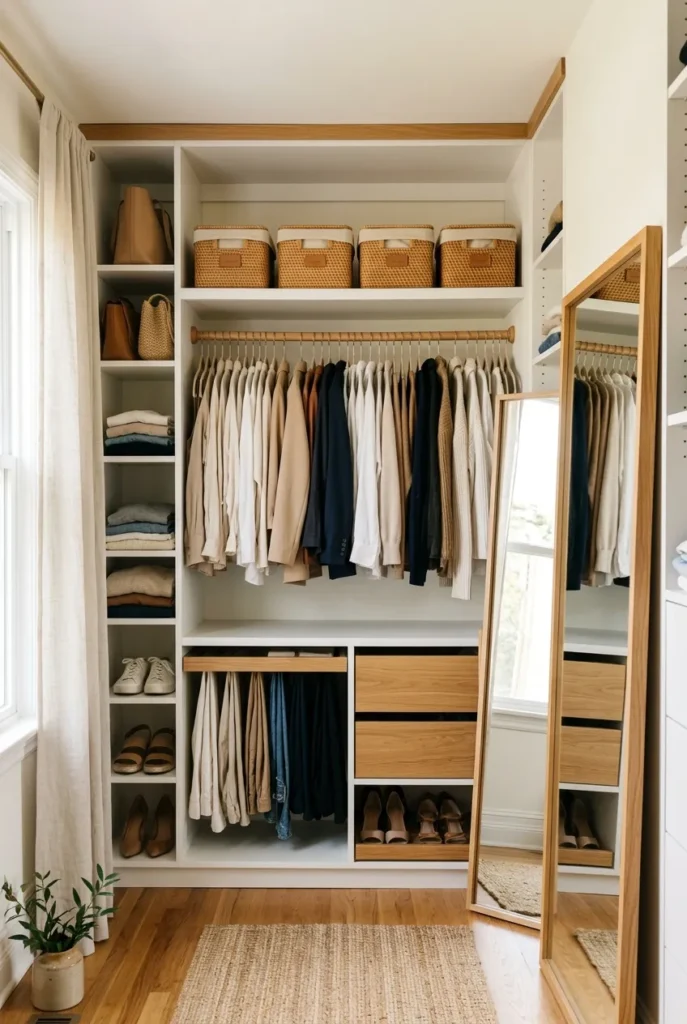
Why Zoning Beats “More Storage” Every Time
Most closets fail because similar items are scattered. Shoes live in three spots. Sweaters end up wherever there’s a gap. When everything is homeless, everything drifts.
Zoning flips that. You divide the closet into a handful of dedicated areas, one job each, and every item gets a permanent home. Retrieval gets faster. Resets get faster too.
A Virginia Tech clothing expert makes a related point about editing before you organize, noting the emotional pull our clothes carry (see the Virginia Tech closet piece). Edit first, zone second. That order matters.
We call our method the Visible Top-Half Test: stand at the doorway and scan only the upper half of the closet. If the top half reads calm and grouped, the whole space reads organized, even when the lower drawers hide a little mess. So we zone the eye-level band first, then work down.
The 5-Zone Master Closet Method
Here’s the framework the rest of this guide hangs on. Five zones, five jobs.
Zone 1 is long-hang (dresses, coats, jumpsuits). Zone 2 is double-hang (shirts, folded pants, jackets). Zone 3 is folding and drawers (denim, sweaters, everyday basics). Zone 4 is shoes. Zone 5 is accessories and bags. That’s it.
Screenshot this next mini-table. It’s the whole system on one card.
| Zone | Holds | Best storage |
|---|---|---|
| 1. Long-hang | Dresses, coats, robes | Single high rod |
| 2. Double-hang | Shirts, pants, jackets | Two stacked rods |
| 3. Fold + drawers | Denim, sweaters, tees | Drawers + cube shelves |
| 4. Shoes | Everyday + seasonal | Angled shelves or cubbies |
| 5. Accessories | Bags, belts, jewelry | Bins, hooks, dividers |
Assign zones based on your real wardrobe, not a magazine’s. If you own 40 dresses and 4 pairs of jeans, your long-hang zone grows and your drawer zone shrinks. Simple.
Want the pared-back version of this for a tighter footprint? Our small closet organization ideas post scales the same five zones into a reach-in.
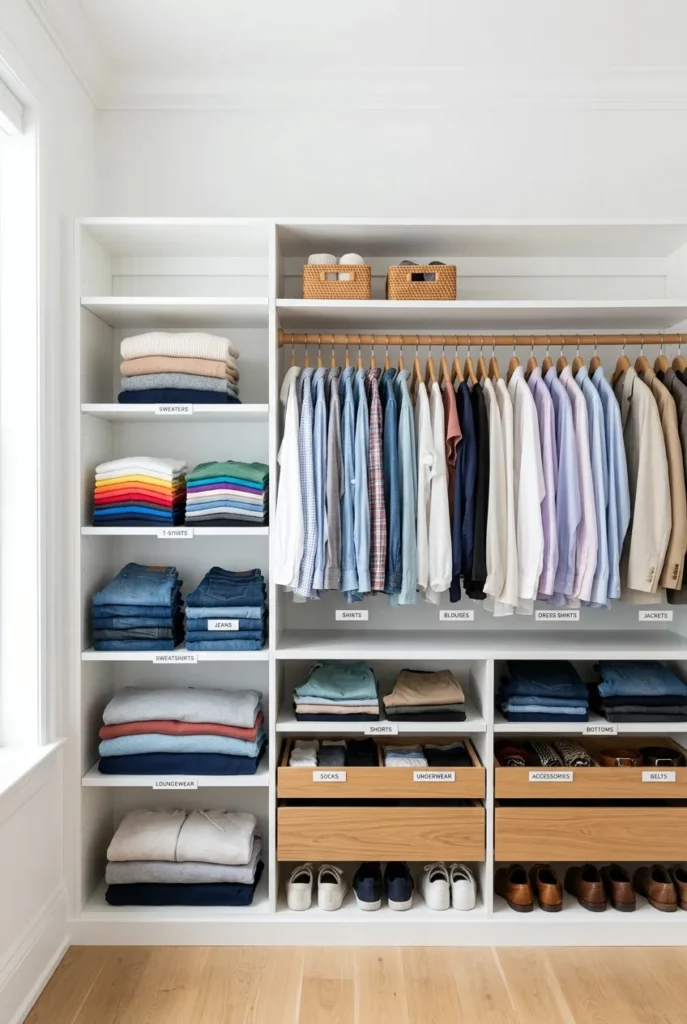
Zone 1 and 2: Getting Your Hanging Heights Right
This is where real measurements save you. Guessing here is the number one reason closets waste vertical feet.
For a single long-hang rod, mount it about 66 inches from the floor to the center of the rod. That clears full-length dresses and coats without puddling on the floor.
For double-hang, stack two rods: the upper rod around 80 to 81 inches high, the lower rod around 40 inches high. That one move can nearly double your shirt-and-pant capacity in the same wall.
Leave your top shelf 12 to 18 inches above the rod so you can actually reach into baskets up there. And keep shelf depth sensible: in a standard 24-inch-deep closet, shelving deeper than about 16 inches just swallows items at the back.
One hanger note, because it changes everything visually. Swap mismatched plastic and wire for slim velvet or slimline rubberized hangers. They grip, they don’t warp shoulders, and they reclaim a surprising amount of rod space. [your detail: the hanger brand and pack size you actually switched to, e.g. a 50-pack of Amazon Basics velvet hangers].
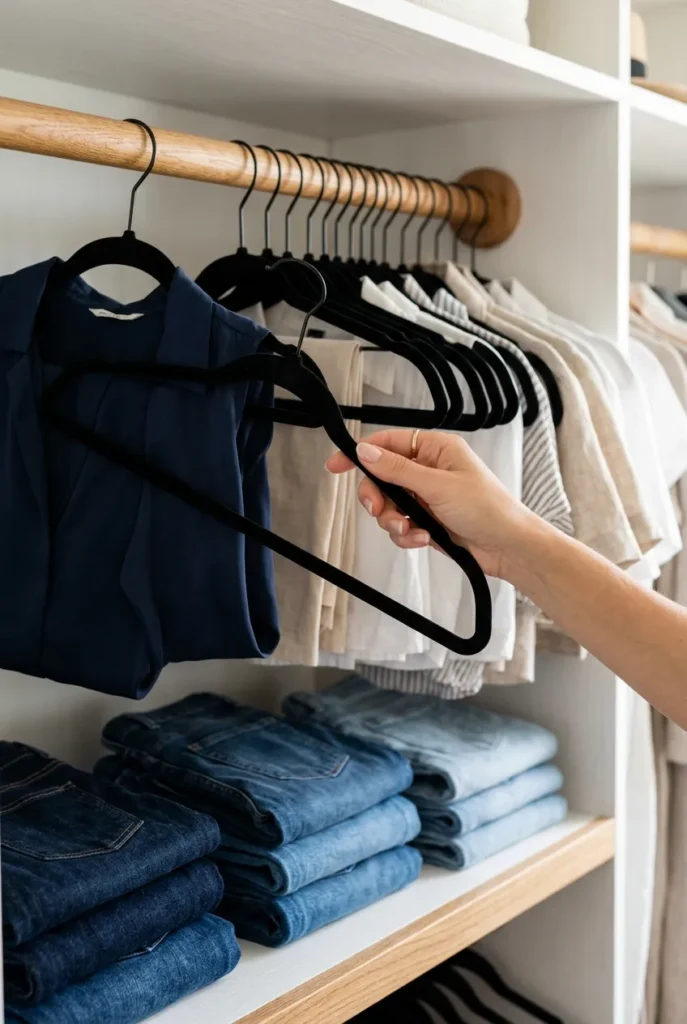
Face Everything the Same Way
Small habit, big payoff. Hang every garment facing the same direction so the hooks curve away from you. Sliding pieces along the rod becomes effortless, and the whole zone reads uniform at a glance.
Zone 3: Folding and Drawers That Stay Neat
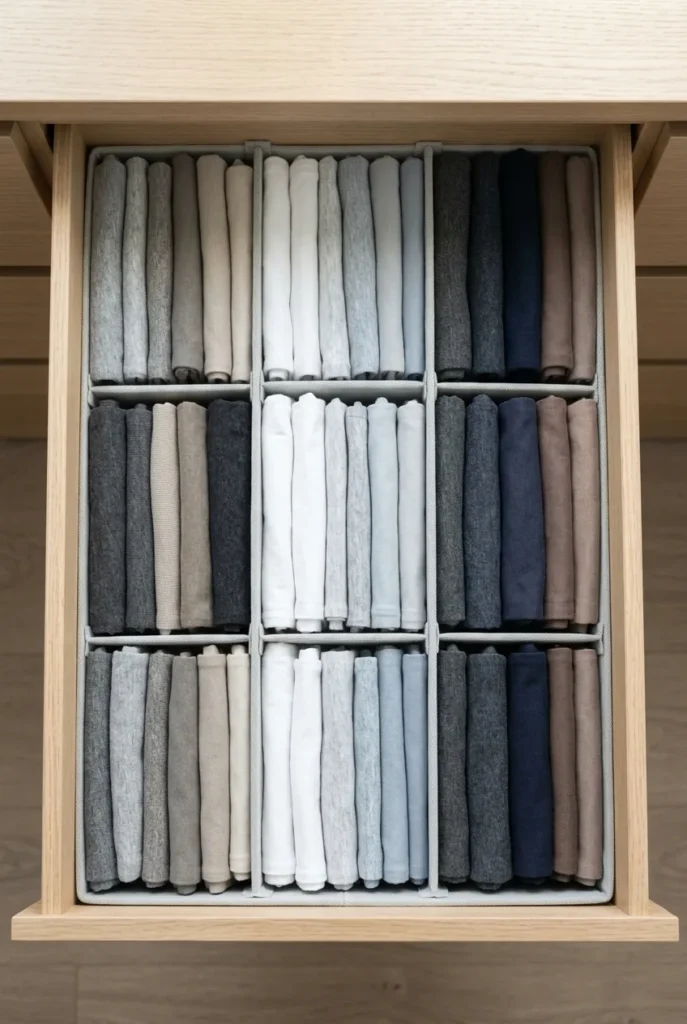
Drawers are where organization quietly wins or loses. Piled stacks collapse the moment you pull the bottom shirt. File folding solves it: fold each item into a small rectangle and stand them upright in rows so you see every piece at once.
Corral the chaos with drawer dividers for socks, underwear, and workout gear. Adjustable dividers flex as your wardrobe shifts. If you’re the DIY type, our closet makeover on a budget post shows cardboard-and-fabric dividers that cost almost nothing.
For open shelves, contain soft, slouchy items (chunky sweaters, pajamas, swim) in matching woven or canvas bins. IKEA Skubb boxes and plain tan fabric bins both work; the point is uniformity, not the label. Turn bins so labels face out only if you want the extra structure.
The 30-Hanger Reset
Here’s a maintenance anchor that keeps Zone 2 honest. Cap each hanging section at 30 hangers. When you want to add a 31st piece, one has to leave. It forces gentle, ongoing editing instead of a dreaded annual purge. Mississippi State’s Extension service suggests deciding upfront how much space you’ll give hard-to-part-with items (their decluttering guide is worth a read), and the 30-hanger cap turns that idea into a rule you can actually see.
Zone 4: Shoe Storage That Doesn’t Sprawl
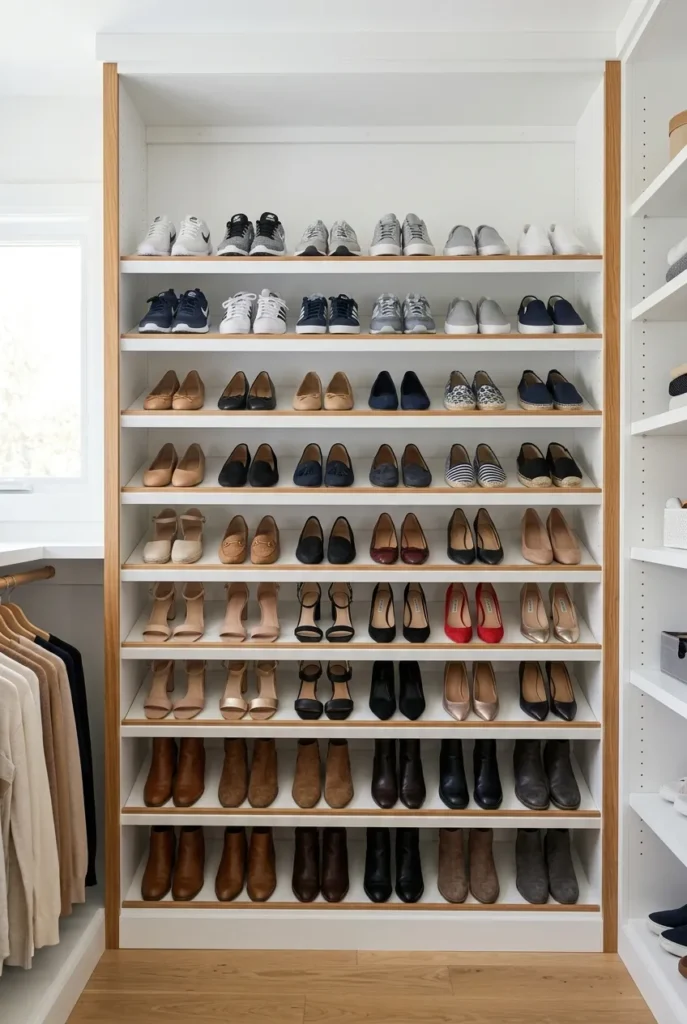
Group shoes by type first: boots, heels, flats, sneakers, sandals. Keep everyday pairs at eye level and off-season pairs up high or down low.
Angle a shelf slightly, or use flat shelves and face most shoes forward for that clean boutique row. A pro trick for tight shelves: alternate one shoe forward, one backward in a row of sneakers to reclaim an inch or two per pair.
For nicer shoes, clear drop-front boxes protect them and still let you grab a single pair without toppling the stack. Need floor-level ideas that fit odd corners? Our shoe storage ideas roundup has more. [your detail: the shoe solution you personally use and how many pairs it holds].
Zone 5: Bags, Belts, and Jewelry
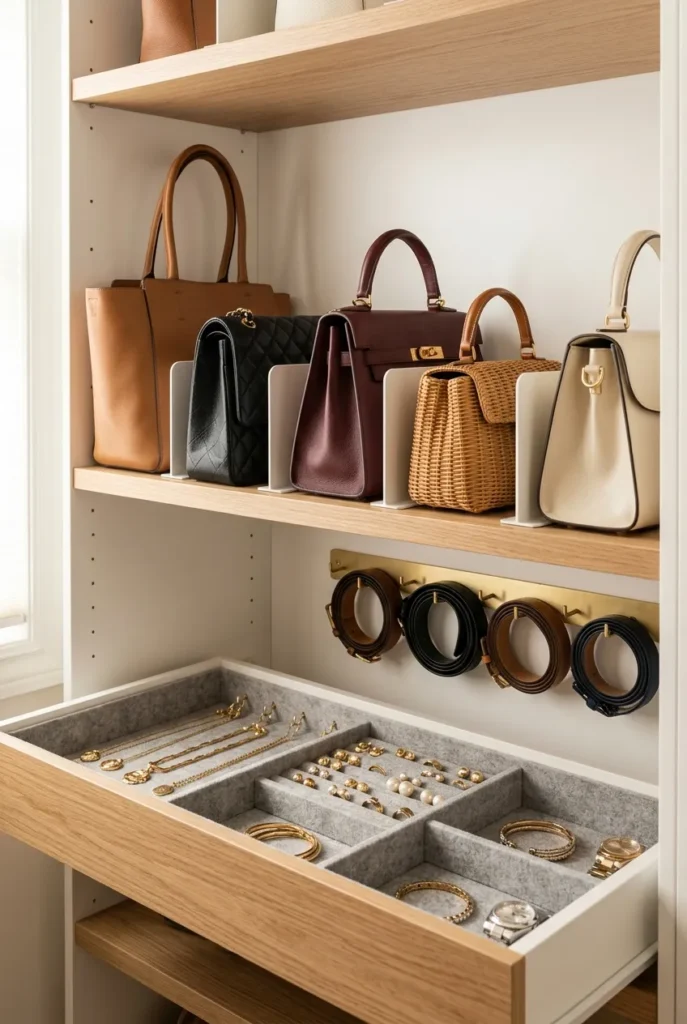
Accessories are the drifters, so give them tight little homes. Stuff structured handbags with tissue to hold their shape and stand them on a shelf with dividers, or file soft clutches into a labeled bin.
Roll belts and space them on a shelf, or hang them on a slim multi-hook. For jewelry, a shallow drawer with a felt insert keeps everything visible and untangled. A cheap trick that genuinely works: a small towel bar fitted with shower-curtain hooks becomes an instant necklace rail.
Hooks are your friend in this zone. Wide-brim hats, tote bags, and robes all do better on a hook than crammed on a shelf.
How to Lay Out Zones by Closet Type
Your closet shape decides where zones go.
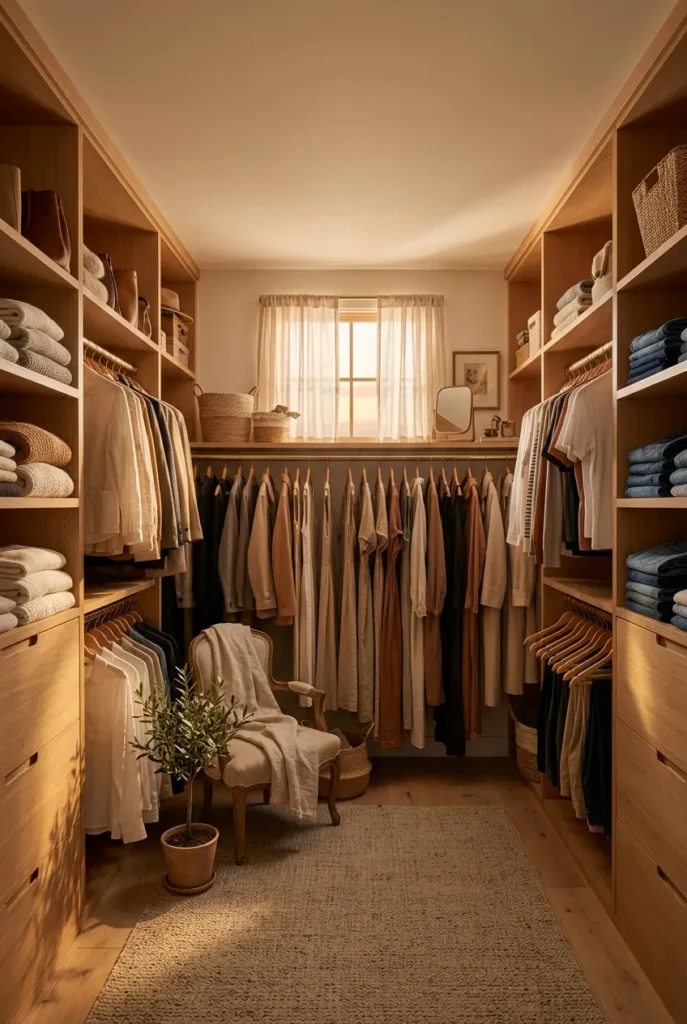
In a reach-in, run double-hang on one side, long-hang on the other, drawers below, and shoes on the floor or a low shelf. In a walk-in, put the least-used zone (long-hang, off-season) on the back wall and the daily zones (double-hang, drawers) on the side walls you reach first. If you’re planning an L-shaped rod run, give yourself at least 4 feet of width so clothes on adjacent walls don’t collide.
No drawers at all? Lean on cube shelving with bins for your fold zone, which answers the common “how to organize a walk-in closet without drawers” question directly.
Color-Code Inside Each Zone
Once zones are set, do one finishing pass. Within each category (say, short-sleeve blouses), arrange light to dark. Building an outfit gets intuitive, and honestly, it’s the trick that makes a normal closet photograph like a boutique.
Keep it inside categories, though. Color-coding your entire closet across types tends to scatter items you actually wear together.

The Sunday Swap Method for Seasonal Rotation
Zones only stay useful if the closet breathes with the seasons. Enter the Sunday Swap Method: on the first Sunday of a new season, spend 20 minutes moving off-season pieces to the high top shelf (or under-bed bins) and pulling the current season down to eye level.
Two ins-and-outs and you’re done: heavy sweaters up in spring, back down in fall. It takes minutes because your zones already exist, so you’re relocating groups, not resorting your whole life. [your detail: where you personally stash off-season clothes, e.g. lidded bins on the top shelf].
Fair warning, the first swap of the year always turns up something you forgot you owned.

Mistakes That Quietly Undo Your Zones
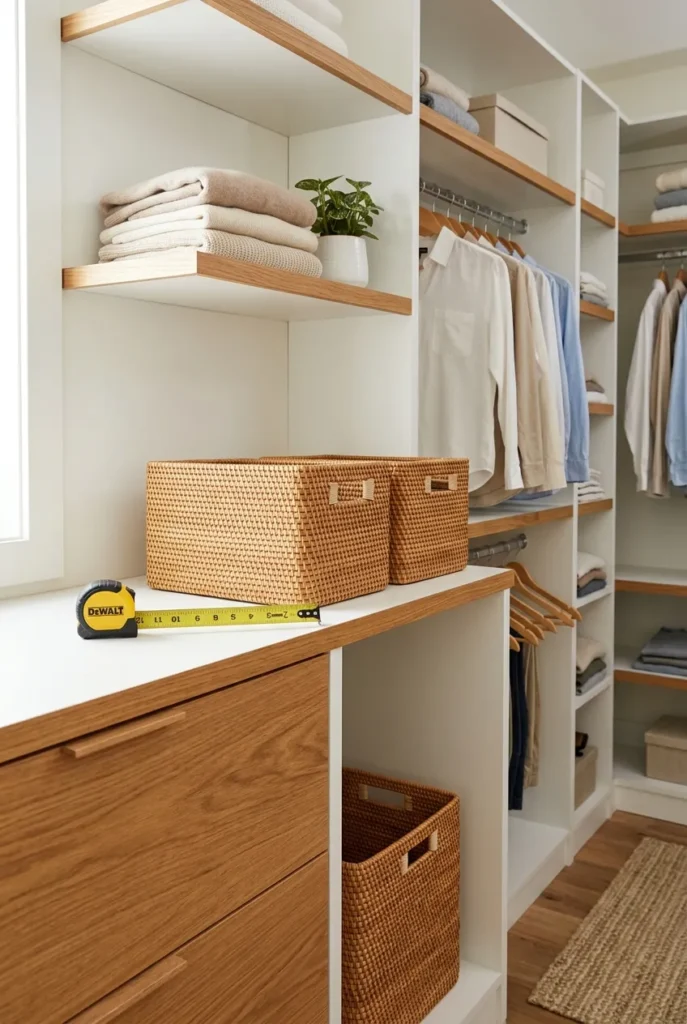
A few habits sabotage even a well-zoned closet. Overstuffing a rod so nothing slides. Buying bins before you’ve measured the shelf. Mixing hanger types. Letting the floor become a catch-all.
We wrote a whole piece on the common closet organization mistakes worth avoiding, but the short version: measure before you buy, and never let one zone borrow another zone’s space.
Frequently Asked Questions
What is the 3-3-3 rule for decluttering?
It’s a fast closet edit: pick 3 items to keep, 3 to donate, and 3 to toss or recycle in one quick pass. Repeat it in short bursts and a whole zone thins out without an all-day marathon.
How do I organize the inside of a closet?
Empty it, edit down, then assign the five zones: long-hang, double-hang, fold-and-drawers, shoes, and accessories. Group like with like, set your rod heights, and give every category one permanent home.
How do I arrange an open closet?
Treat visibility as the design. Keep hangers matching, fold-and-file soft items into uniform bins, color-code within categories, and put your prettiest, most-used pieces at eye level so the open shelving reads intentional.
What is the best layout for a closet system?
Reserve one section for long-hang, dedicate the biggest section to double-hang, stack drawers in the middle for reach, and cap the whole thing with a top shelf 12 to 18 inches above the rod for bins.
How do I organize a walk-in closet without drawers?
Use cube shelving with matching fabric bins as stand-in drawers for folded items, add a valet rod or hooks for accessories, and keep shoes on angled shelves. Bins give you the drawer function without the cabinetry.
Your Boutique Closet Starts With One Zone
You don’t have to overhaul everything this weekend. Pick the zone that bugs you most, set its measurements, give every item its address, and let the calm spread from there. Come back and tackle the next zone when you’re ready.
If this map made your closet feel doable, save the pin so it’s waiting for you on organizing day, and tell us which zone you’re starting with.
General information only; for built-in or electrical closet work, consult a qualified US professional.