DIY Closet Organization: Build a Custom System on a Budget
You opened the door this morning and something fell. A sweater, maybe a shoe, maybe that one shopping bag that has lived on the top shelf since March. Good diy closet organization fixes that in a weekend, and it does it without a contractor, a remodel, or a $900 closet system quote. Here is the promise: measure once, build a three-part frame, and you get a closet that holds roughly double what it holds today.
We are going to do this in order. Measure, sort, build, label, maintain. Skipping straight to the fun part (the bins) is exactly why most closet projects unravel by spring.
Start With a Tape Measure, Not a Shopping Cart
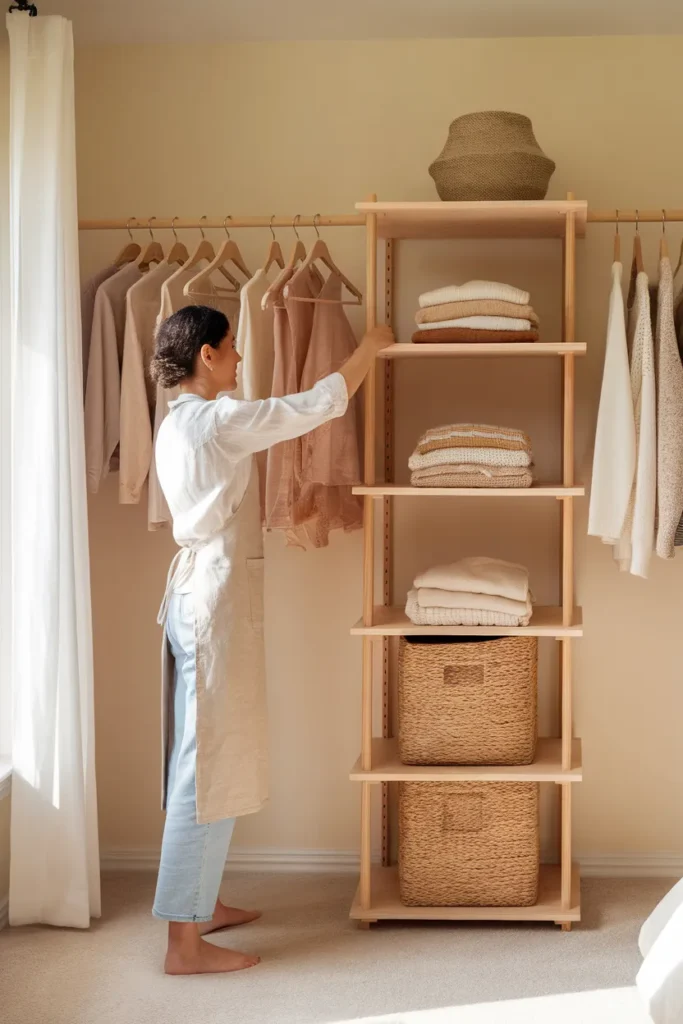
Here is the single highest-value move in this whole project. Before you buy one bin, write down five numbers.
Measure the closet width wall to wall at the floor and again at the rod height, because older homes are rarely square. Measure the depth from the back wall to the inside face of the door frame. Measure floor to ceiling. Then measure your longest hanging garment, and measure the widest thing you plan to store on a shelf.
Most American reach-in closets run 24 inches deep and 68 to 72 inches wide. That 24 inch number matters more than people expect: a standard hanger is about 17 inches across, so a 24 inch depth lets clothes hang square to the wall with room for the door to close. Anything shallower and you are hanging on a side wall instead.
Wall studs sit 16 inches on center in most US framing. Find them with a stud finder and mark them in pencil. Every shelf and rod bracket you install should land on one, because drywall anchors alone will not hold a loaded closet rod for long.
One more number. Weigh nothing, but count your hangers. If you own 120 hanging garments and your closet has 72 inches of rod, you are asking one rod to do the work of two, and no amount of clever storage will fix an arithmetic problem.
Empty It All the Way Out (Yes, All of It)
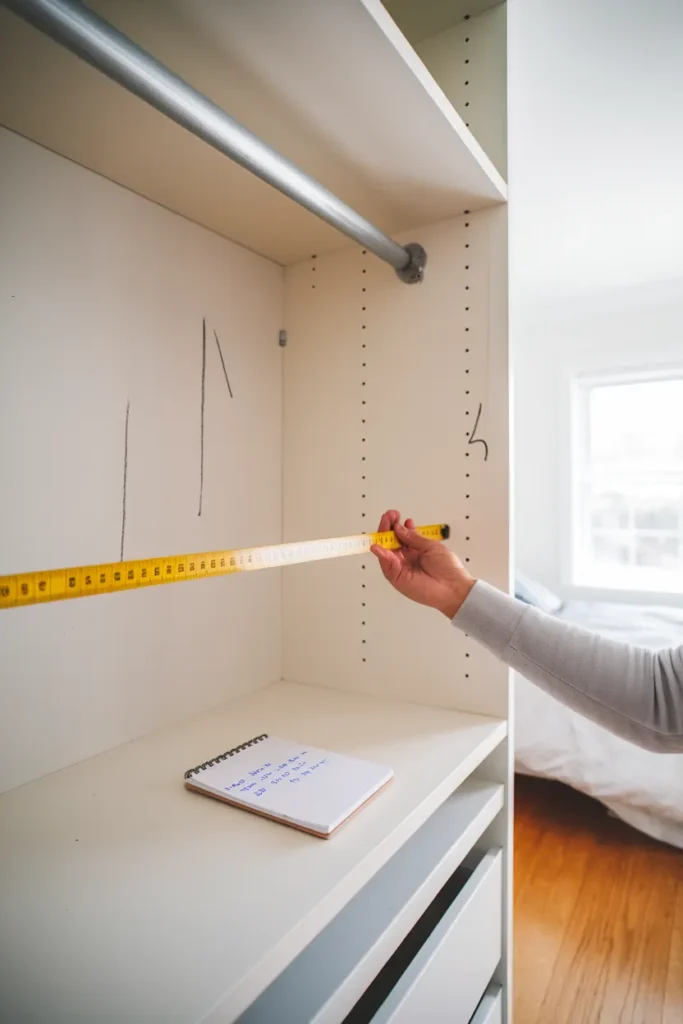
Take everything out. Not most of it. All of it, onto the bed, so the closet is a bare box and you can see what you are actually working with.
Then sort into four piles: keep, donate, repair, relocate. The Kansas State University Research and Extension fact sheet on cutting clutter and getting organized suggests releasing anything with a stain, hole, or tear, plus outdated accessories and clothing that no longer fits. That is a useful filter because it is about condition rather than feeling, which makes the decisions faster.
The relocate pile is the one people forget. Beach bags, gift wrap, a heating pad, extra bedding: these are not closet items, they are house items that drifted in. Move them.
For anything you are letting go of, donate or pass down rather than trashing it where you can. Goodwill and Buy Nothing groups take clean, wearable clothing, and Facebook Marketplace or Poshmark work for pieces with real resale value.
A quick honesty note. If the keep pile still will not fit in the closet after you sort, the build below will help, but it will not perform miracles. Sort again.
The 3-Band Closet Build
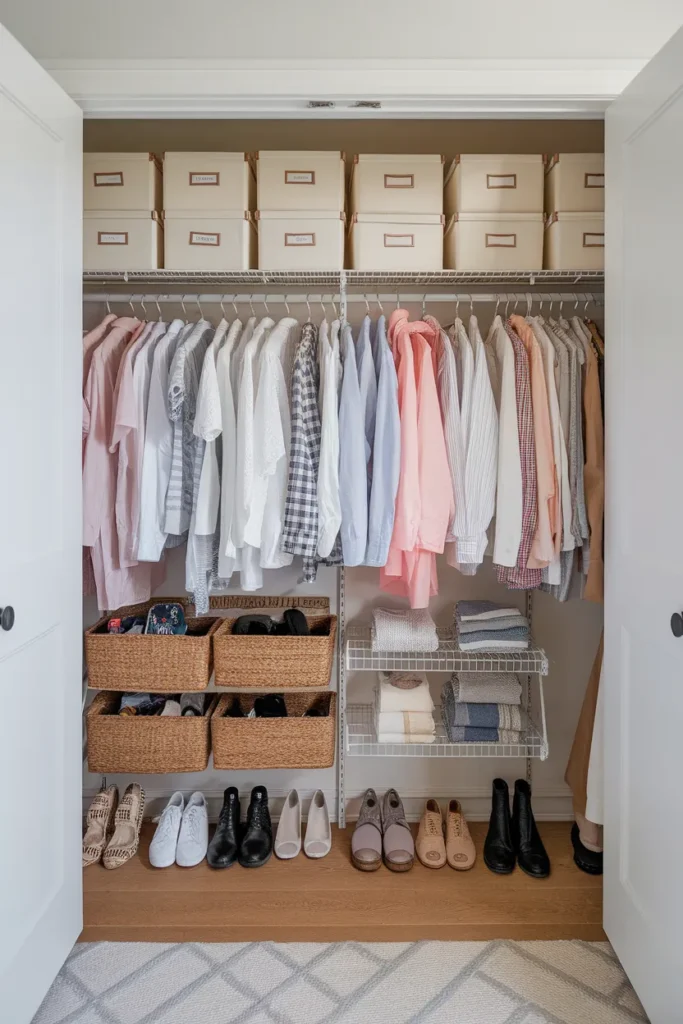
Every closet that works, whether it cost $40 or $4,000, is organized into three horizontal bands. This is the framework we build everything around, and it is what makes diy closet organization repeatable instead of improvised.
The Haul Band (floor to 30 inches). Heavy, bulky, infrequent. Shoes, storage bins, a laundry hamper, luggage. Anything you are willing to bend down for.
The Hang Band (30 to 84 inches). Daily clothing. This is prime real estate and it should be almost entirely rod and shelf, never dead air.
The Look Band (84 inches to ceiling). Out of season and out of mind. Winter coats in July, holiday sweaters, the spare duvet. Labeled bins only, because you will not remember what is up there otherwise.
Write those three bands on a sticky note and put it on the closet door while you build. Every decision from here answers one question: which band does this belong in?
The reason this works is that it stops you from optimizing the wrong thing. Most people spend their whole budget on the Hang Band and leave the Look Band empty, which throws away the top 18 to 24 inches of a closet entirely.
Build the Center Tower (The Whole Project, Really)
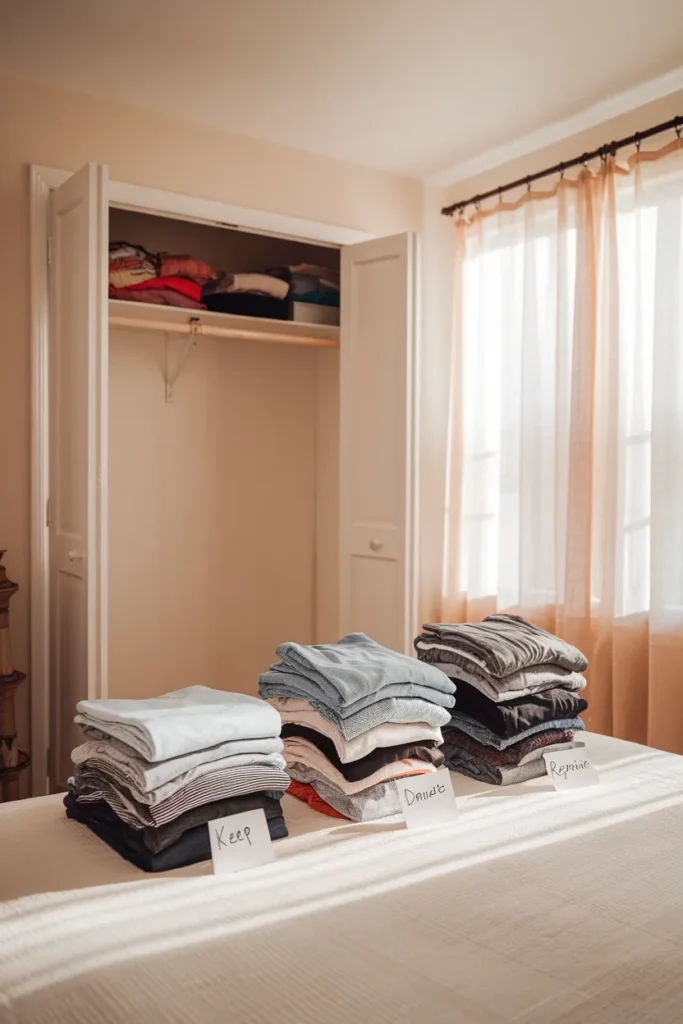
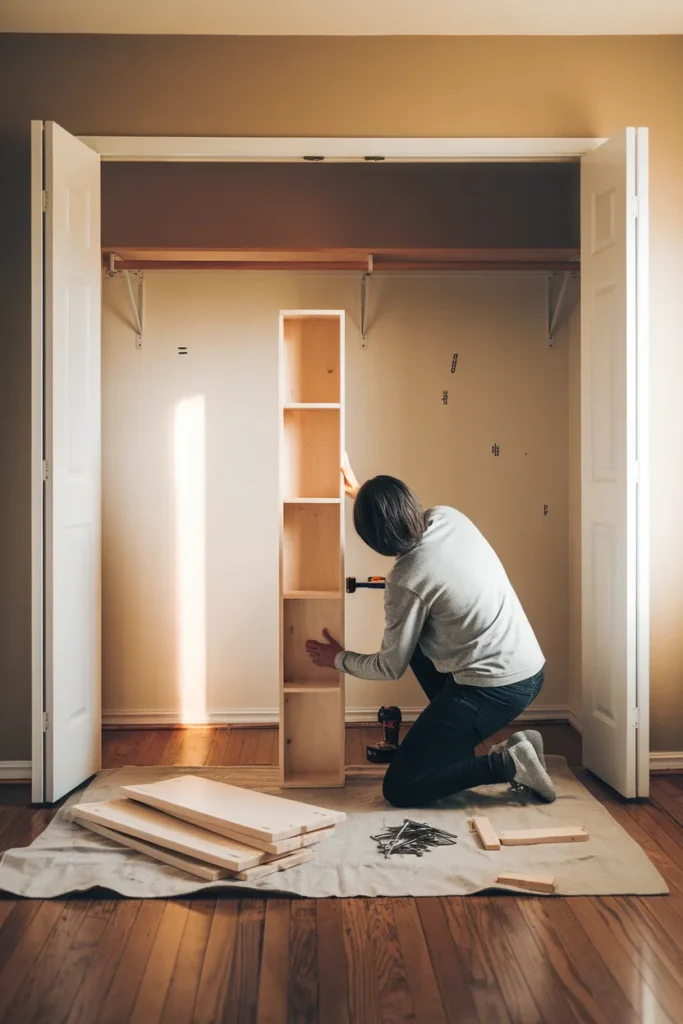
If you build one thing, build a center tower. It is a simple vertical box of shelves, usually 12 to 16 inches wide, that splits your closet into two shorter hanging sections and gives you five or six fixed shelves in the middle.
Cut list for a basic 14 inch wide, 68 inch tall tower from two 1×12 pine boards and one 1×2:
- Two side panels at 68 inches
- Five shelves at 12.5 inches
- One 1×2 cleat at 12.5 inches for the back of each shelf
- Quarter inch plywood back panel, optional but it keeps the box square
Assemble with 1.25 inch pocket screws or simple butt joints with wood glue and 2 inch screws. Anchor the finished tower to two studs at the back so it cannot tip. Prime, then paint it the same color as the closet interior so it reads built-in rather than added on.
Cost expectation, and this varies by region and by lumber prices in any given month: two 1x12x8 pine boards plus screws and a quart of paint usually lands somewhere in the $70 to $110 range at Home Depot or Lowe’s. Pre-made alternatives exist too. A ClosetMaid or Mainstays stackable organizer runs roughly $30 to $60 and skips the saw entirely, which is the right call if you are renting or do not own a drill.
Not building anything? That is fine. A closet makeover on a budget using only bins, hangers, and a second rod still gets you most of the way there.
Double Your Hanging Space With a Second Rod
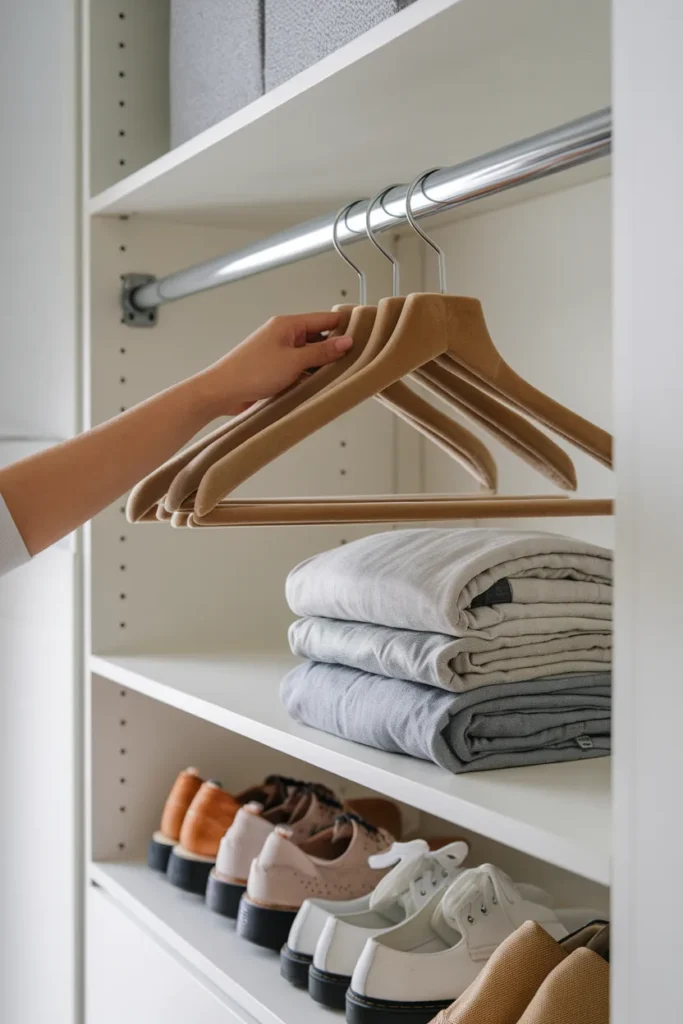
This is the fastest win in the entire build. Roughly half of what most people hang (shirts, blouses, folded trousers, jackets) needs only about 40 inches of vertical drop. A single rod at chest height wastes the 40 inches underneath it.
Lowe’s closet design guidance puts the top rod at about 84 inches above the floor and the lower rod at about 42 inches. Those two numbers are the whole trick. Install both on one side of your center tower, keep a single full-height rod on the other side for dresses and long coats, and you have gone from one rod to three in an afternoon.
Hardware is cheap. A 1 inch wooden dowel or a steel closet rod plus two end brackets and a center support runs about $15 to $25 per rod. Use a center support on any span over 48 inches or the rod will bow under a winter coat load.
Renting? A tension-mounted double hang rod hooks over your existing rod and adds a second tier with zero drilling. It carries less weight, so put shirts on it rather than coats.
Then swap your hangers. All of them, one type. Slim velvet hangers are roughly a quarter of an inch thick against the inch or so a plastic hanger eats, so a 36 inch rod section that held 30 plastic hangers holds closer to 50 velvet ones. Amazon Basics sells them in 50 and 100 packs, and matching hangers do something else too: they make the rod line read as one calm horizontal instead of a jagged one, which is most of why professionally organized closets photograph so well.
Add Shelves Without Ripping Out the Wire Shelving
Most builder closets come with a single wire shelf and rod combo, and most people assume step one is demolition. It is not. Wire shelving is already anchored into studs, and tearing it out means patching drywall, which turns a Saturday project into a Sunday one.
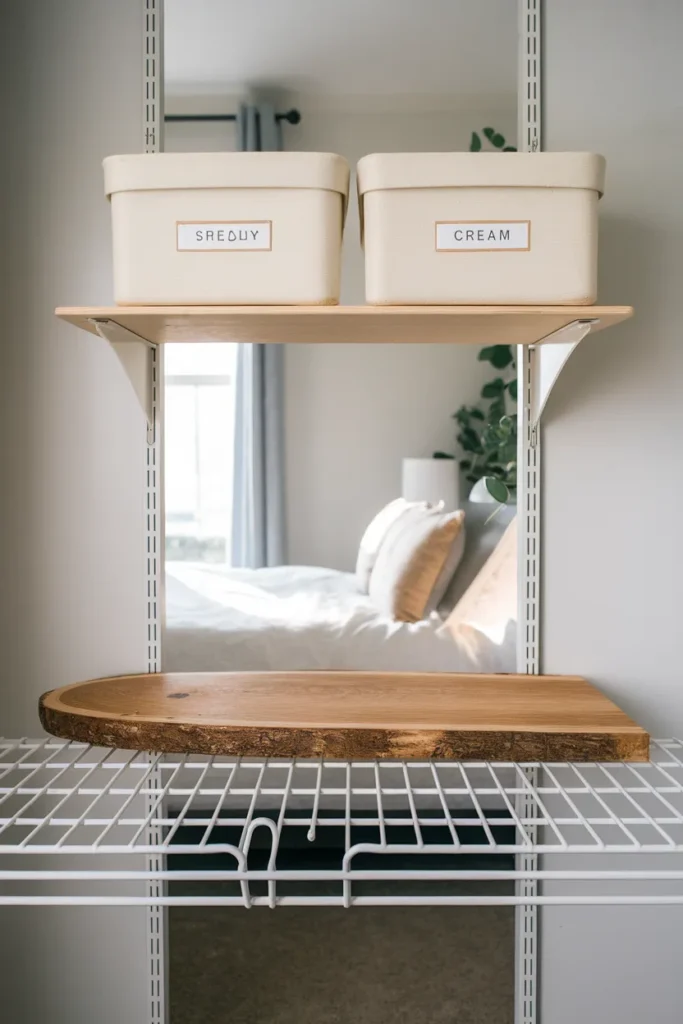
Two workarounds. First, cut a piece of 1×12 pine or quarter inch hardboard to the exact length of the wire shelf and lay it on top. Instant flat surface, nothing wobbles through the gaps, and it lifts out if you move.
Second, use a French cleat for anything new. Rip a 1×4 at a 45 degree angle, screw one half to the studs with the bevel facing up and out, and screw the mating half to the back of your shelf or bin unit. The shelf drops on and locks in place. It holds serious weight, it comes off in one motion, and it is forgiving of a wall that is not perfectly flat.
For the Look Band up top, add a second shelf about 12 inches above the existing one. Two shallow shelves beat one deep shelf every time, because a deep shelf stacks into a pile and a shallow shelf stays a single layer. Anything you can see, you will use.
If your closet is genuinely tiny, these small closet organization ideas that double your space go deeper on squeezing storage out of a narrow reach-in.
Bins, Dividers, and Labels That Survive Real Life
Containers come last on purpose. You cannot buy a bin for a shelf that does not exist yet.
Measure your finished shelf depth before ordering anything, then buy to fit. A 24 inch deep shelf takes a 15 to 17 inch deep bin comfortably with a finger gap at the front. IKEA Skubb boxes are the workhorse here (the 12 by 13.5 inch size fits a standard shelf well), and The Container Store, HomeGoods, and Target Brightroom all carry seagrass and canvas options if you want warmth rather than plastic.
Rules that make bins actually work:
- One category per bin, never two. “Scarves” works. “Scarves and hats and gloves” becomes a rummage pit.
- Open bins in the Hang Band, lidded bins in the Look Band. Lids at eye level slow you down. Lids up high keep dust off.
- Label the front face, not the top, because you read the front from the doorway.
- Leave one bin empty. Every closet needs a landing spot for the thing you have not decided about yet.
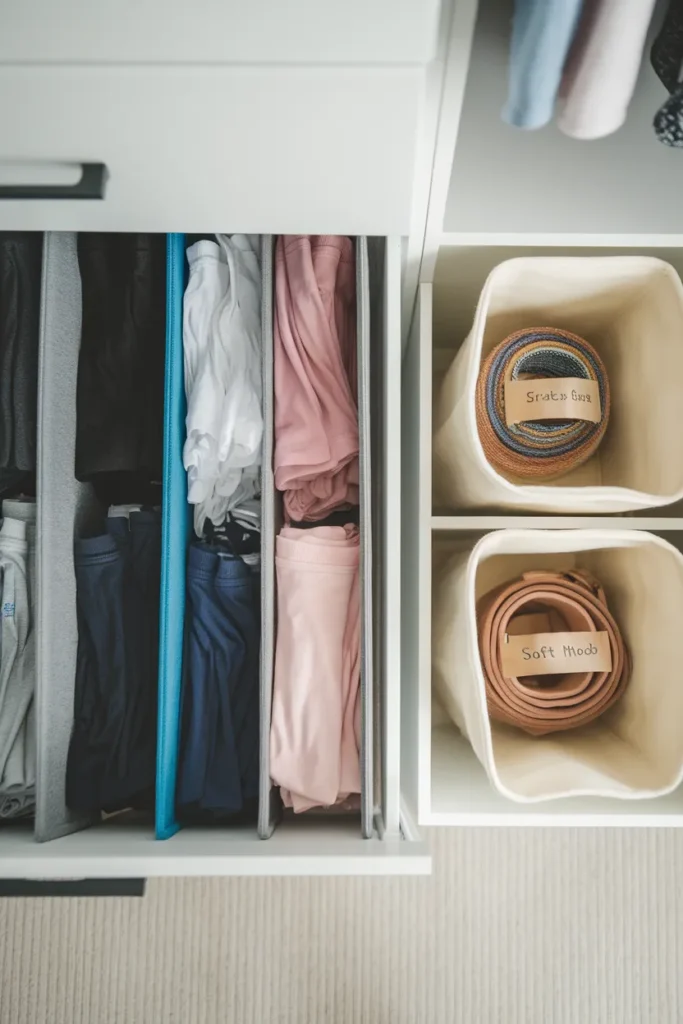
For folded clothes, add drawer dividers or file your stacks vertically so every item is visible from above rather than buried under three others. Marie Kondo popularized the vertical fold for exactly this reason, and it survives daily use better than a flat stack does.
Get the Shoes Off the Floor
Shoes are what undo a beautiful closet. They pile at the entrance, they collect under hanging clothes, and they make the whole floor unsweepable.
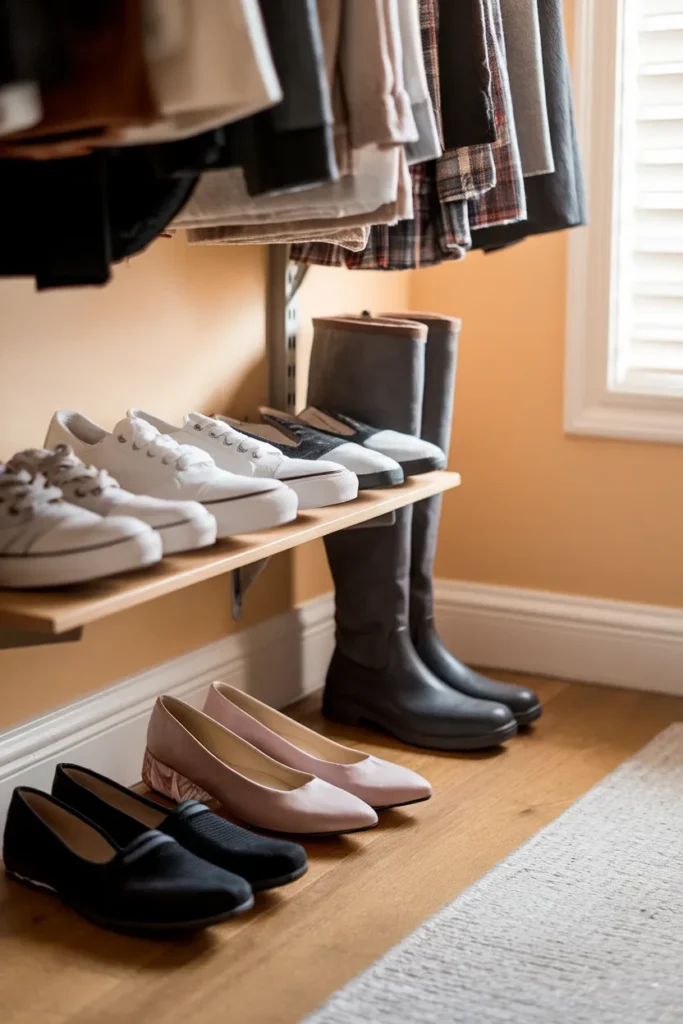
The Haul Band is where they belong, but they need structure. Three approaches, roughly in order of cost:
A shallow 8 to 10 inch deep shelf mounted 6 inches off the floor holds one row of shoes and lets you sweep underneath. It is the cheapest option and often the best. An over-the-door pocket organizer runs $12 to $20, needs no tools, and holds 12 to 24 pairs depending on the model. Angled shoe shelves, which are just boards mounted with a slight tilt, display shoes at a visible angle and take up less depth than flat ones.
Boots want a different answer. Store them upright with a rolled magazine or a pool noodle inside so the shafts do not crease and fold over.
If shoes are the main problem in your house rather than clothes, we have a full guide to shoe storage ideas for any space that covers entryways and mudrooms too.
Why Most DIY Closets Fall Apart in Six Months (And How to Stop It)
Nobody writes this part, and it is the part that decides whether your weekend was worth it.
A closet system does not fail because the shelves sag. It fails because it was built for the wardrobe you had on install day, and wardrobes grow. Three new sweaters arrive, a bin gets a second category shoved into it, and by February the system is carrying more than it was designed to carry.
Two rules keep it working.
The one-in, one-out rod rule. Your rod has a fixed capacity, and you already counted it during the measuring step. When a new shirt goes on, an old shirt comes off. Not later, that day.
The ten minute reset, twice a month. Put it on the calendar for the first and third Sunday. Rehang what slipped, empty the landing bin, and put back anything that migrated to the floor. Ten minutes twice a month is roughly two and a half hours a year, which is less time than one full reorganization costs you.
Do a full swap twice a year as well, once in early spring and once in early fall. Out-of-season clothing moves up to the Look Band, in-season clothing comes down to the Hang Band, and you handle every garment once while you are at it.
There are a handful of habits that quietly sabotage the whole thing, and we broke those down separately in the closet mistakes that undo your work.

What This Costs, Three Ways
Screenshot this one.
| Tier | What you build | Rough cost | Time |
|---|---|---|---|
| No tools | Velvet hangers, tension double rod, 4 fabric bins, labels | $45 to $80 | 2 hours |
| Weekend | Above plus board over wire shelving, second wooden rod, shoe shelf | $110 to $180 | 1 day |
| Full build | Above plus painted pine center tower with 5 shelves, French cleat shelving | $200 to $320 | 2 days |
Prices move with lumber and vary by store, so treat these as planning ranges rather than quotes. Even the top tier lands well under what a custom closet company charges for the same footprint, and you keep the ability to change it later.
Frequently Asked Questions
How do I organize a small closet without buying anything? Empty it, sort into four piles, and rebuild using only what you already own. Turn every hanger backward so you can see in six months what you never wore. Lay a spare board or a cut piece of cardboard over wire shelving for a flat surface, use shoeboxes as free drawer dividers, and file folded clothes vertically instead of stacking them. Most people gain visible space from sorting alone before a single purchase.
How do you build a DIY closet organizer on a budget? Two 1×12 pine boards, a handful of screws, wood glue, and a quart of paint build a five-shelf center tower for roughly $70 to $110. Anchor it to studs, then add a second closet rod on one side at 42 inches. That combination is the highest-value spend in diy closet organization because it multiplies hanging space and adds shelving at the same time.
What is the cheapest way to redo a closet? Swap to slim velvet hangers and add a tension-mounted second rod. Under $50 total, no tools, no drilling, and it is the single biggest capacity gain available. Add fabric bins and labels next, then build shelving only if you still need it.
How high should a closet rod be hung? For a double hang setup, Lowe’s puts the top rod at about 84 inches from the floor and the lower rod at about 42 inches. For a single rod handling dresses and long coats, 66 to 72 inches works. Always mount brackets into studs at 16 inch centers.
How deep does a closet need to be for hangers? About 24 inches, which is the standard US reach-in depth. A hanger measures roughly 17 inches across, so 24 inches leaves clearance for clothes to hang square and the door to shut. Below about 20 inches, mount the rod parallel to the side wall instead of the back wall.
Should you hang or fold jeans and sweaters? Fold both. Knitwear stretches and shoulder-bumps on a hanger, and jeans take less space folded and filed vertically than hung. Hang anything that wrinkles: shirts, blouses, blazers, dresses, and trousers you want creased properly.
Are wire or wood closet systems better for a DIY build? Wire is cheaper, faster, already stud-mounted in most builder closets, and it ventilates well. Wood looks built-in, holds more weight per shelf, and gives you a flat surface that small items do not tip over on. The practical answer for most people is a hybrid: keep the existing wire, lay a board on top, and build one wooden tower.
Your Weekend Starts With Five Numbers
You do not need a bigger closet. You need the three bands, two rods, one tower, and a tape measure you actually used before you shopped.
Pick a Saturday. Empty the whole thing onto the bed so there is no backing out, take your five measurements, and build from the floor up. By Sunday evening you will open a door and nothing will fall on you, which is a genuinely underrated feeling.
If this helped, save it to your closet board so it is there when you finally clear the weekend, and tell us in the comments which band your closet is worst at. Ours was the Look Band for years, honestly, and fixing it changed more than we expected.