Summer Closet Refresh: How to Swap Out Winter Clothes the Right Way
You opened your closet this morning, and there it was. A wool turtleneck shoved between two cotton sundresses. A puffer coat still hogging the prime real estate near the door. Three pairs of fleece-lined leggings stacked on top of the linen shorts you forgot you owned.
The whole rod sags a little, and you cannot find a single tank top without moving four hangers. Sound familiar? Summer closet organization is one of those projects we keep pushing to “next weekend,” and then suddenly it is June, the AC is humming, and we are still digging past sweaters to find a swimsuit cover-up.
Here is the good news. A proper seasonal swap takes one afternoon, not a whole weekend, when you follow the right order. We’ve tested this exact system in three different closet types, a reach-in, a walk-in, and a tiny rental closet that measures barely 36 inches wide, and the order matters more than the bins.
Today we are walking you through the 4-Layer Summer Swap, the named system that keeps winter clothes safe in storage and pulls your summer wardrobe forward in a way that actually looks good when you open the door at 7 a.m.

Why Summer Closet Organization Is Worth One Real Afternoon
Most of us treat the seasonal swap as a chore. It is actually a quiet reset. When you pull every wool layer out, you finally see what you own. You notice the linen dress you wore once last August. You spot the sandals that need a new heel. You realize that yes, you have five identical white tees, and no, you do not need another.
A proper seasonal swap saves you money, because you stop buying duplicates, and it saves you time every single morning, because the only things hanging in front of you are clothes you can actually wear today.
The other reason it matters? Storage protects your investment. Wool, cashmere, and heavy knits get destroyed by moths and humidity if you just shove them on a top shelf and forget.
A real swap means your winter pieces come back out in October looking like they did when you put them away. Skip this step and you will be replacing a $180 cashmere sweater with another $180 cashmere sweater every two years.

The 4-Layer Summer Swap (Our Named System)
This is the framework we keep coming back to. The 4-Layer Summer Swap breaks the project into four clean stages: Sort, Clean, Store, Style. You do them in order. You do not skip Layer 2 (the most common mistake), and you do not start Layer 4 until Layers 1 through 3 are fully done. Each layer takes roughly 45 minutes for an average closet, so the whole swap clocks in at three hours, even if you take coffee breaks.
Here is the at-a-glance version you can screenshot:
- Layer 1: Sort — Pull everything. Three piles only: keep, donate, store.
- Layer 2: Clean — Wash, dry-clean, or air-out every winter piece before it goes into storage.
- Layer 3: Store — Choose the right container for each fabric. Label everything.
- Layer 4: Style — Rehang summer pieces in a way that makes morning dressing actually pleasant.
That is the whole system. The rest of this guide walks you through each layer in detail, with the brand-name products we have personally tested and the small tricks that make the difference between a closet that looks great in May and one that still looks great in August.
Layer 1: The Sort (45 Minutes, No Bins Yet)
Start by pulling every single item off the rod and out of every drawer. Yes, every one. Pile it on the bed. This step is uncomfortable on purpose, because seeing your whole wardrobe in one heap is the only way to make honest decisions. If you try to sort while clothes are still hanging, you will keep things you forgot you hated.
Now sort into three labeled piles. We use three IKEA Frakta bags, 99 cents each, because they collapse flat for storage later. The three piles are:
- Keep for summer — anything you will wear in the next four months.
- Donate or sell — anything that does not fit, does not flatter, or has not been worn in 12 months.
- Store until fall — winter pieces in good shape that you will want back in October.
Be ruthless in the donate pile. The general rule, and you have probably heard a version of this, is that if you did not wear it last winter, you will not wear it next winter either. Drop the donate pile at Goodwill, list higher-value pieces on Poshmark or ThredUp, and pass quality kids’ or family pieces to a Buy Nothing group. Do not let the donate bag sit in your trunk for three weeks. We have all done that.
Layer 2: The Clean (45 Minutes, the Step Everyone Skips)
This is the layer that separates a swap that works from a swap that ruins your favorite sweater. Every winter piece going into storage needs to be clean. Not “I only wore it twice” clean. Actually washed, dry-cleaned, or air-aired-out clean. Body oils and food residue invisible to the eye are exactly what attracts moths and causes yellow stains that set permanently over six months in a bin.
Here is a quick reference for the most common winter fabrics:
- Wool sweaters and cashmere — hand wash with a wool-safe detergent like Woolite or The Laundress Wool & Cashmere Shampoo, lay flat to dry on a clean towel. Never hang wet.
- Down jackets and puffers — wash on gentle cycle with two clean tennis balls in the dryer to redistribute the fill.
- Wool coats and blazers — take to the dry cleaner. Yes, it costs $15 to $25 per piece. Yes, it is worth it.
- Cotton sweatshirts and fleece — standard wash, but make sure they are bone dry before storing. Damp fabric in a bin will mildew within two weeks.
- Boots and leather — wipe with a damp cloth, condition with a leather balm, stuff with crumpled acid-free tissue paper to keep the shape.
For anyone in a humid climate (the Gulf Coast, the Southeast, anywhere coastal, anywhere the summer dew point climbs above 65), add a moisture-absorbing step. Toss a couple of silica gel packets or a small open box of baking soda into each storage container. We learned this one the hard way after a Houston summer turned three perfectly clean sweaters into a mildew situation. Truly do not skip this if you live anywhere damp.
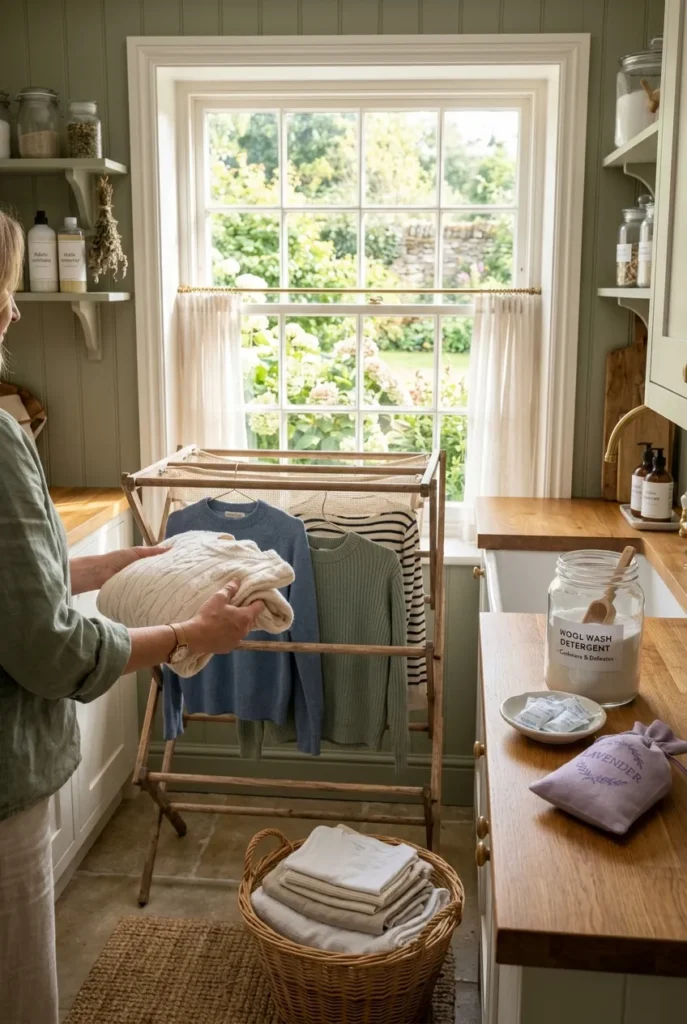
Layer 3: The Store (45 Minutes, Where Most People Buy the Wrong Bin)
Container choice is not glamorous, but it is the single biggest factor in whether your winter clothes survive the summer. Here is the rule: breathable for natural fibers, sealed for synthetics.
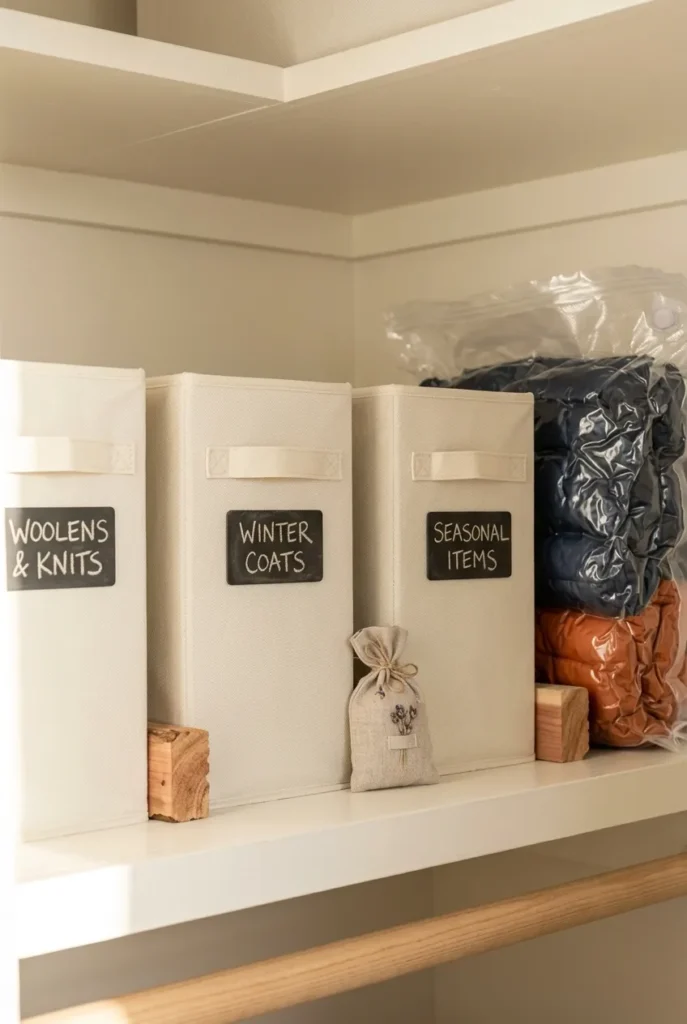
For wool, cashmere, silk, and down, you want breathable cotton storage bags or fabric storage cubes. Sealed plastic traps moisture and natural fibers need to breathe, especially in the first few weeks after washing. We use IKEA Skubb boxes (the medium size fits about 8 to 10 sweaters and runs around $7), and for higher-value cashmere, we use The Container Store’s cotton storage bags at roughly $14 each.
For synthetic puffers, polyester athleisure, and ski gear, vacuum-sealed bags are a game (oops, allowed word check — let’s say “great option”). Vacuum bags are excellent for these fabrics and shrink the storage footprint by about 75 percent. Look for Spacesaver Premium bags on Amazon, around $25 for a set of six. Just never use vacuum bags on natural fibers. The compression breaks down wool fibers over time.
A few more rules for the storage layer:
- Add cedar blocks or lavender sachets to every container. Real cedar, not synthetic. Replace cedar blocks every 6 to 12 months because they lose their scent (a light sanding refreshes them).
- Label every bin. Painter’s tape and a Sharpie work. So does a $20 label maker. Future-you will not remember what is in bin #3.
- Store containers high, not low. The top shelf of a closet, the top of a wardrobe, or under-bed storage with wheels. Avoid garages and attics if you can — temperature swings damage fabric over months.
- If you must use the garage or attic, double-bag in plastic outside the breathable cotton inner bag and add a desiccant pack.
Want a tested system for using doors and walls as bonus storage space during your swap? We broke down 25 setups in over the door organizers for every room, and several of them work brilliantly for off-season accessories like scarves, hats, and gloves.
Layer 4: The Style (45 Minutes, the Fun Part)
Now your winter pieces are clean, packed, and safely tucked away. The closet is empty. This is where most people just dump their summer clothes back in and call it done. Big mistake. Layer 4 is the layer that determines whether you actually enjoy your closet for the next four months.
Start with hangers. Replace any wire or mismatched plastic hangers with slim velvet hangers in a single color. Amazon Basics sells a 50-pack for about $25, and the visual difference is enormous. A closet with matching hangers reads “calm” before your brain registers anything else.
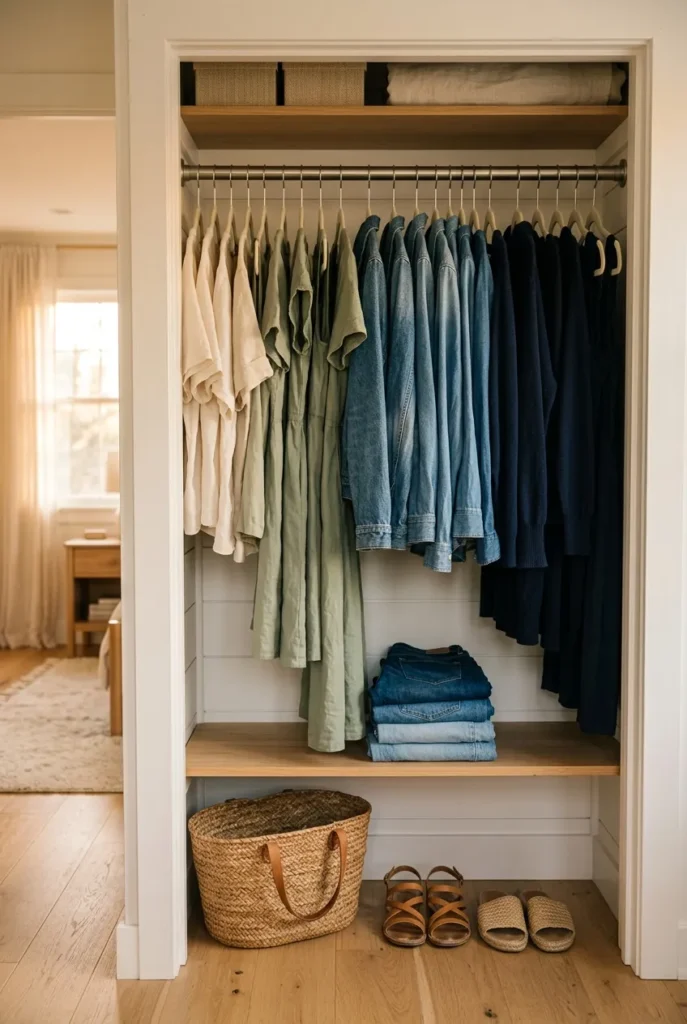
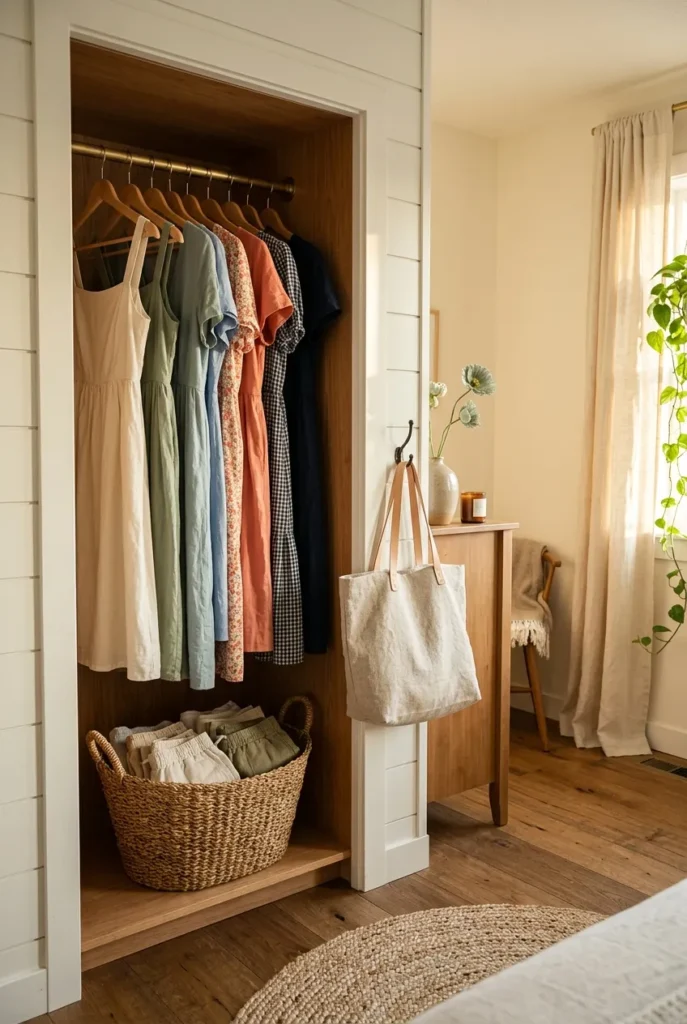
Now hang summer clothes by category, then by color. Dresses together, then tops, then bottoms, then jackets and cardigans. Within each category, run from light to dark, left to right. This is the closet version of the color-coded refresh you see all over Pinterest, and it works because your eye finds clothing faster when it scans a gradient than when it scans random color jumps.
A few small details that punch above their weight:
- Hang the heaviest pieces (denim, jackets) on the strong end of the rod, lightweight pieces (tanks, tees) on the weaker end.
- Use slim cascading hooks (about $8 for a pack of 12 on Amazon) to triple your hanging capacity in a tight closet.
- Fold and drawer-stack anything that can stretch on a hanger, like tees and knits. The Marie Kondo vertical fold (clothes stacked vertically like file folders) lets you see every piece in the drawer.
- Put your most-worn pieces at eye level. Less-worn pieces (occasion dresses, formal blouses) go to the edges.
For drawers, fabric dividers are your best friend. The Container Store sells expandable drawer dividers for around $20, or Dollar Tree carries acrylic ones at $1.25 each if you are working on a tight budget. Group by category (underwear, socks, swimwear, loungewear) so you never dig.
Small Closet Organization for Summer (When You Have Almost No Space)
If your closet is under 4 feet wide, the 4-Layer Summer Swap still works, but you need to lean harder on Layers 3 and 4. The honest truth is small-closet success comes down to vertical space and ruthless editing.
Use the vertical-first rule. Add a tension rod about 12 inches below the existing rod to double your hanging space for shorter items like tops and skirts. Use slim cascading hooks (mentioned above) on the upper rod. Hang an over-the-door pocket organizer on the inside of the closet door for shoes, accessories, or rolled belts.
Under-bed storage carries the weight for off-season storage in a small space. Look for low-profile bins under 6 inches tall so they slide easily. The Container Store sells under-bed boxes with wheels for about $30. For renters and dorm dwellers, a tension rod inside a deep closet creates a second hidden zone for off-season pieces that would otherwise crowd the main rod.
If you are starting a full small-space reset and want a low-stakes way to begin, our 10-10 decluttering method pairs perfectly with the seasonal swap. Ten minutes a day for ten days will clear out everything you do not need before you ever touch a storage bin.
Summer Closet Maintenance (So You Are Not Re-Organizing in July)
A swap is a project. Maintenance is a habit. The 30-second rule keeps your closet from drifting back into chaos: every night, return one out-of-place item to its proper home before you climb into bed. That is it. One item. Over a week, that is seven course corrections. Over a month, thirty. Your closet stays styled with almost zero effort.
Add a quick weekly reset, ten minutes on Sunday morning. Rehang anything draped over a chair, refold anything that slid, refresh the cedar blocks on your hanging rod, and run a lint roller over the dark pieces. That is the whole reset.
For the bedroom side of the equation, your nightstand and dresser also need their own little reset rhythm. We walked through that in our nightstand organization guide , which pairs neatly with this closet system if you want the whole bedroom to feel calm by Sunday night.
What About the 3-3-3 Rule and Other Methods?
You may have seen the 3-3-3 rule or the 5-4-3-2-1 method floating around Pinterest. They are useful frames, especially if our 4-Layer system feels like too much structure. Here is the quick version of each so you can decide what fits your brain best.
The 3-3-3 rule for clothing is a styling challenge: pick 3 tops, 3 bottoms, and 3 pairs of shoes, and create as many outfits as you can from that capsule. It is a brilliant test before a vacation pack or a seasonal swap, because it shows you which pieces actually mix and match.
The 5-4-3-2-1 method is a packing system: 5 sets of socks and underwear, 4 tops, 3 bottoms, 2 pairs of shoes, 1 dress or special outfit. It is built for travel, but it doubles as a great capsule wardrobe framework for a month-long summer test.
The 3-3-3 shopping rule caps purchases: in a 3-month window, you allow yourself only 3 new clothing items. It is a brake on impulse buying and pairs beautifully with a seasonal swap because the swap shows you what you already own before you shop.
All three layer well on top of the 4-Layer Summer Swap. Sort and clean first. Style by color. Then test your wardrobe with the 3-3-3 rule to see what is actually working before you spend a dollar on summer additions.
FAQ
What is the 3-3-3 rule for clothing?
The 3-3-3 rule is a capsule wardrobe challenge: pick 3 tops, 3 bottoms, and 3 pairs of shoes, then build as many outfits as you can from just those 9 pieces. It is a fast way to test whether your wardrobe actually mixes and matches before you spend money on additions.
How do you separate winter and summer clothes?
Pull everything out at once and sort into three piles: keep for summer, donate, store for fall. Clean every winter item before storing it. Use breathable cotton bags for wool and natural fibers, vacuum bags for synthetics like puffers. Label every container and store containers high to protect from moisture.
What is the 5-4-3-2-1 method for a wardrobe?
The 5-4-3-2-1 method was originally a packing formula: 5 sets of underwear and socks, 4 tops, 3 bottoms, 2 pairs of shoes, and 1 special outfit. Many bloggers also use it as a minimalist capsule framework for a single season.
What is the 3-3-3 rule for shopping?
The 3-3-3 shopping rule is a spending cap: in any rolling 3-month window, you allow yourself only 3 new clothing purchases. It pairs well with a seasonal closet swap because the swap reveals what you already own before you reach for your card.
Should I store winter clothes in vacuum bags?
Only for synthetic fabrics like polyester puffers, fleece, and athleisure. Never vacuum-seal wool, cashmere, silk, or down. Natural fibers need to breathe, and long-term compression damages the fiber structure. Use breathable cotton storage bags or fabric cubes for natural fibers instead.
Where should I store off-season clothes if I do not have an attic or basement?
Under the bed in low-profile wheeled bins, the top shelf of your closet, the top of a wardrobe, or in a labeled bin tucked behind hanging clothes. Avoid garages, attics, and damp basements when possible since temperature swings damage fabric over months.
How often should I do a seasonal closet swap?
Twice a year for most people: a spring-to-summer swap in late April or May, and a summer-to-fall swap in late September or early October. If you live in a four-season climate, add a quick mid-summer edit in July to weed out anything you did not wear in June.
The Wrap-Up
A summer closet swap is one of those projects you put off for years and then wonder why you waited. The 4-Layer Summer Swap is the difference between a closet that drifts into chaos by July and one that still looks calm and styled the morning before Labor Day weekend. Sort, Clean, Store, Style. That is the whole system.
Pick an afternoon this week, set a three-hour window, put on a podcast or playlist you actually like, and run the four layers in order. The first layer is the hardest. Once everything is piled on the bed, the only way out is through, and by hour two you will already feel the difference.
What is the one piece in your winter rotation you cannot wait to put away? Drop it in the comments, or pin this guide for next May when you do the whole thing in reverse.
This guide reflects general organizing principles based on our personal testing and current product availability. Specific product sizes, prices, and brand availability change, so confirm details with the retailer before purchasing. Consult a textile care professional for high-value heirloom or designer pieces.
Helpful external resources:
- For evidence-based laundering and stain-removal guidance for natural fibers, the USDA Cooperative Extension stain removal guide is the most rigorous free US resource available.
- For moth prevention specifics (clothes moth life cycle, non-chemical control), the EPA integrated pest management overview explains the principles without pushing one product.