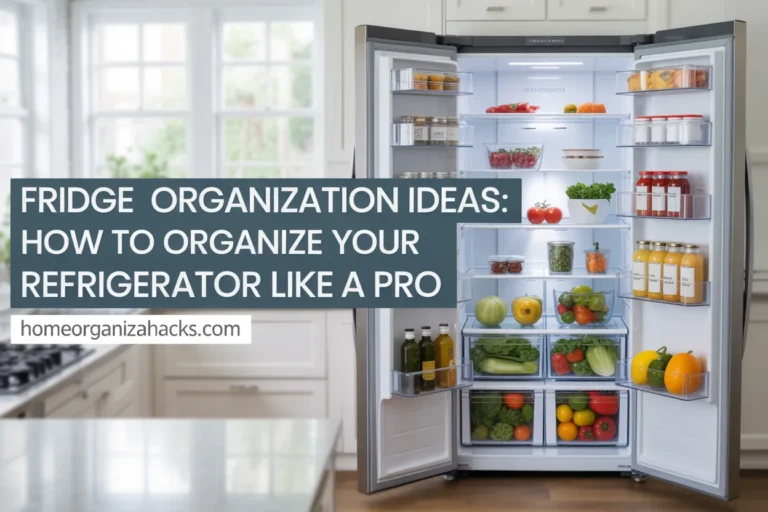
Aesthetic Pantry Organization That Actually Lasts
You know the pantry we mean. Matching jars, wicker baskets, labels in that pretty script font. It looks incredible for nine days. Then real life shows up. One big grocery run lands on the counter, nothing fits where it should, and the whole system quietly collapses behind a closed door. We have built and rebuilt our own pantry enough times to promise you this: aesthetic pantry organization can absolutely survive real life, but only if you design it for the messiest ten minutes of your week instead of for the photo.
This guide walks you through the exact system we use, zone by zone and container by container, plus a budget version and the five minute habit that keeps it all pretty.
What Makes a Pantry Aesthetic (and What Makes It Stick)
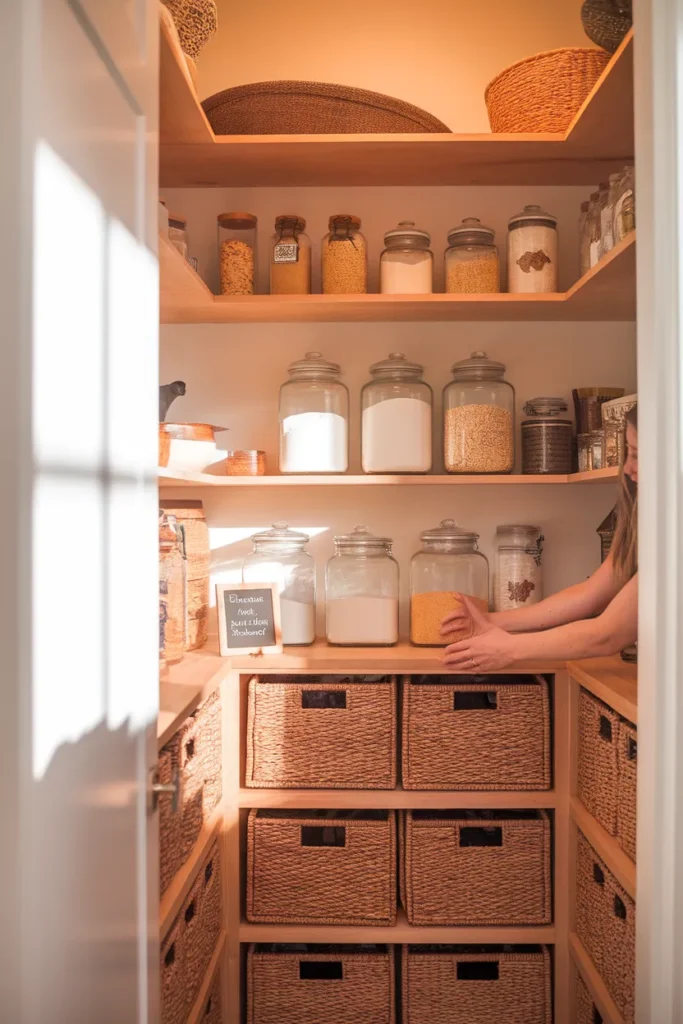
Strip away the filters and every gorgeous pantry shares the same four bones: repetition, visibility, breathing room, and warm texture. Repetition means the same container shape appears again and again, so your eye reads calm instead of clutter.
Visibility means you can see what you own, which is why clear canisters and open front bins carry so much of the look. Breathing room means shelves sit about three quarters full, never packed to the edge. Texture, usually a woven basket or two against wood tones, keeps the space from feeling like a lab. Those are the bones of every aesthetic pantry you have ever pinned.
Here is the part most guides skip. Those four bones only describe how a pantry looks on day one. Whether it still looks that way in March comes down to a fifth ingredient, and it has nothing to do with shopping: how fast you can put groceries away. Aesthetic pantry organization fails at the exact moment eight bags hit the counter and nobody has time to funnel rice into a jar. So before we talk bins and labels, we need a rule.
Start With the 10 Minute Unload Rule
The 10 Minute Unload Rule is simple: a full week of groceries should go from counter to pantry in ten minutes or less, without rearranging a single thing. If putting food away requires moving bins, hunting for lids, or decanting three bags before dinner, the system is too fussy and it will not survive the month. Every aesthetic pantry organization choice in this guide, from zone placement to which foods earn a clear canister, gets tested against those ten minutes.
We adapted this from the first in, first out habit restaurants live by, then loosened it for a busy house. New groceries slide in behind the old ones. The front row is the grab row. Anything that slows the unload gets demoted or returned.
Try it this week, before you buy a single container. Unload your next grocery haul with a timer running and notice where you stall. Stalls are your map. Ours were the cereal shelf (boxes too tall), the snack pile (no home at all), and a deep corner that had quietly swallowed a can of pumpkin from two Thanksgivings ago.
Map Your Pantry Zones Before You Buy a Single Bin
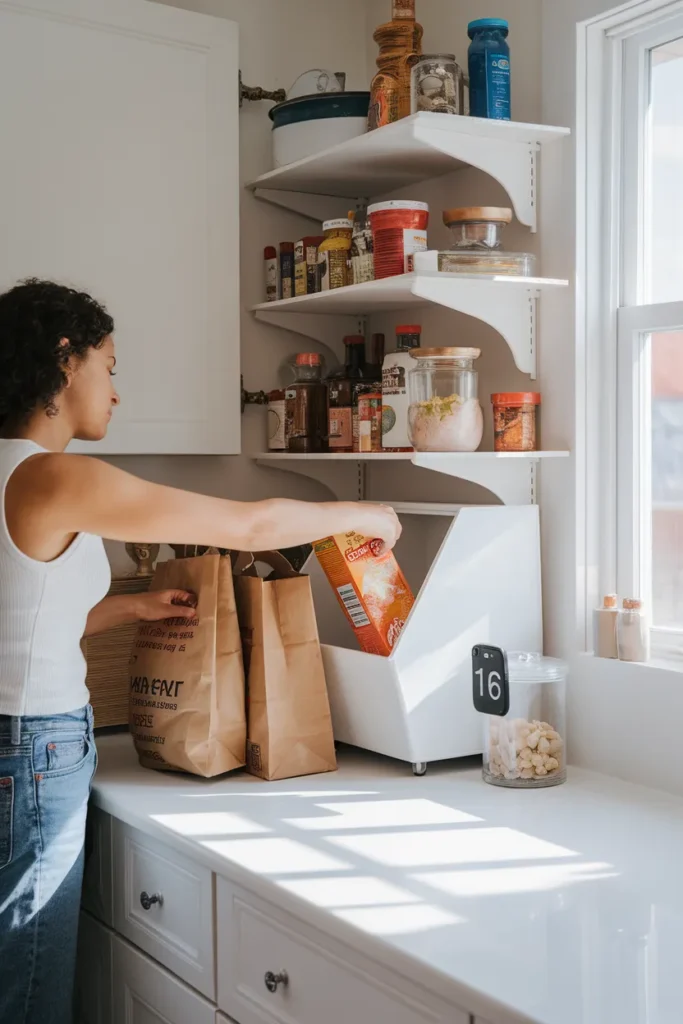
Zones do the heavy lifting in any aesthetic pantry organization plan, and they cost nothing. Sort your food into five groups: breakfast, dinner building blocks, snacks, baking, and backstock. Then give each group a shelf based on who reaches for it and how often.
Eye level belongs to dinner building blocks, meaning the pasta, rice, sauces, and canned staples you touch daily. Breakfast sits one shelf up or right beside it. Snacks go low if you want kids serving themselves, or high if you would rather they didn’t. Baking lives wherever you have deep space, since most of us visit it weekly at best. Backstock, the spare ketchup and the third bag of flour, goes on the very top shelf or the floor, out of the pretty frame entirely.
Measure before you shop. Standard reach-in shelves run 12 to 16 inches deep, and that four inch difference decides whether a turntable fits or a can rack works better. Write your shelf depth, width, and the height between shelves in a note on your phone. Then check it in the store aisle like the seasoned organizer you now are. Zoning is the least glamorous pantry organization move on this list, and the one every pretty photo secretly depends on.
Clear Pantry Containers: Decant This, Skip That
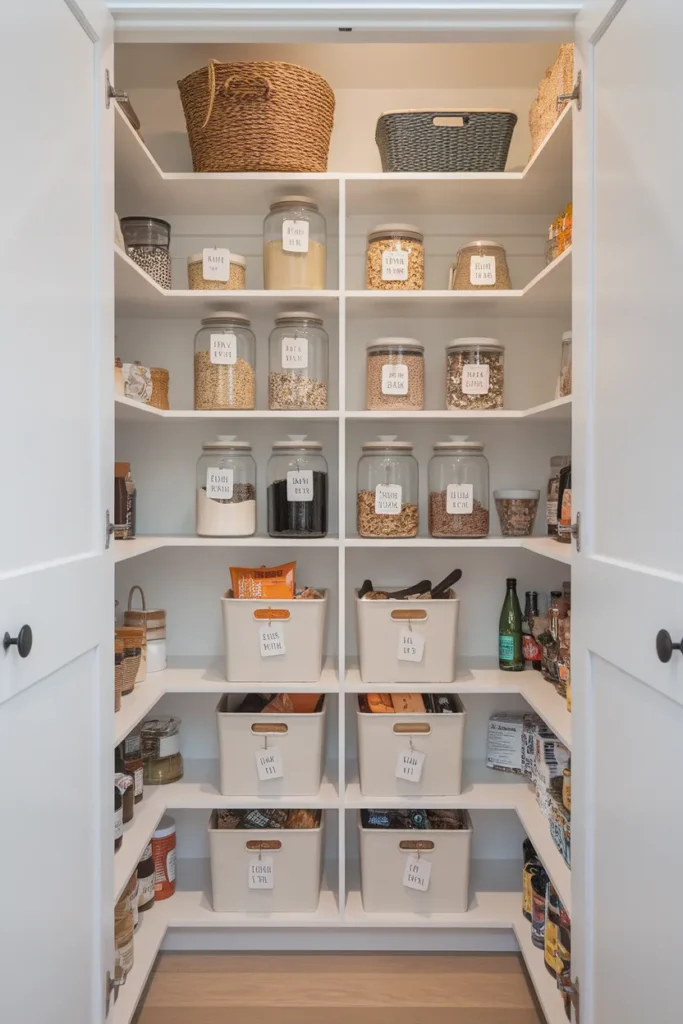
Clear pantry containers are the biggest visual upgrade in all of aesthetic pantry organization, and also the easiest place to overdo it. Decanting everything looks stunning on camera and terrible on grocery day, because ten minutes is nowhere near enough time to funnel six bags into jars.
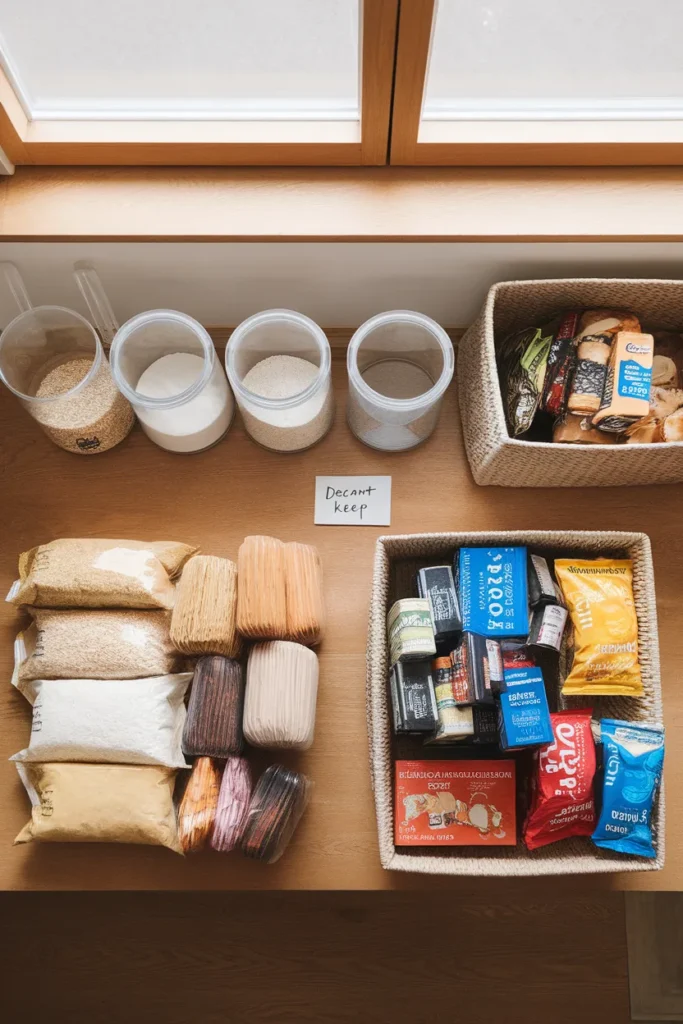
Our rule: decant only what you refill less than once a week and use more than once a week. Flour, sugar, rice, oats, pasta, and cereal all qualify. We moved our baking shelf into OXO Good Grips POP containers two summers ago, and the 1.6 quart size finally stopped our brown sugar from turning into a brick (that airtight seal genuinely earns its price). For cereal, the tall 4.4 quart POP swallows a full family size box. Rubbermaid Brilliance and Cambro rounds do the same job for less, and Target’s Brightroom line is the budget sleeper hit.
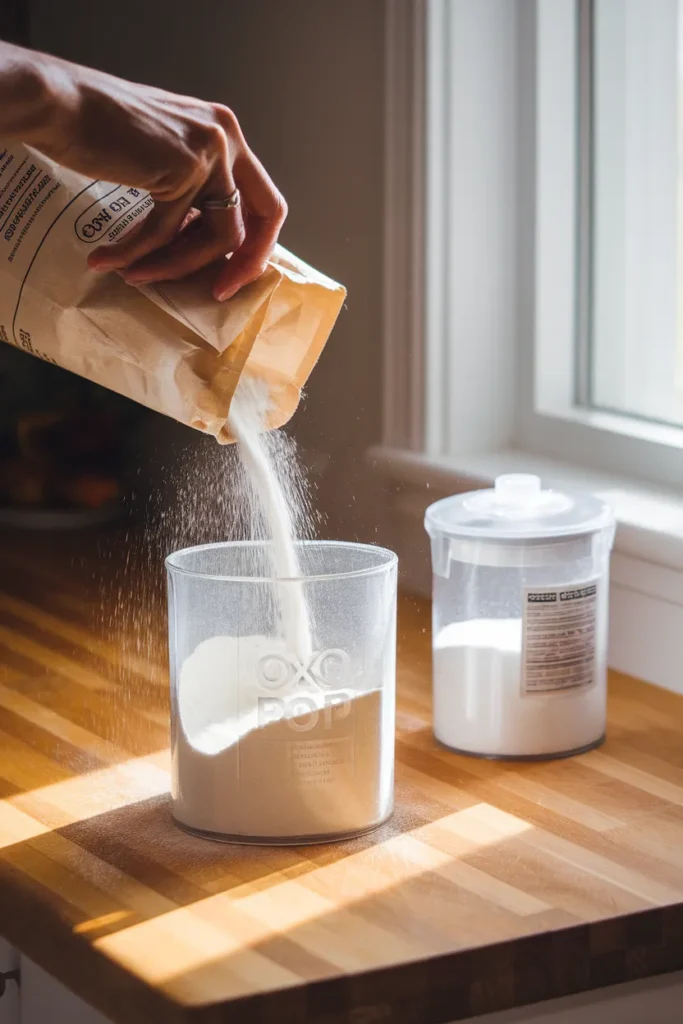
Everything else keeps its package and moves into a matching bin instead. Chips, granola bars, tea, snack pouches: strip the cardboard where you can, drop the rest into a labeled basket, done. This half of pantry organization moves fastest. Our guide to pantry baskets organization breaks down exactly which bin suits which food.
Here is the cheat sheet worth screenshotting:
| Item | Best move | Why it works |
|---|---|---|
| Flour, sugar, rice, oats | Decant into clear airtight canisters | Used often, refilled rarely, and repetition reads calm |
| Cereal | One tall 4.4 quart canister per eater | Boxes are the loudest thing on any shelf |
| Pasta | Decant long shapes, bin the rest | Spaghetti in a jar looks styled; ten shapes do not |
| Chips and crackers | Clip the bag, drop it in a bin | Decanted chips crumble and go stale faster |
| Granola bars and pouches | Strip the box, corral bars in a small bin | Grab and go without cardboard clutter |
| Canned goods | Never decant; stage on a tiered can rack | The labels carry both the info and the charm |
| Anything with cook times or allergy info you need | Keep the package or photograph the panel | The look should never cost you the directions |
One honest caution before you pour. Save any panel with cooking instructions or allergen details you rely on, or snap a photo first; you can also look up most staples later on the USDA FoodData Central database. And only decant into food grade containers with a proper seal. A cute jar from the craft aisle is for cotton balls, not oats.
Pantry Labels the Whole House Will Actually Follow
A label is a tiny contract with everyone who opens the door. Skip labels and the system lives only in your head, which means it dies the first week you are too busy to police it. Labels are where aesthetic pantry organization becomes a household system instead of a solo hobby.
Pick one style and repeat it everywhere. Printed labels from a label maker read clean and modern. Chalkboard labels feel warm and farmhouse. Handwritten works if your writing is tidy. Honestly, our chalk marker phase lasted exactly one humid August before every label smudged into a gray cloud, so we switched to printed and never looked back.
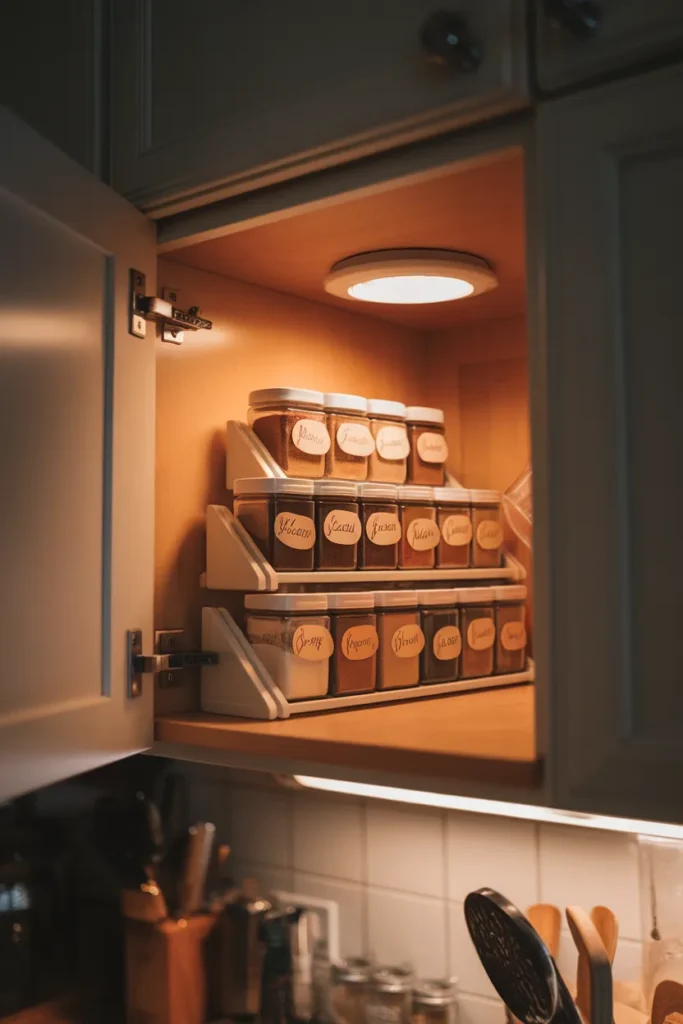
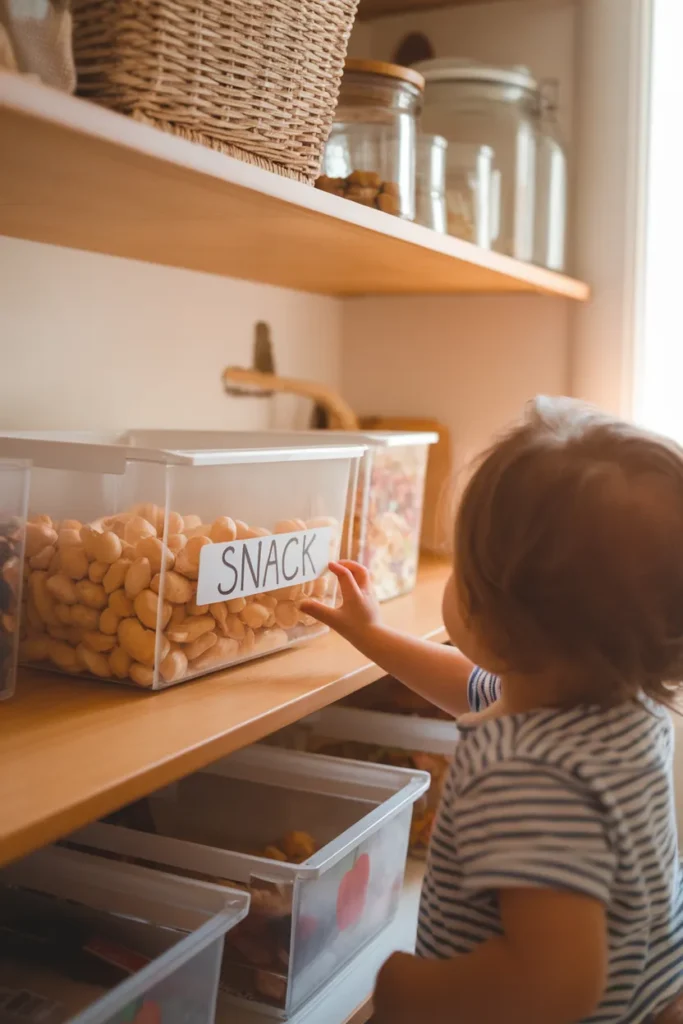
Placement matters more than font. Put labels on the front face at adult eye height for canisters, and on the top rim of low bins so kids can read them from above. For little ones who cannot read yet, add a small picture sticker beside the word. That single change is what finally kept our snack bin from turning back into a junk drawer.
And here is the family proofing trick nobody mentions: add one unlabeled basket called the landing bin. Anything a tired person cannot place in three seconds goes there, and you sort it during the weekly reset. It costs one basket and saves the entire look, because misfiled items are what make a pantry read messy long before it truly is.
Small Pantry Makeover Moves for Deep and Narrow Shelves
A small pantry makeover follows the same rules, just with sharper math. Deep shelves are the usual villain. Anything past the 12 inch mark disappears from view and from memory. An aesthetic pantry cannot afford hidden things. So the job is to bring the back row forward.
Three tools do most of the work. A lazy Susan turns a dead 16 inch corner into a spinning oil and vinegar station. A tiered can rack stages every label like stadium seating. A six inch shelf riser splits one tall gap into two usable rows for jars and tea tins. IKEA’s Variera shelf inserts and the mDesign risers both cost less than a takeout dinner, and Amazon Basics turntables run about the same.
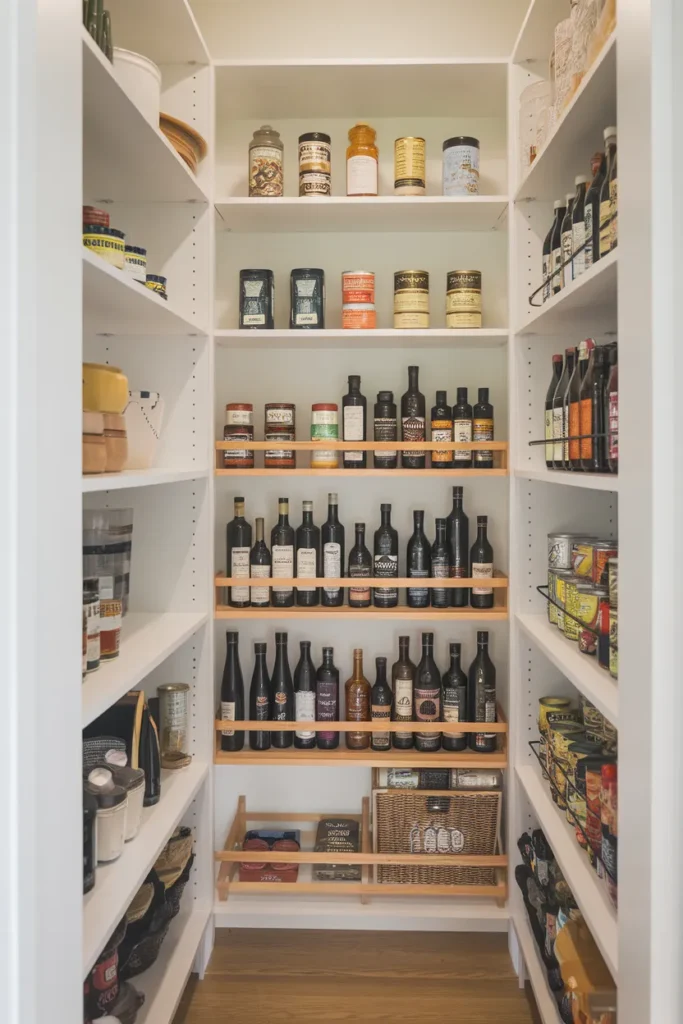
If your shelves glide out or you are fighting a truly narrow closet, we wrote a full guide to pull out pantry organization for deep and narrow shelves, including the bin widths that slide without scraping.
Working with a cabinet instead of a closet? Same playbook, smaller bins. Just leave the inside of the door alone until the shelves work, because an over the door rack added too early only gives clutter a second address.
The Under $75 Aesthetic Pantry
You do not need a $400 container haul. Budget aesthetic pantry organization is mostly a repetition game, and repetition is cheap. Here is a real starter kit that keeps the whole look under $75: eight glass jars or clear canisters from Dollar Tree or Walmart’s Mainstays line (about $15 to $20 total), four matching bins from Target Brightroom or Amazon Basics (roughly $25), a tiered can rack (around $15), and a sheet of printed labels (under $10). That buys one full pantry’s worth of visual repetition, which is the thing you were actually paying for all along.
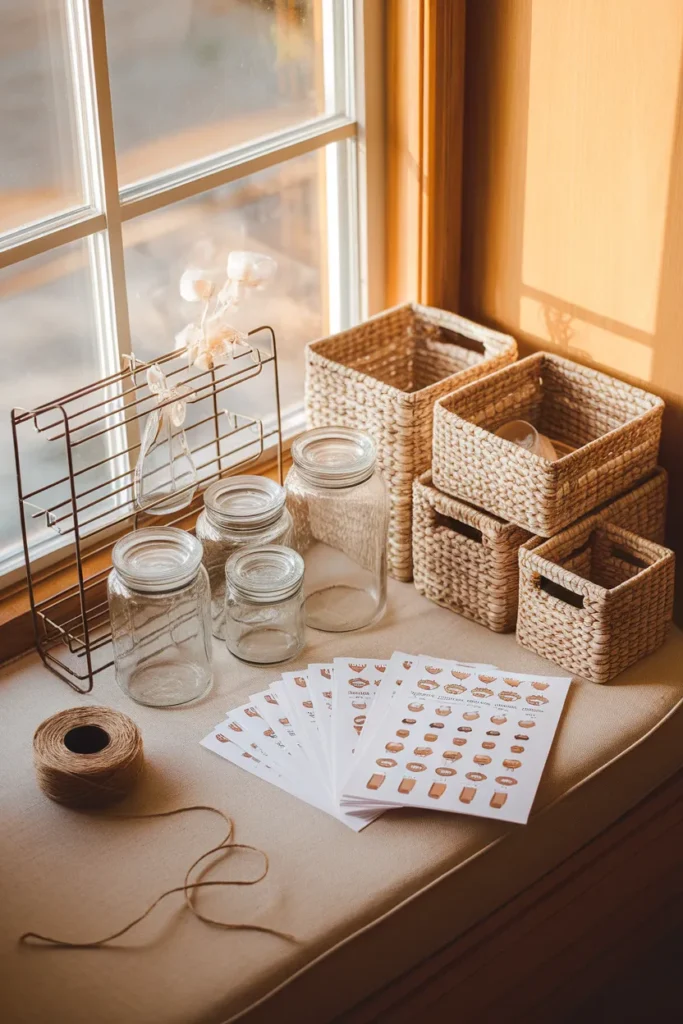
Spend the savings on the one spot where cheap versions fail: a genuinely airtight canister set for flour and sugar, since a loose lid wastes more food than it stores. Everything else can be humble. Washed out pasta sauce jars become free canisters once the labels soak off, and thrift stores are full of baskets that only need a rinse.
The Container Store is wonderful for an inspiration walk. Photograph the displays, note the shapes, then rebuild the idea with budget pieces. The camera never checks receipts.
The Five Minute Friday Reset
Every lasting pantry we have ever seen shares one boring secret: a tiny recurring reset. Ours happens Friday evening while dinner is in the oven, and it takes five minutes flat.
The routine goes like this. Empty the landing bin into real homes. Face every label forward. Slide older items to the front row so first in, first out keeps happening on its own. Pull anything expiring soon onto a small eat first tray by the door. That last step matters beyond looks, because better visibility genuinely cuts household food waste, a problem big enough that the UN Food and Agriculture Organization runs an entire program on food loss and waste. Your pretty shelf is quietly doing environmental work.
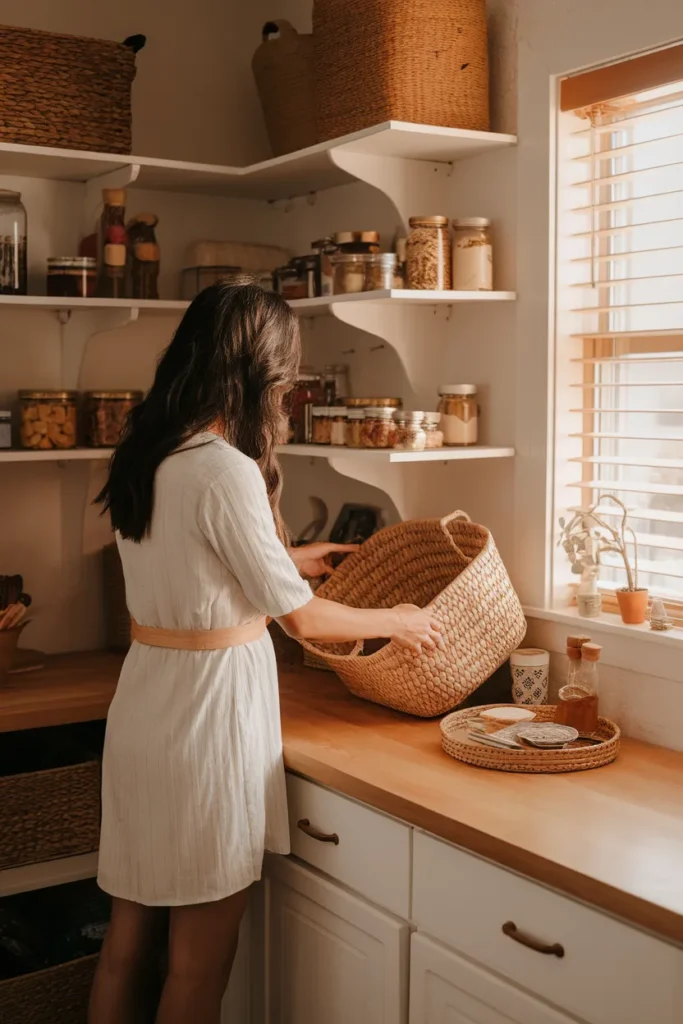
Once a month, add a two minute shelf wipe and a quick expiration scan. Five minutes. Once a week. That is the entire plan, and it is the half of pantry organization nobody photographs. Aesthetic pantry organization is a habit wearing a nice outfit. If your shelves are open to the room and the stakes feel higher, our open shelving pantry guide shows how this same reset keeps a fully visible pantry tidy.
Skip the reset for three weeks and no container on earth will save you. Do it weekly and the pantry photographs like day one, every single Friday.
Mistakes That Quietly Undo an Aesthetic Pantry
Six habits sink an aesthetic pantry fast. Buying containers before measuring tops the list. A canister half an inch too tall becomes clutter you paid for. Decanting everything comes next, since it fails the 10 Minute Unload Rule on the very first grocery day. Packing shelves to full capacity kills the calm too, so leave a quarter of every shelf empty for the week your household inhales more snacks than usual.
Two sneakier ones deserve a mention. Mixing three container styles on one shelf reads chaotic even when every item sits in its place, so hold the line on repetition. Organizing around expired food wastes your best real estate; clear the dead weight first, then design for what you actually eat.
Finally, resist building a system only you understand. If your partner cannot put crackers away correctly on the first try, redesign the shelf instead of blaming the partner. The pantry belongs to the whole house, and so does keeping it pretty.
FAQ
How do I make a small pantry look aesthetic?
Pick one container style and repeat it, keep shelves about three quarters full, and use vertical helpers like a six inch riser and a tiered can rack so every label faces out. Small spaces reward repetition even more than big ones, because your eye takes in the whole pantry at once.
What containers are best for aesthetic pantry organization?
Clear airtight canisters for daily staples, matching bins for packaged snacks, and a woven basket or two for texture. OXO Good Grips POP is the premium pick, Rubbermaid Brilliance and Cambro are the workhorses, and Target Brightroom covers the budget end. Measure shelf depth before buying anything.
Where do I start if my pantry is a mess right now?
Empty everything onto the counter, toss expired food, and sort the survivors into breakfast, dinner, snacks, baking, and backstock. Wipe the shelves while they are bare. Only then decide what deserves a container, since organizing around food you will never eat wastes both money and shelf space. After that, apply the aesthetic pantry organization steps above one zone at a time.
How can I make my pantry aesthetic on a tight budget?
Reuse washed pasta sauce jars, buy bins at Dollar Tree, and print one consistent sheet of labels. A unified color scheme does more for the look than expensive containers ever will. Our full starter kit above lands under $75 for an average reach-in pantry.
Do I have to decant everything into clear containers?
No, and please do not. Decant only high use, low refill staples like flour, rice, and cereal. Keep chips, bars, and anything with cook times or allergy details in original packaging inside a labeled bin. Decanting everything fails the ten minute grocery test, loses useful label information, and is the fastest way to burn out on an aesthetic pantry.
What is the best way to label pantry containers?
A label maker with white or clear tape gives the cleanest, most consistent look, while chalkboard labels suit warmer kitchens. Place labels at eye height on canisters and on the top rim of low bins, and add picture stickers for pre readers so the whole family can follow the system.
Your Pantry, One Weekend From Now
Aesthetic pantry organization comes down to three moves repeated with patience: give every food a zone, dress the daily staples in matching containers, and protect it all with a five minute Friday reset. Start with a single shelf this weekend. Run the 10 Minute Unload Rule on your next grocery haul, and let the rest of the pantry earn its makeover one zone at a time. When yours starts looking like the photo and staying that way, save this guide to your pantry board so it is there for the next reset, and come tell us which zone you tackled first. We read every note, usually while standing in front of our own snack bin.