

The Open Shelving Pantry That Actually Stays Tidy
Open shelves promise a beautiful pantry. They also broadcast every mess. That is the honest tension nobody warns you about, and it is exactly what we are fixing here.
An open shelving pantry can look calm, styled, and genuinely easy to use, but only if you set it up around how you actually cook and shop. Pretty is the easy part. Staying pretty on a random Tuesday when you are unloading groceries in a hurry? That takes a system. Below you get the layout, the real container sizes, and a simple upkeep routine that keeps every shelf looking like the photo you pinned.
Here is the promise: by the end, you will know how to zone your shelves, what to decant and what to leave alone, and the five-minute habit that keeps it all from sliding back into chaos.
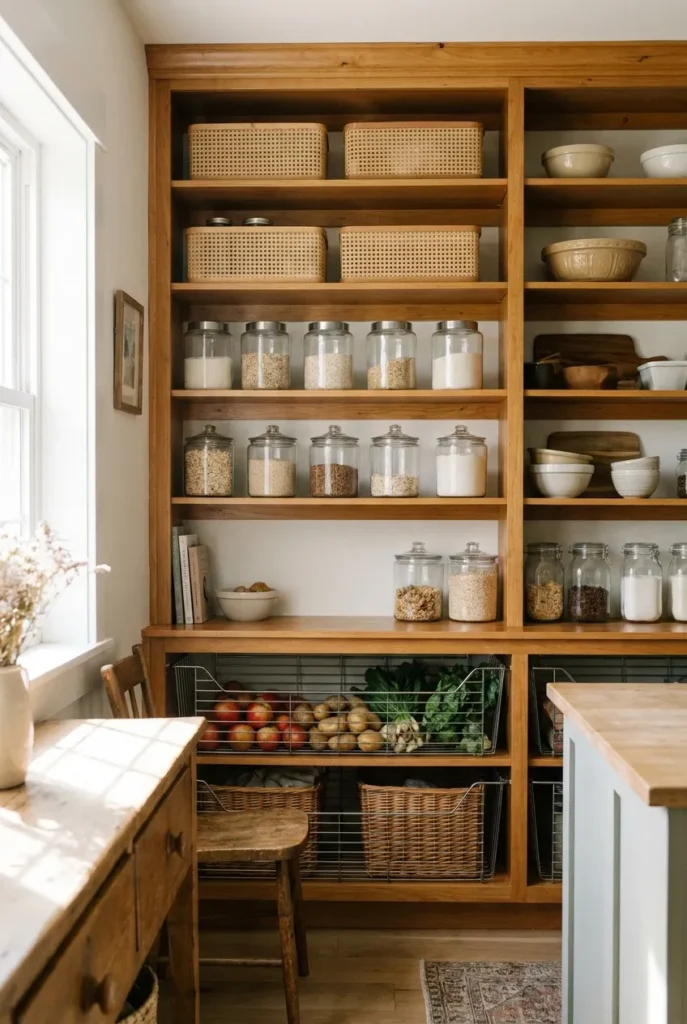
Is an Open Shelving Pantry a Good Idea?
Short answer: yes, if you like seeing your food and you are willing to keep the front row tidy. Open shelving pantry setups win on access. No doors to swing, nothing buried in the back, and you restock faster because you can see what is running low at a glance.
The trade-off is real, though. Open shelves collect dust, and they show clutter instantly. So the deciding question is not “do I want it,” it is “will I keep the visible layer neat?” If you decant staples and group like with like, the answer gets a lot easier.
One honest caveat (to be fair): if your kitchen runs warm or greasy from heavy stovetop cooking, plan to wipe shelves more often, and keep oils and anything that spoils in shade or a closed cabinet.
Who it works best for
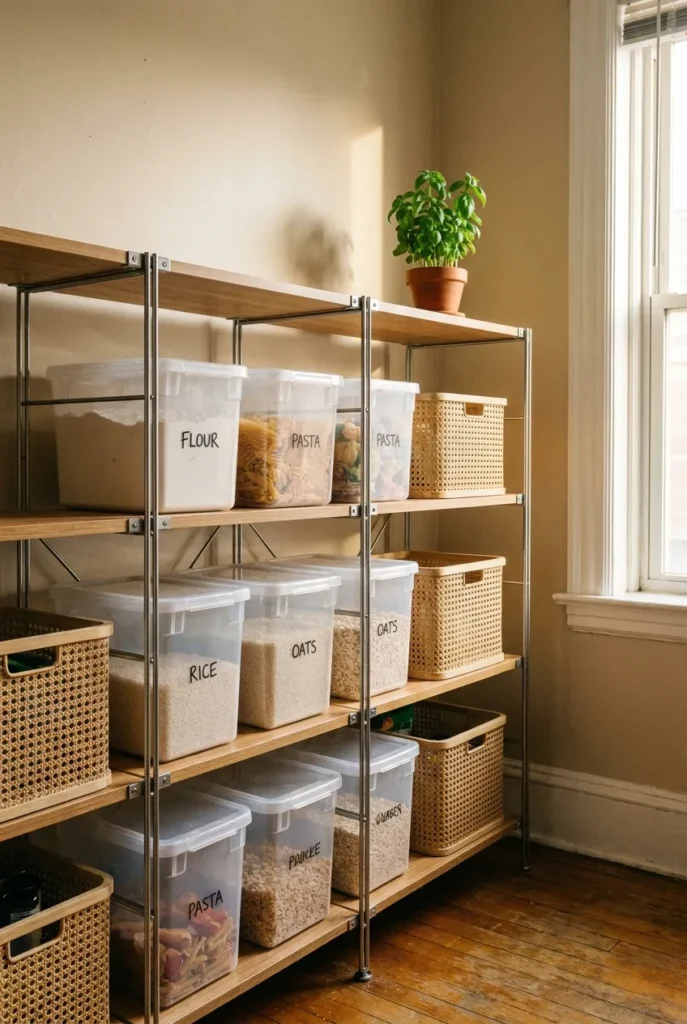
Home cooks who batch-shop and want a fast landing zone. Renters, too, since a freestanding unit like an IKEA OMAR or a Brightroom utility rack gives you the look without drilling. If you have deep or awkward shelves, you may prefer a pull-out setup for deep or narrow shelves instead, which solves the “stuff lost in the back” problem that open shelving cannot.
Start With Zones, Not Containers
Everyone wants to buy jars first. Skip that. The open shelving pantry that stays tidy starts with a plan for where things live, because a zone tells every item (and every family member) exactly where to go back.
Here is the framework we use, and it is the anchor for this whole article.
The Pantry Zone Method (Breakfast / Lunch / Dinner / Snacks)
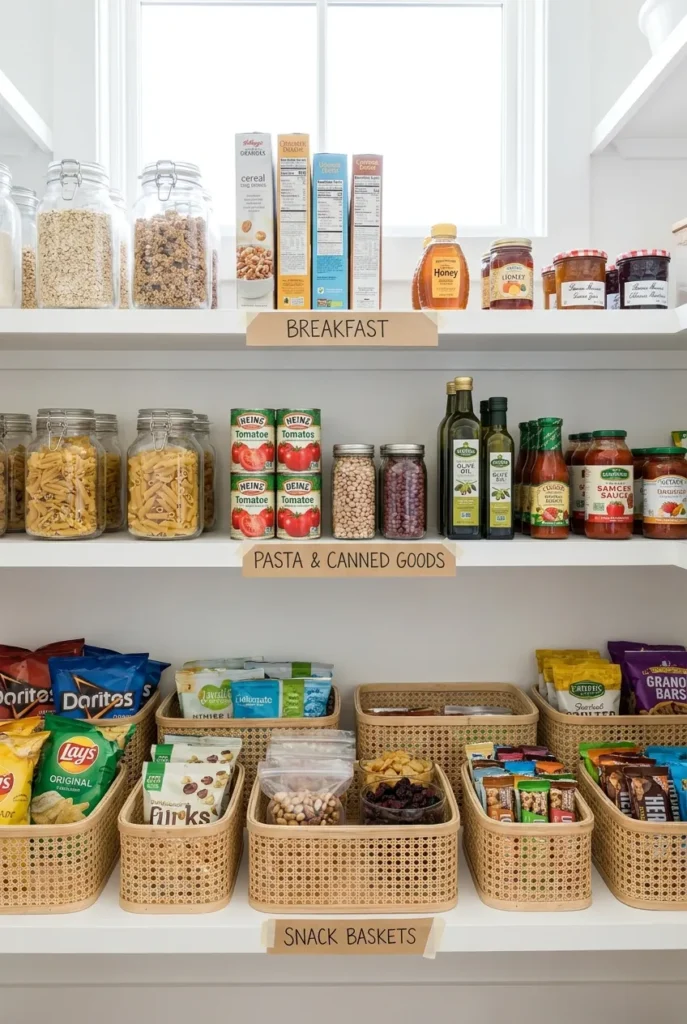
Group your shelves by meal, not by food type. Breakfast on one shelf (cereal, oats, coffee, tea). Lunch and dinner staples together (pasta, rice, canned goods, sauces). Snacks in their own bin so grazing hands go to one spot. Baking gets a zone if you bake often. This is the Pantry Zone Method, and it works because you shop and cook by meal, so your pantry should think the way you do.
Put the zones you reach for daily at eye and chest level. Heavy or bulk items go low. Rarely used appliances and back stock go up top. Quick rule of thumb: the reachable middle band, roughly 30 to 60 inches off the floor, is prime real estate, so give it to your everyday zones.
For a deeper walk-through of category systems, our full pantry organization ideas cover labeling and bin layouts room by room.
Decant the Right Things (and Leave the Rest Alone)
Decanting is why pantry pins look so calm. Matching containers turn a jumble of loud packaging into a quiet, cohesive shelf. But you do not need to decant everything, and doing so can waste money and food.
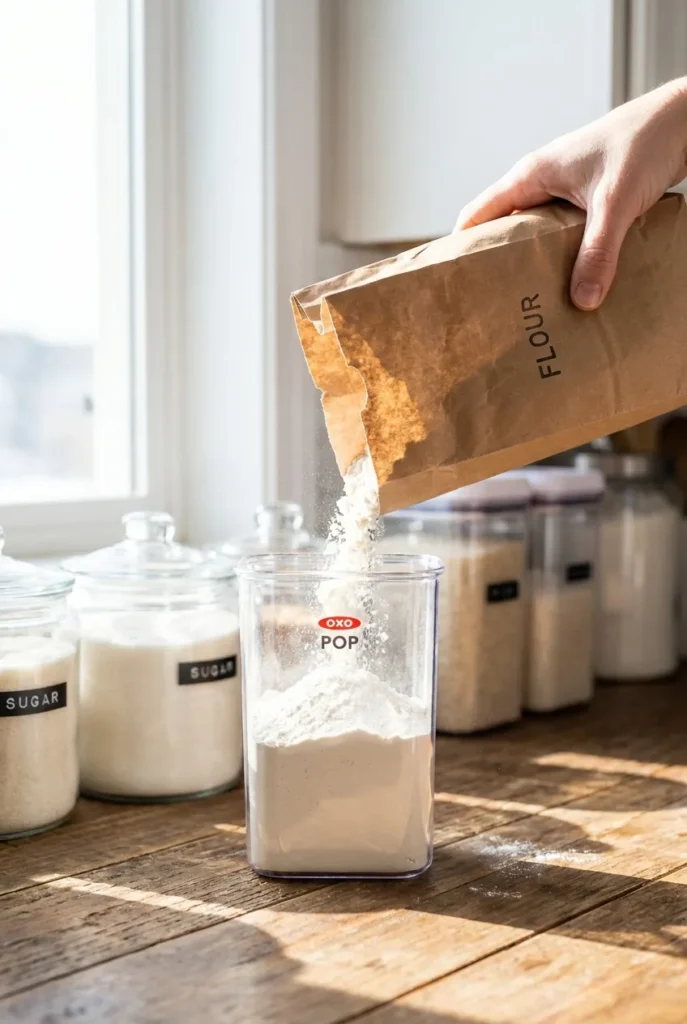
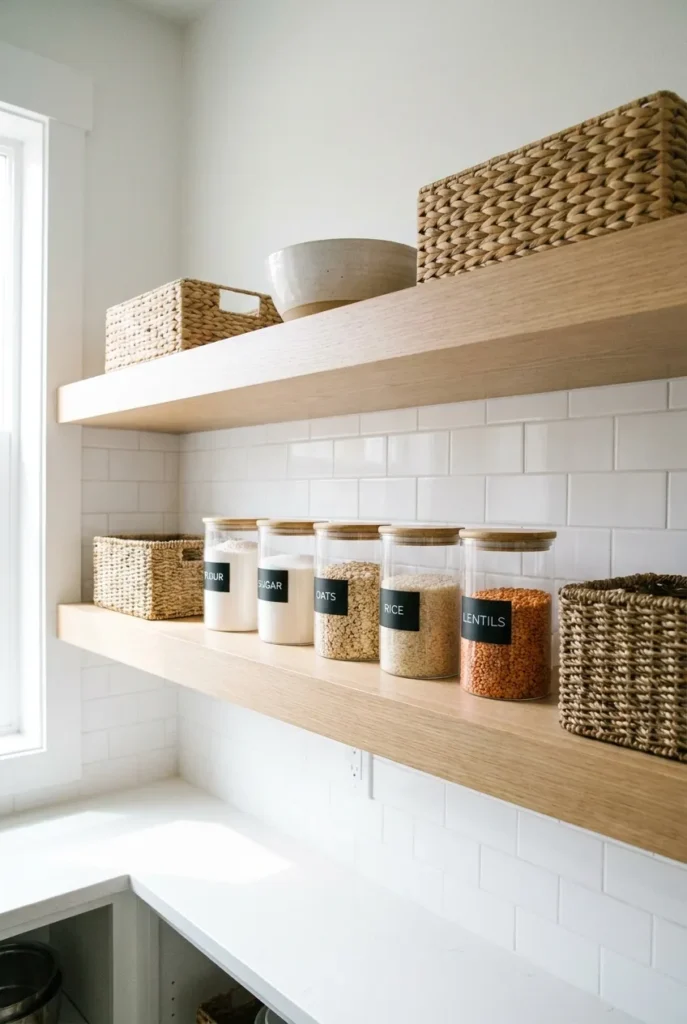
Decant the dry staples you use often: flour, sugar, rice, pasta, oats, coffee, cereal, snacks that come in crinkly bags. Leave alone anything you buy rarely, anything with cooking instructions you need, and anything still sealed for freshness. Keep the packaging for those, or snap a photo of the directions before you toss the box.
For containers, clear and airtight is the goal. A 1.6-quart OXO Good Grips POP container fits about a standard bag of sugar; the 4.4-quart size swallows a big bag of flour or a family box of cereal. Cambro and Rubbermaid Brilliance work too, and Dollar Tree jars handle low-turnover items on a budget
Store dry goods properly and rotate them so nothing hides past its prime. First in, front; newest to the back. USDA food storage / rotation guidance
Style the Shelves So They Read Calm
Styling is where an open shelving pantry earns its keep on Pinterest and in real life. The trick is repetition and breathing room. Repeat a few materials (glass, wood, cane) and let a little empty space sit between groupings so the eye can rest.
Line up canisters by height, tallest to one side. Corral loose packets in a low cane basket so they stop toppling. Add one small living thing, a potted herb or a trailing pothos, for warmth. Keep the very front edge of each shelf clear by an inch or two; that clear runway is what makes a busy shelf still look intentional.
Two quick styling moves that punch above their weight: a tiered riser at the back so cans and jars step up and stay visible, and a lazy Susan in a corner for oils and vinegars. Honestly, the lazy Susan alone fixes the “knock everything over reaching for the olive oil” problem.
Color and material cheat sheet
Warm woods plus clear glass plus natural cane reads farmhouse and cozy. White canisters plus black labels plus chrome racks reads modern and crisp. Pick one lane and stick to it; mixing three finishes is what makes shelves look noisy.
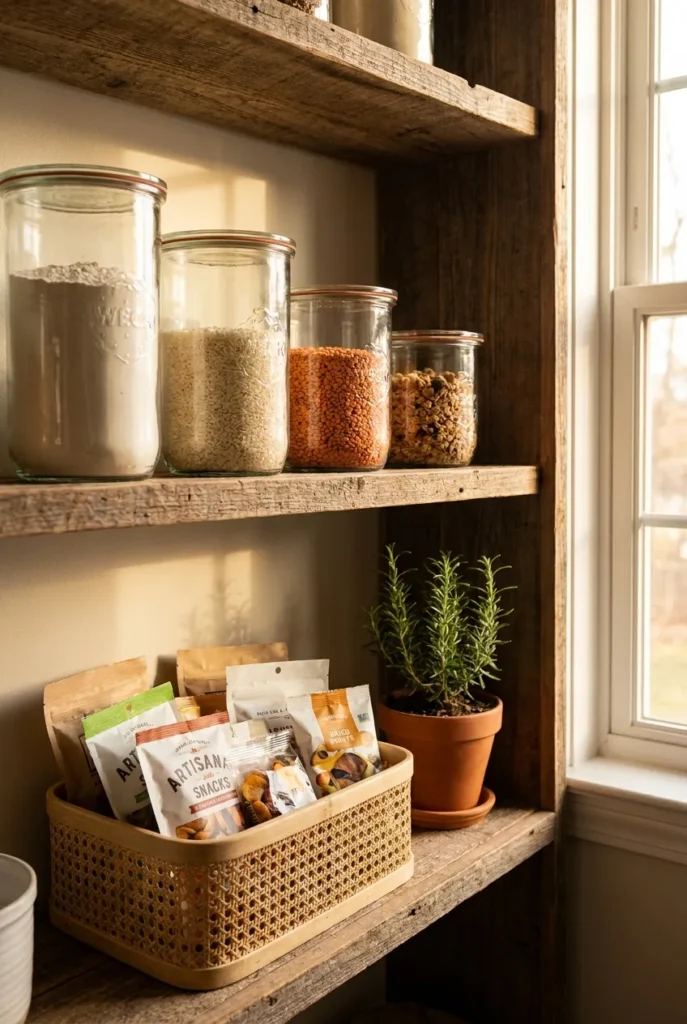
Types of Pantry Shelving for an Open Setup
Not all open shelving is the same, and the type you choose changes how tidy it stays.
Fixed wood shelves feel built in and warm, great for a dedicated pantry wall. Floating shelves keep the floor clear and suit small kitchens, just mind the bracket rating for heavy jars. Wire or metal racks (think a Brightroom utility unit or an IKEA OMAR) are budget friendly and rental safe. Adjustable track systems like Elfa or ClosetMaid let you move shelves as your needs change.
Shelf depth and spacing that actually work
Shallow wins for visibility. Aim for about 12 inches of shelf depth so nothing disappears behind a front row; deeper than 16 inches and back items get lost. Leave roughly 14 to 16 inches of vertical space between shelves for tall boxes and canisters, less for cans and spices. These numbers keep everything reachable, which is half the battle for staying tidy.
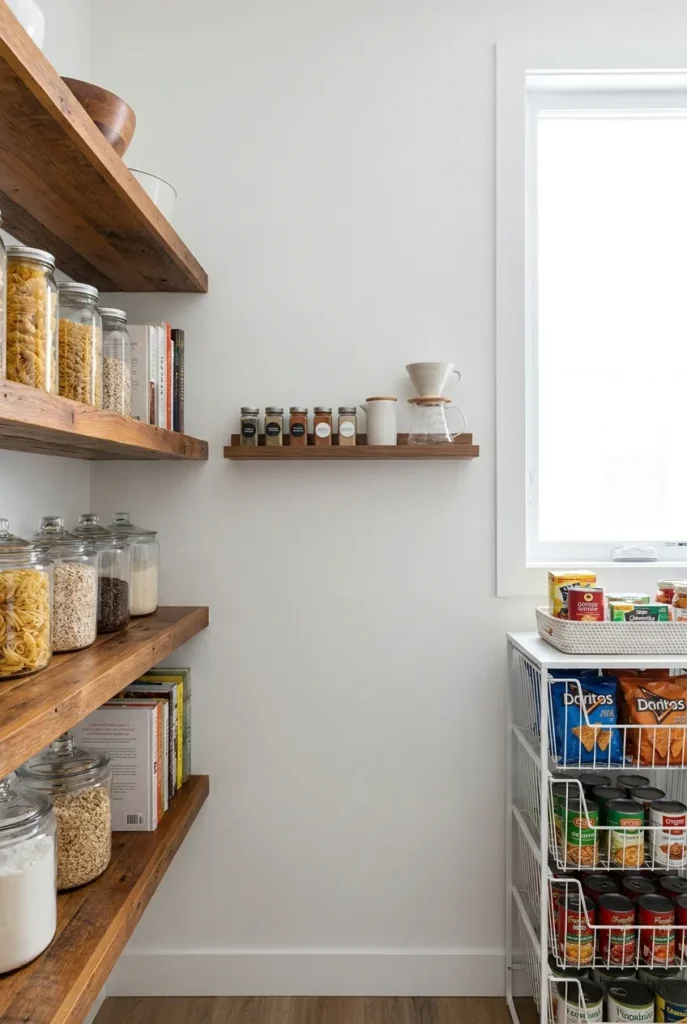
The 5-Container Pantry Starter Kit
If you want the look without overbuying, start here. This is a screenshot-worthy starter list, and it covers most kitchens for well under a full cabinet reorg.
- Two large airtight canisters (4.4-quart range) for flour and sugar or cereal.
- Three medium canisters (1.6 to 2.6-quart) for rice, pasta, oats, or coffee.
- One or two low cane baskets for snack packets and loose bags.
- A turntable (lazy Susan) for oils, vinegars, and sauces.
- A set of write-on labels so every zone stays obvious.
Add a tiered riser once you know your layout. That is genuinely all most pantries need to go from cluttered to calm. If you are pinching pennies, our small pantry makeover for around $50 shows how far Dollar Tree and Target Brightroom finds can stretch.
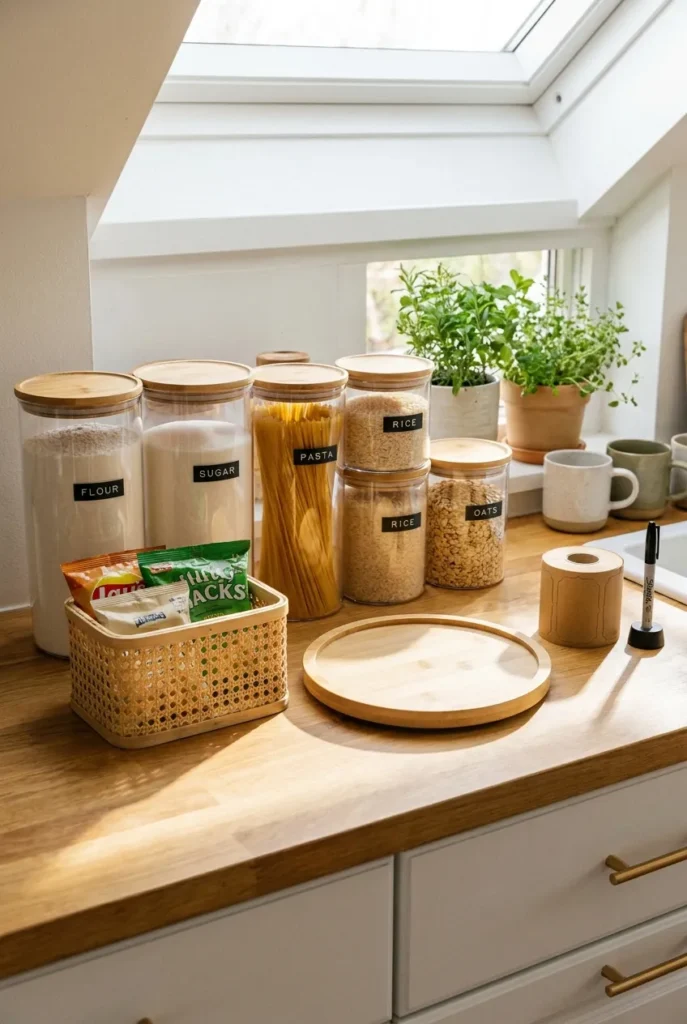
How to Keep It Tidy After Week One
This is the part the pretty pins skip. Any open shelving pantry looks amazing on day one. Keeping it that way is a habit, not a project.
Use the FIFO Refill Rule: when you decant a new bag, pour it under the old stock, not on top, so older food gets used first and nothing expires out of sight. Refill canisters the moment they hit about a quarter full, so you are never staring at a sad, half-empty jar on a visible shelf.
The 2-minute nightly reset
Every night, spend two minutes squaring up the front row: labels facing out, canisters back in their zone, one basket straightened. That tiny reset is what separates a pantry that stays styled from one that slides back in a week. Once a season, pull everything, wipe the shelves, and check dates.
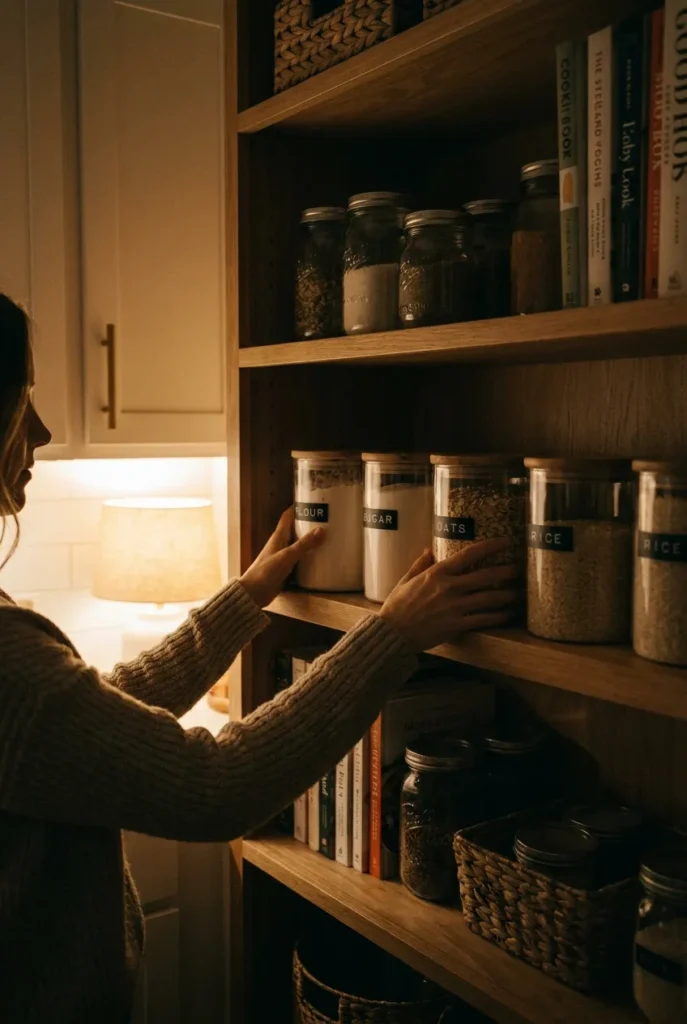
Small Kitchen and Rental-Friendly Open Pantry Ideas
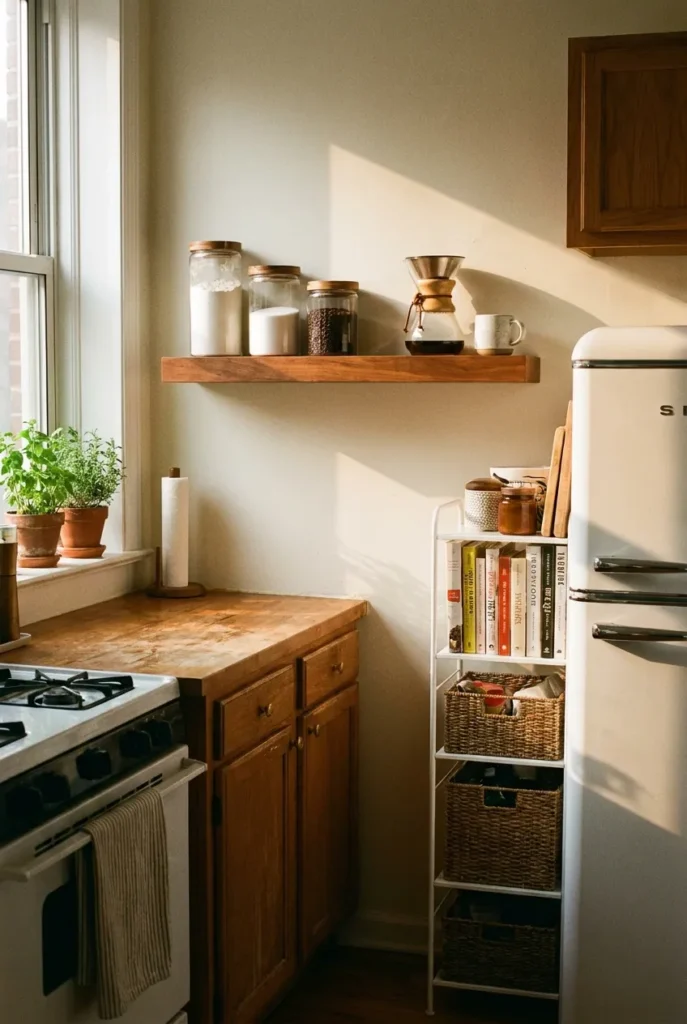
No dedicated pantry? You still have options. A single floating shelf above a countertop creates an open shelving pantry with countertop landing space for your coffee station. A slim freestanding rack fills a narrow gap beside the fridge. An over-the-door rack on a closet turns dead space into snack and can storage.
For renters, lean on damage-free choices: freestanding units, tension-mounted shelves, and Command-backed labels instead of screws. You get the airy, visible look and your deposit stays safe.
Common Open Pantry Mistakes to Skip
A few quick misses to sidestep. Do not overfill; a packed shelf reads cluttered no matter how nice the jars are. Do not decant food you rarely use, since it just sits and can go stale. Do not skip labels, because an unlabeled clear jar of white powder helps nobody at 6 a.m. And do not put your ugliest back stock at eye level; hide bulk and refills up high or in a closed bin.
Frequently Asked Questions
Is an open pantry a good idea?
Yes, if you value quick access and you will keep the visible layer neat. Open shelves make it easy to see and restock what you have. They do show clutter and collect dust, so decanting staples and grouping by zone is what makes the idea work long term.
What are the different types of pantry shelving?
The main types are fixed wood shelves, floating shelves, wire or metal racks, and adjustable track systems like Elfa or ClosetMaid. Wood feels built in, floating shelves save floor space, wire racks are budget and rental friendly, and adjustable systems flex as your storage needs change.
How do you make an open pantry?
Plan your zones first (group by meal), choose shallow shelves around 12 inches deep for visibility, decant your everyday dry staples into matching airtight containers, add baskets for loose items, and label everything. Style by repeating materials and leaving a little empty space so it reads calm.
How do I organize an open shelving pantry on a budget?
Start with the 5-container starter kit and mix in Dollar Tree jars and Target Brightroom baskets. You do not need matching designer canisters everywhere; consistency of shape and clarity matters more than brand. Focus your spend on the eye-level zone people see first.
How deep should open pantry shelves be?
About 12 inches is the sweet spot for most kitchens, with 14 to 16 inches of vertical space between shelves for tall items. Deeper than 16 inches and items get lost in the back, which is the opposite of what open shelving is supposed to do.
How do I keep open shelves from looking cluttered?
Decant loud packaging, group like items into zones, leave breathing room between groupings, and do a two-minute nightly reset to face labels forward. Keep bulk and back stock out of the eye-level row.
Bring It All Together
An open shelving pantry is not about perfection, it is about a setup that makes tidy the easy choice. Zone by meal, decant the staples you actually use, style with repetition and a little space, then protect it with a two-minute nightly reset and the FIFO Refill Rule. Do that, and your shelves stay photo ready without much effort.
If you try this, we would love to see how your shelves turn out. Save this to your pantry board so you have the zone plan and starter kit handy on your next organizing weekend, and poke around the rest of our pantry guides when you are ready for the next project.


