The Kitchen Cabinet Layout That Finally Matches How You Cook
Most kitchen cabinet layout advice tells you to pick a shape. L-shaped, galley, U-shaped, done. That’s fine if you’re gutting the room. But if your cabinets are already bolted to the wall (hi, renters, hi, anyone who isn’t remodeling), the shape isn’t your problem. What lives inside each cabinet is.
We learned this the slow way. You can have a beautiful U-shaped kitchen and still dig through three doors to find a colander. The fix isn’t new cabinets. It’s a smarter kitchen cabinet layout built around zones, the little clusters of stuff you reach for at the same moment.
Here’s the promise: by the end of this, you’ll know exactly what belongs in every cabinet and drawer, why, and how to set it up this weekend without a single drill hole. We’ll use real measurements, name real bins, and give you a plan you can screenshot.
Why a Zone-Based Kitchen Cabinet Layout Beats “Pick a Shape”
The five classic shapes (L-shaped, galley, U-shaped, single-wall, G-shaped) describe your walls. They don’t tell you where the mugs go. That’s the gap almost every guide leaves open.
Zones fix it. A zone is a small group of items you use together, stored where you use them. Coffee near the mug shelf. Sheet pans near the oven. It sounds obvious. Almost nobody does it.
The payoff is real. Fewer steps, fewer “where did I put that” moments, and a kitchen that stays neat because everything has an obvious home. According to the National Kitchen and Bath Association planning guidelines, thoughtful placement around the core work areas reduces wasted motion, which is the whole point of good design.
Best part? Zones work in any shape. Tiny galley rental or big U-shaped remodel, the logic is identical. You’re not moving cabinets. You’re moving contents.
The Kitchen Work Triangle, In Plain English
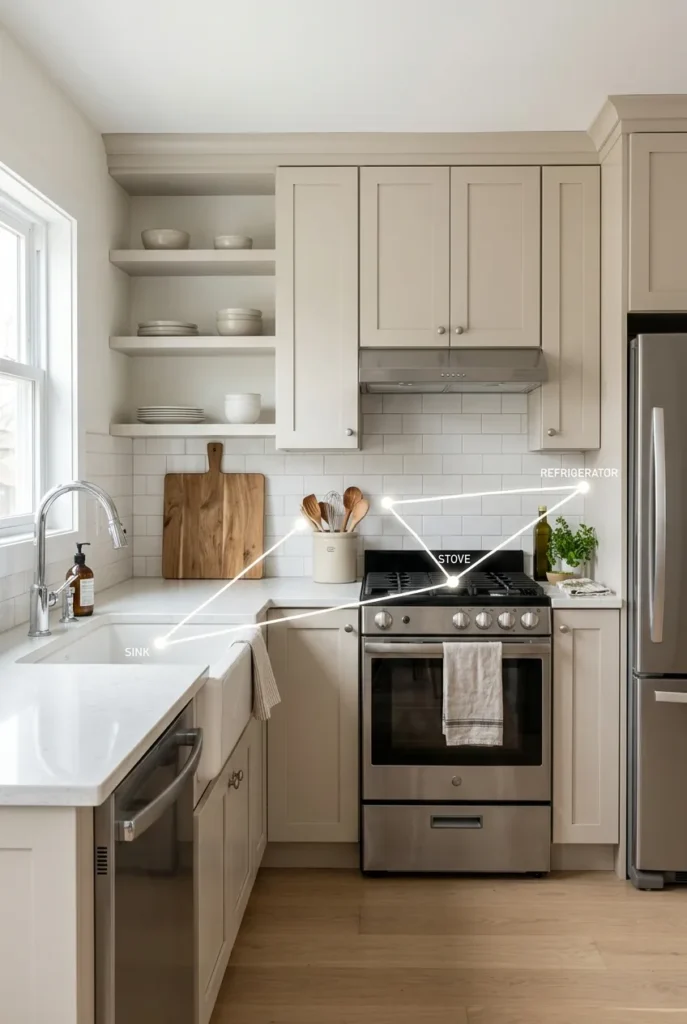
Before zones, one quick foundation. The kitchen work triangle connects your three heavy-use spots: the sink, the stove, and the refrigerator. The idea has been a design staple for decades, and the University of Kentucky extension on the kitchen work triangle explains it as a way to keep those three points close but not cramped.
Your zones hang off that triangle. Prep sits between sink and stove. Cleanup hugs the sink. Cooking wraps the stove. Keep that picture in your head and the rest falls into place.
The 5-Zone Kitchen Cabinet Layout (Our Framework)
Here’s the framework we use in every kitchen, big or small. We call it the 5-Zone Cabinet Map. Five zones, mapped to the moment you use each item, so your kitchen cabinet layout finally matches how you actually cook. Define it once, and every “where does this go” question answers itself.
The five zones: Consumables, Prep, Cooking, Cleanup, and Daily Grab. Let’s set up each one.
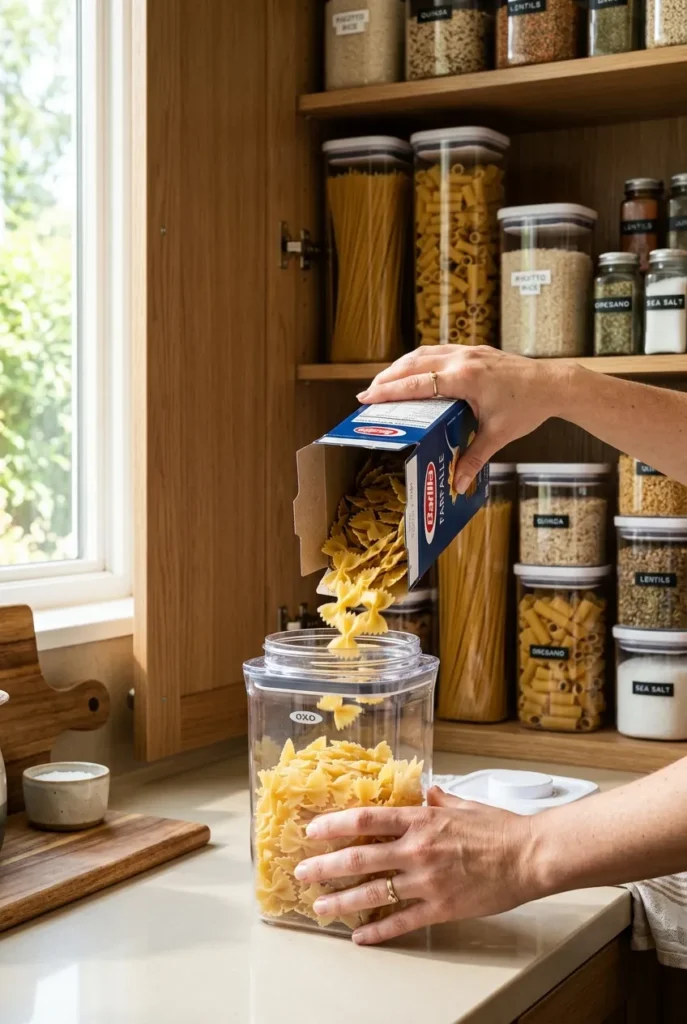
Zone 1: Consumables (Food and Everyday Reach)
This is food storage: your pantry cabinet, snacks, canned goods, and dry staples. Put it near the fridge so all your “food lives here” spots cluster together.
Group by category, not by size. Baking together. Breakfast together. Snacks together. If snacks are a battleground in your house, our full walkthrough on the 4-zone snack drawer setup shows how to keep that one drawer sane for good.
Decant the stuff that spills. Clear canisters make a half-empty shelf readable at a glance. A [VERIFY: your real container here, e.g. the 4.4-quart OXO POP container size you actually use] keeps flour visible and pours clean.
Zone 2: Prep (Where You Chop and Mix)
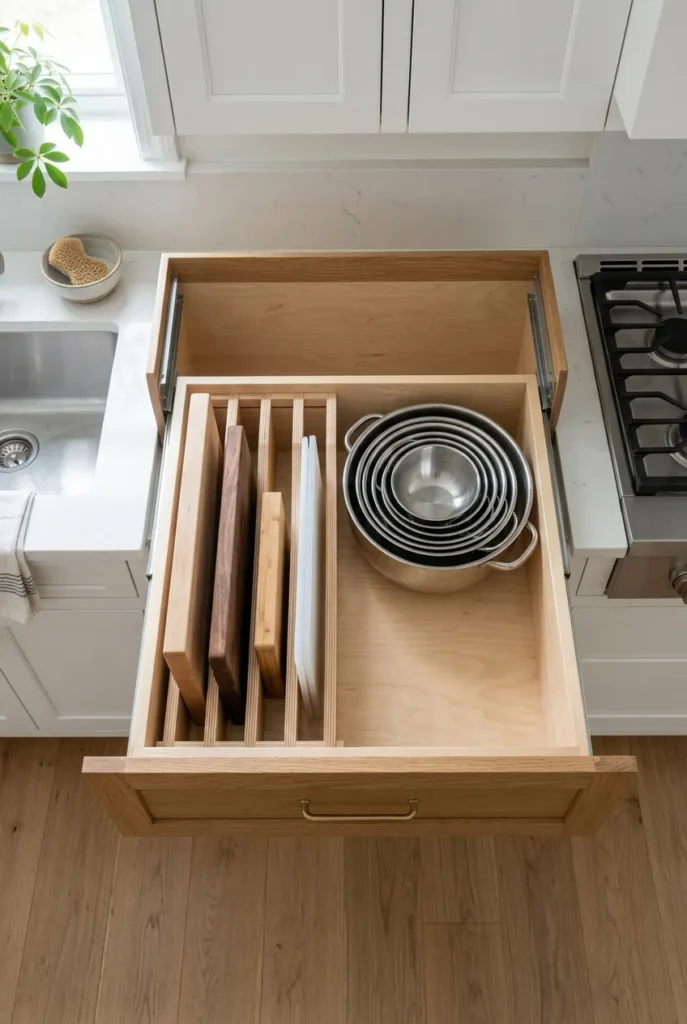
Prep happens on the counter between the sink and the stove. So the cabinets and drawers right there should hold prep tools: cutting boards, knives, mixing bowls, measuring cups, and your colander.
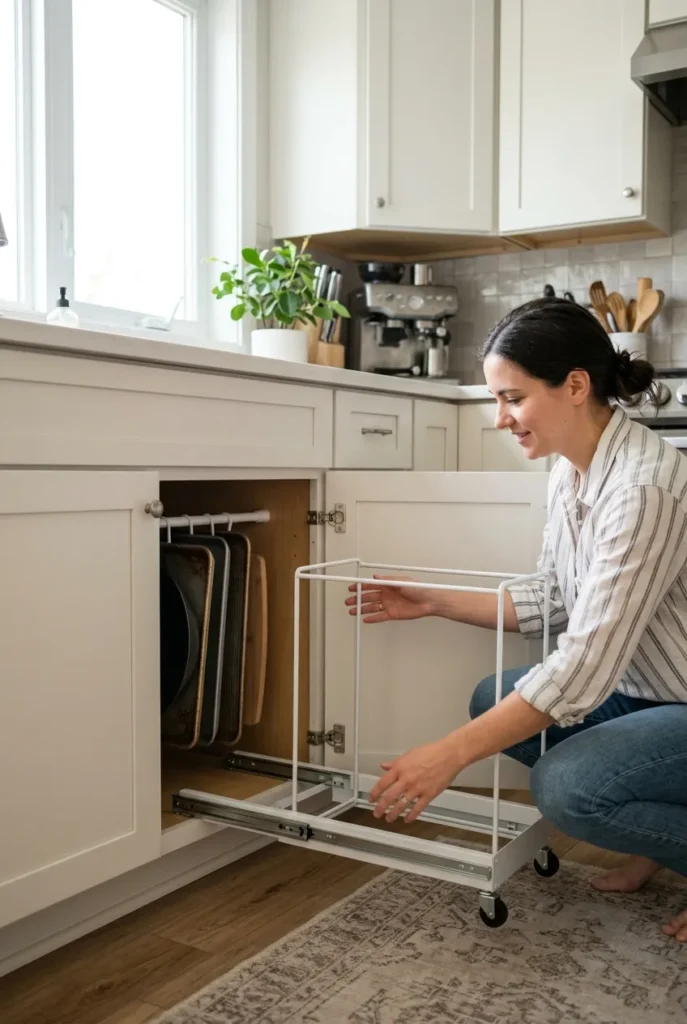
Store cutting boards upright in a slim vertical divider so you grab one without unstacking five. A pull-out shelf in the base cabinet turns a deep, dark hole into a tray you can actually see into.
Keep the counter above this zone as clear as you can. If counter space is tight, our tips on small kitchen counter space pair perfectly with this zone.
Zone 3: Cooking (Everything Within Arm’s Reach of the Stove)
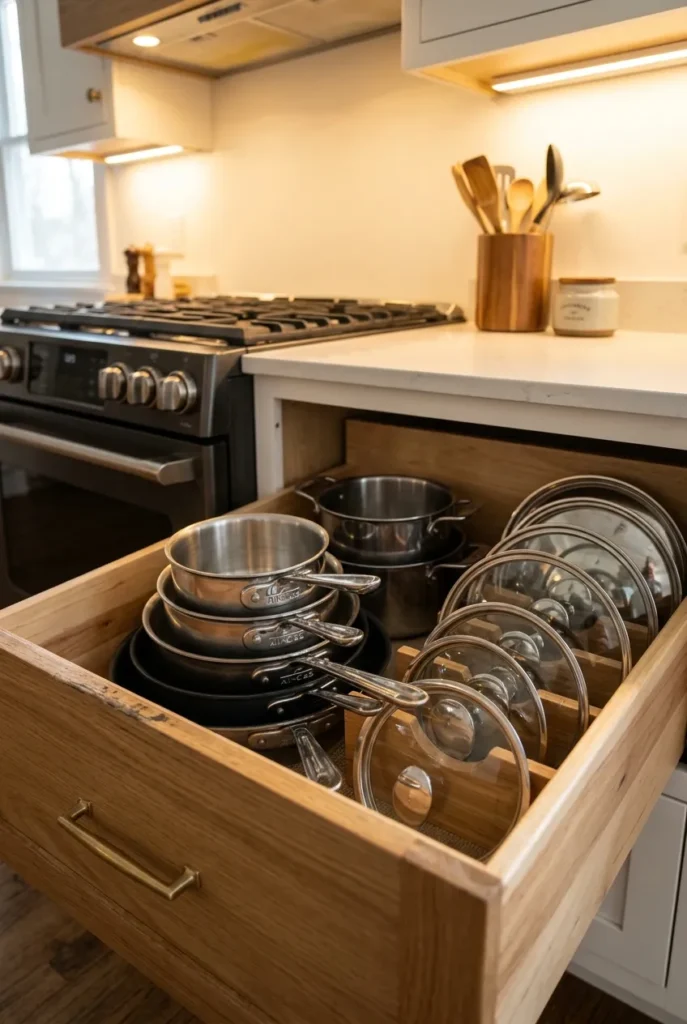
Pots, pans, lids, cooking oils, salt, and your most-used spices all belong within one step of the stove. This is the zone people get most wrong, because pots often end up across the room for no reason.
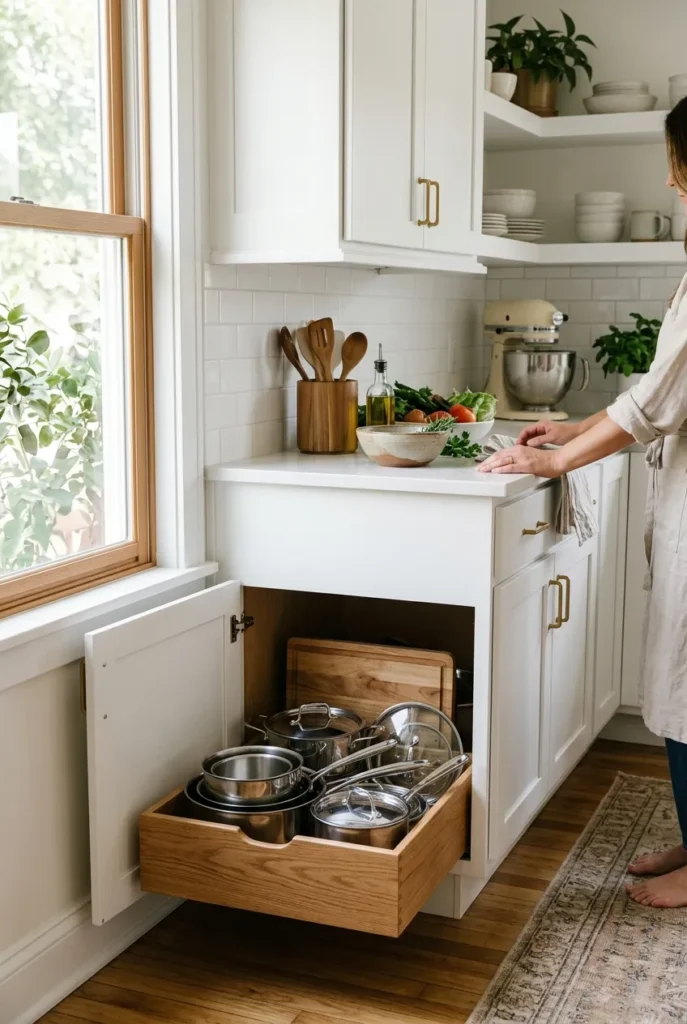
Use a deep drawer for pots and pans instead of a low door. Drawers pull the whole stack out to you, so you’re not on your knees reaching into the back. Store lids upright in a divider or a tension-rod rack inside the door.
Keep cooking spices right here, separate from baking spices in Zone 1. If your jars are a jumble, these spice rack organization ideas sort the mess with tiered risers and drawer inserts. A tiered shelf riser lifts the back row so labels face you.
Zone 4: Cleanup (The Sink Cabinet and Its Neighbors)
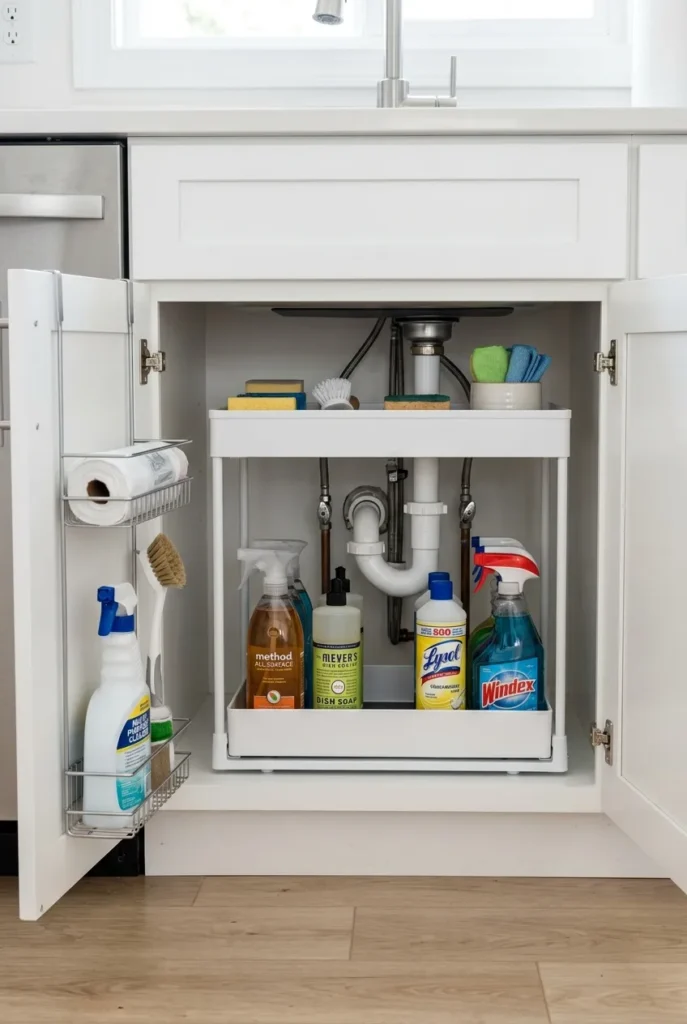
Under the sink and the cabinets flanking it: dish soap, sponges, dish towels, trash and recycling, and cleaning supplies. Keep it all here so wiping down is a turn-and-reach, not a trek.
The under-sink cabinet is awkward because of the pipes. Work around them with a two-tier pull-out organizer sized to fit around the P-trap. Measure the clear opening first (the pipe eats space you’d swear was there). Most under-sink openings run about [VERIFY: measure your real cabinet, commonly ~22 to 28 inches wide] between the hinges.
Hang a caddy on the inside of the door for sponges and gloves. Honestly, that one door rack does more than any bin.
Zone 5: Daily Grab (Dishes, Glasses, Mugs You Touch Every Day)
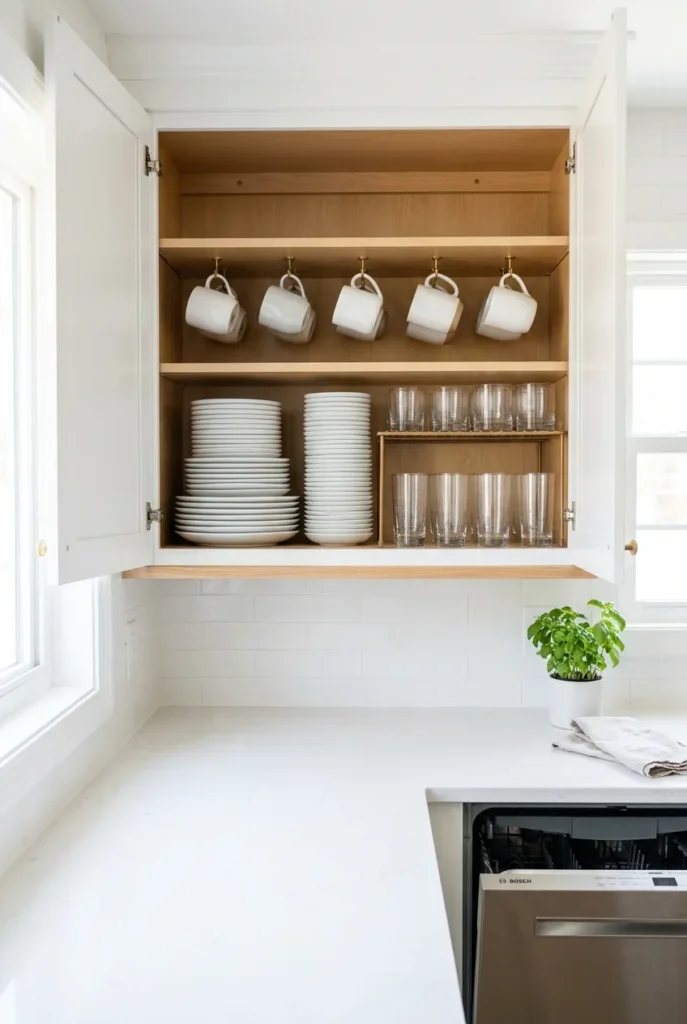
Plates, bowls, glasses, mugs, and everyday flatware. Put this zone near the dishwasher or drying rack so unloading is a short arc, not a lap around the island.
Keep upper cabinets for the light, daily things you lift overhead. Save the top shelf you can barely reach for rarely-used pieces (the holiday platter, the second waffle iron).
A shelf riser doubles your usable height for short glasses. Two rows in the space of one, no reno required.
Uppers vs. Base Cabinets: What Goes Where
Quick rule of thumb. Heavy and bulky goes low, in base cabinets and deep drawers. Light and daily goes up top, in easy reach. Rarely-used goes highest.
Base cabinets carry the weight: pots, small appliances, bulk food. Drawers beat doors down here every time, because you see the whole contents at once instead of crouching.
Upper cabinets hold the everyday lightweights: dishes, glasses, mugs, food you reach for constantly. The very top shelf is your “once a year” zone.
A Quick Cabinet-by-Cabinet Cheat Sheet
Screenshot this one. It maps each zone to its ideal cabinet spot.
| Zone | Best cabinet spot | Star organizer |
|---|---|---|
| Consumables | Tall pantry near fridge | Clear canisters, tiered can rack |
| Prep | Base + drawer between sink and stove | Upright board divider, pull-out shelf |
| Cooking | Deep drawer beside the stove | Pot drawer dividers, lid rack |
| Cleanup | Under-sink + flanking cabinets | Two-tier pull-out, door caddy |
| Daily Grab | Uppers near dishwasher | Shelf riser, mug hooks |
Renter-Friendly Kitchen Cabinet Layout (No Drilling Required)
If you rent, you can’t move a cabinet or add a pull-out that screws in. Good news: none of the zone system needs that. Every fix here is damage-free.
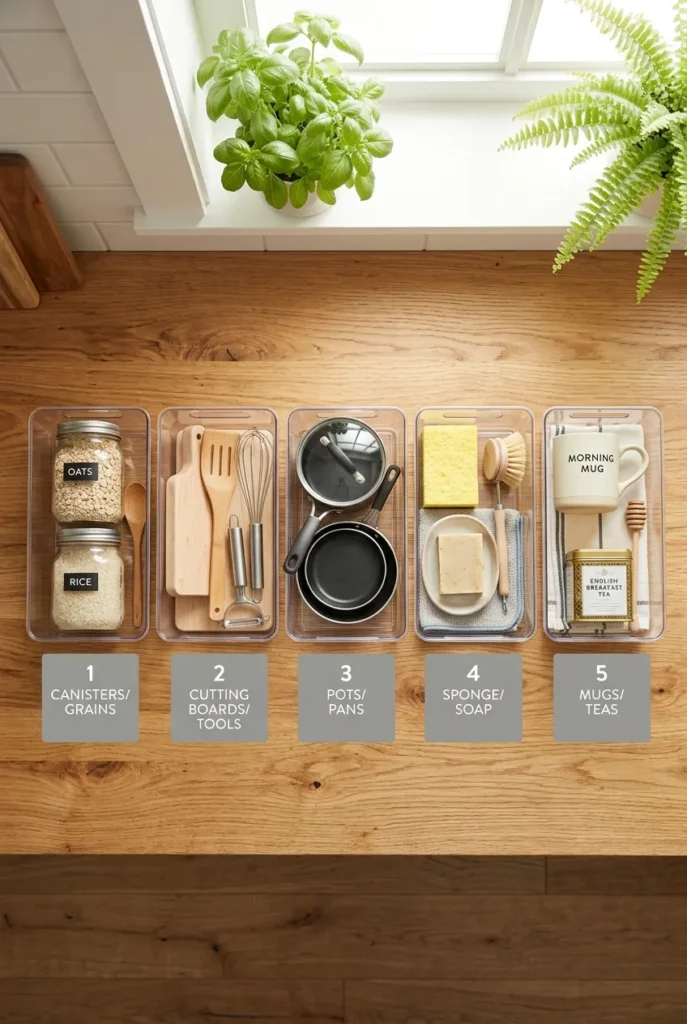
Use tension rods inside cabinets to stand up sheet pans and cutting boards vertically. Add stick-on hooks (Command 3M) inside doors for measuring cups and pot holders. Drop in freestanding pull-out bins that just slide, no mounting.
Stack, don’t screw. Shelf risers, stackable bins, and lazy Susans add function and lift right back out when you move. To be fair, some of these outperform the built-in stuff anyway.
Measure First: The Numbers That Save You a Return Trip
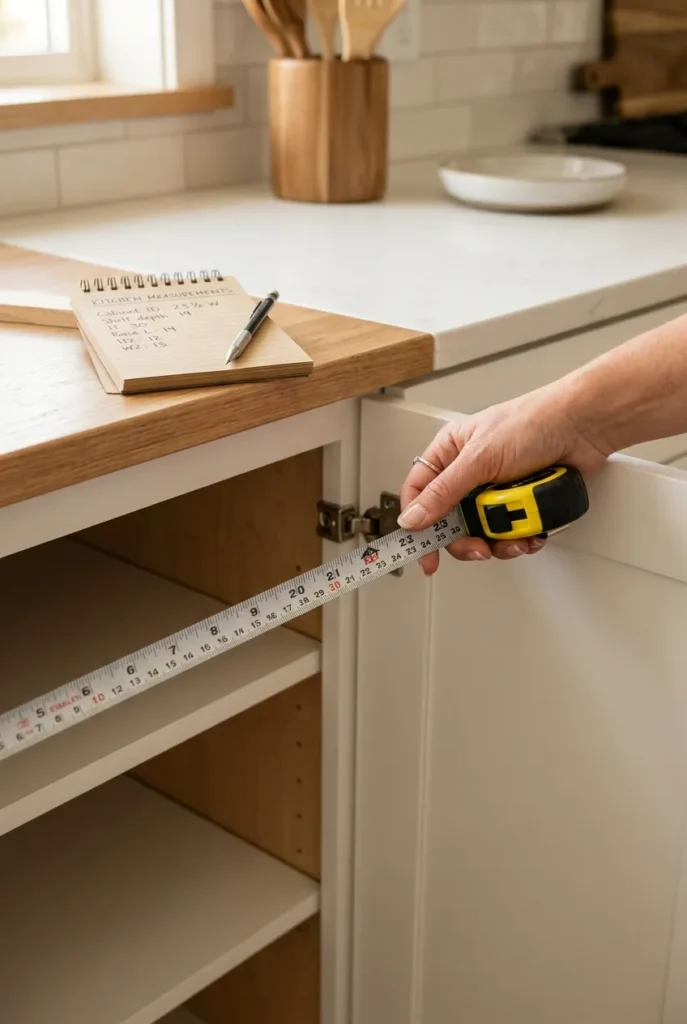
Before you buy a single bin, measure. This is the step everyone skips and everyone regrets. Bins that don’t fit go straight back to the store.
Measure three things per cabinet: the width of the clear opening (not the outer frame), the depth from front to back, and the height between shelves. Write them down. Standard base cabinets run about [VERIFY: commonly ~24 inches deep and 34.5 inches tall without countertop, confirm your own]. Standard uppers sit around [VERIFY: commonly ~12 inches deep, confirm your own].
Then shop to those numbers. A bin that’s an inch too wide is useless. An inch of clearance you didn’t check means the drawer won’t close.
Frequently Asked Questions
What is the best layout for kitchen cabinets?
The best kitchen cabinet layout groups items into zones based on when you use them, arranged around your sink, stove, and fridge. Heavy items go in low drawers, daily lightweights go in uppers, and food clusters near the fridge. Shape matters less than what lives inside each cabinet.
What are the 5 basic kitchen layouts?
The five classic kitchen shapes are L-shaped, galley (corridor), U-shaped, single-wall (straight), and G-shaped. These describe how your cabinets run along the walls. Our zone system layers on top of any of them, so you don’t need a specific shape to get organized.
What is a cabinet layout?
A cabinet layout is the plan for what goes inside each cabinet and drawer and where those cabinets sit in the room. A good one matches storage to how you cook, so the things you use together live together.
What is a kitchen layout?
A kitchen layout is the overall arrangement of cabinets, counters, and appliances in the space. It sets the footprint (the shape), while a cabinet layout handles the contents. You want both working together.
How do I organize kitchen cabinets in a small kitchen?
Go vertical and go by zone. Use shelf risers and tension rods to double usable height, keep only daily items in prime reach, and move rarely-used pieces up high or out. Freestanding pull-out bins make deep base cabinets usable without any drilling.
Your Weekend Plan
You don’t need a remodel to love your kitchen. You need a kitchen cabinet layout that matches how you actually move through it. Pick one zone this weekend (start with Cooking, it’s the fastest win), measure before you buy, and let the 5-Zone Cabinet Map do the rest.
Save this post so you have the cheat sheet handy when you’re standing in the organizing aisle, and tell us in the comments which zone was your biggest mess. We read every one.