Tupperware and Food Container Organization That Stays Neat
Let’s be honest about the cabinet. You open it, a lid slides out, then two more follow, and suddenly you’re crouched on the kitchen floor playing a matching game nobody wins. Good food container organization fixes that for real, not just for the fifteen minutes after you tidy. That promise is the whole point of this guide.
Here is what makes this different from the usual cleanout advice. Most tips stop the moment your cabinet looks pretty. We’re going further. You’ll get a system for the containers, a separate system for the lids (the actual troublemakers), and a five-minute habit that keeps everything neat weeks later. Grab a coffee. This one sticks.
Start Here: The One-Bin Container Declutter
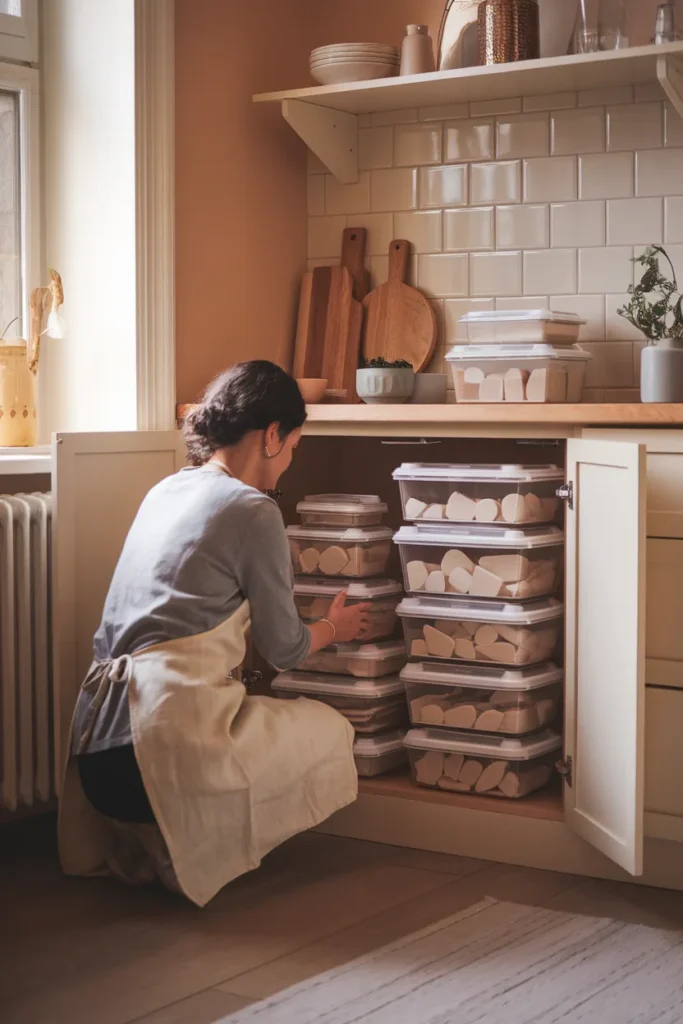
Before you buy a single organizer, empty the cabinet. All of it. Every container, every orphaned lid, every mystery piece that came with a deli order in 2023. Pull it onto the counter so you can actually see what you own.
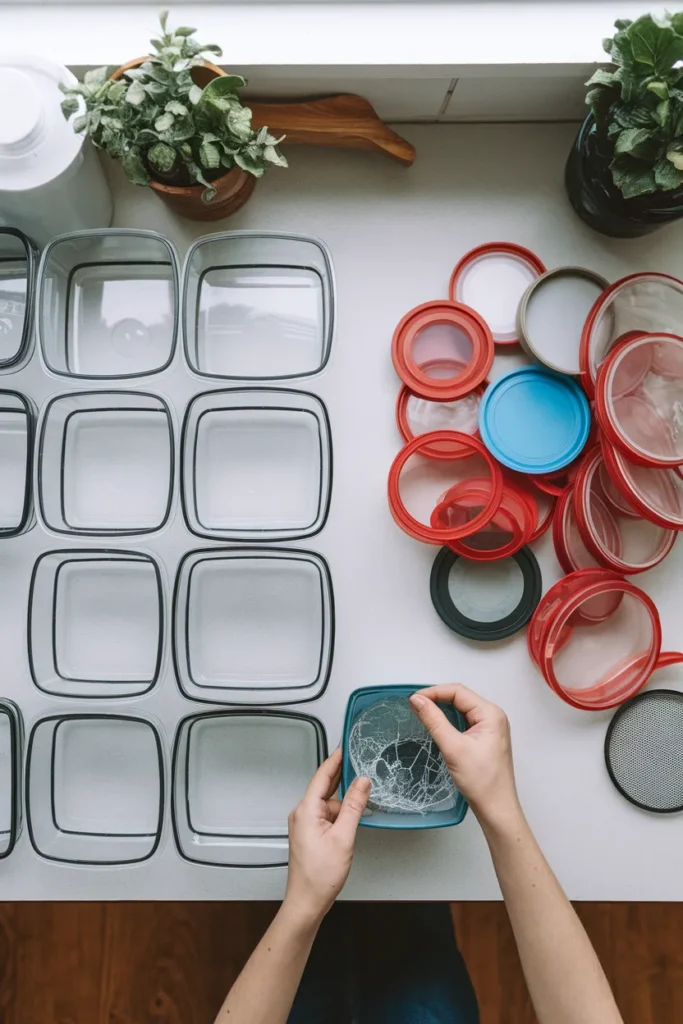
Now sort fast. Keep only containers that have a matching lid and a flat, un-warped shape. Anything cracked, stained cloudy, or missing its partner goes into a repurpose pile (great for garage screws or craft-room beads) or the recycling. This declutter step is where real food storage container organization begins, and it’s the one thing every neat kitchen has in common.
While the cabinet is empty, wipe it down. If you want a small upgrade, lay a wipeable cabinet liner so future spills come up in one swipe. Little thing. Big payoff.
The Lid Problem, Solved: Give Lids Their Own Address
Here’s the truth nobody says out loud: your containers were never the problem. The lids were. They slide, they nest wrong, they vanish. So we treat lids as their own category with a real home.
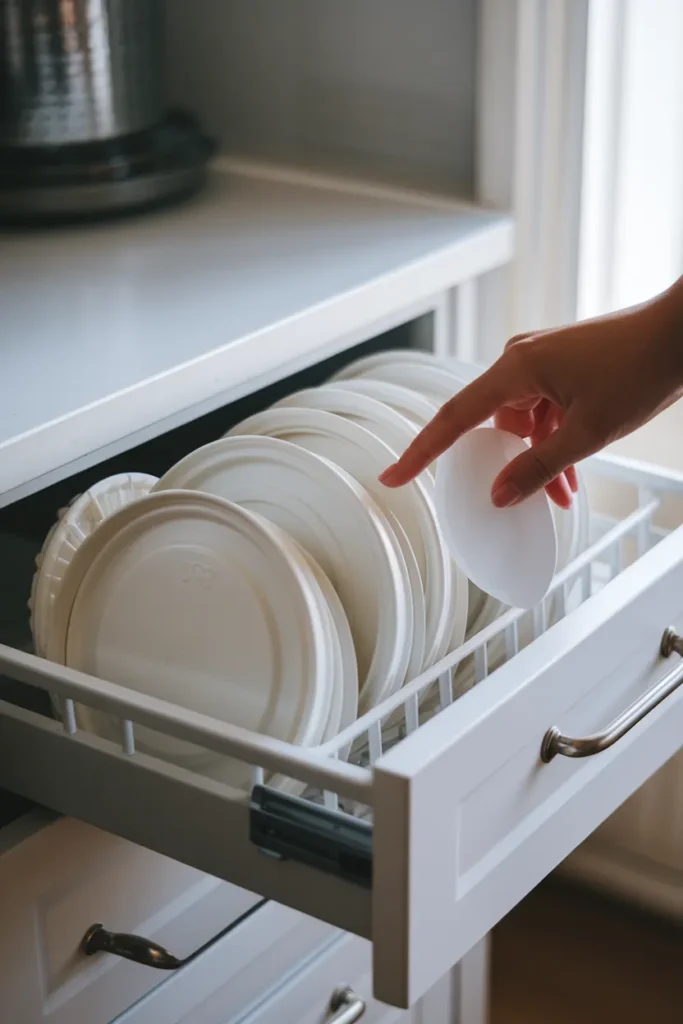
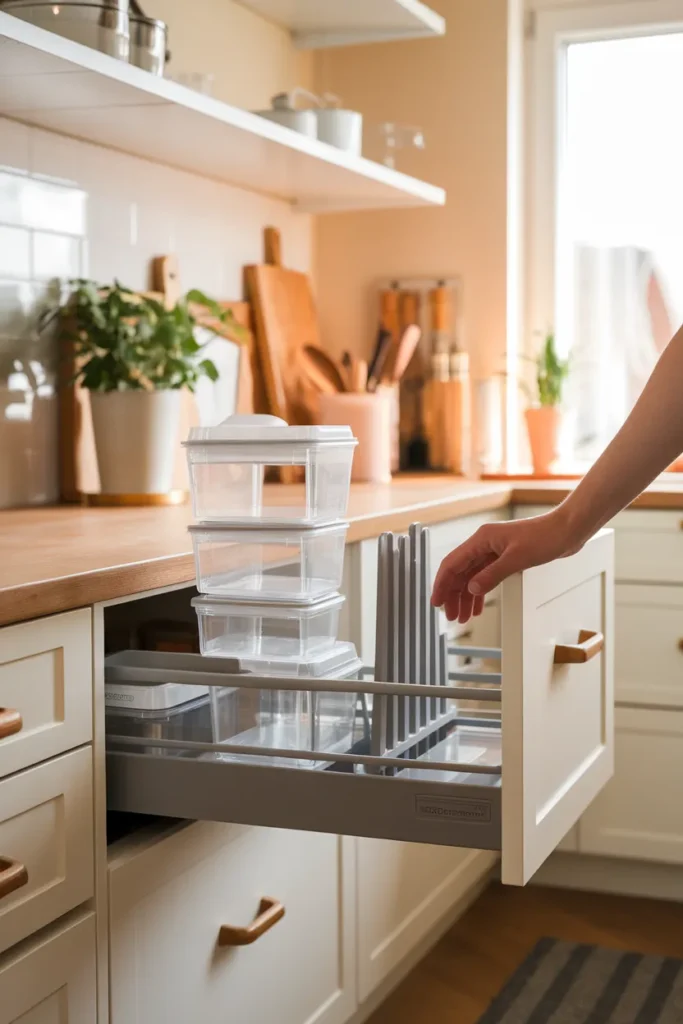
The cleanest fix is a lid organizer or a shallow bin where lids stand upright like files in a drawer, sorted by size. You flip through them, grab the right one, done. No digging. A slim drawer divider works just as well if you’d rather not buy a dedicated gadget, and it’s part of the same thinking behind labeling your jars, bins, and containers so every piece has a clear spot.
If your cabinet is deep, mount an adjustable pegboard on the shelf. The pegs move to fit any lid size, and it turns dead space into a tidy lid station. Whatever you pick, the rule is the same: lids stand up, they never lie in a heap.
Pick One System: Nesting Sets vs. Lids-On Storage
There are two schools of thought, and both work. You just have to commit to one.
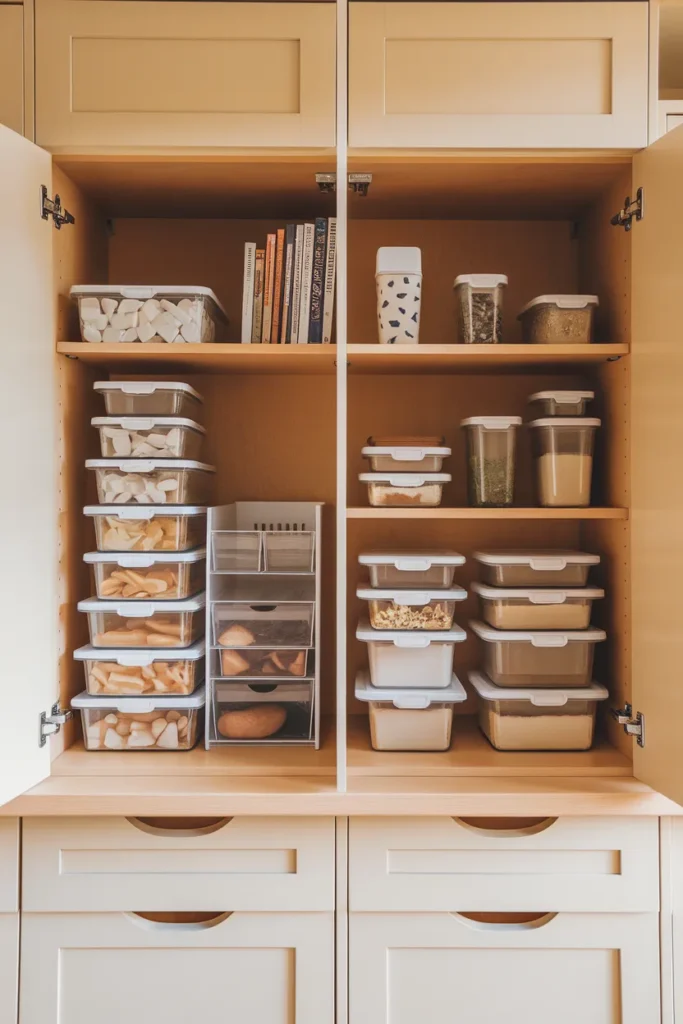
The first is nesting. Buy or keep containers that stack inside each other, store the bodies as one tidy tower, and file the lids separately in that upright bin. This saves the most space, which matters in a small kitchen.
The second is the lids-on method, where you store each container with its lid already attached and simply stack them by size. It uses more room, but you grab one piece and you’re ready. Real Simple’s kitchen team makes a fair case for it, noting the method is “both free and easy” because it removes the daily lid hunt entirely.
Neither is wrong. Choose based on your space: tight cabinets favor nesting, roomy cabinets can afford lids-on. Just don’t mix both in the same stack, because that’s how the chaos creeps back.
A Quick Way to Choose Your Container Material
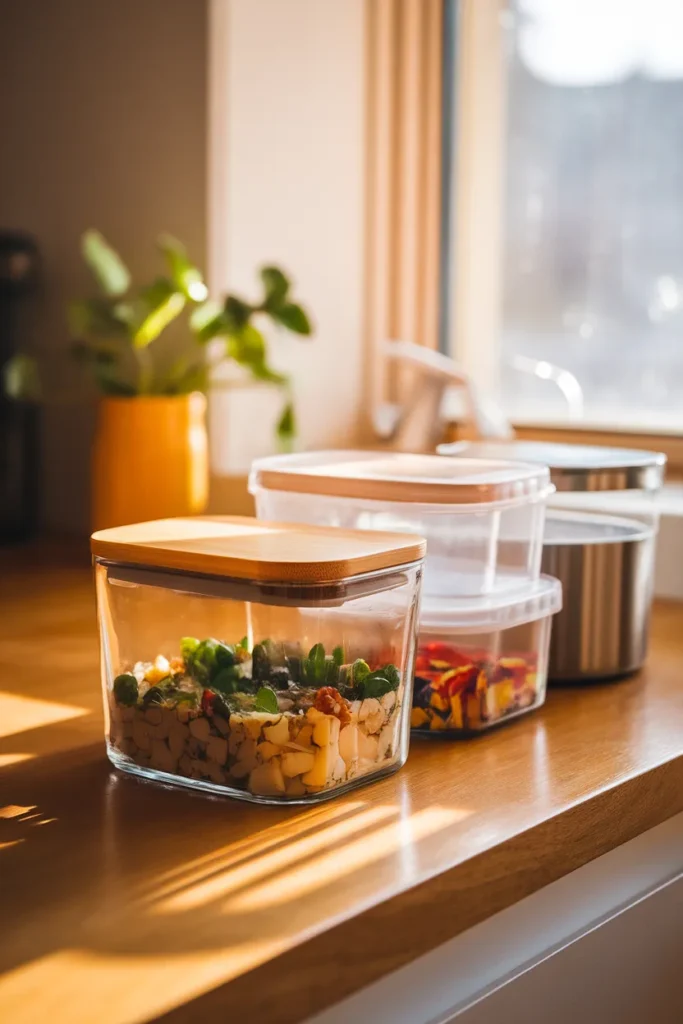
Material matters more than people think, both for how long a container lasts and for how it looks on an open shelf. Here’s a screenshot-friendly cheat sheet.
| Material | Best for | Watch out for |
|---|---|---|
| Glass | Reheating, meal prep, fridge display | Heavier, can chip if dropped |
| Clear plastic | Everyday leftovers, kids’ lunches | Can stain and warp over time |
| Stainless | Lunchboxes, no-microwave homes | Not microwave-safe, no see-through |
If you’re building a fresh set, glass wins for looks and longevity. For food-contact safety guidance on any material, the U.S. FDA’s food packaging resource is the authority worth bookmarking.
Use the Right Zone: Drawer, Shelf, or Pull-Out
Where you store containers shapes how neat they stay. A deep pull-out drawer is the gold standard because you see everything at a glance and nothing hides in the back. If you have one, divide it: bodies on one side, the upright lid bin on the other.
No pull-out? A dedicated shelf works beautifully. Reserve one shelf just for containers so they never mingle with mixing bowls or pans. This is the same logic behind learning to organize your kitchen cabinets from top to bottom, where every category earns a fixed zone.
For awkward corners, a lazy Susan turns a hard-to-reach spot into a spin-and-grab station. And an upper cabinet forces you to place items deliberately instead of tossing them, which quietly keeps things tidier.
Small Kitchen? Go Vertical and Clear
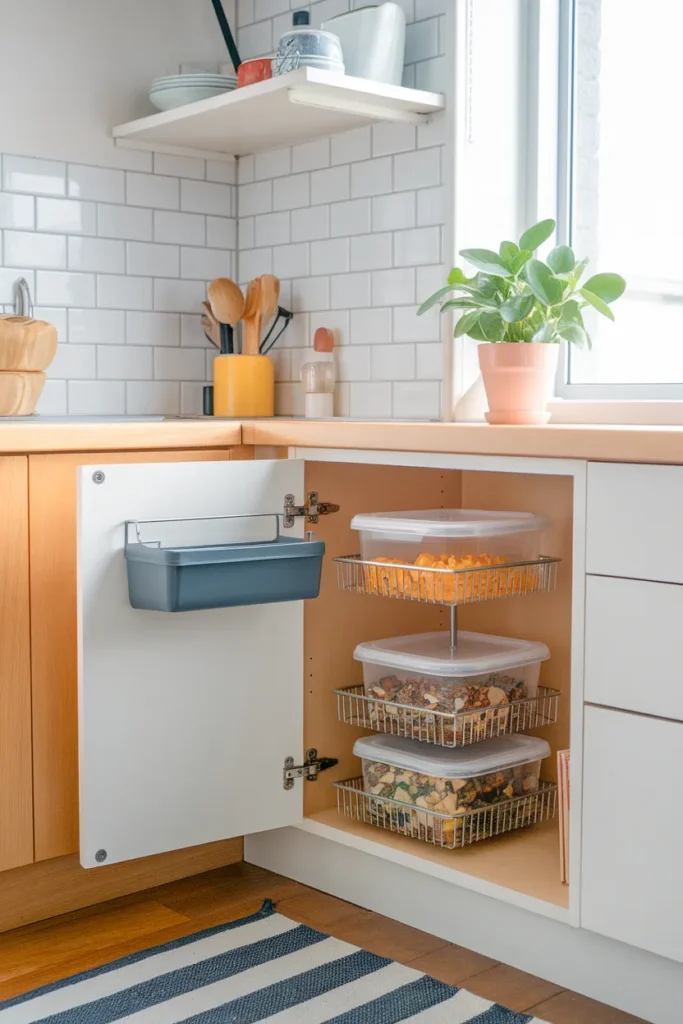
When counter and cabinet space is tight, build up instead of out. A wire cooling rack with legs instantly doubles a shelf: containers rest below and on top. Stackable clear bins let you group by size while keeping everything visible, so you never buy a duplicate you already own.
Clear is the secret weapon in a small space. When you can see the contents, you use what you have and stop the pile from growing. Plenty of budget-friendly Amazon organizers under $25 do this job without a big spend, which is honestly where I’d start before splurging.
One more small-space trick: hang a slim bin on the inside of the cabinet door for the lids you reach for most. Found space. Zero footprint.
Make It Pretty: The Pantry and Meal-Prep Upgrade
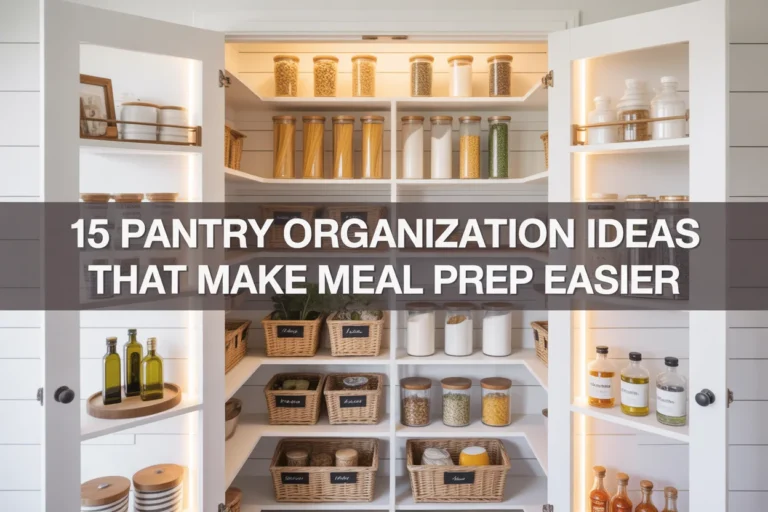
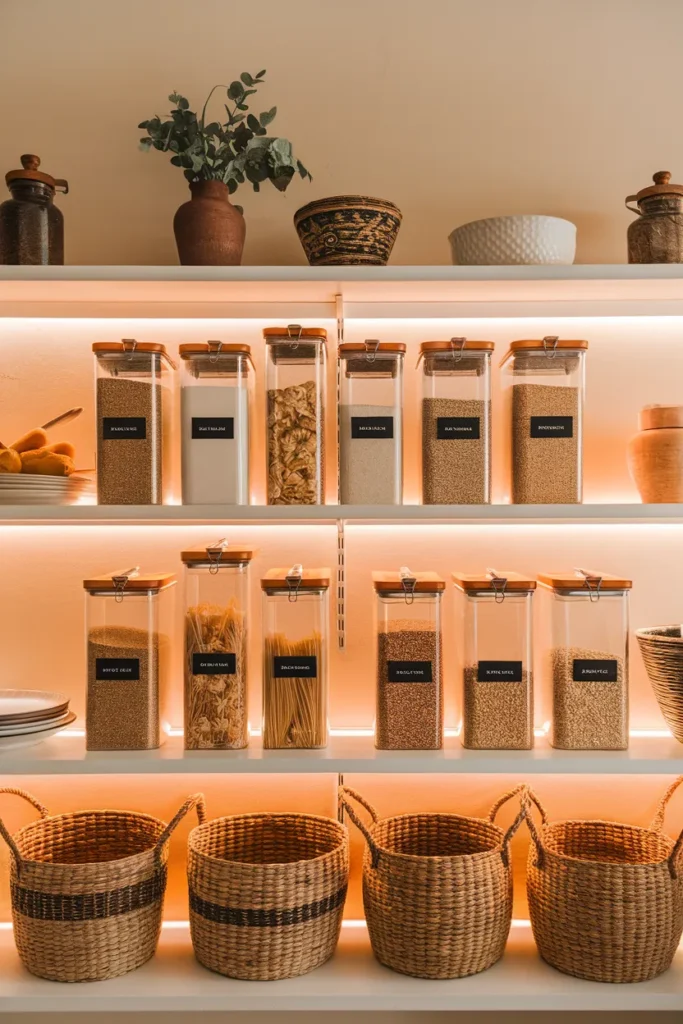
If your containers live on an open pantry shelf, looks count. Decant dry goods into matching airtight canisters and line them up front-facing. The uniform shapes read as calm, which is exactly the aesthetic winning on Pinterest right now: bright shelves, matching clear jars, black-and-white labels, woven baskets underneath.
Meal-prep containers deserve their own small zone too. Stack same-size prep containers in one column so grab-and-go mornings stay fast. A simple label on the shelf edge (“prep,” “leftovers,” “snacks”) keeps the family putting things back correctly.
For safety, remember the two-hour rule when you fill those containers: the USDA advises refrigerating perishable leftovers within two hours of cooking, per its Leftovers and Food Safety guidance. Neat and safe, together.
Keep It Neat Past Week One: The 5-Minute Reset
This is the part the other guides skip, and it’s the whole reason your last cleanout didn’t last. A system only stays neat if there’s a tiny habit protecting it.
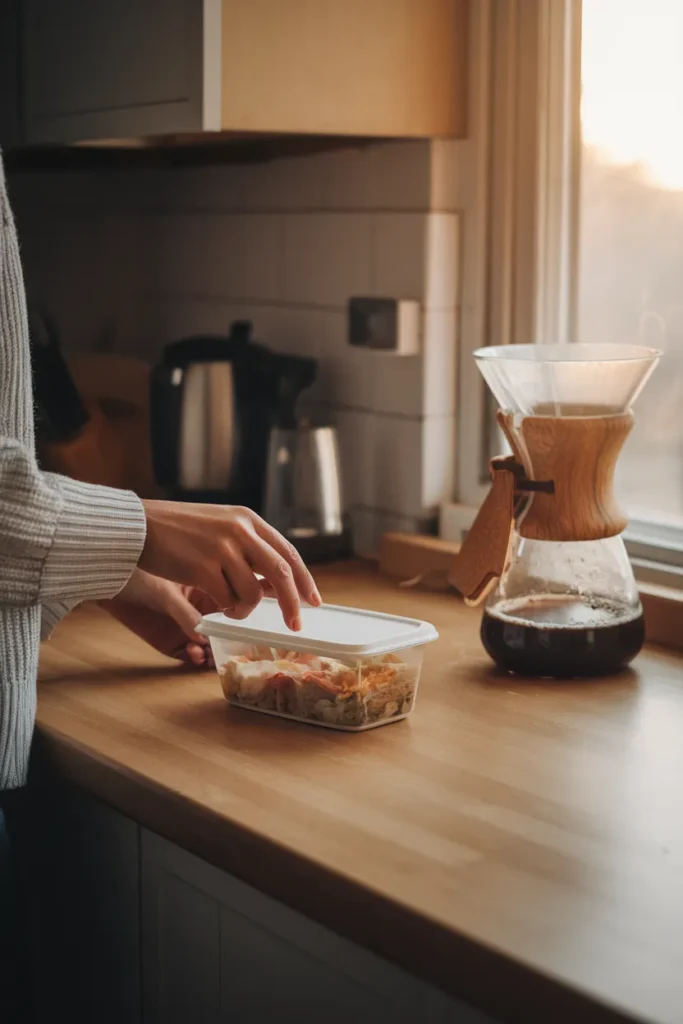
Here’s the framework I lean on. Call it The Sunday Container Reset: once a week, take five minutes to pull any stray containers from the sink and dishwasher, match each to its lid, and return both to their assigned zone before you restock. That’s it. Five minutes, once a week, and the cabinet never spirals again.
Pair it with one seasonal purge. Every few months, toss anything warped or stained and skim off containers you never reach for. [VERIFY: your real cadence here, e.g. “I do mine on the first Sunday of the month while coffee brews”]. Systems don’t fail because they’re wrong. They fail because nobody maintains them, and this five-minute anchor is the maintenance.
A Realistic Before-and-After
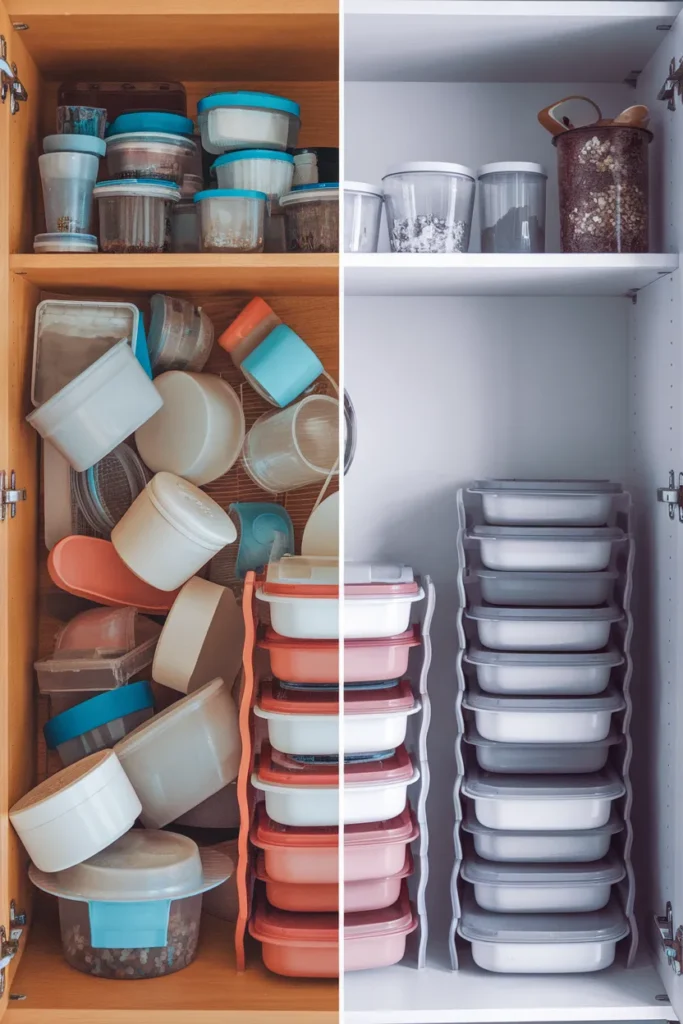
You don’t need a full remodel for this to work. [VERIFY: your real before/after here, e.g. “Our cabinet went from a two-minute lid hunt every night to a five-second grab after I switched to one glass set and a $12 lid bin”]. The point isn’t perfection. It’s a cabinet that opens without an avalanche and closes without a fight.
Start with the declutter, give lids their own address, pick one system, and protect it with the weekly reset. That’s the entire playbook.
Frequently Asked Questions
What is the best way to organize food storage containers?
Empty the cabinet, keep only containers with matching lids, then choose one system: either nest the bodies and file the lids upright in a bin, or store each container with its lid on and stack by size. Give lids their own zone, and protect the whole setup with a quick weekly reset.
How do I organize my Tupperware?
Treat the bodies and lids as two separate categories. Stack same-size Tupperware bodies together and stand the lids upright in a divider or shallow bin, sorted by size. Sticking to one brand or one nesting set makes matching almost automatic.
What’s the best way to organize a food pantry?
Decant dry goods into matching airtight canisters, line them up front-facing, and label each one. Group by category (baking, snacks, grains), add woven baskets for loose items, and keep the containers you use most at eye level.
How do I store food containers and lids so they stop falling out?
Stop stacking lids in a loose pile. Stand them vertically in a lid organizer or drawer divider, and stack the container bodies separately. Vertical lid storage is the single biggest fix for the cabinet-avalanche problem.
How often should I declutter my containers?
Do a five-minute reset weekly to return strays to their zones, then a deeper purge every few months to remove warped, stained, or lid-less pieces. Regular small check-ins beat one big annual cleanout every time.
Your Neat Cabinet Starts Today
Food container organization isn’t about owning the prettiest bins. It’s about a system simple enough that you’ll actually keep it up: declutter, give lids a home, pick one storage method, and run the weekly five-minute reset. Pick just one section above and tackle it this weekend. Then pin this guide so you can come back for the next step, and tell us in the comments which trick finally tamed your lid drawer.