Under Kitchen Sink Organization: 12 Ways to Tame the Cabinet
Under kitchen sink organization is the project everyone skips, and honestly, we get why. You open that cabinet and a wall of pipes, a garbage disposal, and a leaning tower of spray bottles stares back. Sound familiar? Here’s the promise: with the right 12 moves, this awkward little cave becomes the most functional 24 inches in your kitchen. We rebuilt ours around three simple zones, a couple of sliding organizers, and one leak-catching trick, and it has stayed tidy through months of real dishes and real spills. Every step below is budget friendly, renter safe, and doable in a single weekend afternoon.
1. Pull Everything Out and Sort It in One Pass
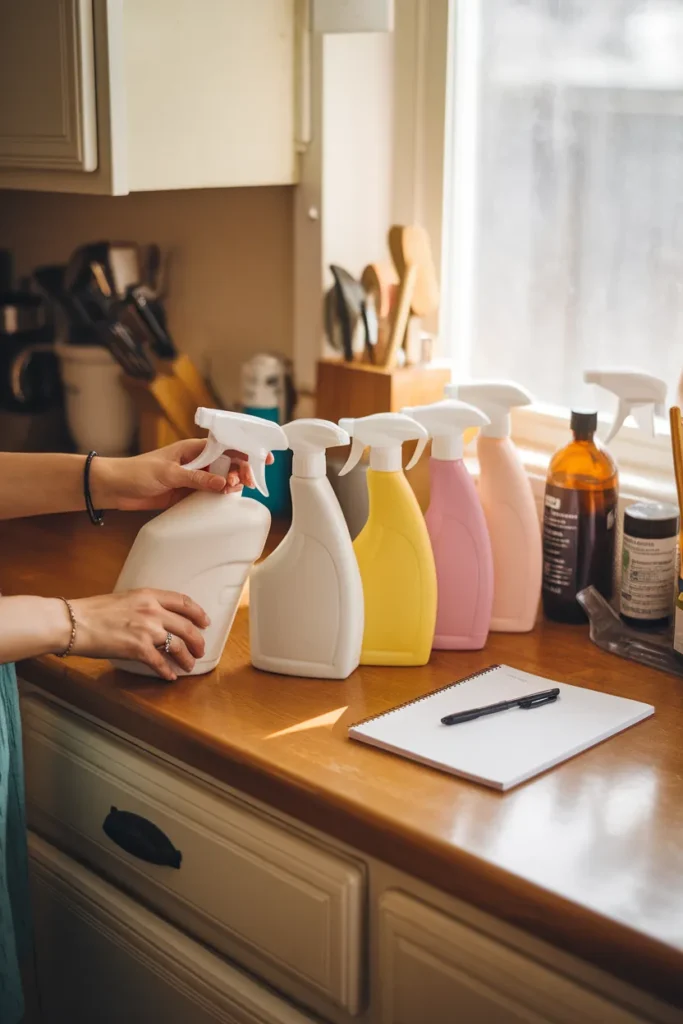
Start with a 20 minute total pullout. Every bottle, every rag, every mystery sponge comes out onto the counter, along with any old liners or wobbly caddies. Seeing the full pile is the point, because buried items get rebought and forgotten. Sort into three groups as you go: keep here, relocate, and toss or use up.
When we cleared ours, two half used glass cleaners and an unopened sponge multipack surfaced from the back corner (we’d bought replacements for both). Backstock and rarely used products don’t need to win a spot in this tiny cabinet at all. Move them to one of these cleaning supplies storage spots that beat the kitchen sink and let the cabinet hold only what you reach for weekly. Wipe the empty base down before anything goes back in.
2. Measure the Cabinet, the Pipes, and Your Tallest Bottle
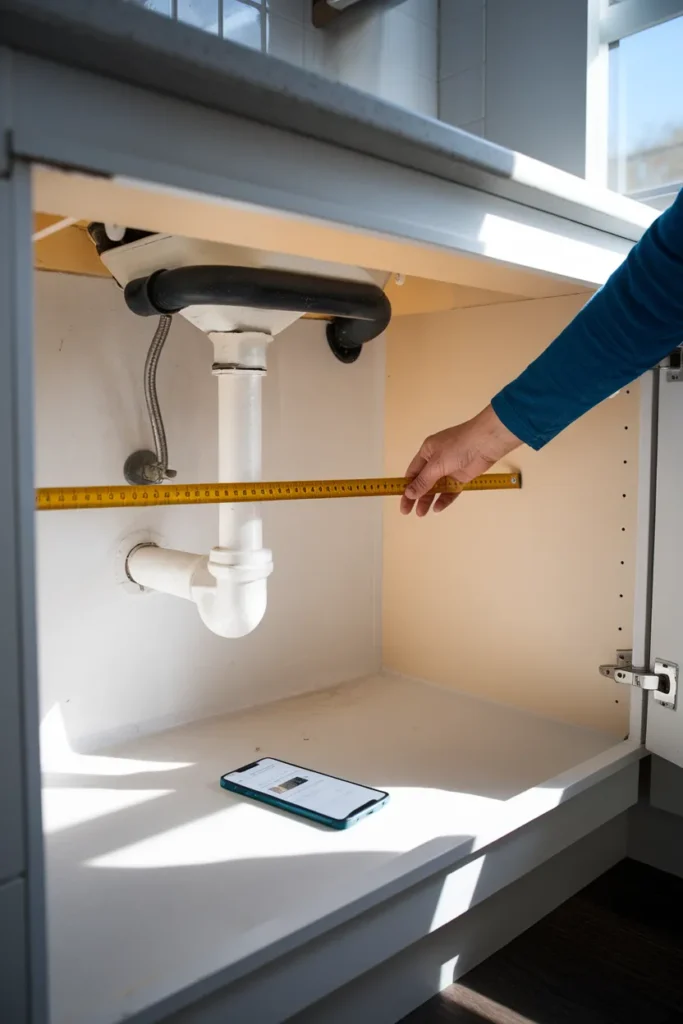
Skip the guesswork. Most US sink base cabinets run 33 to 36 inches wide and about 24 inches deep, but the usable space is whatever’s left after the P-trap and disposal take their share. Measure the full width, height, and depth, then measure the open pockets to the left and right of the disposal separately. One more number matters just as much: the height of your tallest bottle.
An organizer only earns its keep if your actual products fit on it, under it, and above it. Write all six measurements in your phone before you shop. Two minutes with a tape measure saves two return trips, and it’s the single step that makes every product in this list fit on the first try.
3. Set Up the Splash Zone Method
Here’s the framework that keeps everything from sliding back into chaos: the Splash Zone Method. You split the cabinet into three zones by how often you grab things. The Door Zone holds daily grabs (dish soap, all purpose spray, brush), the Front Zone holds weekly items (surface cleaners, trash bags, gloves), and the Pipe Zone, the awkward back area around the plumbing, holds only rare backstock plus your leak protection.
Every item from your keep pile gets assigned a zone before a single bin is purchased. It’s the same zone thinking that runs our whole zone based kitchen cabinet layout, scaled down to one cabinet. Screenshot the cheat sheet below and tape it inside the door for the first month.
| Splash Zone | How often you reach | What lives there |
|---|---|---|
| Door Zone | Daily | Dish soap, all purpose spray, scrub brush |
| Front Zone | Weekly | Cleaners, trash bags, gloves, sponges |
| Pipe Zone | Rarely | Sealed backstock, leak tray, drip mat |
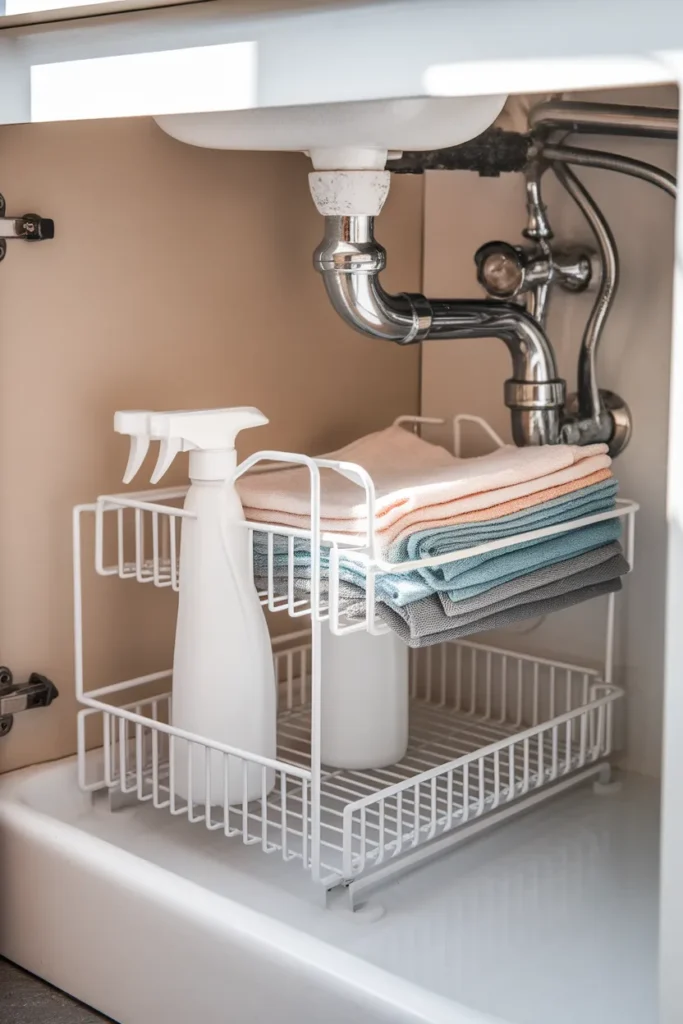
4. Slide In a Two Tier Under Sink Organizer
One product does the heaviest lifting here: the two tier sliding under sink organizer. Brands like REALINN make L shaped versions built to wrap around the pipes, and adjustable models such as ADBIU telescope from 11 to 15.75 inches tall so they tuck under low drains. Sliding drawers around 12.8 inches deep (Sevenblue’s are a solid budget pick on Amazon) pull the whole shelf toward you, so nothing hides in the dark.
Place one on each side of the disposal for a symmetrical Front Zone. Amazon Basics and Target Brightroom both carry simple stacking versions too. Bottles stand upright, sprays line up by task, and the vertical space above them finally gets used instead of wasted.
5. Hang Baskets on the Cabinet Doors
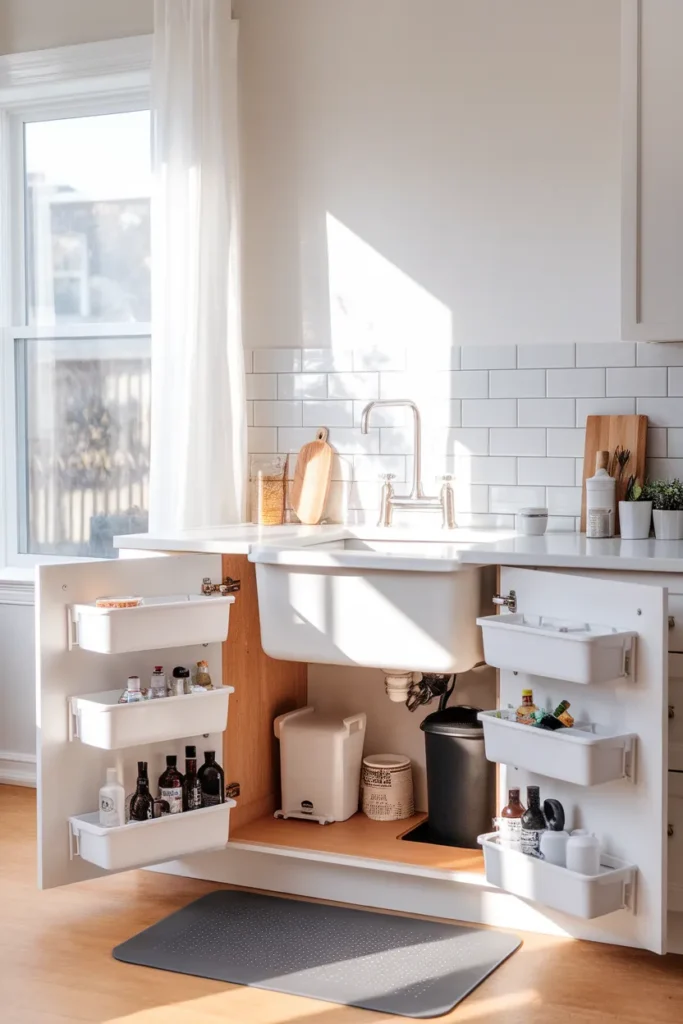
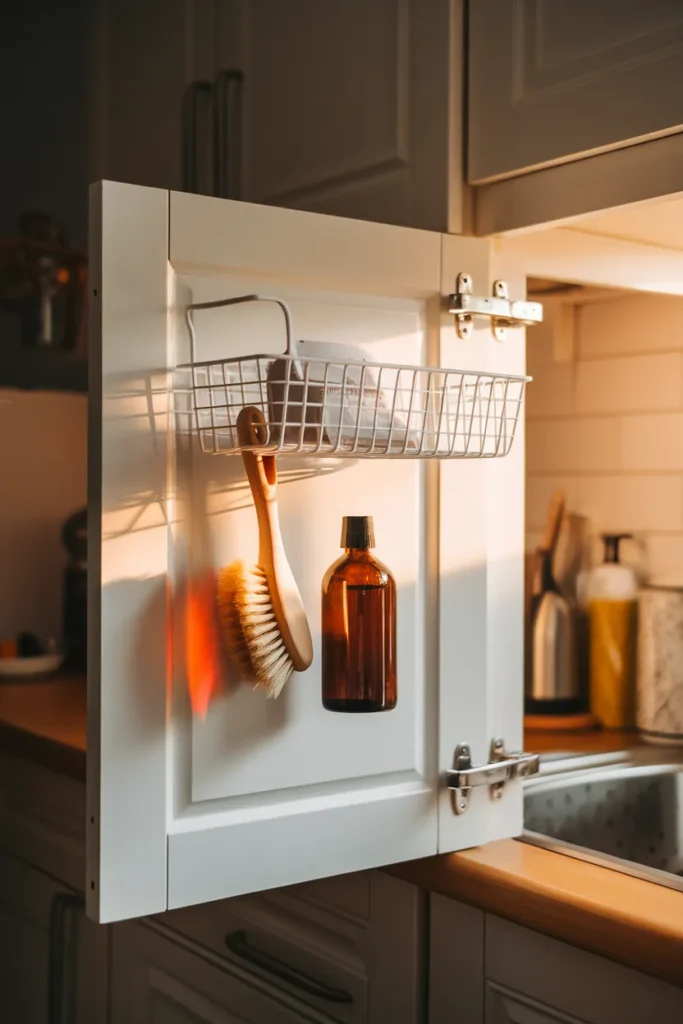
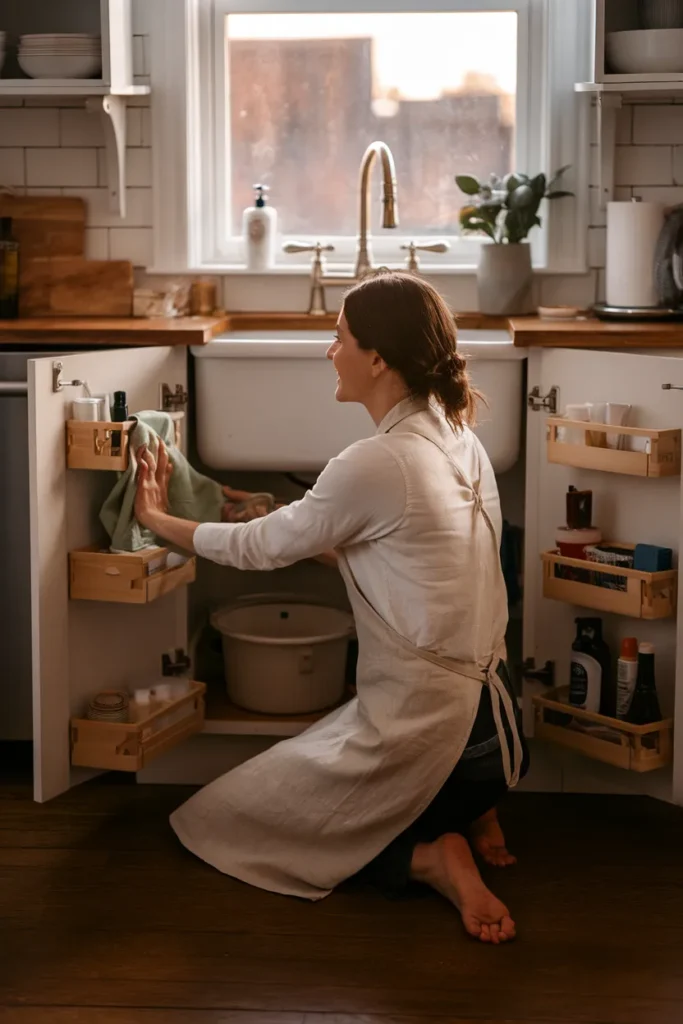
Cabinet doors are the most reachable real estate in the whole cabinet, which makes them perfect for your Door Zone. Over the cabinet baskets from iDesign and mDesign hook on with no drilling, and the two tier styles hold a spray bottle up top with a brush and sponge below.
One warning before you buy: door baskets can eat close to 5 inches of interior depth once the doors shut, so pair them with shallower organizers inside, and check that basket height leaves room for your bottles to clear the frame. Renters, this is your favorite section. No screws, no damage, and the daily-grab items you use at every meal cleanup now sit exactly where your hand lands first.
6. Put Daily Sprays on a Turntable
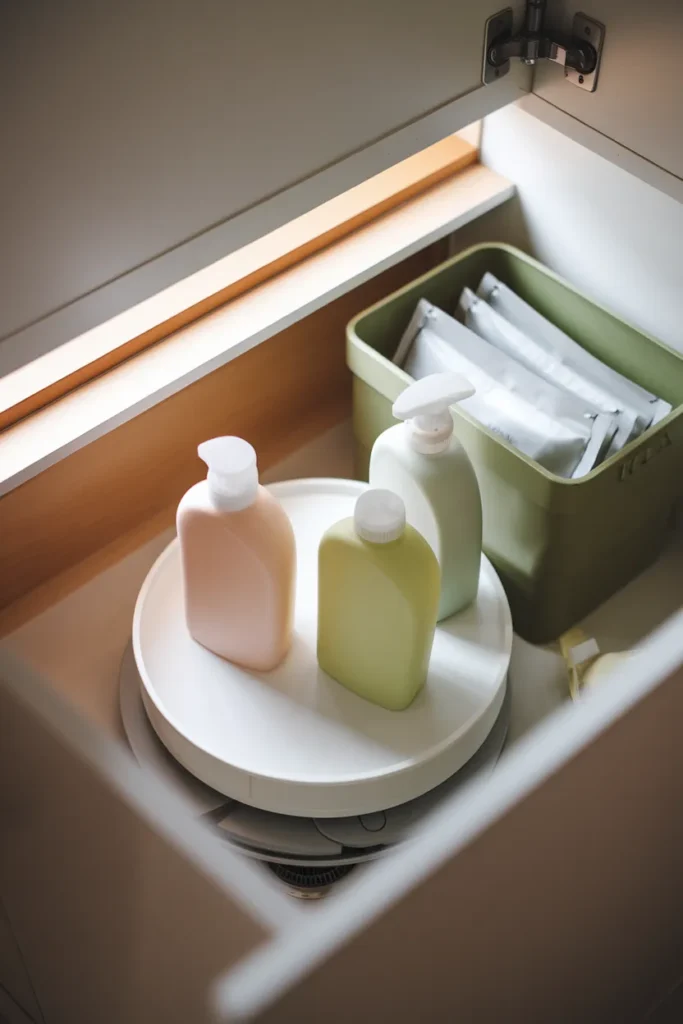
A small lazy Susan turns the deepest corner of the cabinet into a one touch station. Load it with the three or four products you use most, give it a spin, and the right bottle rotates to the front without any digging. Dollar Tree sells basic turntables for $1.25, and Target Brightroom carries sturdier versions if you want a lipped edge.
IKEA’s VARIERA bins work beautifully next to it for keeping refill pouches upright, which matters more than it sounds, since upright storage is one of the easiest ways to prevent slow leaks. Keep the turntable in the Front Zone, closest to the door hinge side, and it becomes the spot your hand memorizes within a week.
7. Add a Tension Rod for Spray Bottles
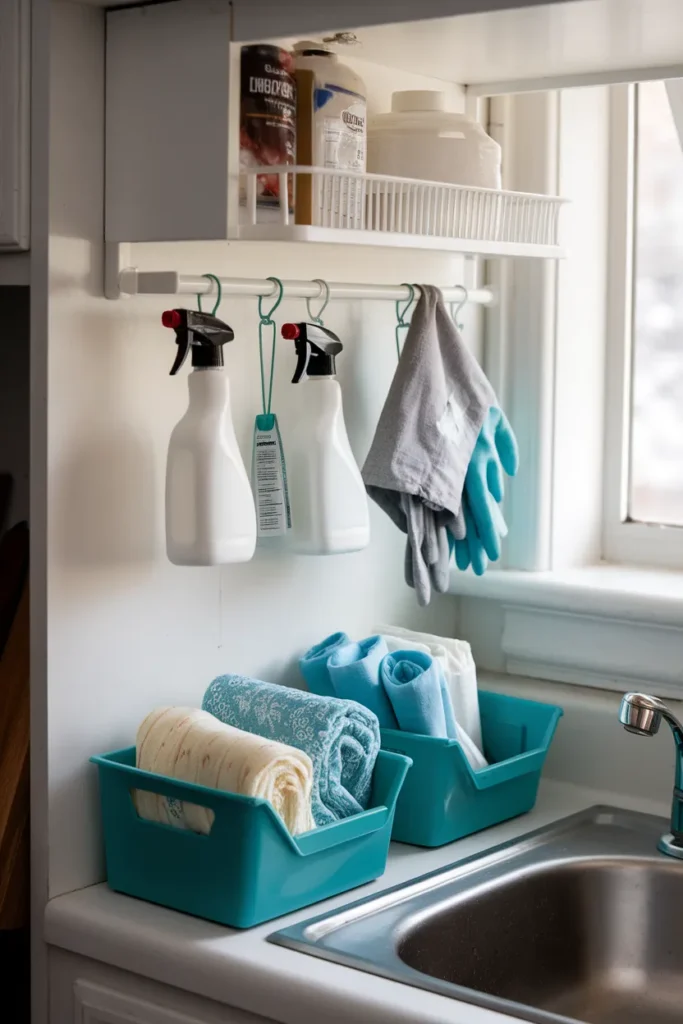
This is the classic budget hack for a reason. Spring a short tension rod between the cabinet walls, high and toward the front, and hang trigger spray bottles from it by their nozzles. The floor space below stays completely free for bins, and every label faces you at eye level.
Total cost lands under $10 with a Dollar Tree rod and a couple of their $1.25 bins beneath it, and a Mainstays caddy from Walmart slides under the row for rags. No tools, no holes, and it comes down in seconds when you move out. Just keep the rod clear of the disposal’s path and give heavier full bottles a spot on the shelf instead, since tension rods hold best with lighter loads.
8. Protect the Base and Catch Leaks Early
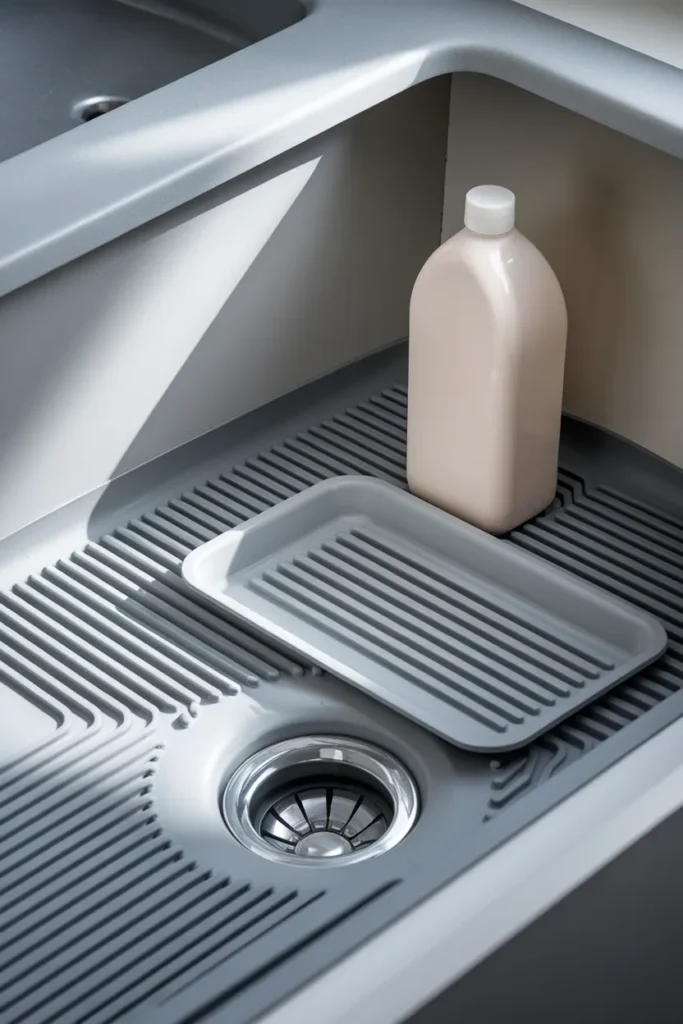
Every under sink cabinet eventually meets a drip. Plan for it now and it costs you a paper towel instead of a warped cabinet floor. Lay a waterproof silicone mat across the base (FLATO makes a 34 by 22 inch one that trims to size with scissors), then slide a plain white tray directly under the P-trap in your Pipe Zone. That white tray is your drip alarm.
Any leak shows up as a visible ring within a day, long before water finds the particleboard. Add a 60 second monthly habit: run a dry hand along the pipe joints and glance at the tray. Store all bottles upright on top of the mat, and the whole zone stays dry, clean, and easy to wipe.
9. Decant, Match, and Label What’s Safe to Decant
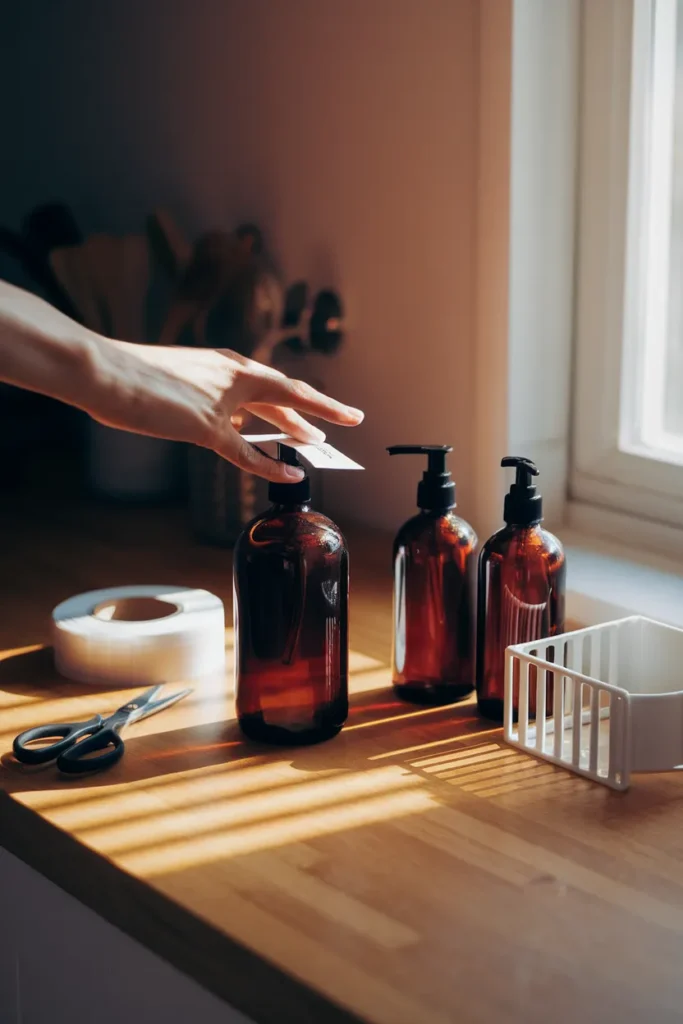
Matching bottles calm the visual noise instantly, and labels mean anyone in the house can find the glass cleaner and, more impressively, put it back. Pour dish soap and gentle refills into amber glass or uniform plastic bottles, then label each one by task or room. The Container Store and mDesign both sell label friendly bottle sets, or print your own.
One firm safety line, though: harsh chemicals stay in their original containers. HRSA’s Poison Help prevention guidance is clear that cleaners and chemicals should never be moved into food style containers and should stay in original packaging out of children’s reach. So decant the pretty, mild stuff, keep the serious stuff factory sealed, and label both.
10. Give Trash Bags a Real Dispenser
Trash bags cause a surprising share of under sink mess, because the flimsy cardboard box dies long before the roll does. Fix it with a dedicated dispenser. An mDesign trash bag holder mounts over the cabinet door and feeds bags one at a time, or you can slide the roll onto a short dowel laid across a Front Zone bin so it unrolls like paper towels.
Either way, the next bag pulls free with one hand while the other holds the can. Stack backup rolls flat in the Pipe Zone, still sealed. It’s a two dollar fix for a daily annoyance, and it frees up a shocking amount of shelf space once the crushed boxes are gone.
11. Evict What Doesn’t Belong (the Safety Sweep)
Now the step the pretty makeovers skip. Some things should never ride out their days under the sink, no matter how organized the cabinet looks. Electronics and small appliances corrode or short if a pipe drips. Paper towels and napkins soak up ambient moisture and grow mildew. Food doesn’t belong near chemicals at all, and pet food only passes if it’s fully sealed.
With kids or pets in the house, follow the standard from poison prevention experts: hazardous cleaners go up high or behind a locked latch, never loose in a floor level cabinet. Where you can, swap harsh formulas for gentler ones carrying the EPA Safer Choice label, which marks nearly 2,000 products whose ingredients met the agency’s health and environmental criteria. A $3 cabinet latch buys real peace of mind.
12. Run a Ten Minute Monthly Reset
Systems don’t fail all at once. They erode, one uncapped bottle at a time. So protect this one with a ten minute reset on the first weekend of each month: pull the sliding drawers, toss empties, return strays to their Splash Zones, check the drip tray, and wipe the mat.
That’s it. Ten minutes, once a month, and the cabinet never needs a full redo again. It pairs perfectly with the nightly 15 minute kitchen reset routine we already run, and the two habits together keep the entire kitchen coasting. The first time you open the doors for guests without flinching, you’ll know the system stuck.
FAQ: Under Kitchen Sink Organization Questions, Answered
What should you not store under the kitchen sink?
Keep electronics, small appliances, paper products, food, medicines, and flammable items like aerosols out of this cabinet. Moisture, warmth from the disposal, and possible drips make it a poor home for anything absorbent, edible, or electrical. Sealed cleaning products, trash bags, and tools that shrug off water are the better residents.
How do you organize under a kitchen sink with a garbage disposal?
Treat the disposal as a fixed island and build around it. Measure the open pockets on each side, then use narrow two tier sliding organizers in those pockets, door baskets for daily items, and the low space in front of the disposal for a flat bin. L shaped organizers like REALINN’s are made for exactly this layout.
What can you safely store under the kitchen sink?
Dish soap, dishwasher detergent in a sealed container, trash bags, gloves, a small caddy of everyday cleaners, and spare scrub brushes all do fine here. Stick to items you’d survive losing to a surprise drip, keep bottles upright, and give anything hazardous a high or locked home if kids or pets share the house.
Is it safe to keep cleaning products under the sink with kids at home?
A floor level cabinet is within easy reach of small children, so poison prevention guidance says hazardous cleaners belong up high or behind a locked latch, in their original labeled containers. If some products must stay under the sink, choose a childproof cabinet lock and keep only the mildest items there.
How do I protect the cabinet under the sink from leaks?
Line the base with a trimmed waterproof silicone mat, store every bottle upright, and park a plain white tray under the P-trap as a drip detector. Check the tray and pipe joints for 60 seconds each month. Catching a slow leak in week one instead of month three is the whole ballgame for cabinet health.
How can I organize under the kitchen sink on a budget?
Start with a tension rod for spray bottles, $1.25 Dollar Tree bins for rags and gloves, and one turntable for daily products. That trio runs about $10 total. Add a two tier sliding organizer later if you want the upgrade, and skip anything decorative until the zones themselves are working.
The Cabinet You’ll Actually Show Off
Under kitchen sink organization comes down to three zones, a handful of smart products, and one tiny monthly habit. Pick your fastest win tonight, maybe the 20 minute pullout or the $10 tension rod setup, and let momentum carry the rest of the list through the weekend. Pin this guide so the cheat sheet and product picks are waiting when you’re standing in the cleaning aisle, and if your cabinet pulls off a glow up, we’d genuinely love to hear which zone made the difference.