Dollar Tree Kitchen Organization: 12 Budget Hacks That Look High-End
A custom organized kitchen usually starts somewhere around $300 once The Container Store gets involved. Ours started under $30. That is the whole case for dollar tree kitchen organization: the bins, jars, and racks run $1.25 to $1.50 apiece, and with the right picks they read as intentional instead of bargain shelf.
Skip the wrong picks, though, because a few of them will fail you fast. In this guide you get the 12 hacks that earn their spot, real shelf prices, a $15 starter plan, and the honest list of what to leave at the store. Every price here comes from live shelves and current listings, so the math is real. No guesswork. Grab a basket. Your pantry is about to look like you hired someone.
Start With the $15 Zone Reset
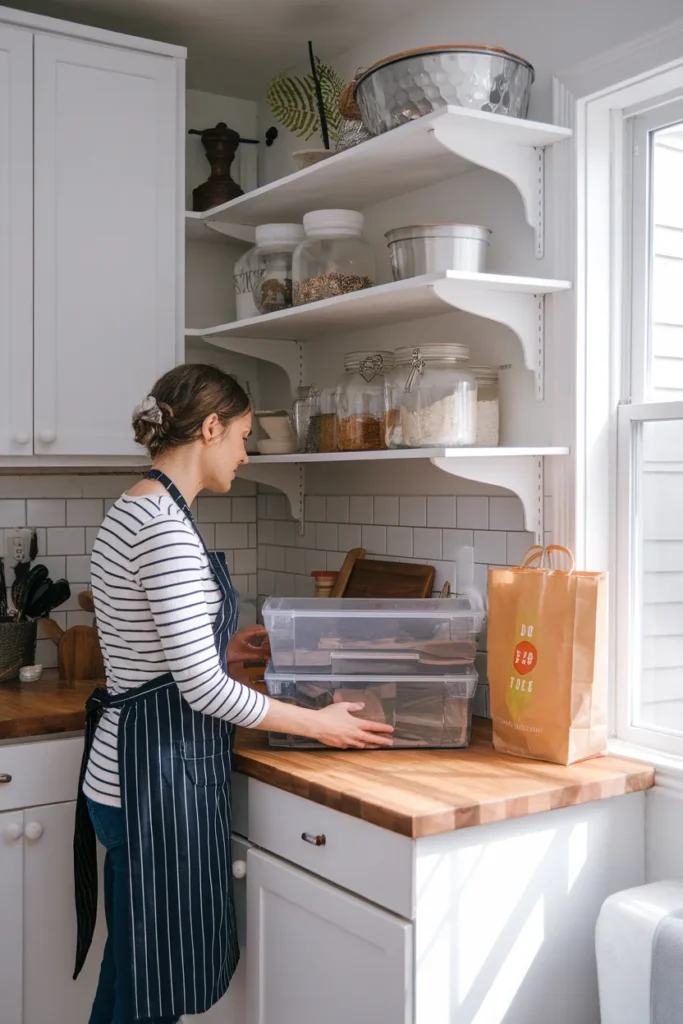
Most budget organizing fails for one reason. People buy twenty bins with no plan, and the bins become the new clutter. The $15 Zone Reset fixes that: pick one zone (a single shelf, drawer, or cabinet door), cap the spend at $15, and finish that zone completely before you buy anything else. The cap forces edited choices, and one finished zone teaches you exactly what the next zone actually needs. The cap also makes failure cheap. If a bin turns out wrong, you are out $1.25 and it simply gets a new job somewhere else.
We adapted it from our old pantry starter kit method, and honestly, it is the only reason our kitchen did not end up with a bin surplus problem. Zones that work well for a first reset: one pantry shelf, the utensil drawer, the cabinet under the sink, or the inside of a single cabinet door. Small wins compound. Finish one zone and the next takes half the time, because you already know which pieces pull their weight.
Here is the pantry edition of the reset, priced from current shelves. Screenshot this before your run, and if your store is picked over, most of it sits in the food storage section on Dollar Tree’s site too.
| Item | Qty | Price | Zone job |
|---|---|---|---|
| Glass jars with stainless steel lids | 2 | $3.00 | Flour and sugar decanting |
| Clear rectangular bins | 3 | $3.75 | Snack and packet corrals |
| Plastic woven baskets | 2 | $2.50 | Backstock row |
| Clear lazy Susan, 10 in. | 1 | $1.25 | Oils and sauces turntable |
| Stacking tilt bin | 1 | $1.50 | Tea and packet tower |
| Clip labels or binder clips | 1 pack | $1.25 | Naming every bin |
| Total | 10 pieces | $13.25 | One full pantry zone |
That total leaves room in the cap for a second lazy Susan. You will want it.
Pantry Hacks That Fake a Custom Look
The pantry is where dollar tree kitchen organization pays off hardest, because the pantry is judged entirely on repetition. Matching shapes read expensive. Random packaging reads chaotic. These three hacks build the repetition.
1. Decant Dry Goods Into Glass Jars With Stainless Lids
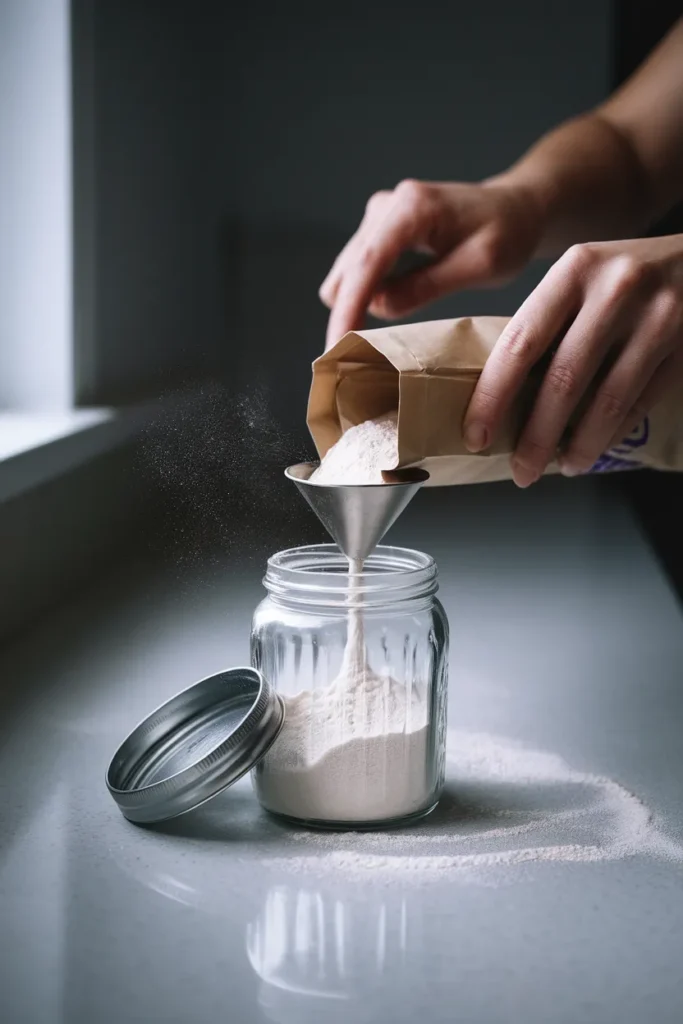
The $1.50 glass jars with stainless steel lids are the single best looking item in the store, and shoppers have rated them around four stars for good reason. They come in two sizes, the lids sit flush, and a row of them holds flour, sugar, rice, and oats like a shelf that cost ten times more. The first weekend we decanted, I stood in front of that shelf longer than I will admit in public.
Glass also solves the safety question cleanly, since it is a safe direct-contact material for food. Pour, wipe the rim, label, done. Two practical notes. The wide mouths make refills painless, and the store’s smaller glass storage containers with lids (the 13.5 ounce ones reviewers raved about) cover the little jobs like brown sugar and chocolate chips.
2. Run Matching Bin Rows With Clip Labels
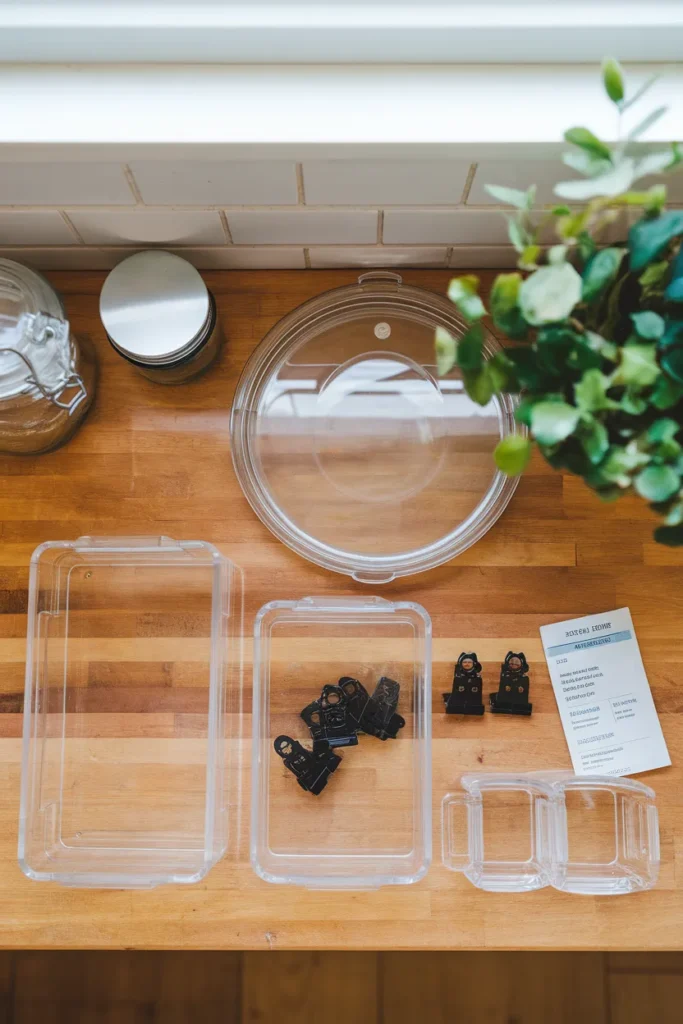
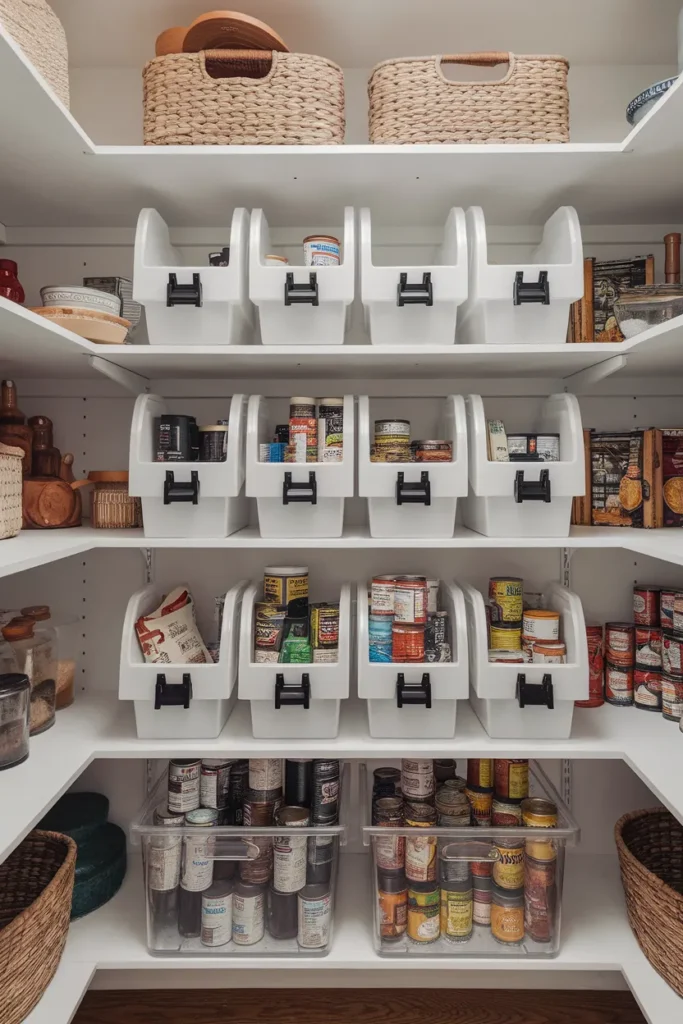
Pick one bin style and buy only that style for the whole shelf. A standard pantry shelf runs about 12 inches deep, which fits most Dollar Tree rectangular bins two deep, front bin for this week and back bin for backstock. Add a clip label to every single bin, even the obvious ones, because the labels are what make the shelf read designed.
Matching matters more than material here. A $1.25 bin repeated eight times looks richer than four different $8 bins from four different stores, and that repetition trick is the very thing Target’s Brightroom line is built on. Copy the look. Skip the markup. If you want to squeeze in a second level later, a small wire shelf riser from the same aisle does the job an IKEA Variera insert does for several times the price.
3. Corral Cans So They Stop Rolling
Cans are the pantry’s loudest problem. Load them into two clear bins, labels facing out, newest cans behind and oldest in front, so the first can you grab is always the one closest to its date. It is the same first in, first out habit restaurants run. Deep shelves get a bonus move. Slide the bin halfway out like a drawer. Grab. Push it back. No more cave diving. If your can shelf is truly out of control, our full can organization system for your pantry breaks the whole thing down riser by riser.
Cabinet and Drawer Hacks Borrowed From the Pros
Cabinets hide clutter until the moment they dump it on you. These three fixes cost less than $10 combined and hold up to daily openings.
4. Build the Viral Napkin Holder Rack
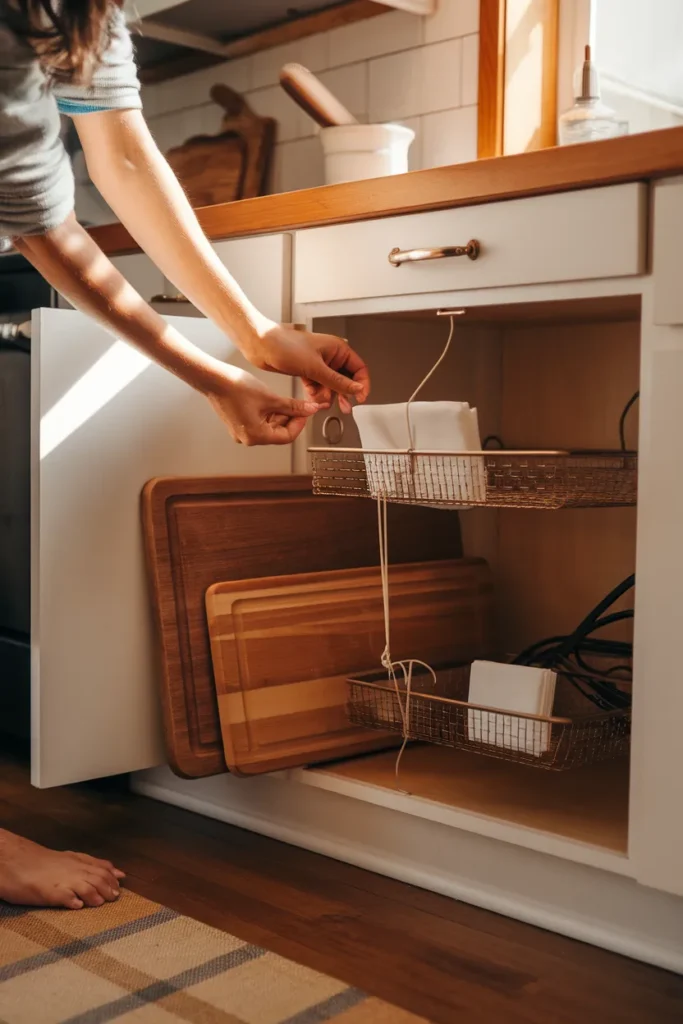
This one went viral for a reason. Take four wire napkin holders and a pack of nylon cable ties, then connect the holders side by side. The result is a sturdy divided rack for cutting boards, sheet pans, and pot lids, about $6.50 total. I was skeptical. Zip ties holding my cutting boards sounded like a Tuesday night disaster. Five minutes of assembly later, the rack stood solid in the lower cabinet, and it has not budged since. Stand it upright for boards or lay it flat to file container lids.
5. Give Every Drawer One Job With Slim Bins
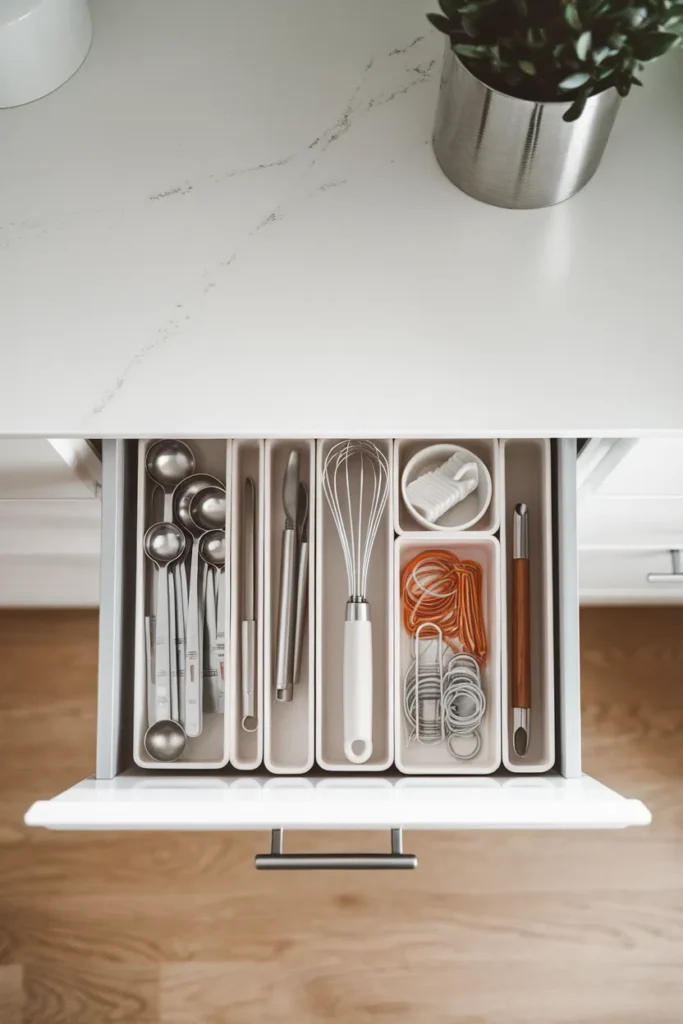
The slim clear organizers were built for junk drawers, and they are exactly the right width for utensil drawers too. Line a drawer with three or four of them, one category per bin, and stop the gadget migration for good. Most top drawers run about 3 to 4 inches deep, and the slim bins sit low enough to clear nearly all of them. The rule that makes it stick: one drawer, one job. We run our whole drawer by drawer kitchen system on that single rule, and the Dollar Tree bins are the cheapest way to start it.
6. End the Lid Avalanche
Lids get their own bin. Stand them upright in one rectangular bin like files, nest the empty containers beside it, and the matching game ends. One bin for round lids and one for square finishes the job in a bigger cabinet. Do the honest count while you are in there. Any container without a living lid leaves, and any lid without a container follows it out. Ours went from forty-something mismatched pieces to eighteen that all close. If your container cabinet needs more than a bin, our food container organization method covers the full purge and re-sort.
Fridge and Freezer Hacks That Keep Food Visible
Cold storage is where cheap organizing quietly saves real grocery money, because visible food gets eaten and buried food gets tossed. Clear plastic is the whole strategy in here.
7. Clear Bins Plus a Lazy Susan in the Fridge
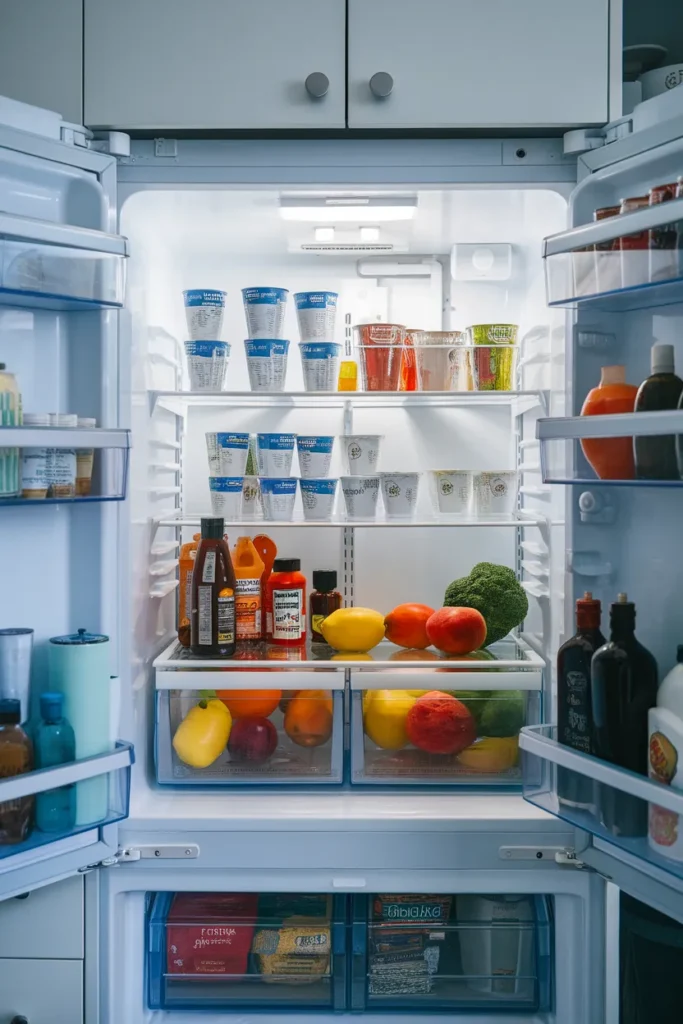
Handled clear bins group yogurts, cheese sticks, and produce into pull-out drawers you can grab one handed. The 10 inch clear lazy Susan is the fridge hero, though: condiments live on it, the turntable spins, and nothing dies in the back corner again. While you are in there, two numbers worth keeping: the fridge should hold 40°F or below, and leftovers get 3 to 4 days, per the FoodSafety.gov cold storage chart. Label a leftovers bin with the day of the week and the chart enforces itself. Give that bin the eye-level shelf. Visibility is the entire game.
8. File the Freezer With Book Bins
The plastic book bins from the school aisle are secretly perfect freezer files. Stand frozen vegetable bags and flat-frozen leftovers vertically inside them, spine up like records, and you can read the whole freezer at a glance. One bin for proteins, one for vegetables, one for the breakfast items. Nothing gets buried, so nothing gets freezer burned into mystery food. Flat freezing is the partner habit. Freeze soups and sauces flat in bags on a sheet pan, then file them upright once solid. A month of dinners fits in one bin, and every label stays readable without moving a single bag.
Counter, Coffee, and Cabinet Door Hacks
The last zone is the one guests actually see. It is also where dollar tree kitchen organization gets accused of looking cheap, so these four hacks are chosen for how they photograph. These four keep counters clear without renting them out to bulky organizers.
9. Stack Tilt Bins for Tea and Packet Clutter
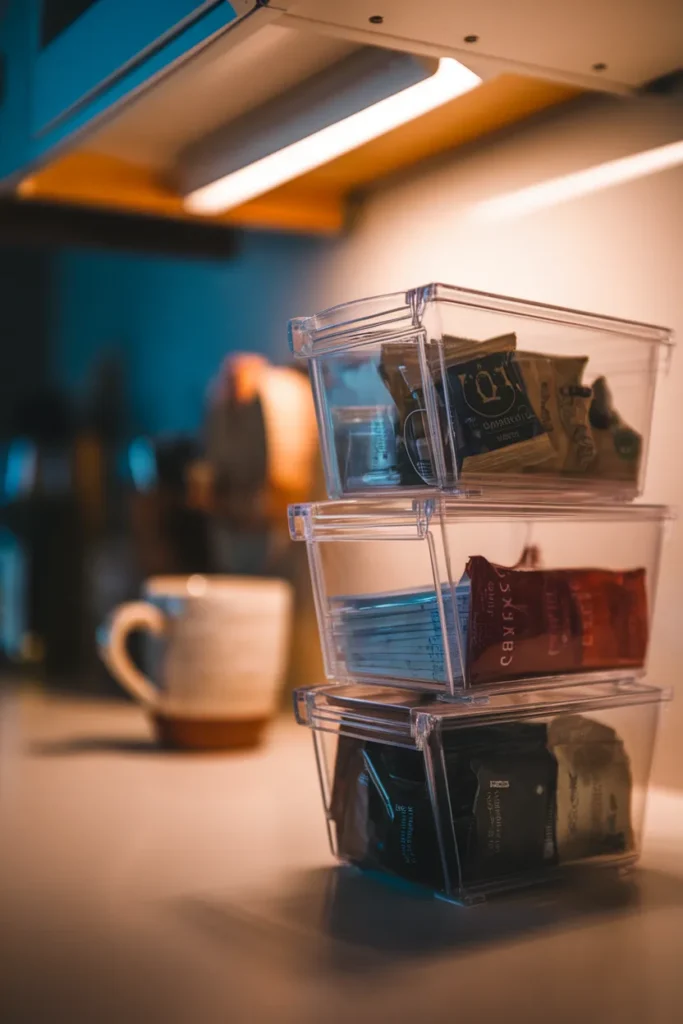
Walk past the kitchen aisle for this one. The stacking tilt bin hides in hardware, sells for $1.50, and was designed for screws and bolts. That pedigree is exactly why it works. The bins interlock into a small tower, each one tips open with one finger, and the clear window shows what is inside. Ours holds tea sachets, cocoa packets, and the drink mix sticks that used to breed in the junk drawer. There are even two holes on the back if you ever want to mount the tower on a wall.
10. Tame Under the Sink With a Caddy and Hooks
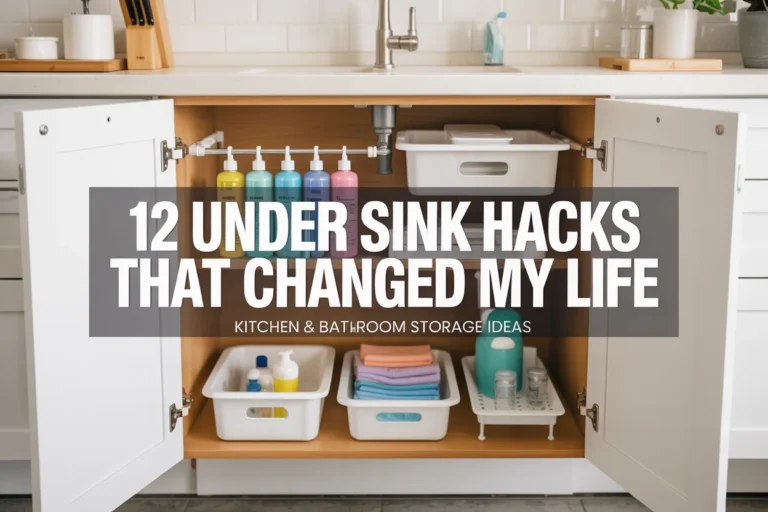
One plastic caddy holds the daily cleaning sprays, so the whole kit moves in one grab. Adhesive hooks on the inside cabinet wall hang rubber gloves and the dish brush, which keeps the cabinet floor clear for a backstock bin.
Renters, this whole zone installs without a single screw. One safety note while you are down there: keep cleaning products sealed, in their original bottles, and fully separate from anything food related. That separation rule is boring and non-negotiable, so build it into the layout once and never think about it again.
11. Set Up a Coffee Corner That Looks Boutique
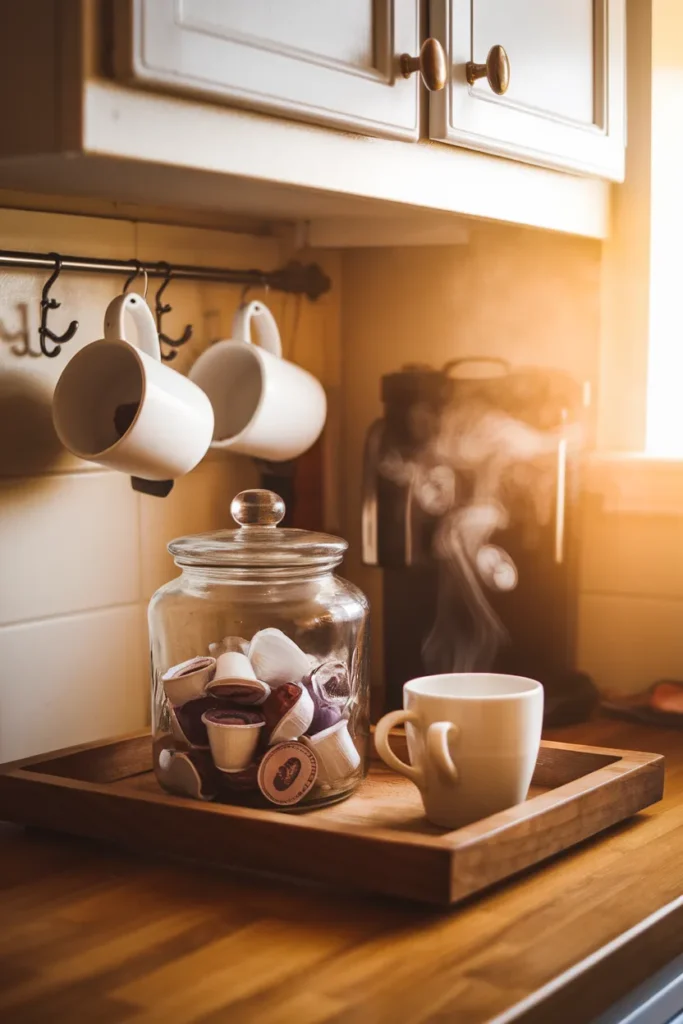
A wood look tray, one apothecary style jar for coffee pods, and two adhesive hooks under the cabinet for mugs. That is the entire build, about $5, and it photographs like a cafe corner. The tray is the trick: anything sitting on a tray reads curated, while the same items loose on the counter read like clutter.
Corral the sugar and stir sticks in one small bin on the tray and wipe the whole station in one pass. One refill rule keeps it pretty: the jar gets topped up from the big box in the pantry, and the box never visits the counter.
12. Hang a Rack Inside the Cabinet Door
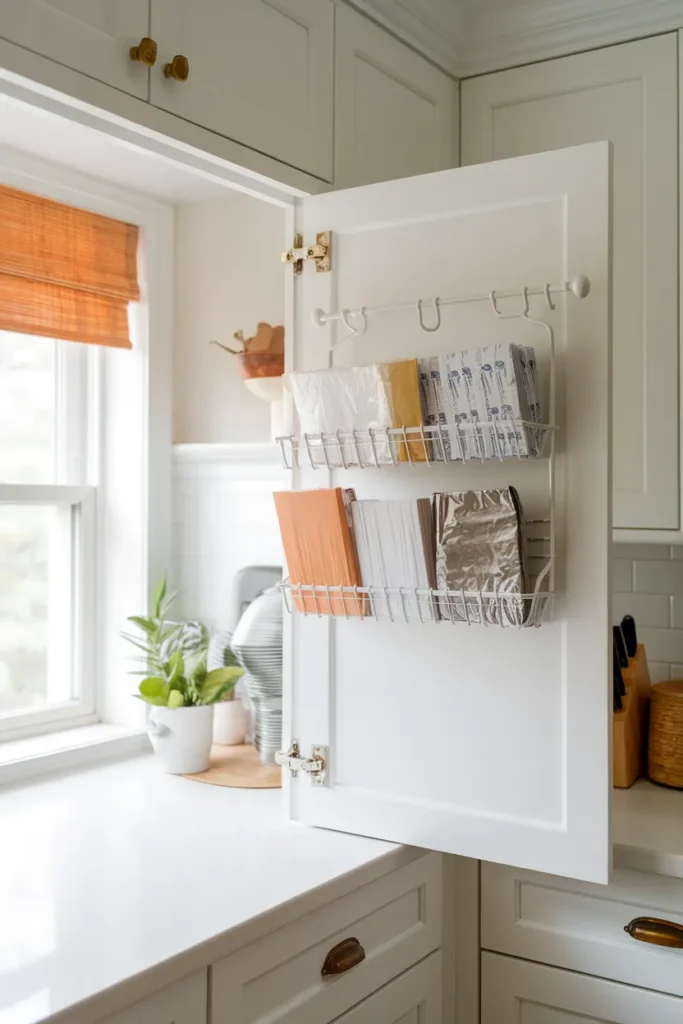
Pair the adjustable over the cabinet towel bar with a small white wire rack, hang the bar inside a cabinet door, and rest the rack on it. For about $3 you get a hidden shelf for plastic wrap, parchment, and foil boxes, all standing upright where you can see the labels. It steals zero shelf space, installs in one minute, and comes back down without a mark, which makes it the best renter hack on this list. Weight is the only limit. Boxes and light tools ride happily, while glass stays on the shelf.
What to Skip at Dollar Tree (And What to Buy Instead)
Here is the part the roundups never print. Dollar tree kitchen organization has real limits, and knowing them is what keeps the whole system trustworthy. A professional organizer’s warning that made the rounds last year holds up. The thin plastic food containers are the weak spot, since bargain plastic can leach chemicals into food when heated. Independent testing has also flagged high phthalate levels in a share of dollar store plastics.
Heat plus cheap plastic is the pairing to avoid. So run one simple rule. Direct food contact goes in glass or in containers clearly marked food safe, and the general bins only ever hold packaged goods. The glass storage containers with locking lids pass that bar, and reviewers found the 44 ounce clip lock containers surprisingly leakproof. For hot leftovers and daily meal prep, this is the one category where the upgrade is worth it: Rubbermaid Brilliance, OXO Good Grips POP, or restaurant style Cambro rounds.
Skip the small kitchen appliances entirely, and skip decanting anything raw or anything that needs its original packaging and date. Everything else on this list? Buy with confidence. The bins, racks, jars, and hooks are structural, they never touch a hot meal, and they are exactly where the store overdelivers. If you eventually outgrow the $1.25 bins themselves, mDesign is the natural mid-tier step before boutique prices.
FAQ: Dollar Tree Kitchen Organization Questions
Are Dollar Tree plastic containers safe for food storage?
Use the two-lane rule. Glass jars, glass storage containers, and anything explicitly marked food safe can touch food directly. The general purpose bins and baskets should only hold packaged goods, and no bargain plastic belongs in the microwave with food in it, since heat is what drives chemical leaching. When in doubt, check the packaging language before food touches it.
What should you not buy at Dollar Tree for your kitchen?
Skip thin plastic containers for hot or greasy food, skip the small appliances, and skip anything you would need to trust with heat. Those three categories fail fastest. If a piece has to survive heat, weight, or a motor, buy it elsewhere. The bins, glass jars, racks, hooks, and lazy Susans are the reliable core.
How can I organize my kitchen for cheap?
Dollar tree kitchen organization is the cheapest reliable route, and the $15 Zone Reset keeps it disciplined: one zone, a $15 cap, and no new purchases until that zone is finished. Ten pieces at $1.25 to $1.50 will completely reset a pantry shelf, a drawer, or an under sink cabinet in under an hour.
What are the best Dollar Tree items for pantry organization?
The glass jars with stainless steel lids, matching clear rectangular bins, the 10 inch lazy Susan, and clip labels. Those four create the repetition that makes a pantry look custom, and together they cost less than one boutique canister.
How do I label Dollar Tree bins and jars?
Clip labels are the fastest, since they move when your categories change. For jars, a chalk marker on the glass looks hand finished and wipes clean. Label every container in the zone, even the obvious ones, because full labeling is what sells the designed look. Skip permanent vinyl until a category survives a month, since early labels always change.
The $30 Kitchen, Finished
Twelve hacks, one $15 starter table, and not a single item over $1.50. That is the entire system, and it is dollar tree kitchen organization at its best: cheap on the receipt, custom on the shelf. Start small. Start with the zone that annoys you most, run the reset, and let the finished shelf talk you into the next one. Save this guide to your kitchen board on Pinterest so the shopping table is waiting on your phone in the aisle, and when someone asks who organized your pantry, you are allowed to just smile.