Pantry Cabinet Organization: Maximize a Cabinet-Style Pantry
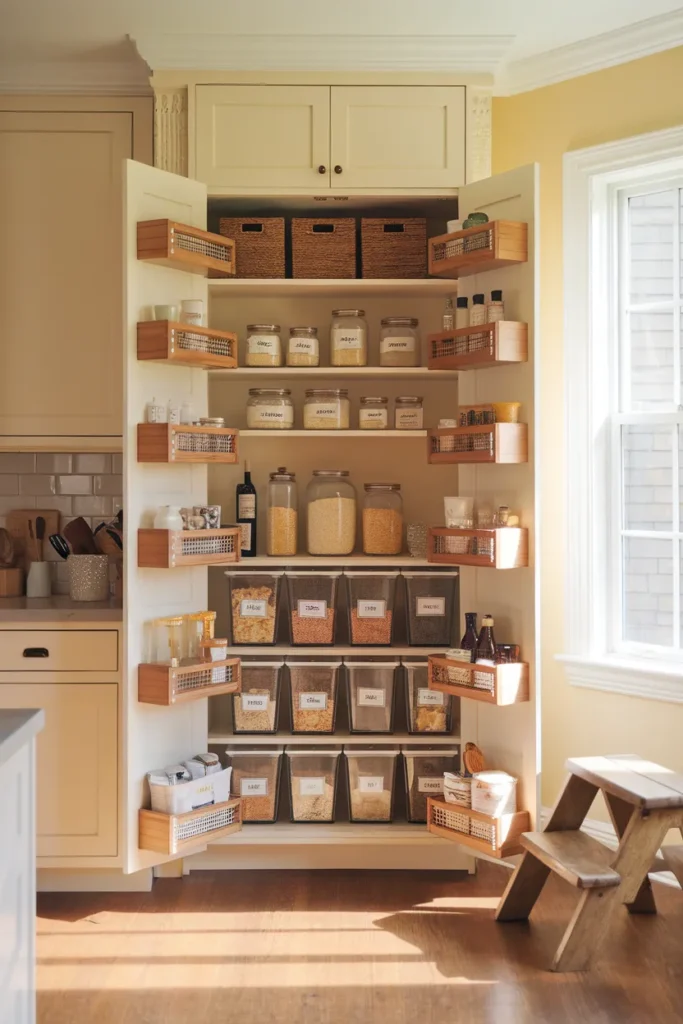
Pantry cabinet organization plays by different rules than a walk-in. You get two doors, four or five deep shelves, and zero forgiveness for clutter. Sound familiar? We have reorganized our own 24 inch deep cabinet three times in five years, and the version that finally stuck cost about $60 and one Saturday morning. This guide hands you that exact system: a 20 minute clear-out, a measuring formula so every bin fits on the first try, our 3-Depth Rule for taming deep shelves, and a refill routine that keeps things tidy long after the photo. That is pantry cabinet organization built to outlive the pin.
Why Pantry Cabinets Turn Into Black Holes
A standard base pantry cabinet runs about 24 inches deep. Your arm comfortably owns the front 12. Everything behind that line slides into the dark, and that is where the 2023 chickpeas go to hide.
Closed doors make it worse. An open shelf shames you into tidying, while a cabinet lets you shove and shut. Add shelves spaced too far apart and you get towers of boxes leaning on bags leaning on cans.
Honestly, the problem was never you. Pantry cabinet organization fails when the setup ignores depth, and nearly every cabinet ships with depth as its defining feature. If you want the hardware route, our guide to pull-out pantry organization for deep and narrow shelves covers sliding solutions in detail. Here, we are solving it with zones, bins, and about $30 of smart shopping.
Step One: The 20 Minute Clear-Out
Set a timer. Twenty minutes. That’s it.
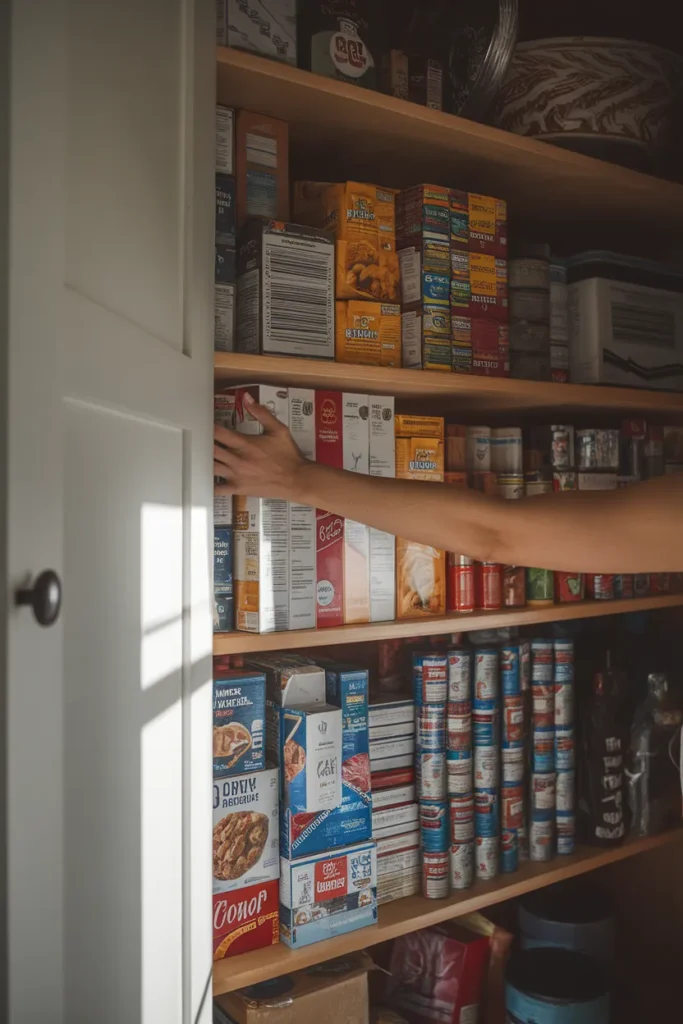
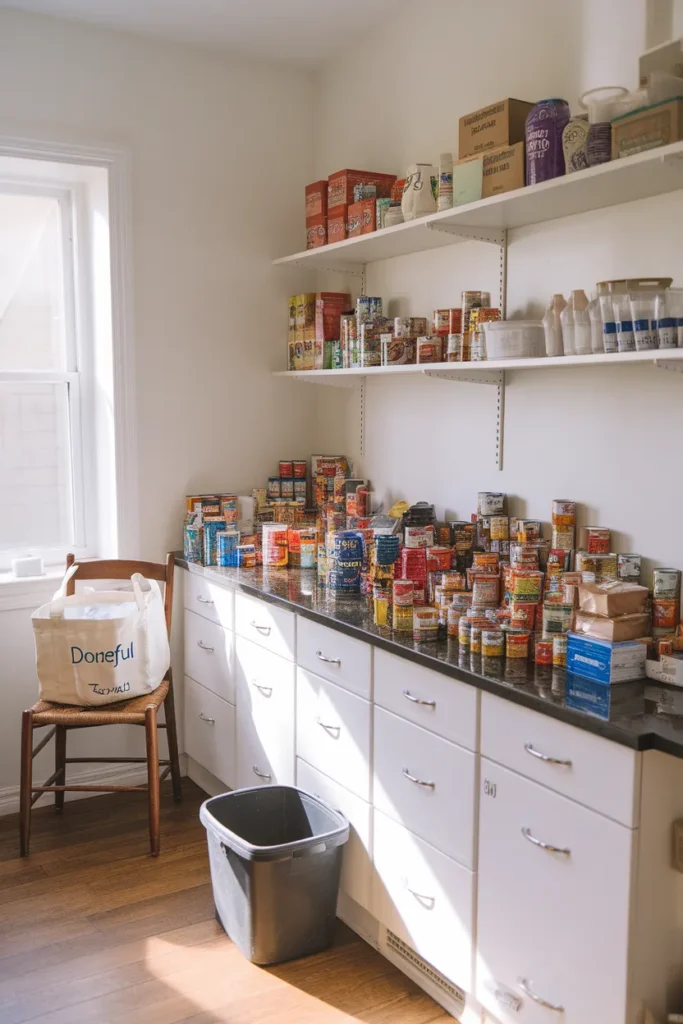
Pull every item onto the counter, oldest shelf first, and make three piles as you go:
- Keep: anything used in the past six months, plus anything sealed with a good date.
- Donate: unopened, in-date food you bought on a whim and will never cook. A food bank wants that coconut milk more than your shelf does.
- Toss: expired, stale, or mystery items. Check dates fast and do not agonize.
Wipe each shelf with a damp microfiber cloth before anything goes back. During our last clear-out we found the ghost of a powdered sugar spill on shelf two, a fine white dust we had apparently been seasoning the wood with for a month. A clean, dry surface also matters for freshness, since shelf-stable food keeps best in cool, dry storage.
This one step powers the rest of your pantry cabinet organization, because you cannot zone food you cannot see.
Measure Before You Buy a Single Bin
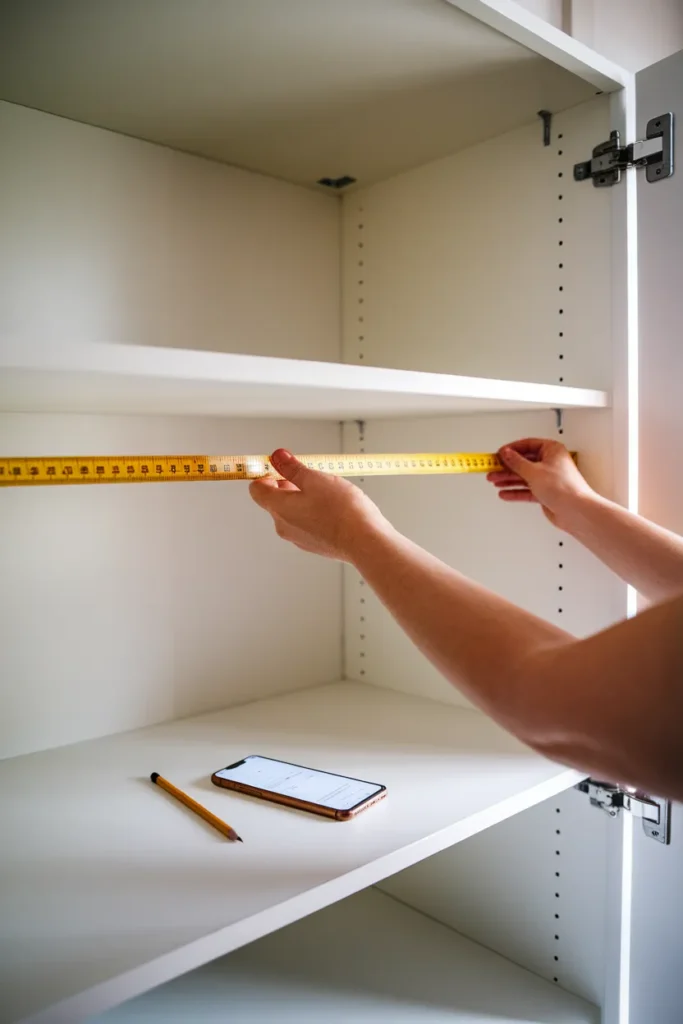
Here is the mistake that kills most pantry cabinet organization projects: buying pretty containers first and praying they fit. Measure first. It takes four minutes and saves a return trip.
Grab a tape measure and write down three numbers for every shelf:
- Depth, front edge to back wall. Most base cabinets sit near 24 inches, while uppers run closer to 12.
- Width, side to side, minus any hinge hardware that intrudes.
- Height between shelves. Around 15 inches is common, and adjustable pegs let you tune it.
Then apply the buying formula. Bin length should be shelf depth minus 1 inch, so a 24 inch shelf wants long bins (Sterilite Ultra baskets run just shy of 16 inches and cost only a few dollars). Bin walls should stand 4 to 6 inches tall, high enough to corral bottles, low enough that you can still see inside. Canister height should be shelf spacing minus 2 inches, because you need clearance to lift things out without a wrestling match.
Save the numbers in your phone. Shop with them open. Every good haul starts with those three measurements.
The 3-Depth Rule: Our Fix for Deep Shelves
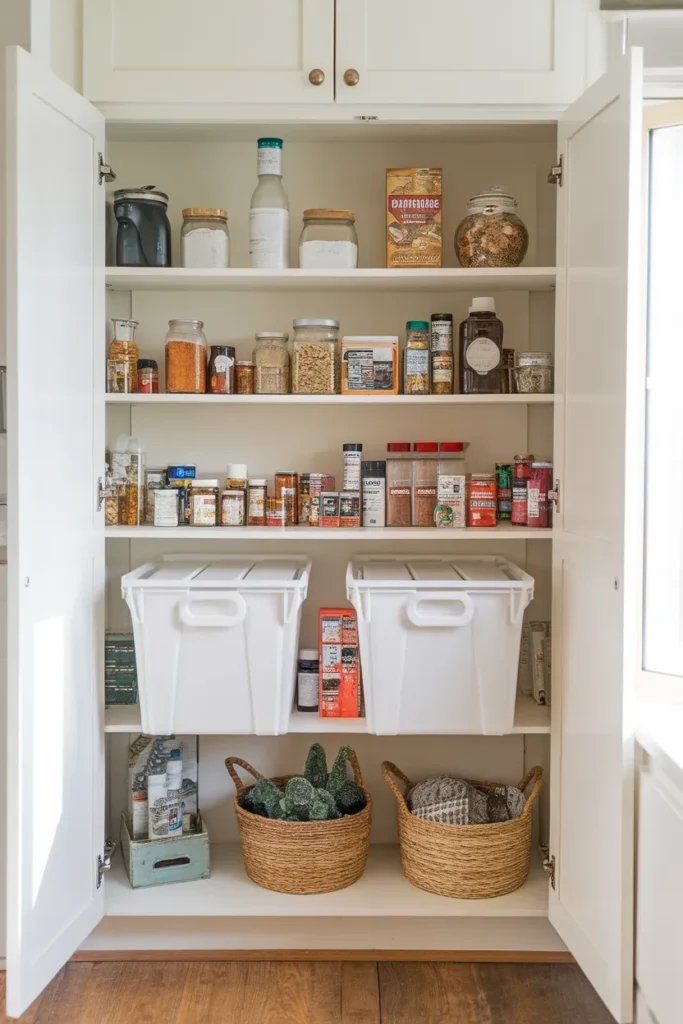
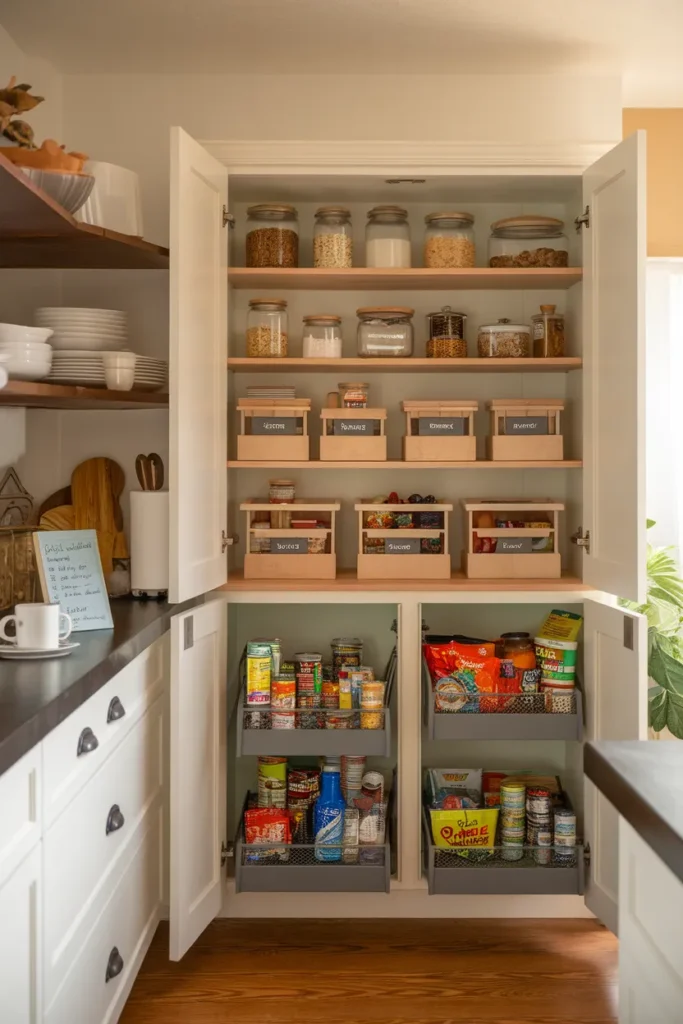
Every deep shelf in our cabinet now follows one system, and we call it the 3-Depth Rule. Split each shelf into three invisible rows: the front 8 inches holds daily grabs, the middle row holds weekly cooking staples, and the back row holds backstock only, always loaded in a long bin with a handle. Pull the handle and the entire back row rolls forward like a drawer, so nothing lives in the dark again.
That is the whole trick. Three depths, one handle.
It works because it respects how arms actually move instead of fighting them. You stop stacking new groceries in front of old ones, which is exactly how duplicates breed. Every item also gets a depth address, so the family knows the peanut butter lives front row, not wherever gravity left it.
You will see the 3-Depth Rule pop up through the rest of this pantry cabinet organization system. It is the spine of the whole thing.
Choose Pantry Storage Containers That Fit and Seal
Containers come after measuring, never before. Two categories matter.
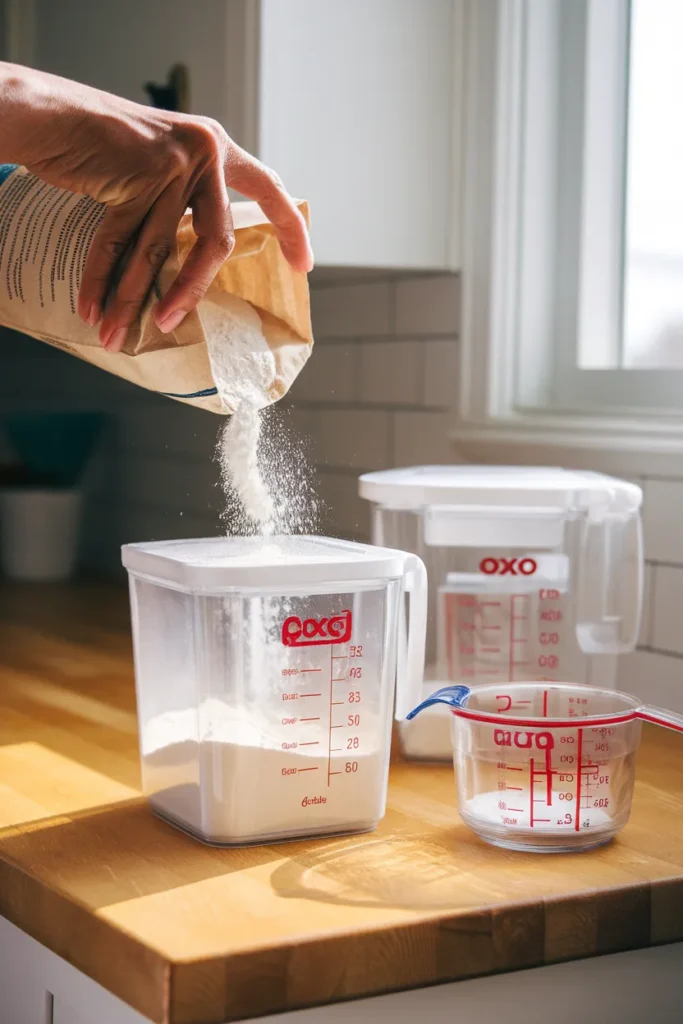
What earns a decant
Flour, sugar, rice, pasta, cereal, and oats all do better out of floppy bags and inside airtight canisters. A 4.4 quart OXO Good Grips POP container swallows a standard 5 pound bag of flour with room to stir a scoop. Rubbermaid Brilliance canisters seal just as tight for less money, and Anchor Hocking glass jars in 1.5, 2, and 3 quart sizes look lovely if your doors swing wide often enough to count as display. The USDA notes that shelf-stable foods keep best sealed up in a cool, dry spot, ideally under 85 degrees Fahrenheit, so skip the shelf beside your oven.
Stick to food grade containers for anything loose. A cute craft bin can hold canned backstock, but loose flour deserves a vessel built for food.
What stays in its package
Peanut butter, oils, vinegars, and anything with cooking instructions you actually read should stay in original packaging, grouped into bins instead. Our pantry baskets guide on which bin suits which food breaks down the pairings, and it will save you from ever storing onions in a chip basket.
Zone Your Shelves Like Grocery Aisles
Depth is handled by the 3-Depth Rule. Height gets zoned by who reaches for what.
- Eye level: breakfast and daily staples, the items touched seven days a week.
- Waist level: dinner ingredients, canned goods, and grains for the main cook.
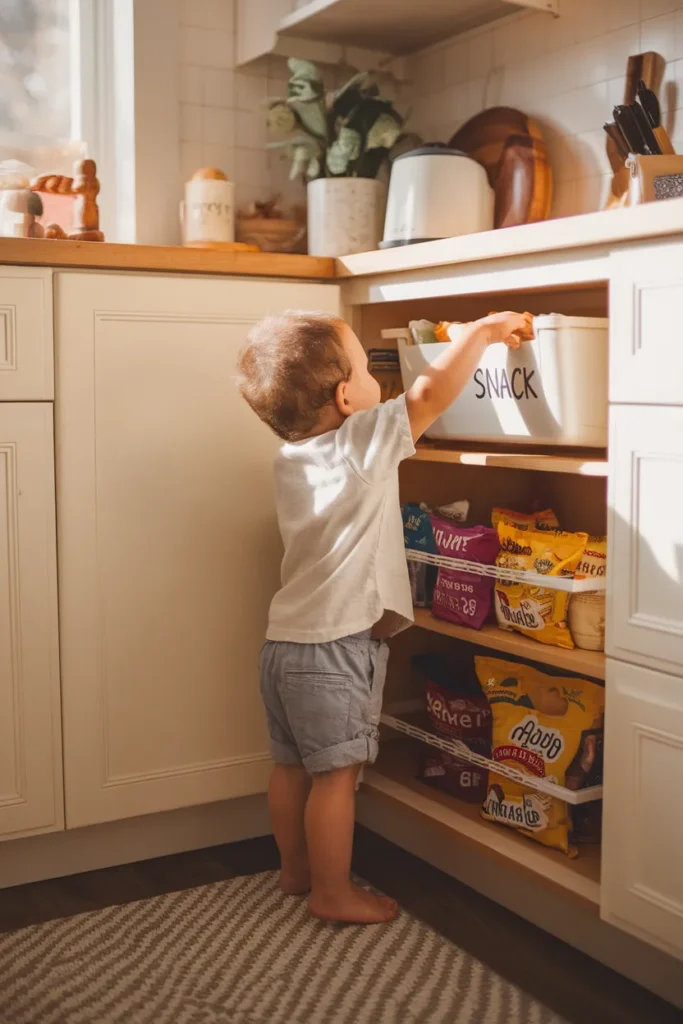
- Low shelf: a kid snack zone in labeled open-top bins so little hands succeed without help. We built ours after one too many 4 p.m. meltdowns, and our snack station setup kids can actually reach walks through the exact bins.
- Top shelf: light backstock, paper goods, and the waffle iron that works one Sunday a month.
- Cabinet floor: heavy items only, like drink cases and the 10 pound rice bag.
Heavy stays low for safety and shelf sag. Daily stays at eye height for sanity. Pantry cabinet organization by zone means anyone in the house can find dinner without calling you, which was the whole point.
Borrow Space From the Door and the Air
A cabinet hides two storage areas most pantry cabinet organization plans never claim.
The back of the door
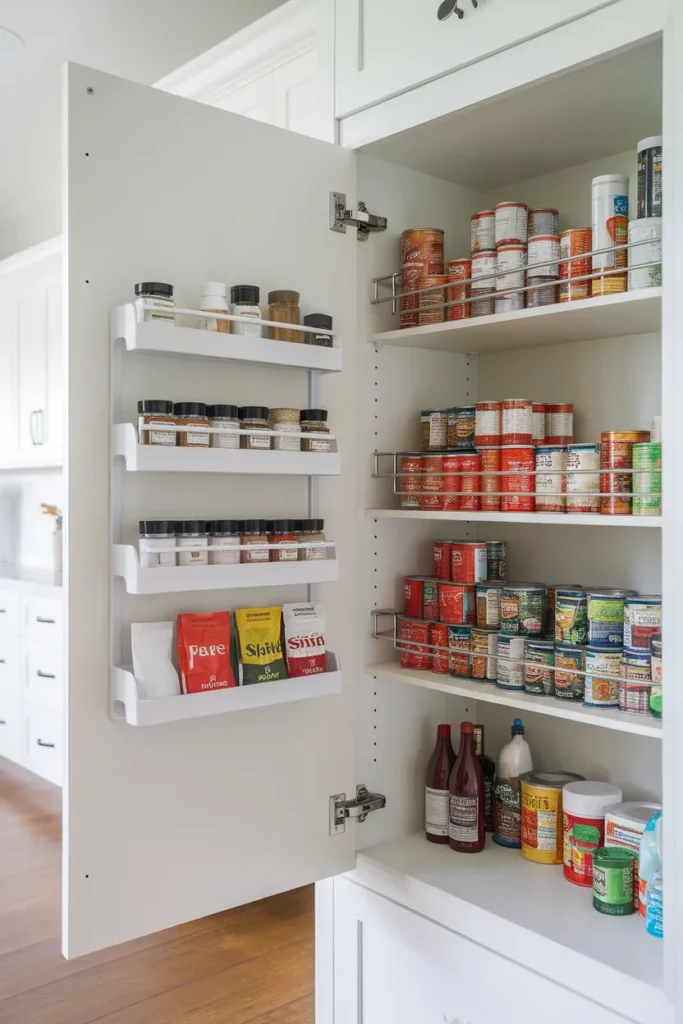
A slim over-the-door rack (mDesign and Amazon Basics both make versions under 5 inches deep) holds spice jars, seasoning packets, and skinny bottles. Check clearance first: your front shelf row needs to sit an inch or two back so the door still closes. For renters, a pair of Command hooks holding a hanging pocket organizer does a lighter duty version of the same job with zero drilling.
The air between shelves
Half your shelf height is probably empty air floating above short cans. A Target Brightroom shelf riser turns one can row into two, and an IKEA Variera insert does the same for under $10. For the awkward corner where bottles vanish, a lazy Susan spins oils and vinegars back into daylight instead of forcing an archaeology dig.
Vertical thinking can nearly double a cabinet without touching a drill.
Label the Bin, Then Label the Shelf Edge
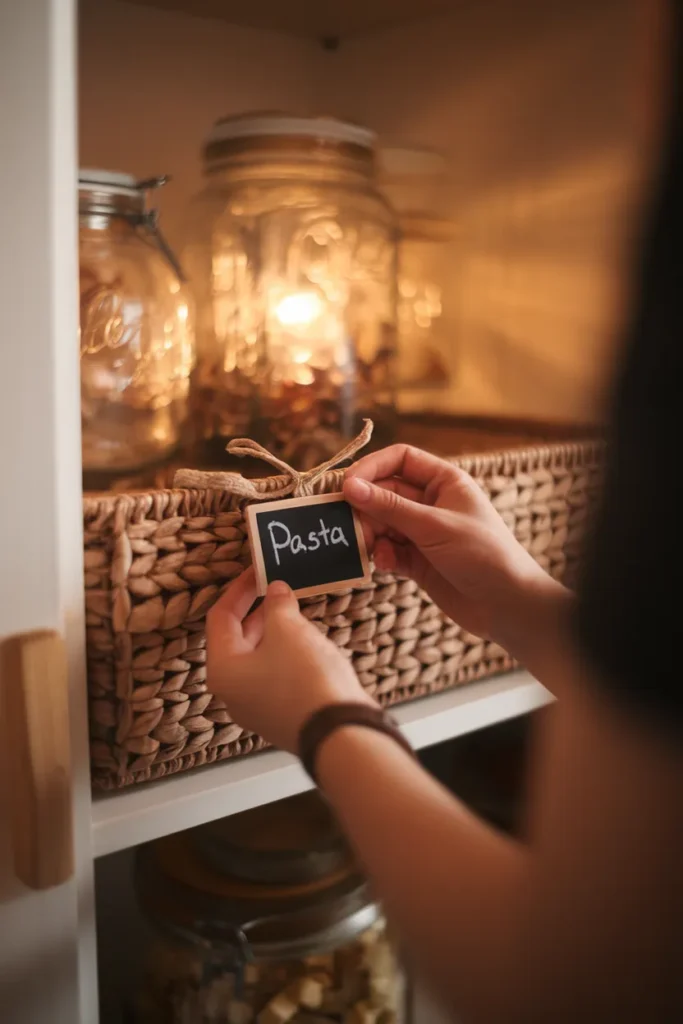
Labels are for the other people. You know where the pasta lives; the label teaches everyone else, plus future you at 9 p.m.
Chalkboard tags on twine look sweet against woven bins and wipe clean when categories change. A label maker gives crisp text for canisters. Masking tape and a Sharpie work fine too, and honestly a dated strip of tape on a decanted canister (opened 6/12, for example) beats any pretty label for cutting waste.
Then do the step almost nobody does: label the shelf edge itself. When a bin leaves for a refill or a wash, the shelf still announces what belongs in that spot. Pantry cabinet organization survives real life only when items can find their own way home.
The FIFO Refill Rule Keeps It That Way
FIFO means first in, first out, and it is the maintenance half of pantry cabinet organization. New groceries load into the back row bin or beneath older stock. Older items shuffle forward. When a canister runs low, finish the open bag before a new one gets cracked.
Pair that with a 10 minute weekly reset. Ours happens Sunday while the coffee brews: pull the 3-Depth back bins forward, face the labels, slide strays home, and jot the shopping list from whatever looks thin. Ten minutes weekly beats ninety minutes quarterly, every single time.
Unsure how long that opened bag of cornmeal is actually good? The free FoodKeeper tool from FoodSafety.gov lists pantry, fridge, and freezer timelines for hundreds of foods, built by the USDA with Cornell University. Bookmark it and the guessing ends.
Budget Pantry Cabinet Organization Under About $30
Nothing here requires the haul of your dreams, although The Container Store’s Home Edit stacking pantry bins have been on sale for $3.29 lately and punch far above that price. Here is a starter five you can screenshot:
| Piece | Where | About | Best job |
|---|---|---|---|
| Slim clear bins | Dollar Tree | $1.25 each | Packets, pouches, granola bars |
| Woven-look baskets | Walmart Mainstays | $5 to $7 | Chips, bread, onions |
| Stacking pantry bins | The Container Store | $3.29 on sale | Cans and jars, front rows |
| Shelf riser | Target Brightroom | $8 to $10 | Doubling can and jar rows |
| Glass jar, 2 quart | Anchor Hocking | $8 to $12 | Flour, sugar, rice |
Cheap pantry cabinet organization holds up fine when the pieces match your measurements. Repurposing counts too: washed pasta sauce jars hold beans and lentils beautifully, and a sturdy shipping box wrapped in shelf liner makes a respectable backstock bin while you save for the pretty one.
Pantry Cabinet Organization FAQ
What should be stored in a pantry cabinet?
Shelf-stable food first: canned goods, dry grains, baking staples, snacks, oils, and spices. If room remains, small appliances and paper goods can take the top shelf or cabinet floor. Keep cleaning supplies in a separate cabinet entirely so nothing ever drips near food.
How do I organize a deep pantry cabinet?
Use the 3-Depth Rule. Daily items claim the front 8 inches, weekly staples take the middle, and backstock rides in a long handled bin at the rear that pulls forward like a drawer. That is deep pantry cabinet organization solved without a single power tool.
How do I organize a small pantry cabinet on a budget?
Start with the free 20 minute clear-out, then spend under $30 on Dollar Tree bins, a Mainstays basket or two, and one shelf riser. Washed glass jars from sauces and pickles cover your decanting at no cost.
Should I take food out of its original box?
Decant items that go stale in floppy packaging, like flour, cereal, and rice, into airtight food grade containers. Keep anything with cooking instructions, allergy information, or a fussy date in its package, grouped into a bin. Never decant items whose original packaging is part of safe storage.
What are the best containers for pantry cabinet organization?
Square, stackable, airtight, and sized to your measurements. Square shapes waste less shelf than round ones, flat lids stack, and see-through walls end mystery inventory. OXO Good Grips POP, Rubbermaid Brilliance, and Anchor Hocking jars all fit that brief at different prices.
How often should I clean out my pantry cabinet?
Run the 10 minute FIFO reset weekly and a full clear-out once a season. Check dates as you go, and lean on the FoodKeeper timelines whenever a date has rubbed off.
Your Cabinet, Finally Pulling Its Weight
Pantry cabinet organization comes down to four moves: clear it out, measure before buying, zone by depth and height, then refill with FIFO so the system feeds itself. None of it needs a renovation. Most of it needs one Saturday and about $30.
Pick your worst shelf and run the 20 minute clear-out this weekend. Then pin this pantry cabinet organization guide so the measuring formula and the 3-Depth Rule are waiting when your bins arrive. And if your cabinet has a shelf that defies all logic, tell us about it in the comments. We have almost certainly fought its twin.